Vlaca
Members
-
Joined
-
Last visited
-
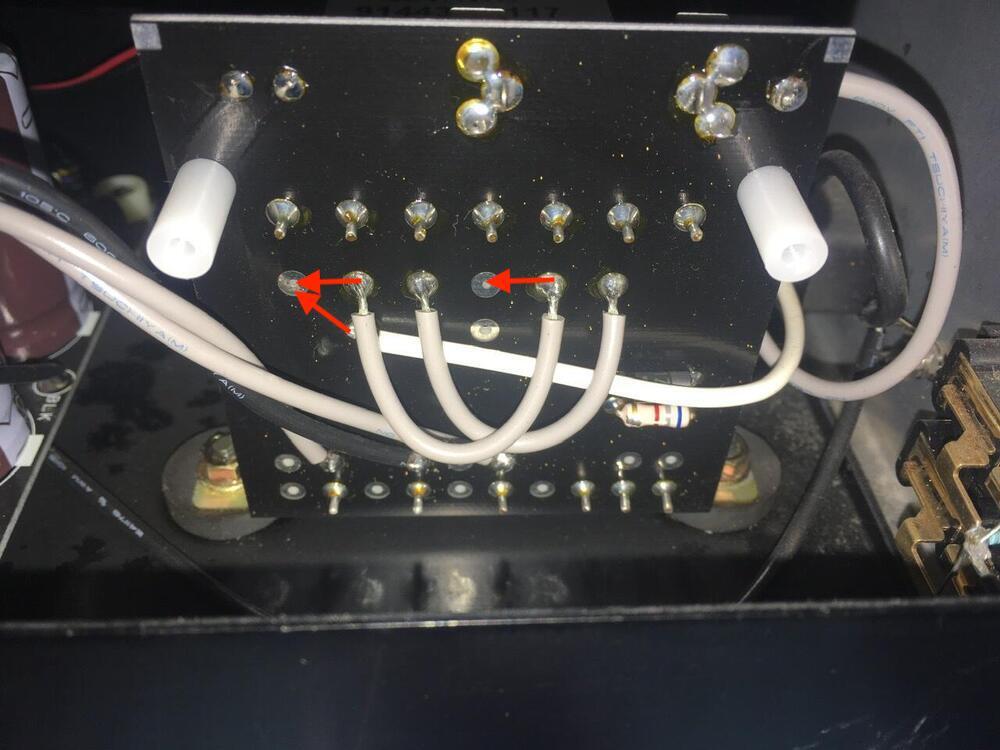
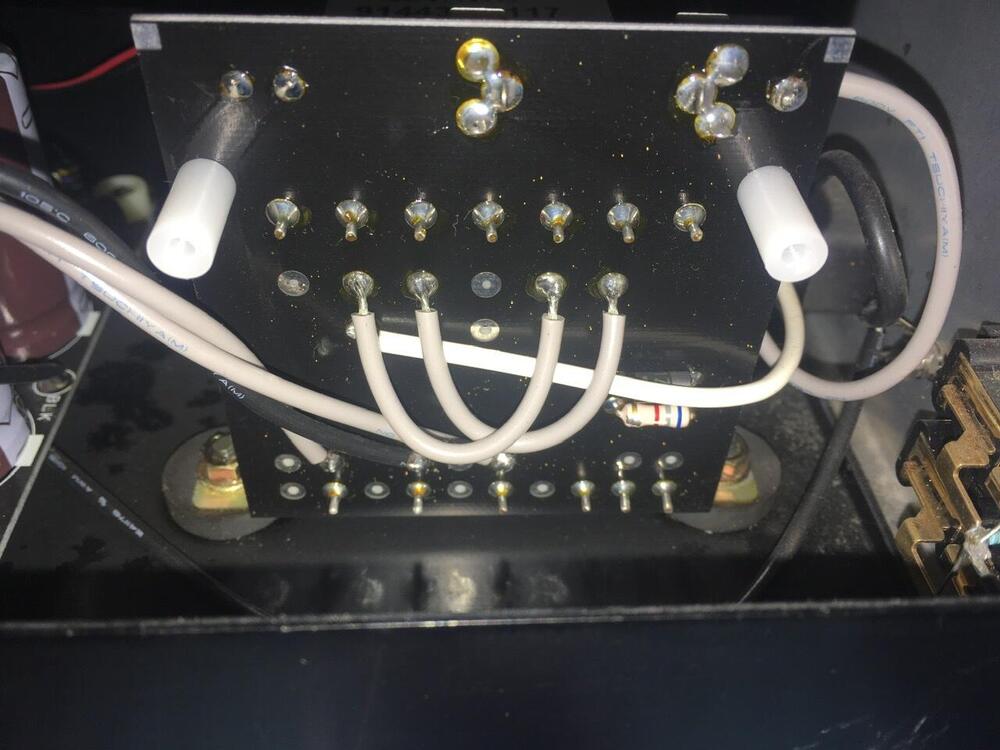
Hi! I painted the 120V setup (If i understand right the transformer windigs.) You need to move one jumper wire left, and the white wire to the leftmost pin. Please wait until Spitzer confirm this is the right setup.
-
Ok. Thank you so much!
-
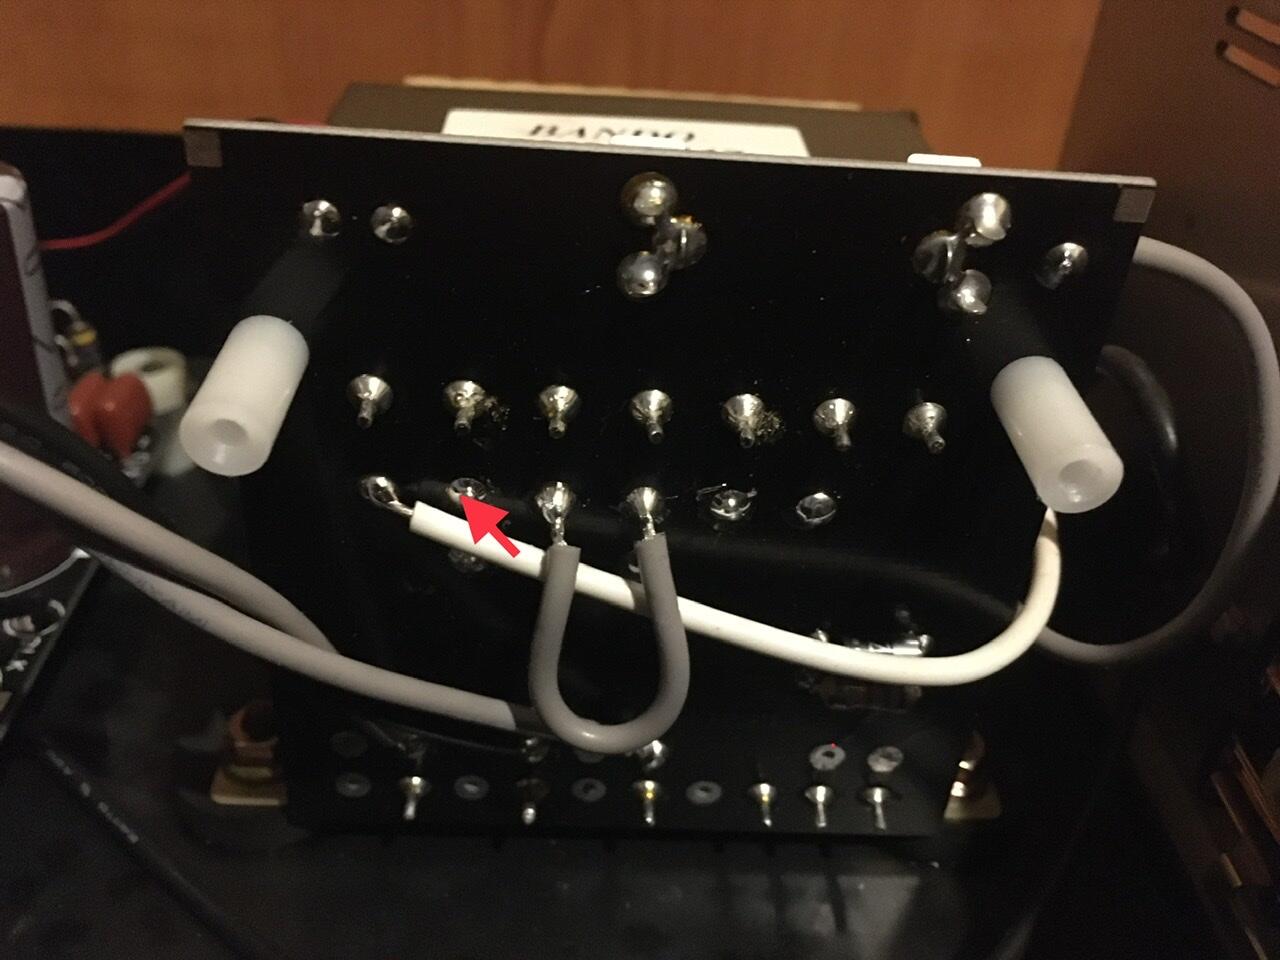
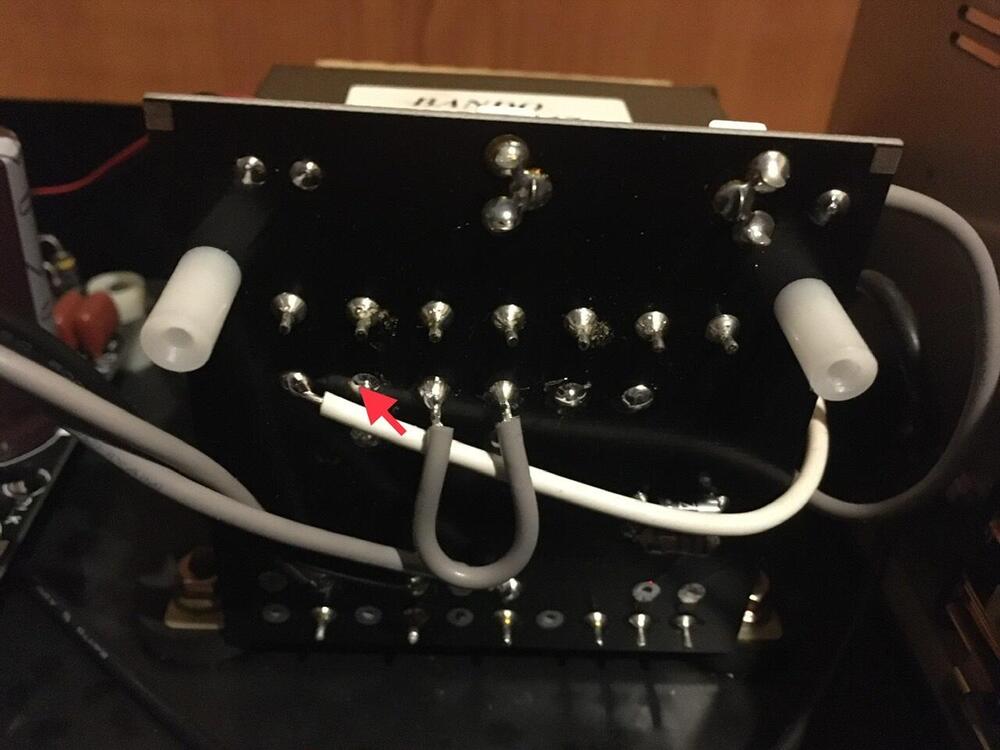
Yeah, its working fine. 😀 Just one little issue(?). I measured the double secondary voltages.(grey,black,grey wires in bottom left) In original 100V config(with outboard step down transformer) : 2x225VAC Now in 240V config: 2x200VAC. Here in Hungary the official mains voltage 230 VAC. I measured 223VAC in mains socket.😅 Its ok to use the amp in 240V config(little less secundary voltage) or necessary to reconfigure to 220V? ( The white wire solder to the second pin(red arrow in pic), ok to 220V config?) Sorry for another questions and thank you for your support! 👍
-
Ok, understand. Thank you!
-
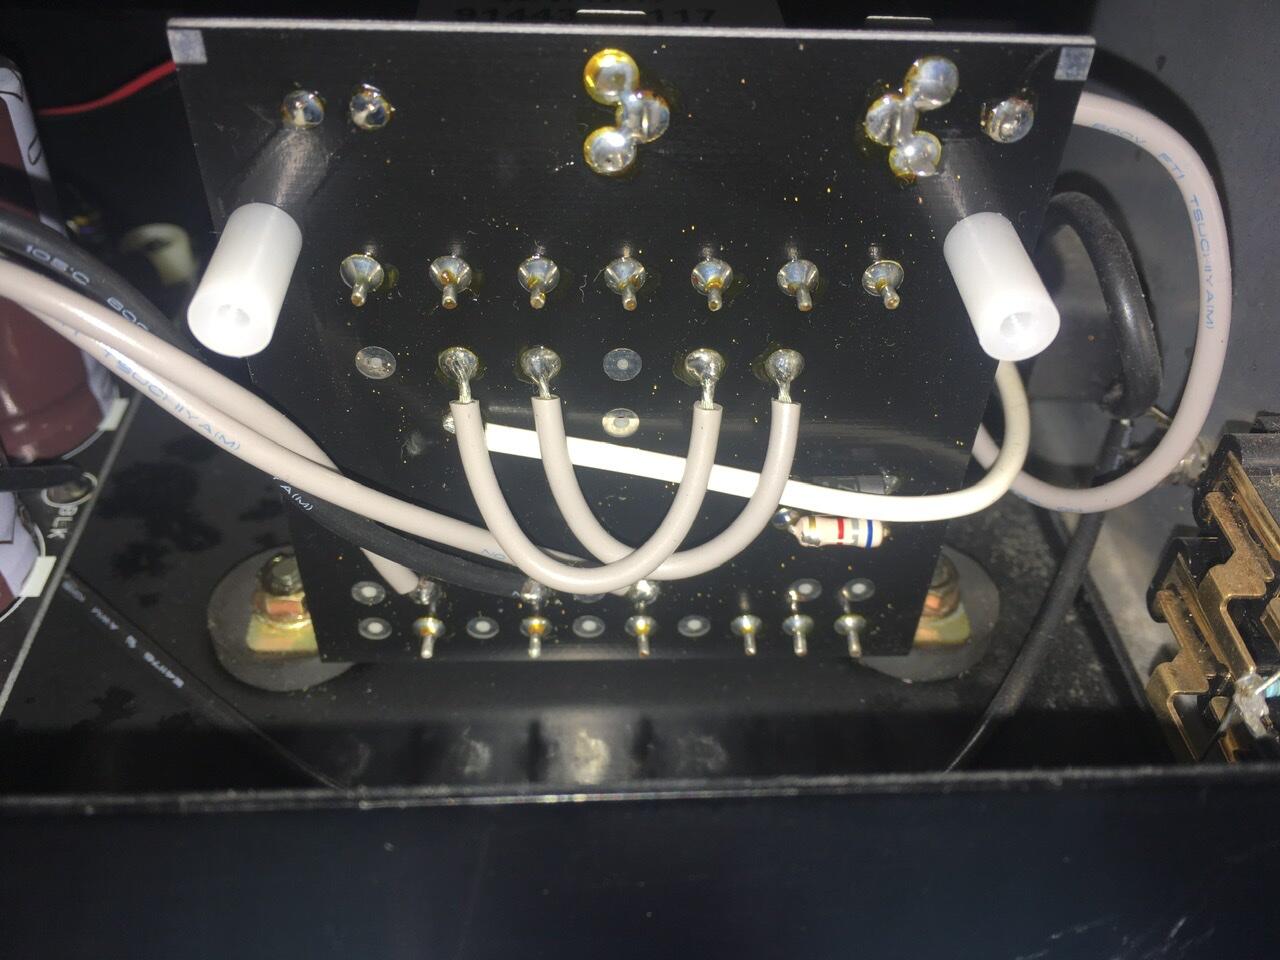
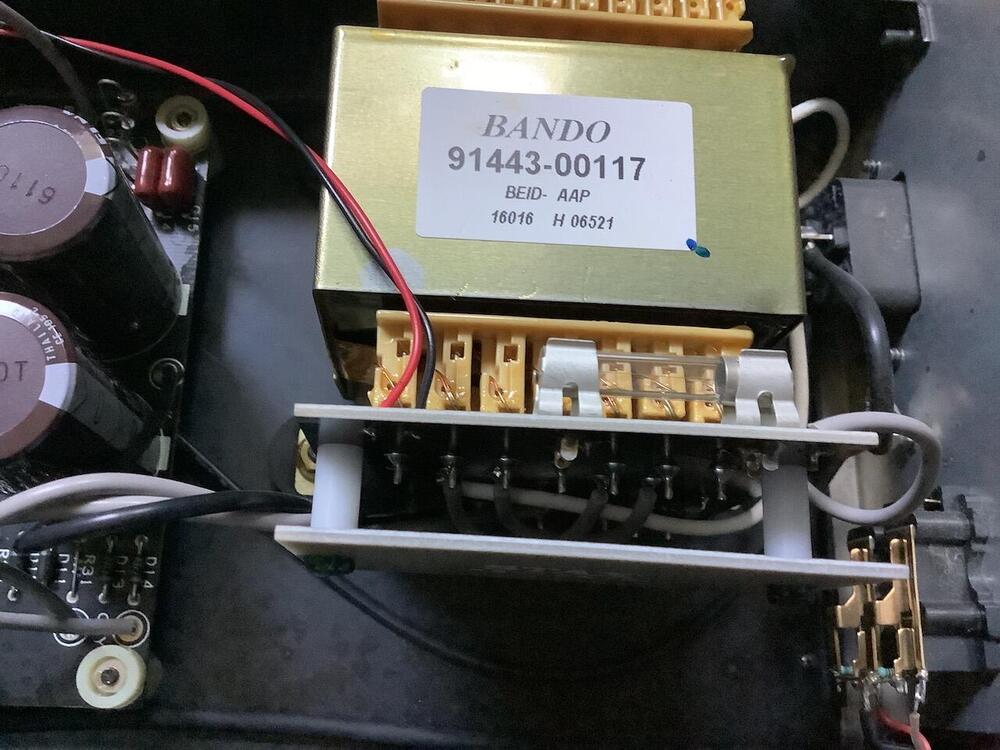
Ok i see the red lines, its connect serial the two primary windigs. The grey links need to remove?(These paralell connect the windigs, for lower voltage/bigger amperage.) Thank you so much!
-
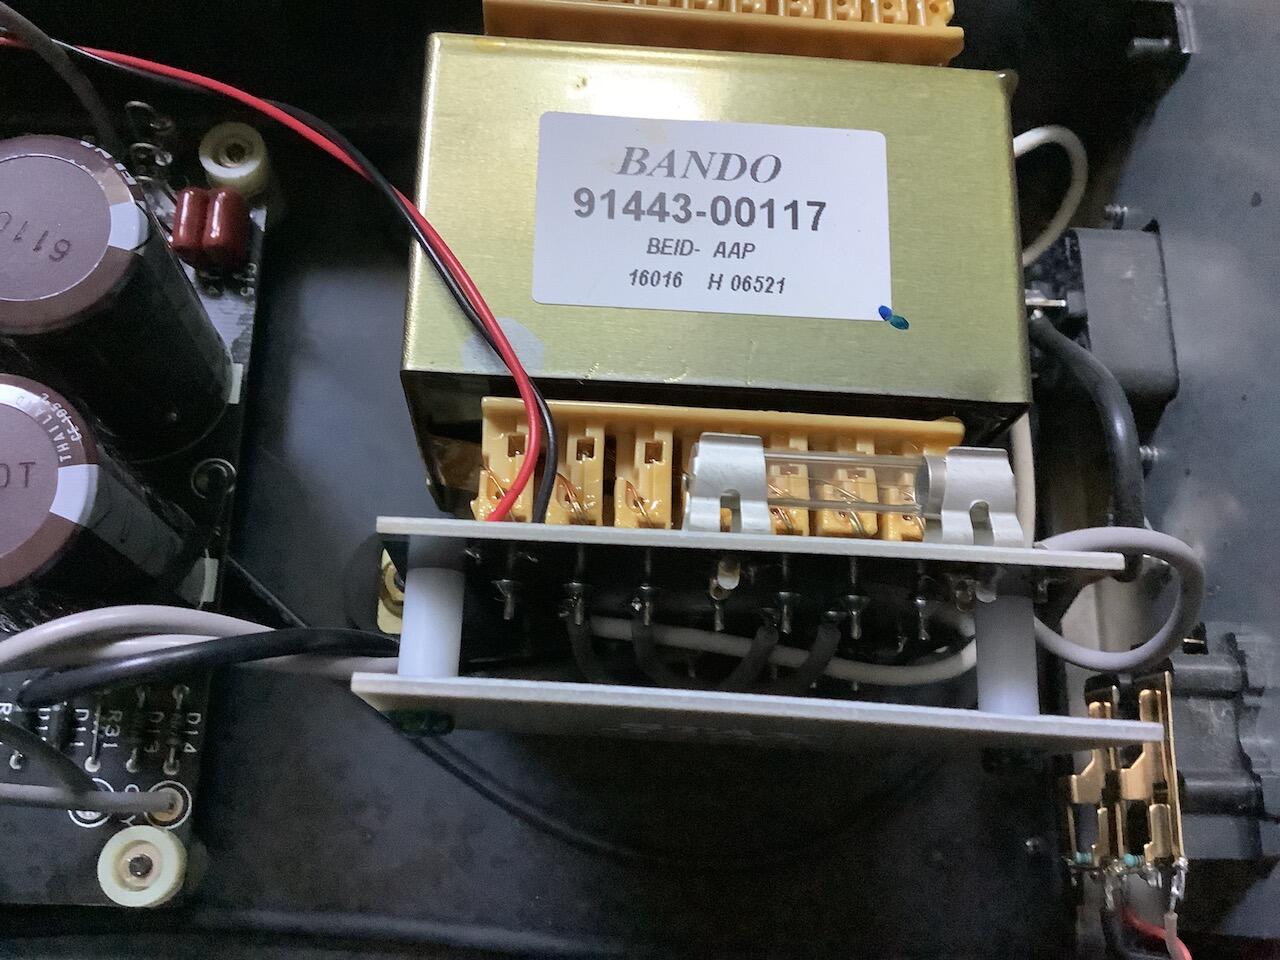
Hi All! I bought an srm-313, 100V version. I want to reconfig to 240V. Somebody know the procedure? (I found srm1 reconfigure info, but not for 313.) It seems the transformer primary windigs has 7 pin.(Srm1 only 6 pin.)
-
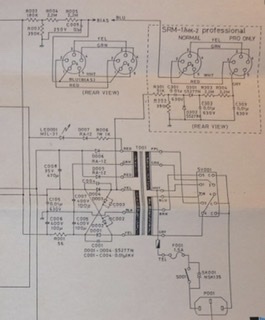
Dear All! I planning to replace the diode parts in my srm1mk2pro power supply. D001-D004 == S5277N(1A 1000V) —> 1N4007 ok? D005-D006 == RA-1Z —> what is the cross reference type? 1N4007 ok here too? Thank you!
-
Because its looking terrible, and maybe it will sound better without dirt and oxid 🤓

-
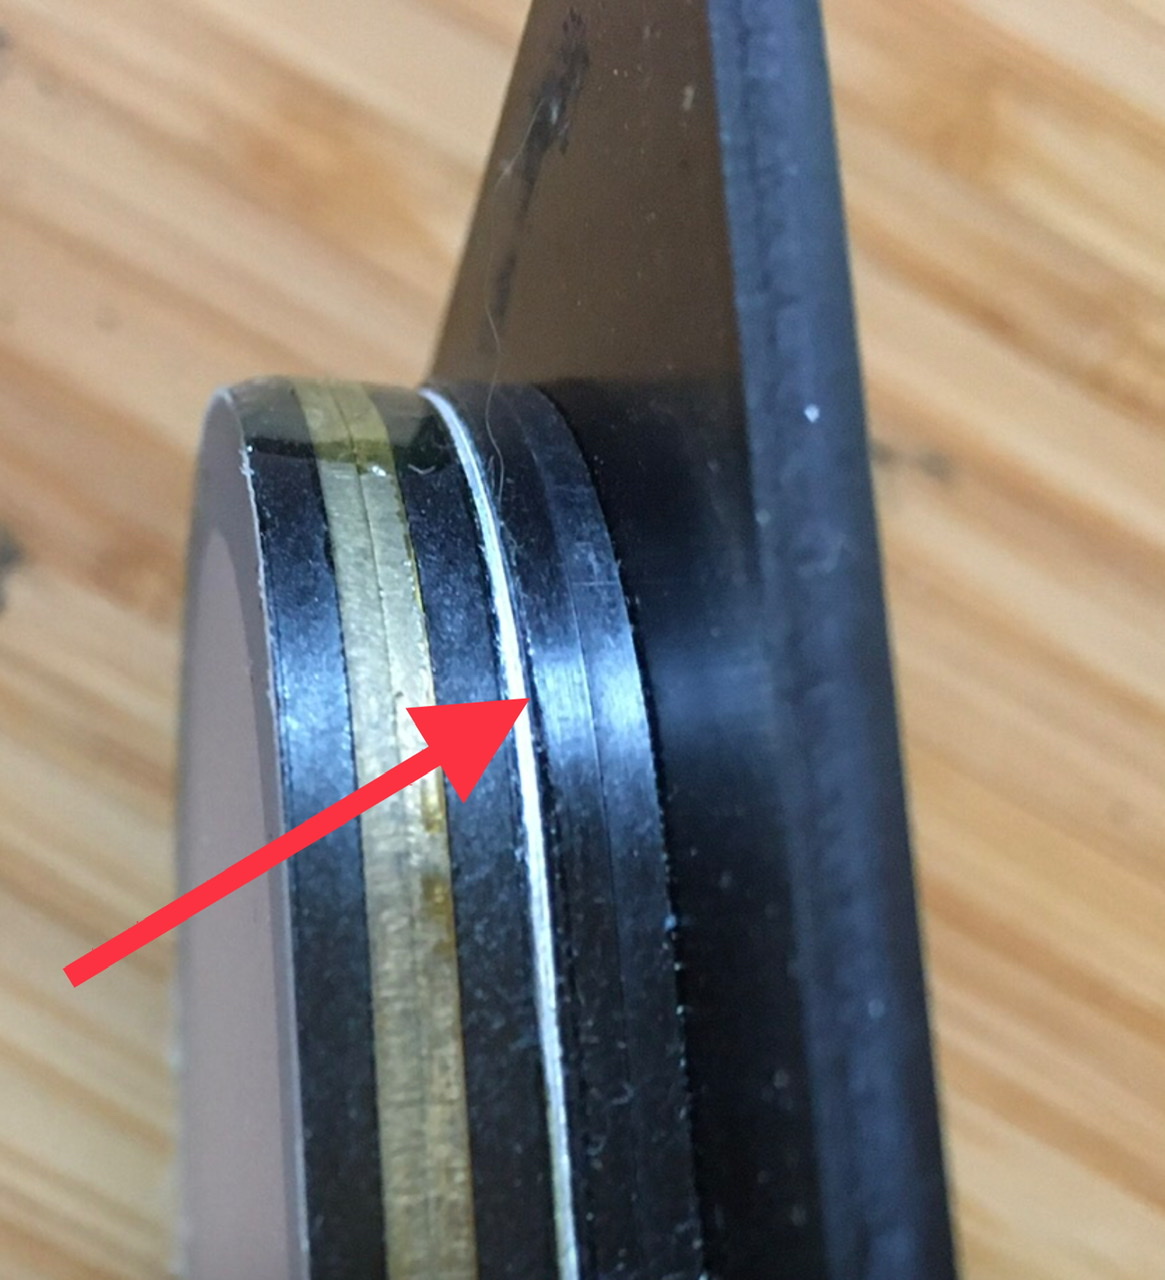
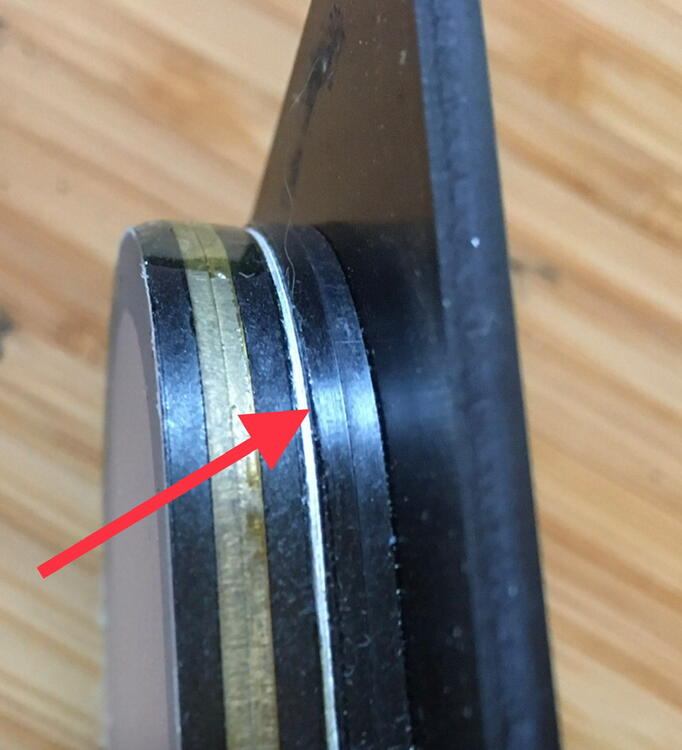
Dear Stax Friends! 🤘😛 I bought an used Lambda Normal Bias. Its working fine but the brass grid dirty and strongly oxided. I planning to clean it. Found cleaning tutorials on the web: http://www.prof-x.de/forum/viewtopic.php?t=222 http://blog.prof-x.de/2017/10/21/frischzellenkur-stax-lambda-signature-refurbish-projekt/ Ok, i need to cut the driver from plate and cut the brass grid assembly from driver. If somebody cleaned/disassembled the Lambda Normal bias please confirm that the red arrow pointing to the right place. There need to cut the brass grid assembly for cleaning. (I have medical x-acto and glue for disassembly/reassembly.) Thank you! Regards, Laszlo
-
Vlaca changed their profile photo
-
-
-
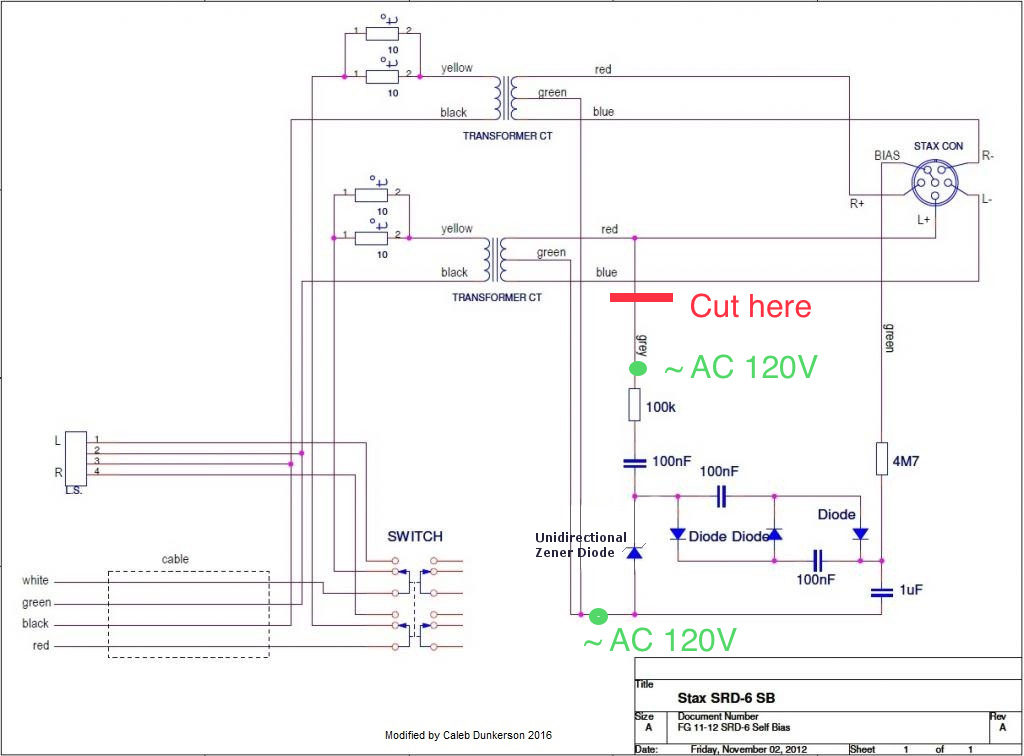
Hi All! I have srd6-sb and planning to convert it to AC bias. If i understand right, i simple cut the self bias “input wire”, and apply AC voltage from little 240V/??V transformer to the “green points”?(input of bias circuit) What secondary voltage transformator needed? (Little more than 100V zener?) (no 12V AC, just error in my additional drawing) Thank you! Regards, Laszlo