GeorgeP
Returning Member
-
Joined
-
Last visited
Everything posted by GeorgeP
-
I tried. Surprising how many folk just don't get it. Oh well.
-
Everything you need can be found in this thread. I had read it through more than once before building my two HVs - it was very enlightening.
-
Do you mean this? http://en.wikipedia.org/wiki/Loop-mediated_isothermal_amplification
-
Hell, if I can do it then you certainly can! I read your work on your KGSSHV thread. Now get in line, sir!
-
Chase and I had also been trying to figure this one out off-line as well. Never thought it was the grounding scheme as it was dead silent for me for several months while I used it. Sounds like a combination of me not tightening the little terminal screw down enough (always afraid of overtightening) and UPS using their patented "super-vibration-crash'em-bang'em" delivery system from Canada to the States. Glad it was such an easy fix (albeit tricky to locate!).
-
There really isn't anything quite like it - though am limited to Stax amps, KGSS and KGSSHV. Plus it doubles as a space heater.
-
This certainly is an excellent summary of all the key points found throughout this thread. And when you consider them, they are really quite simple to follow and will save you a pile of heart-ache later on. A couple other points that I followed were to avoid low hfe 2sc3675s (preferably somewhere in the 50s to the 70s) in the batteries and avoid high hfe 2sk246s (that is, avoid the BL grade for this one) as well - these were educated observations made by Inu and Craig Sawyers (and perhaps others as well). I certainly did test every single part that went into my T2 (even matched resistors and transistors), and you take a huge risk where you don't test everything, including the transformers. I originally thought to fire up each side separately, but this didn't seem to make a difference (except and unless something were to blow up) and in fact both sides needed to be on to properly adjust the pots and get all the LEDs to light up in my case. Certainly worth it in the end.
-
Thanks! And I think that the theme here is that there is no precise scientific way to getting this thing to run the first time - that was certainly the biggest take away.
-
Life does tend to get in the way of these things.
-
Kerry, any new developments on this? Really interested in seeing this one to completion. Now if you could mount the transformer on its edge...
-
Parts Connexion semi-annual 20% off almost everything sale. On until the end of July for those who are interested.
-
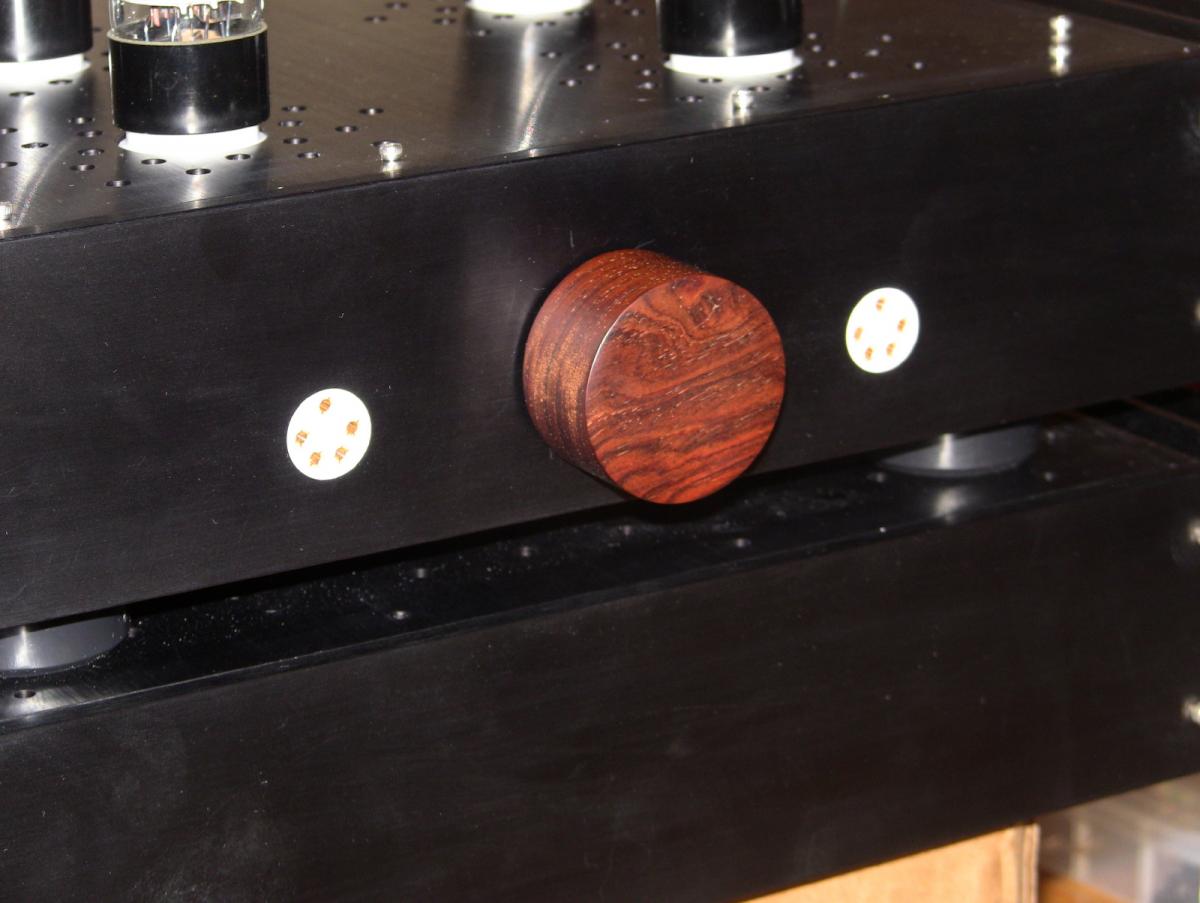
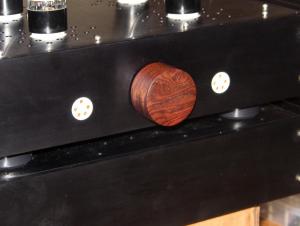
Hopefully nobody minds if I show off my knob. Now just looking for some black stainless or aluminum screws in 5-40 size for the top covers (and yes, the chassis nees a good cleaning).
-
Hence why part of me says not to check. Considering that I paid more for the parts 3 years after Kevin built built his (especially the semis), and with our wonderful taxes and high shipping for things coming from the States, I probably spent much more.
-
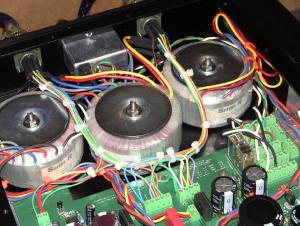
Yes, I am not worried about the heatsink temps, but those transformer temps took me a bit by surprise - though just don't know if those temps are normal. Did Peter consider buzzing to be a need for replacement or did you simply opt for getting the encapsulated version? There is a very light buzzing from one of the transformers but only audible if my head is within 3 feet with the cover off - so not really concerned. I wish it was only 2.5k - maybe if you don't count the case. I still have to go back and check (though part of me says not to), but I think it was closer to 4k all said and done.
-
Great work Rodrigo! Glad to see to finally found the time to complete the boards. Now on to the casework. And I test everything, whether from Mouser or Bdent or anywhere else (except 8-pin dip packages - don't know how to test those). A few more extra minutes at the front end can save a lot of time and grief in troubleshooting.
-
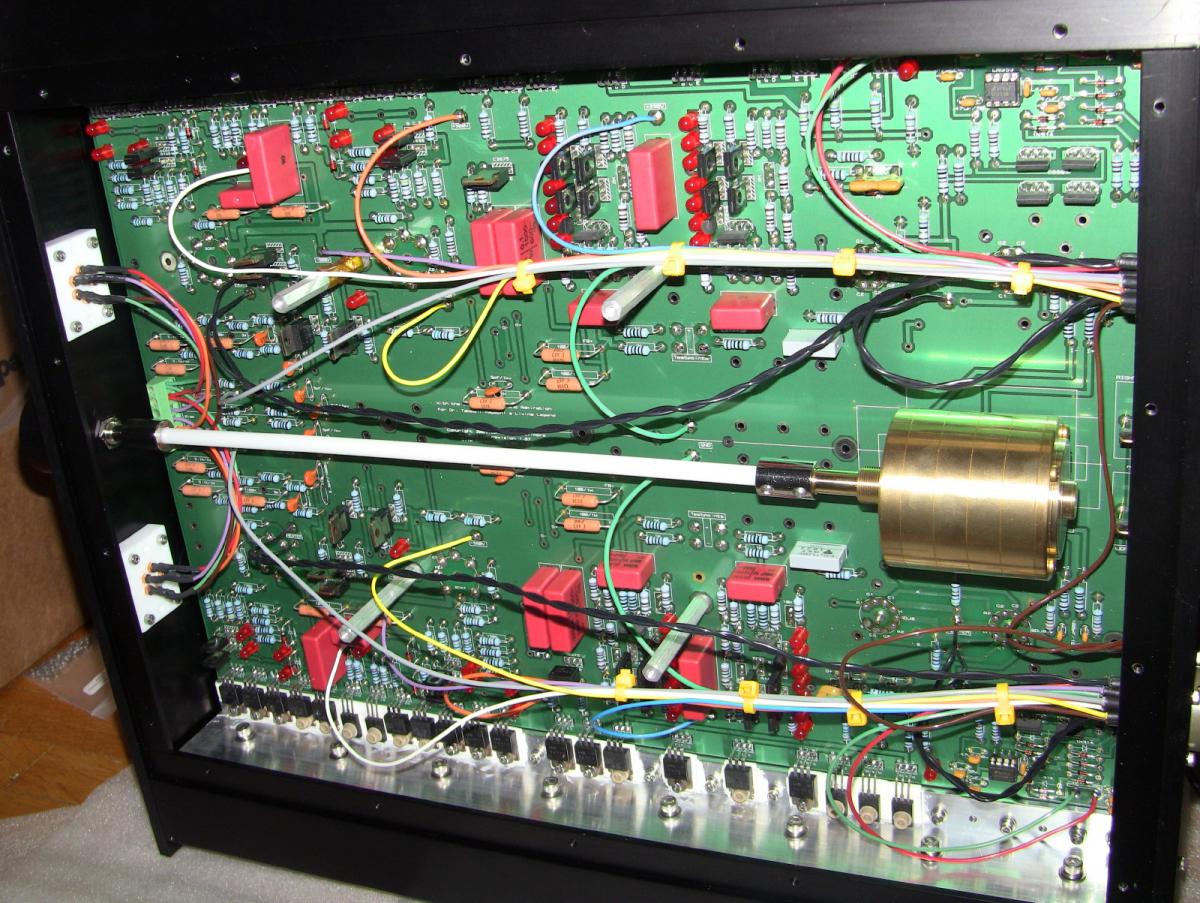
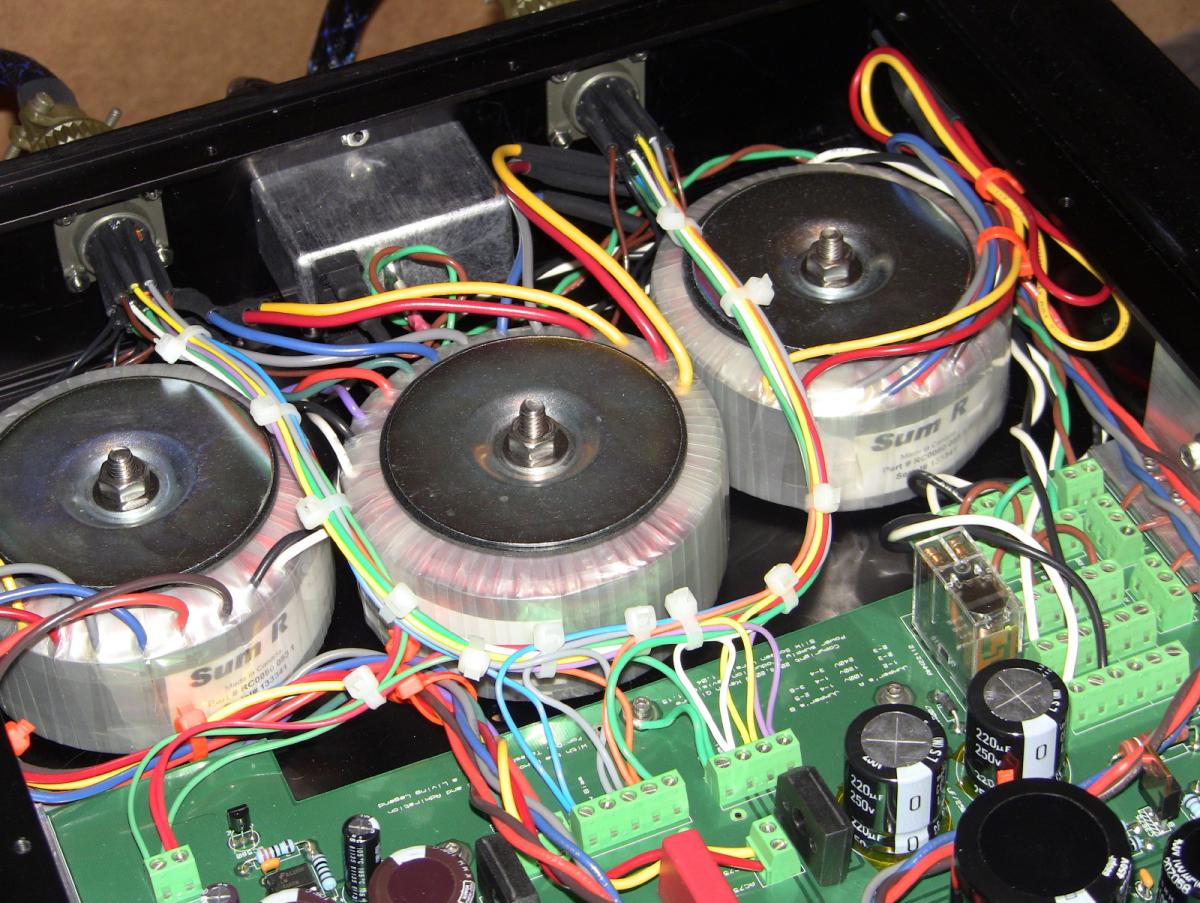
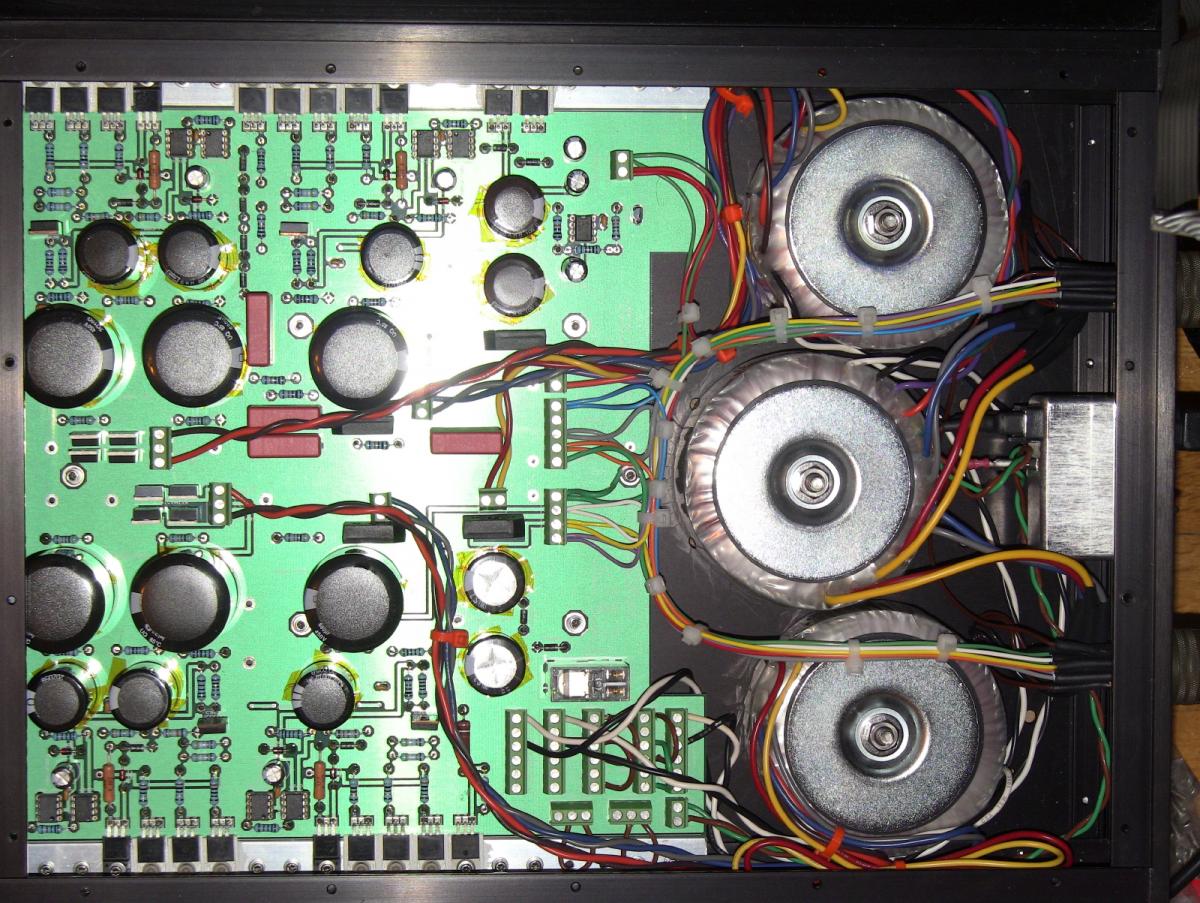
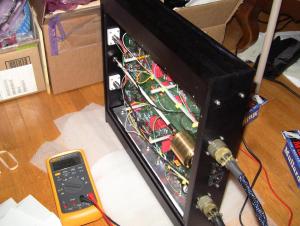
Thanks, Purk! And thanks again for helping me source the case - I am forever in your debt. So I managed to take some pics with my very crappy camera (used to be an SLR guy and still have my 501.4, 85L 1.2, 135L 2 and 70-200L 2.8 IS - just waiting for the right time), so please excuse the harsh flash (I know, I could have adjusted the exposure). Have not yet fully cased it and still need to find some proper feet to go with the chassis. Also took some temp measurements which could in part be affected by the fact that neither of the chassis are getting any real airflow on the bottom due to the absence of feet. The heatsinks near the front of the amp measured 52C/125F with my Fluke 54II and contact thermocouple, while the rear section measured 46C/114F. The traffos as I said before were stinking hot with the hottest one having a temp of 54C/129F at the mylar surface and the metal cap plate measured in at 67C/153F (though the ss bolt securing the cap measured 55C/131F). The Traffos in particular seem really high - not sure if others have measured theirs to see, but should probably try to order a slightly beefier set to have on hand. And if you notice in the pics you will see that the 500v wire just makes it to the soldering point - this is what happens when you are cutting wires to length while being regaled with the day's events by your 5-year old son. There is also some ugly kapton tape under the caps in the power supply - I am sure it was totally unnecessary but have been extremely paranoid ever since reading about the arcing some people experied in the KGSSHV thread. Also couldn't seem to locate any black delrin rod in Canada (though am sure I was just not looking in the right place), but managed to find the white delrin rod from an aviation supply company - $1.25 for 3ft (I always buy extra) plus $12 shipping. Seems to have a bit of flex to it when the pot is bottomed or topped out - not sure if the black delrin is any stiffer. Balance on the two channels are each below 0.1v and the offset on the + and - of each channel is between 4-5v - very pleased with this result. Oh, and it sounds good too.


-
Yes, that is definitely half the battle for most, and more so for me on this as my knowledge level could fill a shot glass compared to the knowledge levels of most of the folks in this thread. Just as a note, what seemed the most useful to me that I didn't see anywhere else was to focus on getting the +200v in range then everything else just seemed to fall in place.
-
Read through this entire thread multiple times (too many). Saved and printed out many pages. Put the pots in all centred as Kevin recommended, though I believe Inu commented at one point to have RV2 centred and RV1 at the highest resistance (cannot now recall), having previously tried them all centred. Also considered Craig Sawyers' recommendations for order of adjustment based on his spice model, but did not first adjust the voltage across the 22K resistors in the batteries to 6.55V as recommended by Kerry. But despite these careful considerations there was still an element of winging it. Did not get the sense that anyone actually was able to get one of these fully operational with a "step 1, step 2, step 3 etc." approach. I think facing Mecca (or equivalent) helped the most. As Kevin has commented, the battery adjustment thing is certainly weird.
-
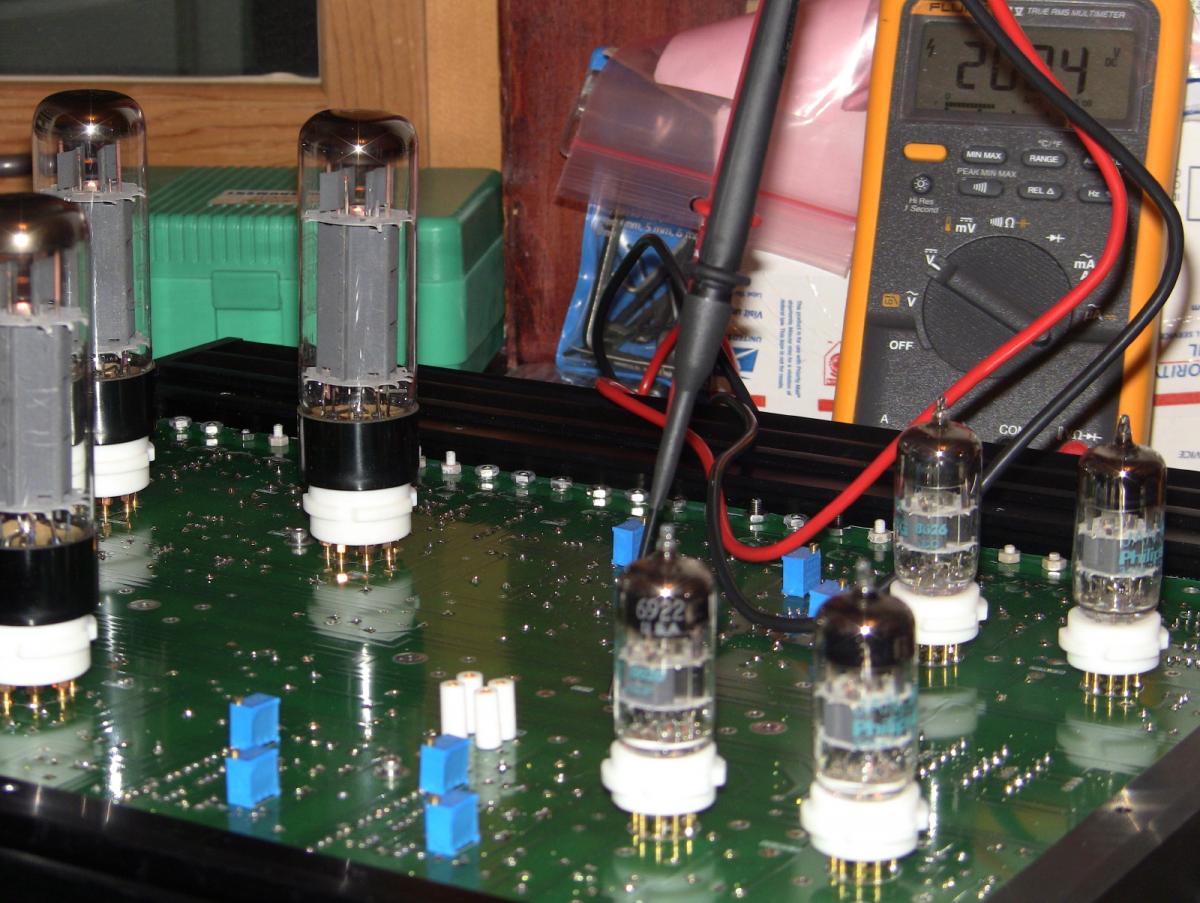
So nearly a month after completing the power supply and waiting for the 4 teflon octals to come in, the T2 is finally done. With two small kids and both my wife and I being practising lawyers, this project was relegated to the late eveing hours and so took a loooong time to complete, with sourcing of parts and the case having started in February. I initially fired up each channel individually just to check the LEDs with no Stax attached, but quickly found that firing it up was certainly not that straightforward (having only previously built the KGSSHV). The right channel: LEDs in the batteries fully lit, but everywhere else they were either unlit or extremely dim. Not very encouraging. The left channel: LEDs in the batteries fully lit, but everywhere else they were either unlit or extremely dim, with the LEDs in output stage flashing and a light buzzing sound rising and falling with the flashing of the LEDs. Again, not very encouraging. My first thought was how would I be explaining all the additional hours troubleshooting this thing to my wife - she was not exactly enthuastic about the project to begin with and our home office has been overtaken by it. Now I tested each and every part that went into the amp including matching the resistors and transistors, and everything checked out and was sourced from known parts suppliers. There were no pops or zaps, no smoke or strange odours, and there was no way all those LEDs became defective after testing. So what else to do except fire up both channels and adjust the pots to see what happens. Interestingly, as I went through adjusting the pots, the LEDs did all sorts of weird things - some unlit ones lit up while others turned off, adjusting one channel seemed to affect some of the LEDs on the other channel. While adjusting the first battery, the voltages got stuck and would not adjust any further - but at least the flashing LEDs and buzzing was gone (but those previously flashing LEDs were off by this point). But I didn't let that get me down (well actually, I was as down as could be by this point and it was simply desperation - like fear substituting for courage in a fight) so I started adjusting the pots on the next battery. But it too stopped by a certain point - if I recall they were in the neighbourhood of something like -560 and +20. I then went to the batteries on the other channel and surprisingly they could adjust below -560 and above +20 (got it to something like +140 and -550). Then I went back to the first channel. Miraculously, the voltages were no longer stuck and could be adjusted within striking distance of the proper voltages: landing at +200 and -544. Somehow the two sides are dependent on one another. I was able to do this for each of the batteries, and by this point all the LEDs were brightly lit! The balance checked out at less than 0.0 volts, with the + and - for each channel around 10 volts. Quickly hooked up a pair of 307s without being connected to a source and started adjusting the volume - dead silence. Tried adjusting RV1 and RV2 to try and get things even closer and to get the offset down a bit, but it seems that once the T2 finds a sweet spot it likes to stay there - you know when you are off if you have earspeakers on while adjusting because you will hear what sounds like the output from a crappy microphone in a wind tunnel (and yes, you can also hear the wipers on RV2 as you adjust, but not RV1). Then it was 3am so went to bed. The next evening (yesterday; it was hard to focus at work that day) I connected a (crappy) DAP to give a listen (has yet to be relocated to be near a semi-proper music source) and crisp clear music was coming out! And it sounded really, really good (the 307 also sounded really really good - very underrated)! I ran it for 6 hours with music running through and everything continued to work perfectly. Will try it out with my 007MK1 in the coming days, and my 009 as well (Birgir will shudder at the thought). But the heat, my god this thing was burning hot by the end of six hours (will measure temp when I get a chance). The amp was clearly hotter than the PS, but the metal caps for the HV traffos were the hottest and I could not keep my finger on them for more than a second - while the body of the traffo, though hot, was still bearable to touch - not sure if others have experienced this with their T2 traffos. The reissue Mullards (xf2s are waiting in the basement) and the 6922 JAN Philips tubes (believe NOS from the 1980s - not sure if I should be looking into betters ones or not) all worked perfectly and their heaters had a nice glow about them in the dark. So that makes at least one DIY T2 for Team Canada. Will try to post a few pics over the next couple days. Now what to do with the extra KGSSHV? Though if you ask my wife (which she has asked me already a number of times), the bigger question is where am I going to put this 60 pound beast? I think my nightstand should do the trick. George
-
-
Thanks, Kevin. And yes, pre-tinning made it easier, which is all I did initially. But then I found a swab with the flux pen made it even quicker. I would still hesitate to do another two-box build - though this one has 28 wire connections (with all 30 connectors populated in the umbilicals in case).
-
Just as a clarification to the above, the relay clicks on at exactly the 60 second mark whenever the power supply is turned on after a period of being turned off. But if turned off and switched back on after only a few seconds the relay can click on a little before the 60 second mark. Also, two quick questions I couldn't find answers to in reading through the thread: 1) what are the 18 #4 nylon washers (1 each for power supply 2 each for amplifier) in the BOM for? Are these to be added to the stand-offs to gain additional height? 2) do the .25-20 traffo bolts need to be nylon or can they be 18-8 ss? I had read in the thread that on at least one T2 the nylon bolts did not survive shipping (though I don't plan on ever shipping mine). As an aside, wiring the amphenol connectors is very painful - would prefer to redo the entire amp board instead (from scratch that is). Though have got it pretty automated now. Definitely pre-soldering the ends of the wires and using additional flux on the wire and connectors made things a whole lot easier.
-
Ok - will leave as is then. Makes sense. By the way, your knobs cleared customs yesterday and I should have them on Monday.
-
Do have an extra 555, so I will swap it out and see. How long does your take?
-
Powered up the power supply and all voltages are pretty much bang on. Amp board is nearly done - just waiting for the tube sockets so will complete the wiring and umbilicals while I wait. One thing though that I wanted to check with others is with the Panasonic AHN22112 relay - it takes anywhere between 40 to 60 seconds to click on. Is this normal or should I be replacing the relay?