Leaderboard
-
cetoole
Manufacturer/MoT9Points5454Posts -
Aura
High Rollers7Points6885Posts -
n3rdling
High Rollers5Points932Posts -
MexicanDragon
High Rollers5Points8365Posts


Popular Content
Showing content with the highest reputation on 03/27/18 in Posts
-
9 points
-
6 points
-
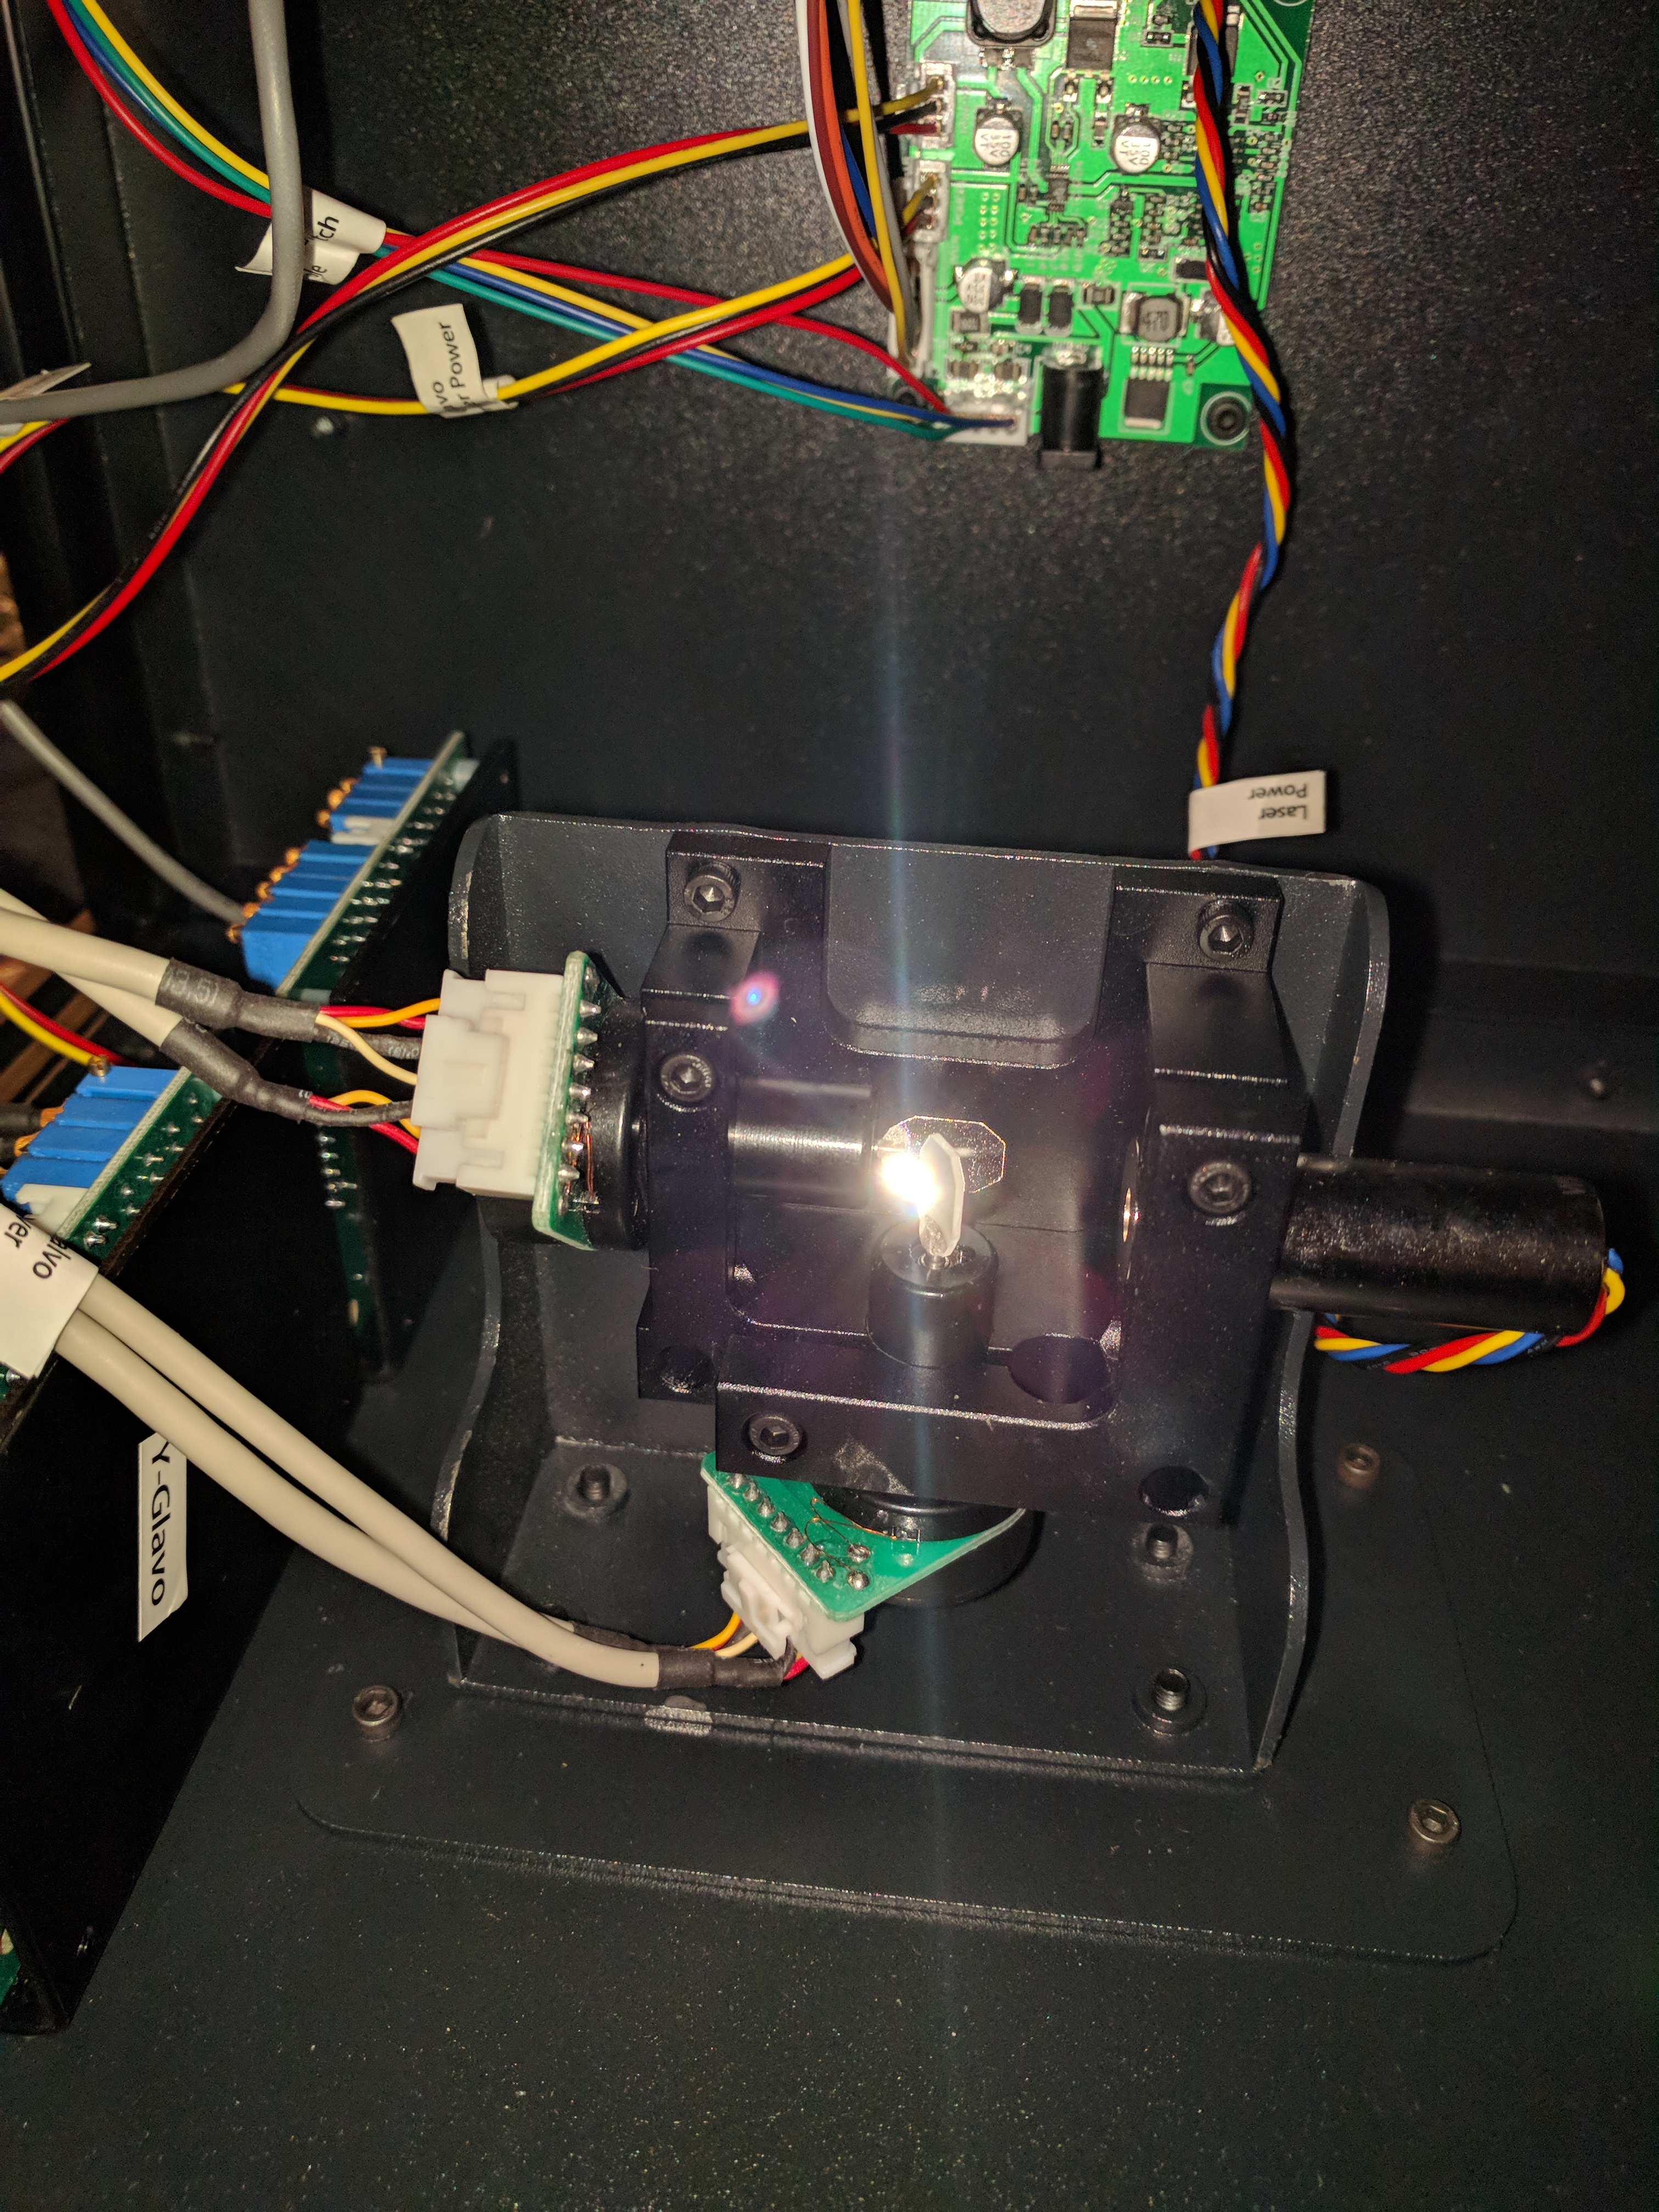
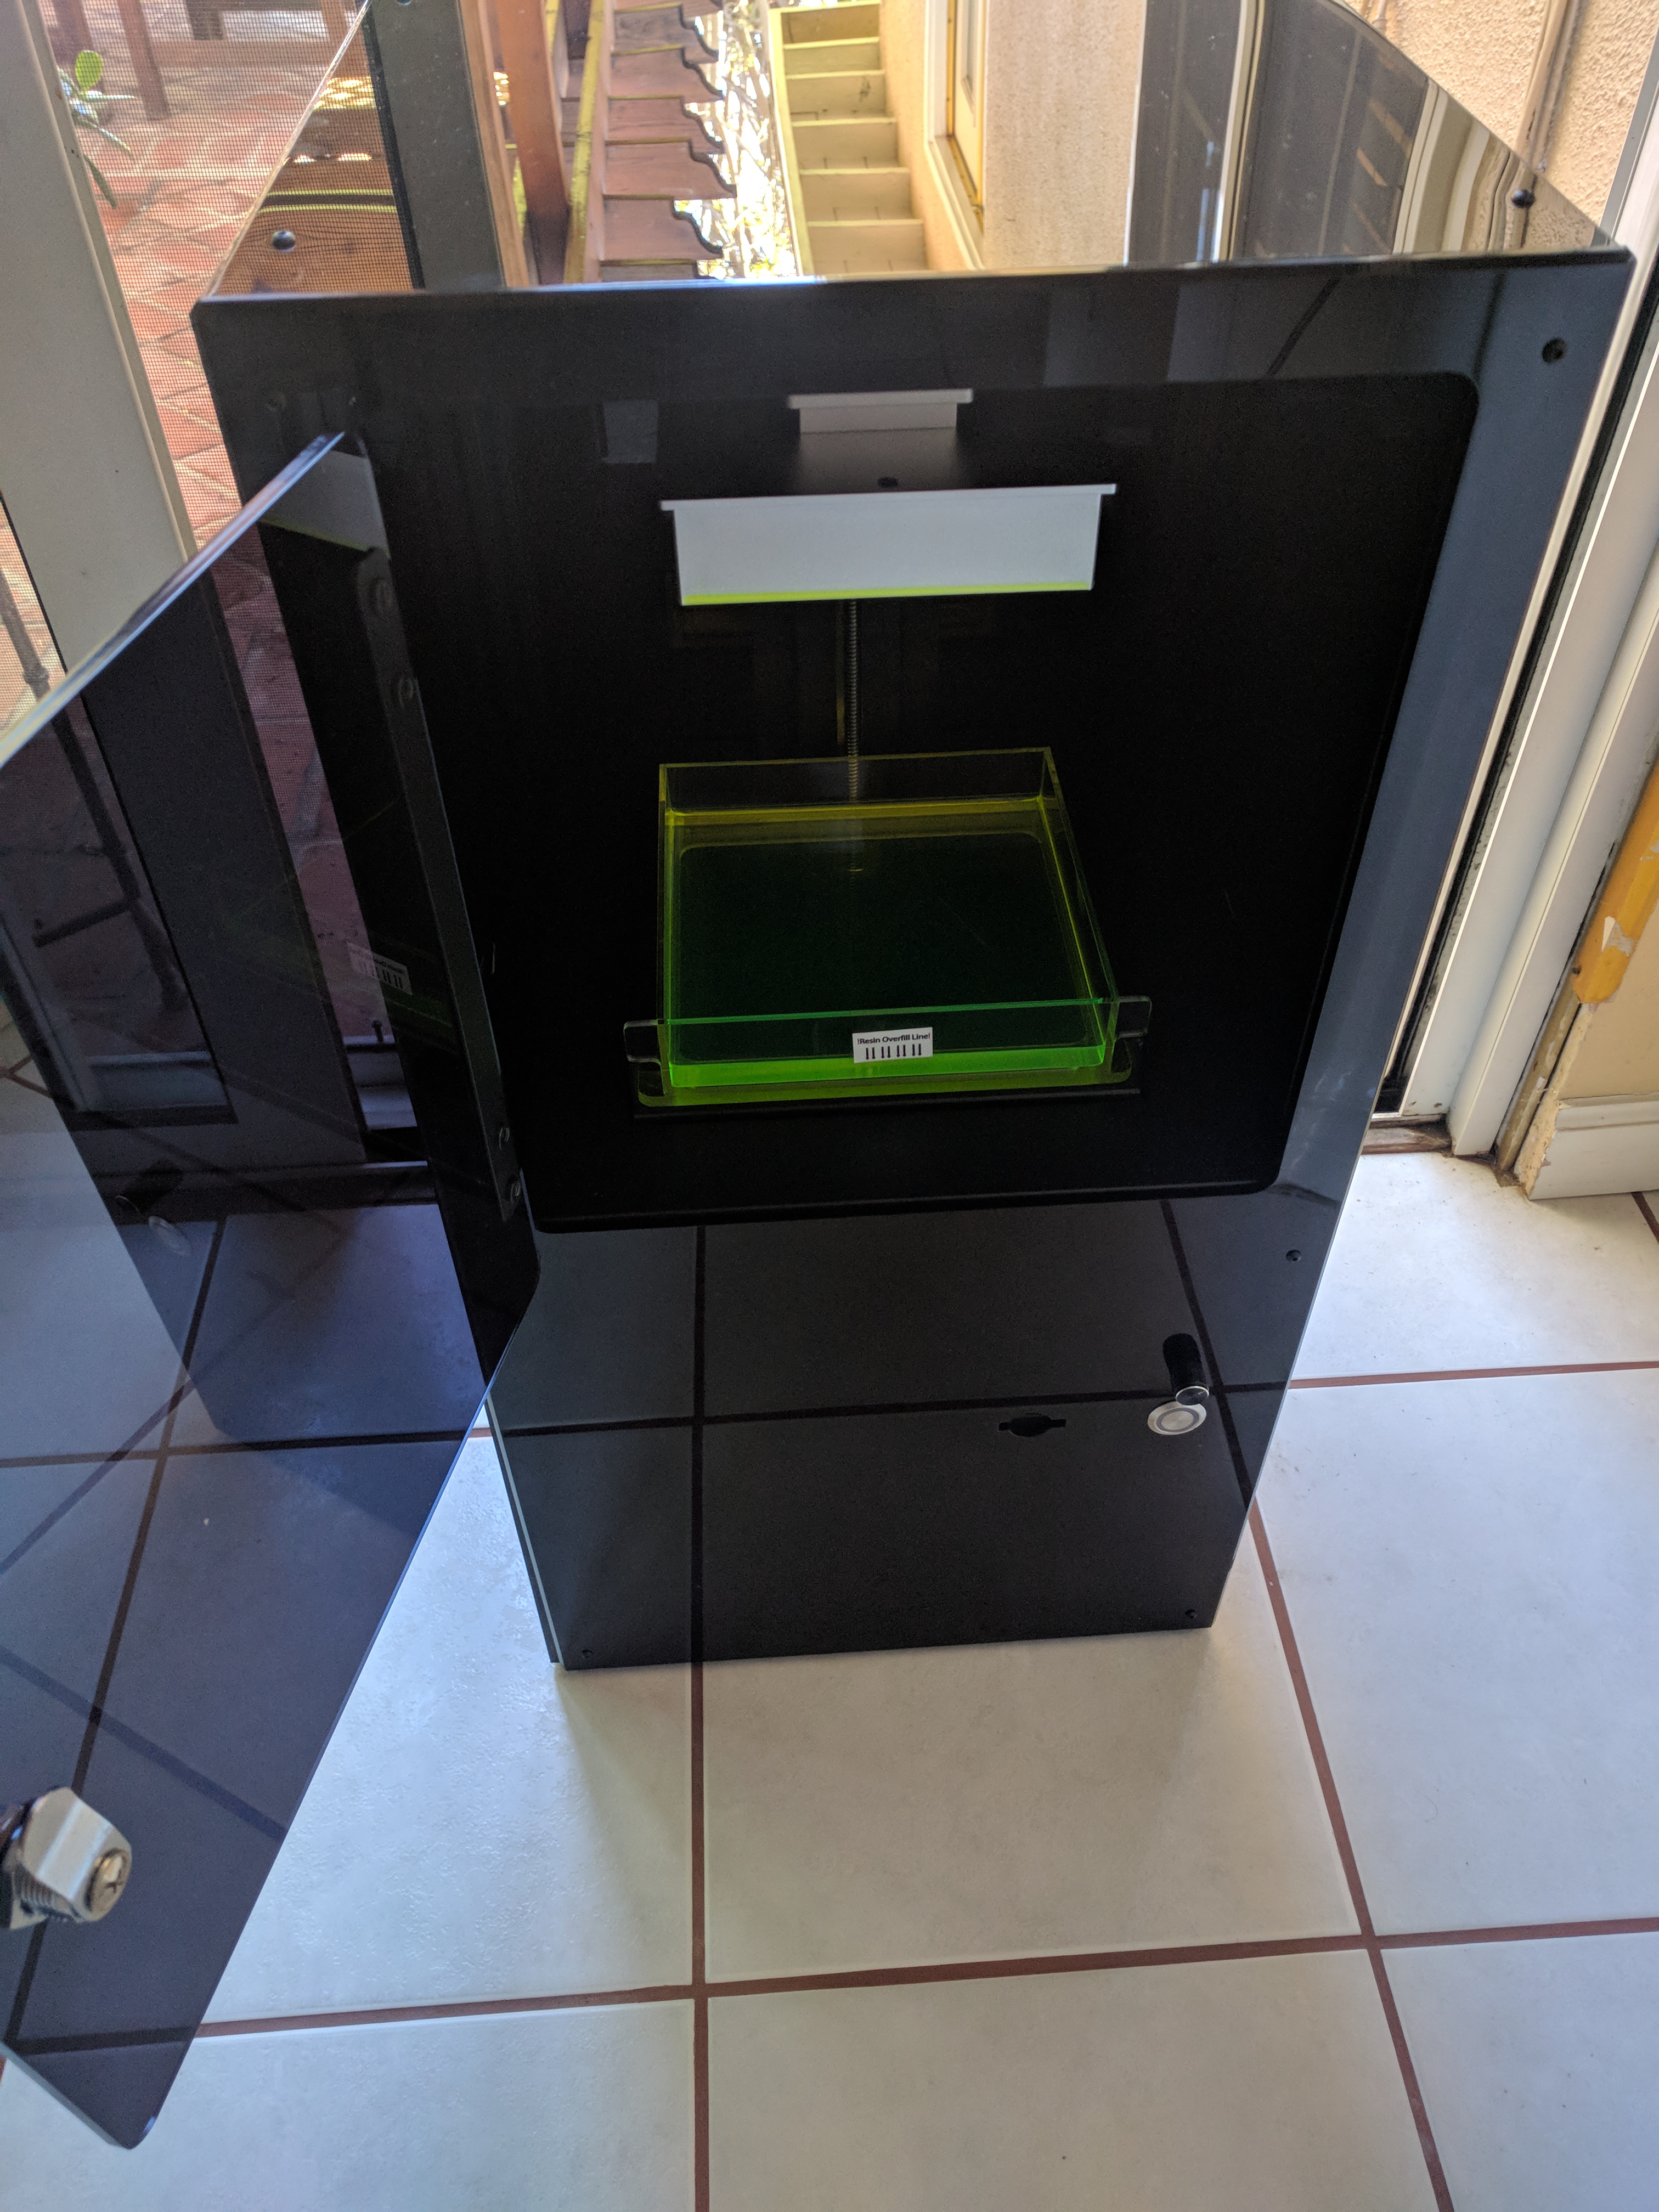
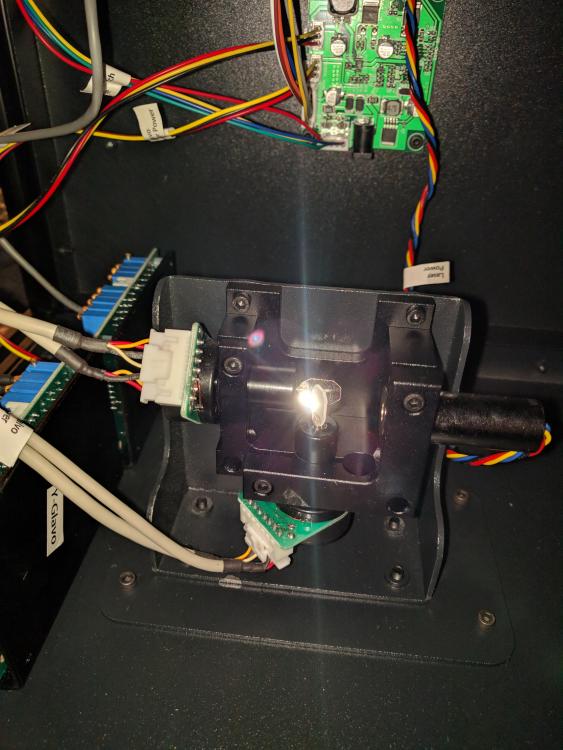
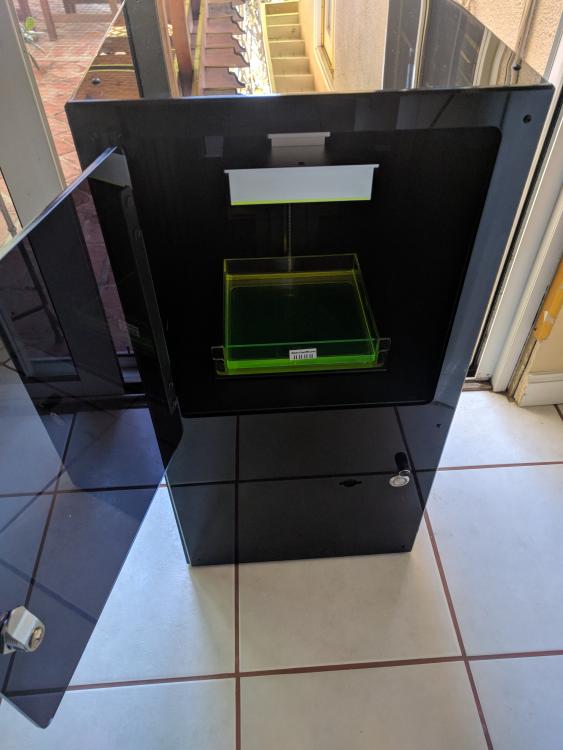
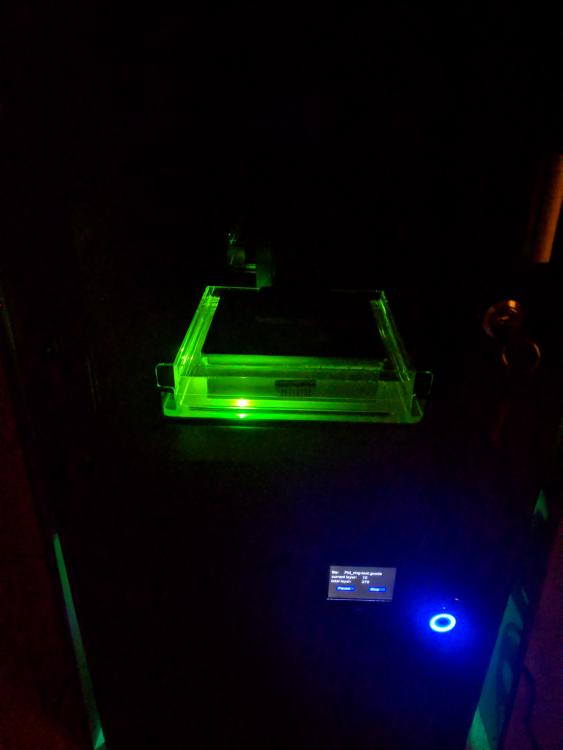
5 pointsBuilt this last weekend. Peopoly Moai SLA 3D printer kit. Build took about 4.5 hours, pretty straight forward and well thought out design. For those not familiar, SLA style 3d printers are quite different from regular FDM 3d printers. Where FDM melts and extrudes plastic layer by layer to build a model, SLA uses a light source to cure a UV sensitive plastic resin layer by layer. The resin sits in a small reservoir, a metal built plate presses down to the bottom, and the light source cures a given layer. The reservoir then peels itself off the cured resin, the metal plate dips back into the liquid resin one step higher, and the next layer is cured from the light below. Repeat over and over until your model is fulled 'pulled out' of the rub. The two typical methods of SLA printing are dubbed 'SLA' which uses a laser and galvanometers to trace each layers' design, and 'DLP' which uses a DLP or LED screen to project the stencil of an entire layer. Advantage of SLA type is that it's a bit more precise/detailed, advantage of 'DLP' type is that it's cheaper and can cure an entire layer at once so it can be faster for larger models. SLA resolution is limited to the size of the laser beam, DLP resolution is limited to the pixel size but is jagged in comparison. As LED screens improve in resolution and get cheaper, I expect DLP to become more popular in the future. SLA can be kinda messy, smelly, and is slower and considerably more costly than FDM 3d printing. The resins right now also aren't that great mechanically - they're pretty brittle. The advantage they have is that they're WAY more precise than FDM printers. For this reason, they're used a lot by the dental, jewelry, and miniatures industries. I already have an FDM printer that serves me well for rough prototyping, but this printer should be much more useful for creating production level short run molds. I've wanted this ability for a while now but these machines are typically $4-10k+ all in, so this kit for a fraction of the price (~$1300) is a great deal. Those interested in something similar but even cheaper (~$500) might want to check out the Wanhao D7 or Anycubic Photon, both DLP type machines, but you have to be willing to tweak things a bit more. Anyways, enough rambling. Onto some build pics! Kit came in a big ol' box. Very well packaged. Some of the electronics and the two galvanometers. The laser shoots into those two little mirrors, which direct the laser up to the build area and control the X and Y positions for tracing out each layer. All put together. Liquid resin stays in that clear vat, aluminum build plate dips into it from above to control Z position and holds the model. Gotta keep the door closed so UV light doesn't start curing the resin. In action! It looks really cool in person. One thing I love is how quiet it is during operation - no problems letting this run overnight. The laser is coming in from below. Post processing the final part. This is just a little test ring to make sure things are working to spec and the build went as planned. Agitate it in IPA for a while to get rid of any excess resin, agitate in water to rinse off. Repeat a few times and then put in the sun or under a UV light for a while to fully harden. I might get an ultrasonic cleaner later for this step since I'm inpatient. Haven't printed anything terribly exciting yet, mainly just small calibration models to get dimensional accuracy locked in. I'll post something more interesting later.

 5 points
 -
3 points
-
3 points
-
1 pointFinished this last night. I thought it was ok. It is very short, so it went fast and didn't overstay its welcome. From what I've read since finishing the book the "Southern Reach" books were conceived all along as a trilogy, so I guess I can forgive the first book for being stingy with answers. I think I'll give the second book a shot and see how it goes. As for the movie? I haven't seen it yet but I think I might wait for it on video. From the trailer it looks like they took A LOT of liberties with the book. Maybe that is a good thing? I guess I'll find out eventually.1 point
-
Yes, only like a test, decreased Bias for example until 600mVolt and check the offset.1 point
-
The PNP and NPN should not show low resistance (i.e., short) to each other. They will probably show some resistance, but I would assume it would be in the K ohm or higher range. None of the tabs should show a short to the L bracket. I couldn't tell in your pic what was under there or whether you had the shoulder insulating washers (such as Mouser 532-7721-7PPS). If the N and P were shorted together, you probably wouldn't be seeing approximately correct V+/V- (assuming the PSU was connected to the amp boards when you took your measurements), as they would be connected to one another via the shorted collectors. Just a shot from looking at the pics. EDIT: and I think Jose was asking if you had decreased the bias. Personally, IMHO, this amp is designed to run at 750mV/75mA bias, so that is what you should be running, and it shouldn't effect offset (i.e., you should be able to get the offset down into the sub 5mV range at that bias).1 point
-
1 point
-
What does V+ and V- look like? Also, with the amp off, set your meter to ohms and check continuity from each output device tab (tab, not the screw) to the heatsink. Also, check from a tab on one of the first 4 devices on the left to the tab of one of the 4 devices on the right side. Sent from my iPhone using Tapatalk1 point