

Leaderboard
-
Grahame
High Rollers14Points16859Posts -
Voltron
High Rollers11Points34628Posts -
naamanf
High Rollers10Points6661Posts -
skullguise
High Rollers9Points8927Posts



Popular Content
Showing content with the highest reputation on 10/13/23 in Posts
-
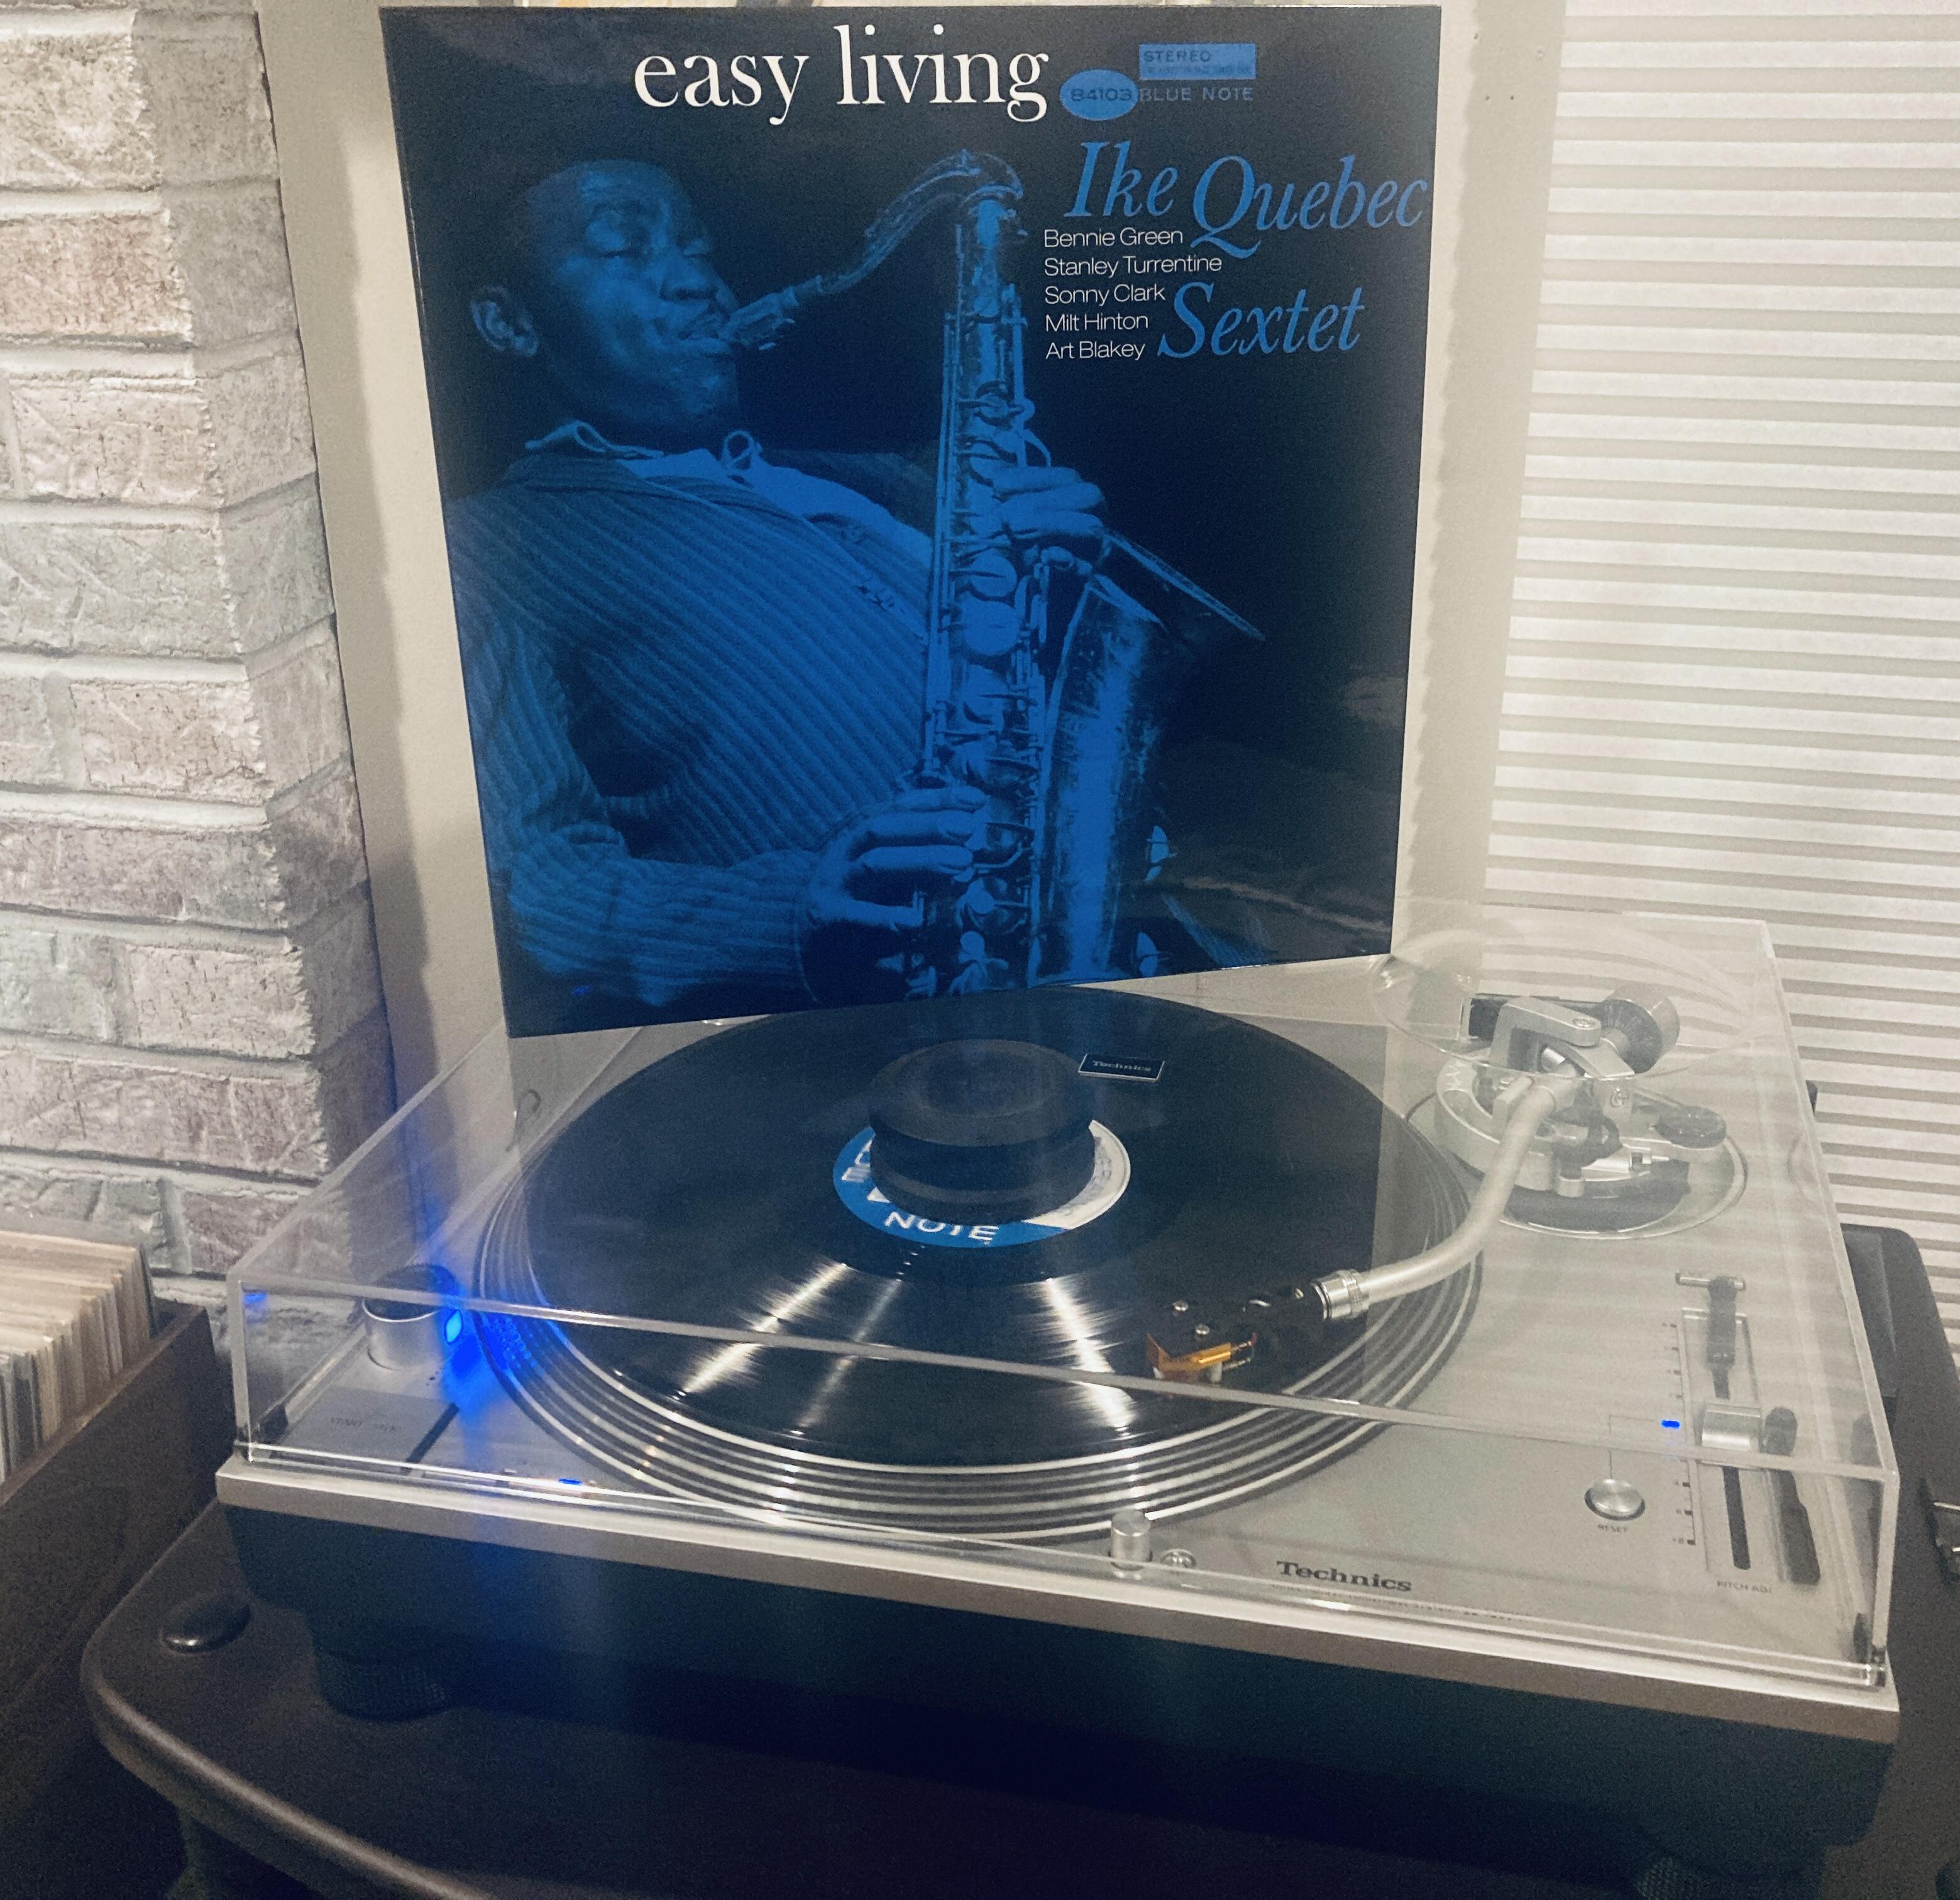
It cost me a lot of time (and money) to get an untouched vinyl copy:4 points
-
There's a French fella on Flickr named SBA73. He's got a Soviet made KMZ FT-2 panoramic camera from the mid 60s. Weird AF looking device. He's quite good with it: Apparently he develops the film himself.4 points
-
More Samara Joy, just in case you don't remember she's an incredible singer There are people who think that Emmet's Place concerts are the most relevant jazz events happening nowadays. If you check all the artists to visit his apartment, I kind of concur.3 points
-
2 pointsThe thread on diyaudio might be of interest to you re: OPA828 vs. OPA627. Schitt equipment seems to be well engineered and built, to very attractive price points. Unlike some others in heavy shilling/pimping these days 9<<cough>> Topping <<cough>> https://www.diyaudio.com/community/threads/opa828-opa2828-vs-opa627.400109/2 points
-
1 pointI was thinking of upgrading or supplementing my old Headsave Classic amp (3 x Burr-Brown OPA627, hooked up to an Arcam FMJ CD36 or Sony UHP-H1) with something new, not too expensive. I may still get a Chord Mojo 2, but this looks interesting at $219... just announced, with impressions coming out in a few days. The Schiit Midgard has a different discrete design, with a mixed-mode feedback and more power than the Magni+ I was looking at:1 point
-
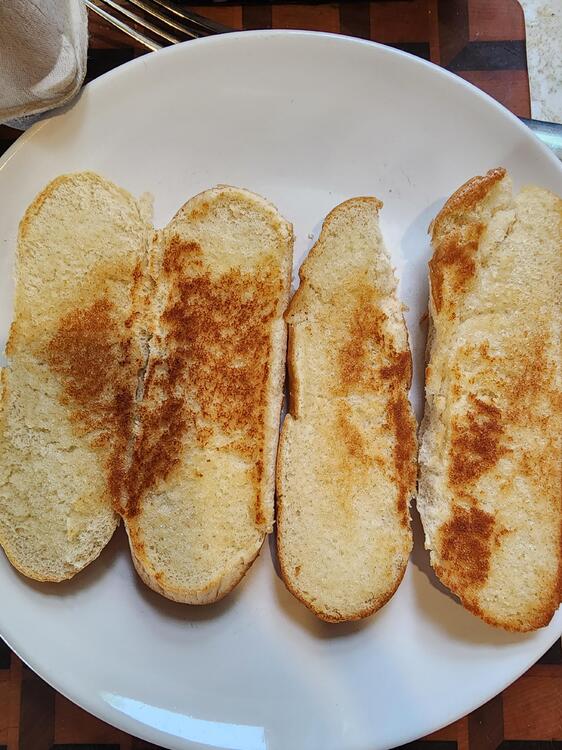
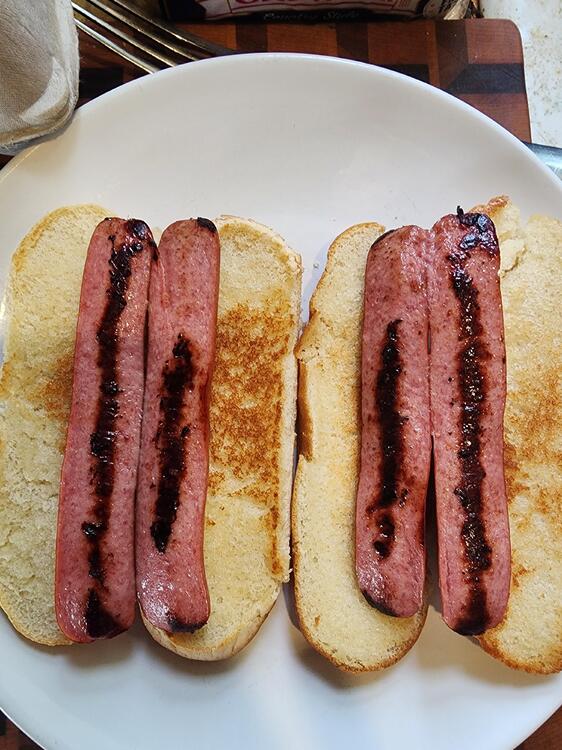
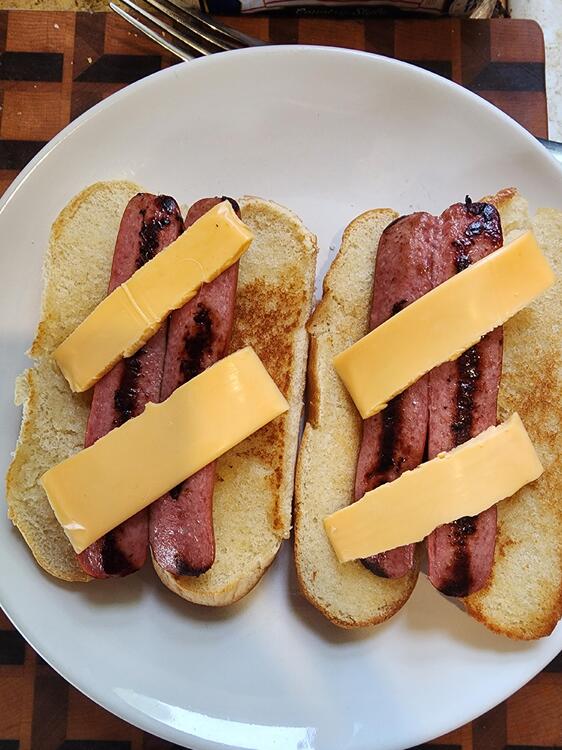
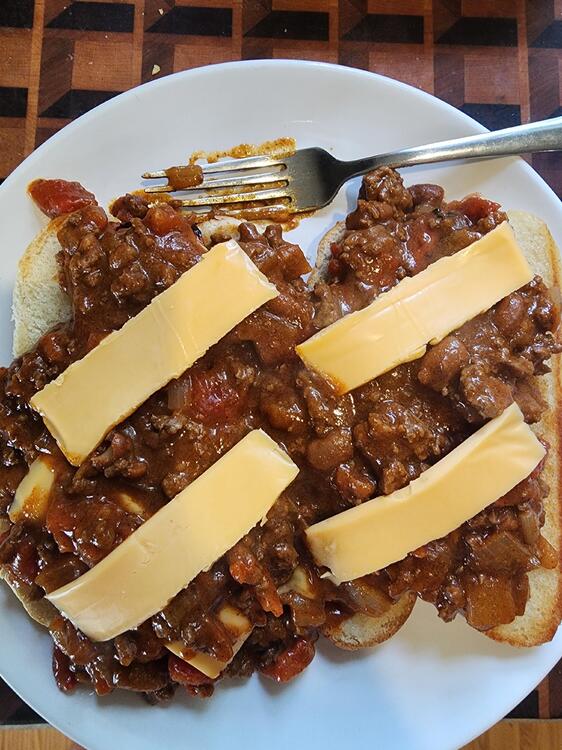
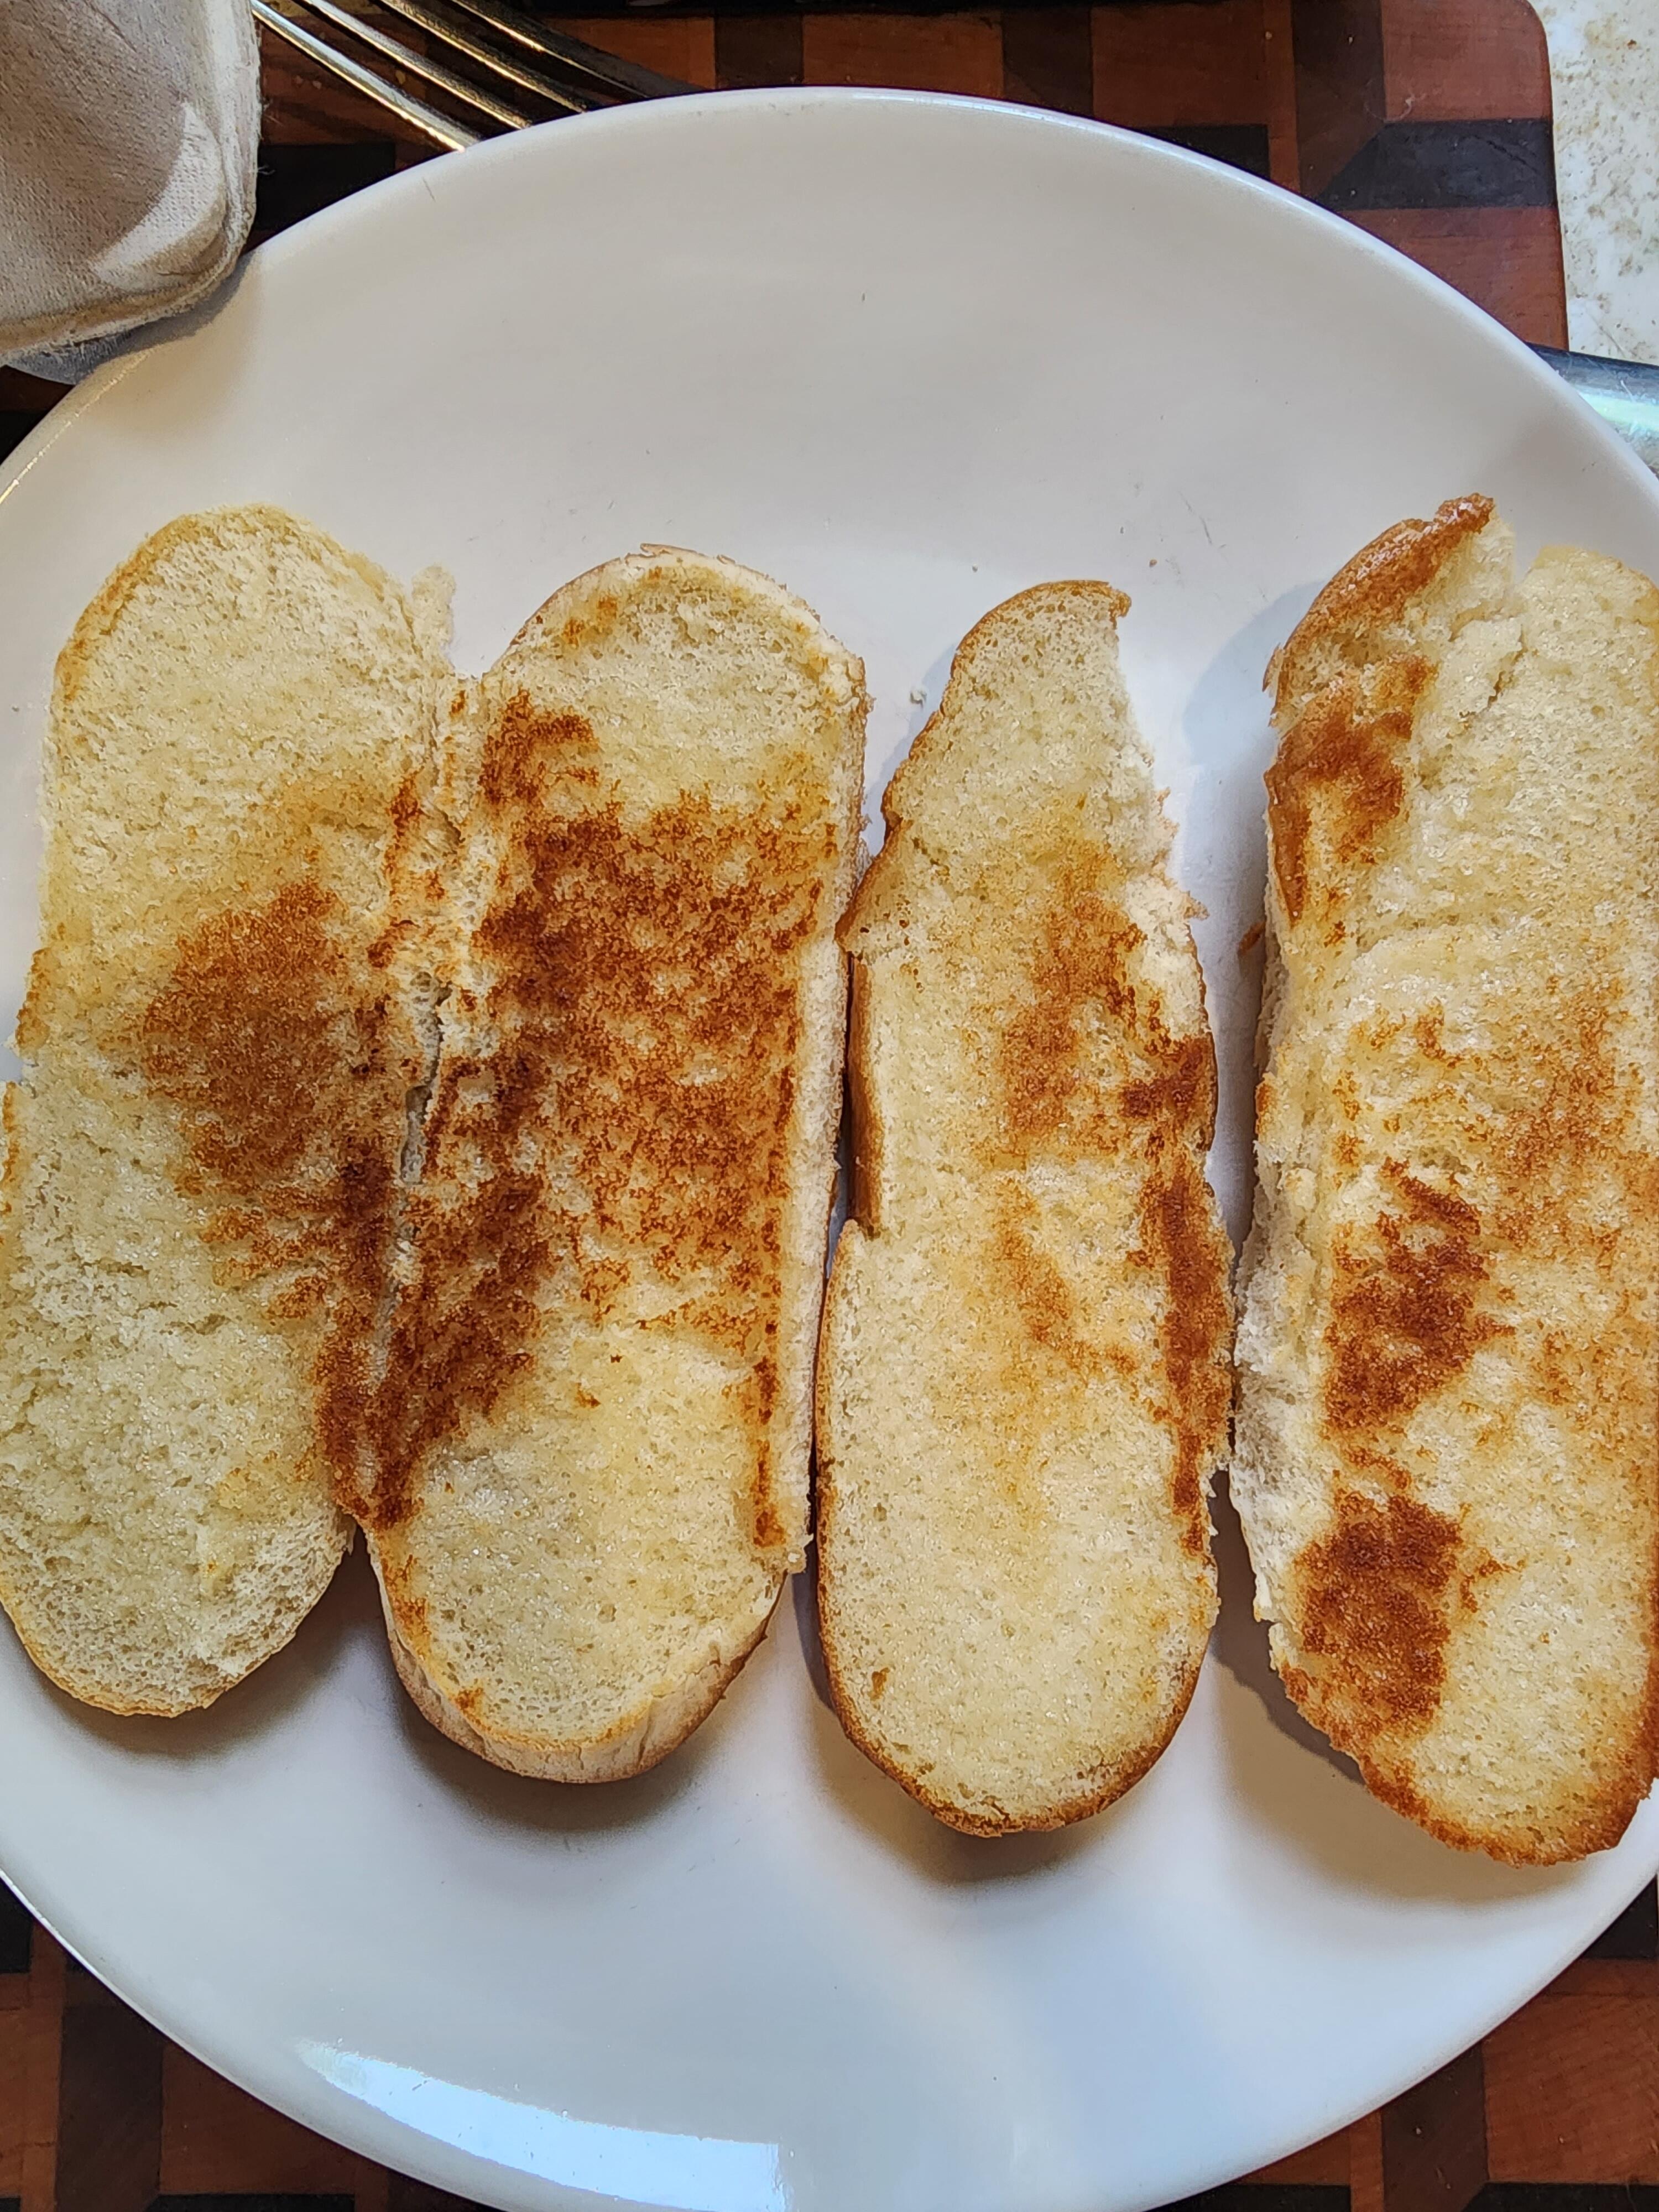
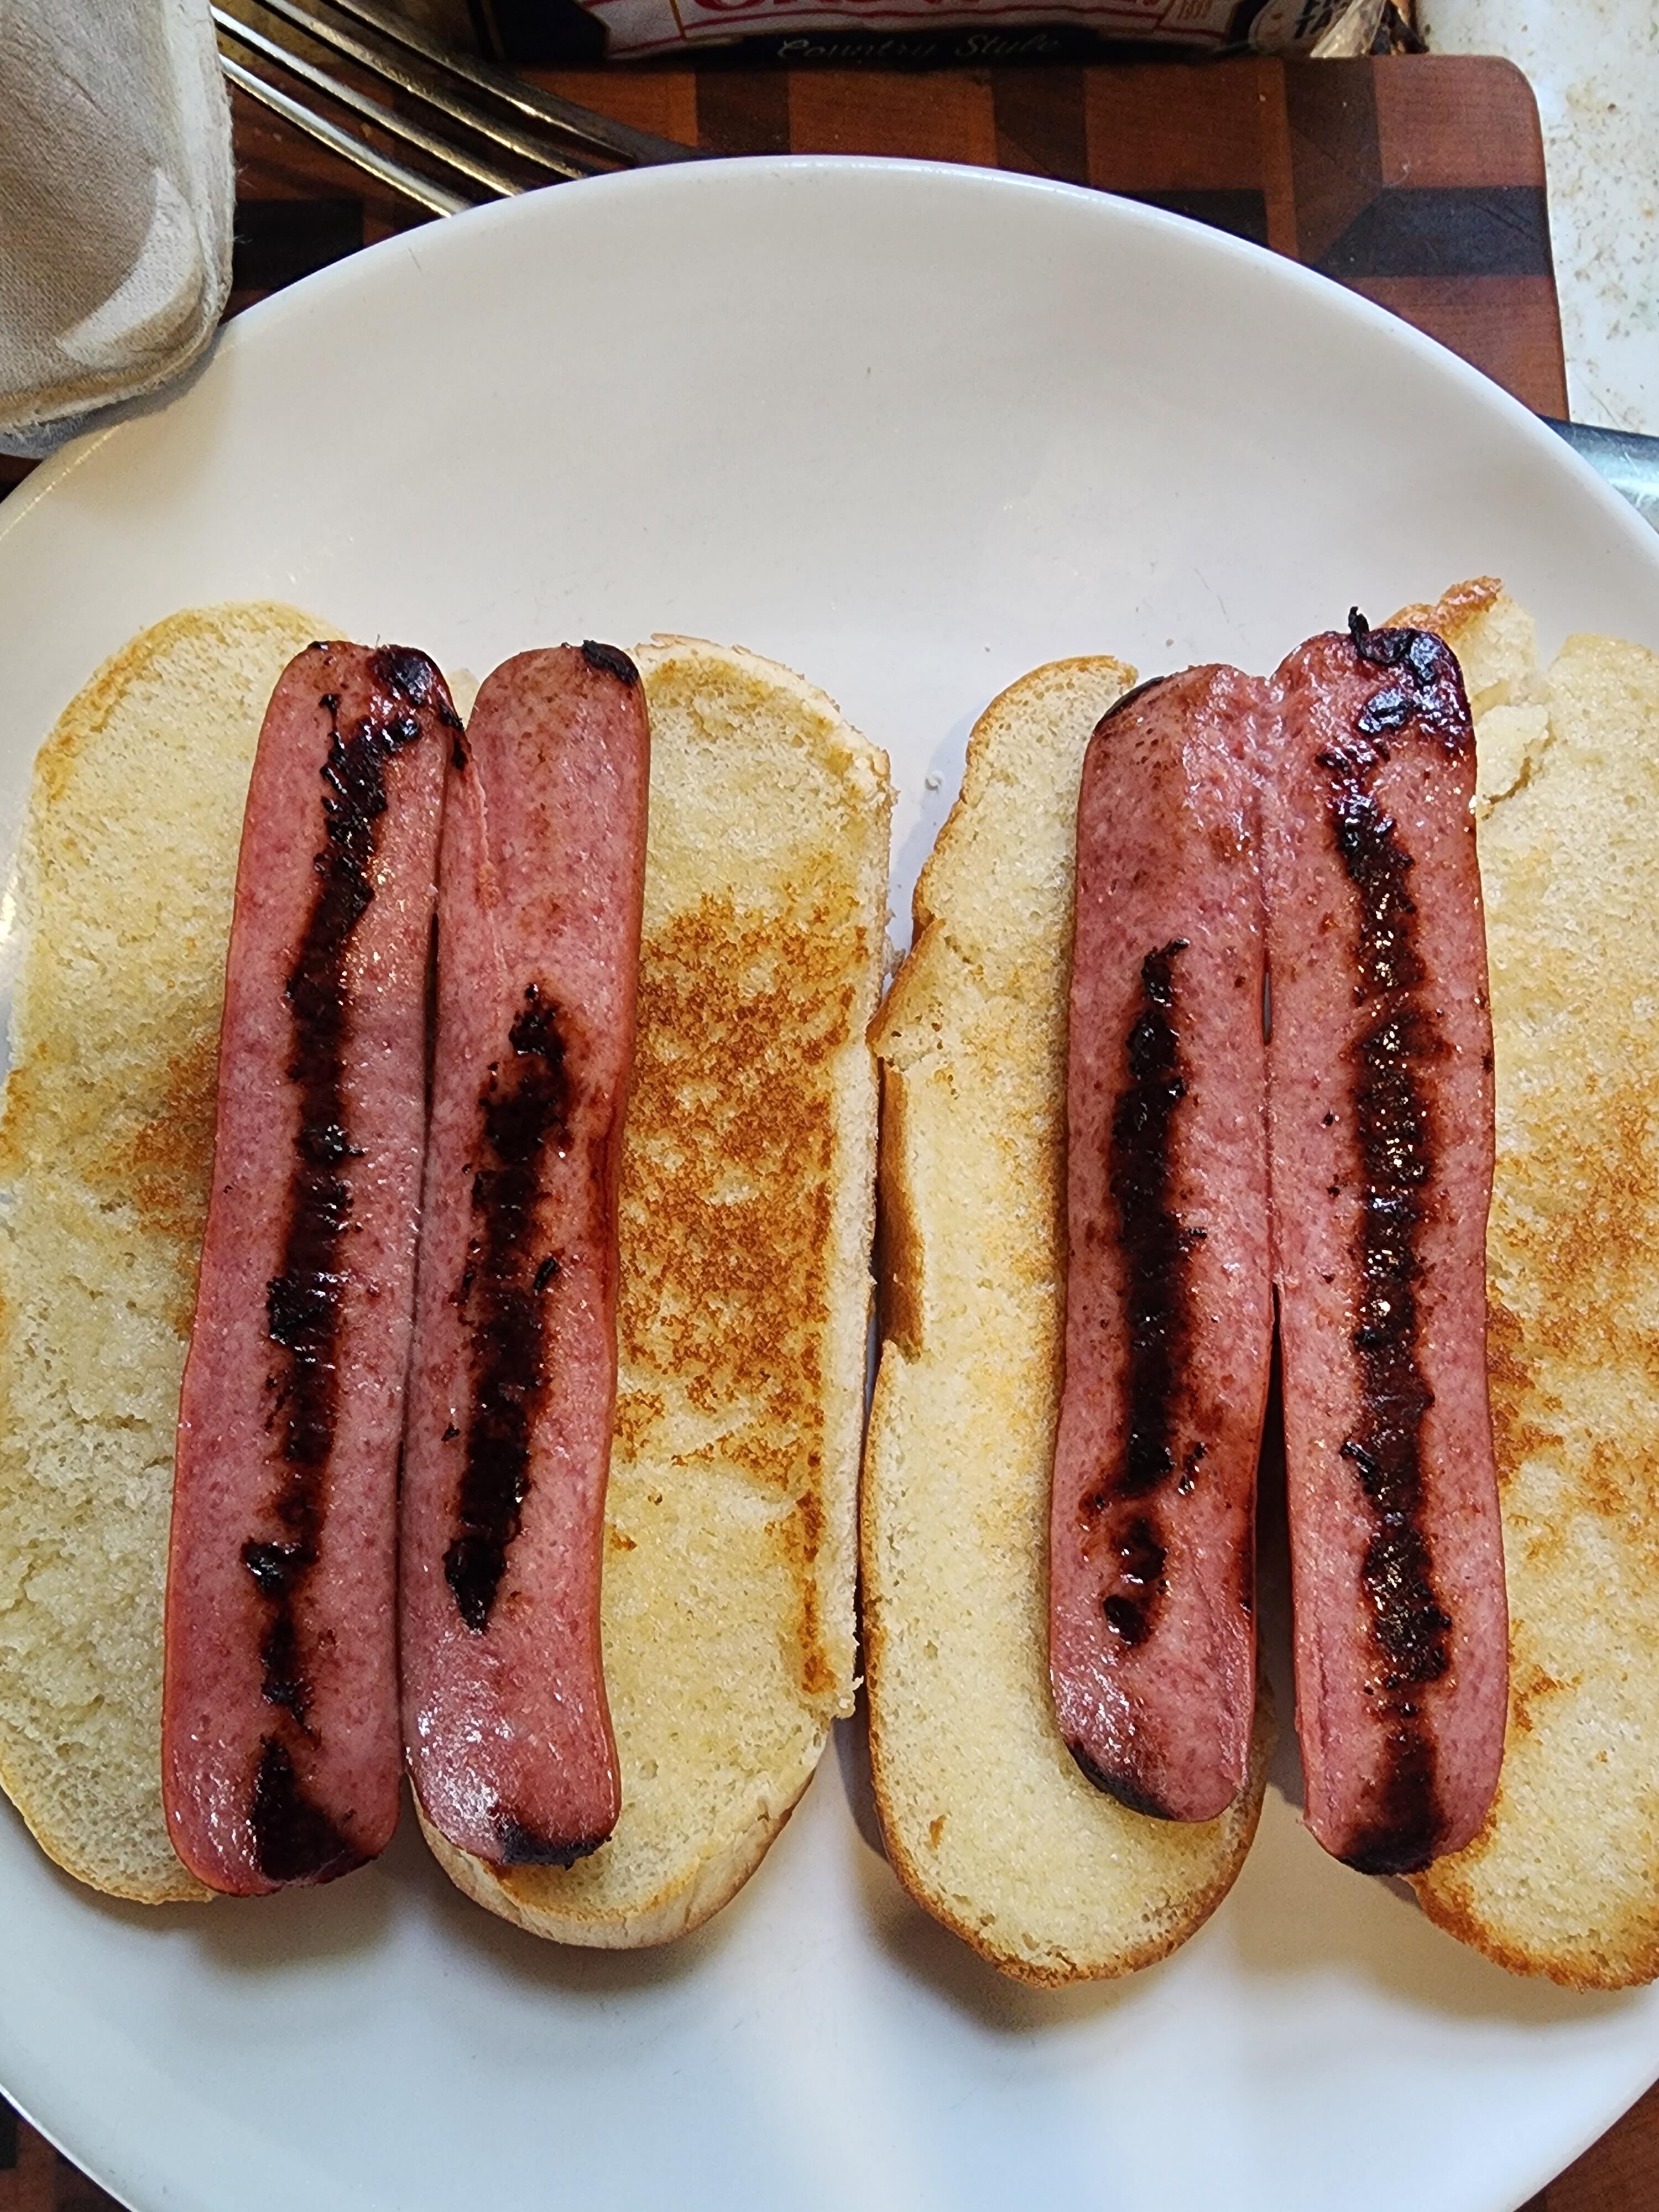
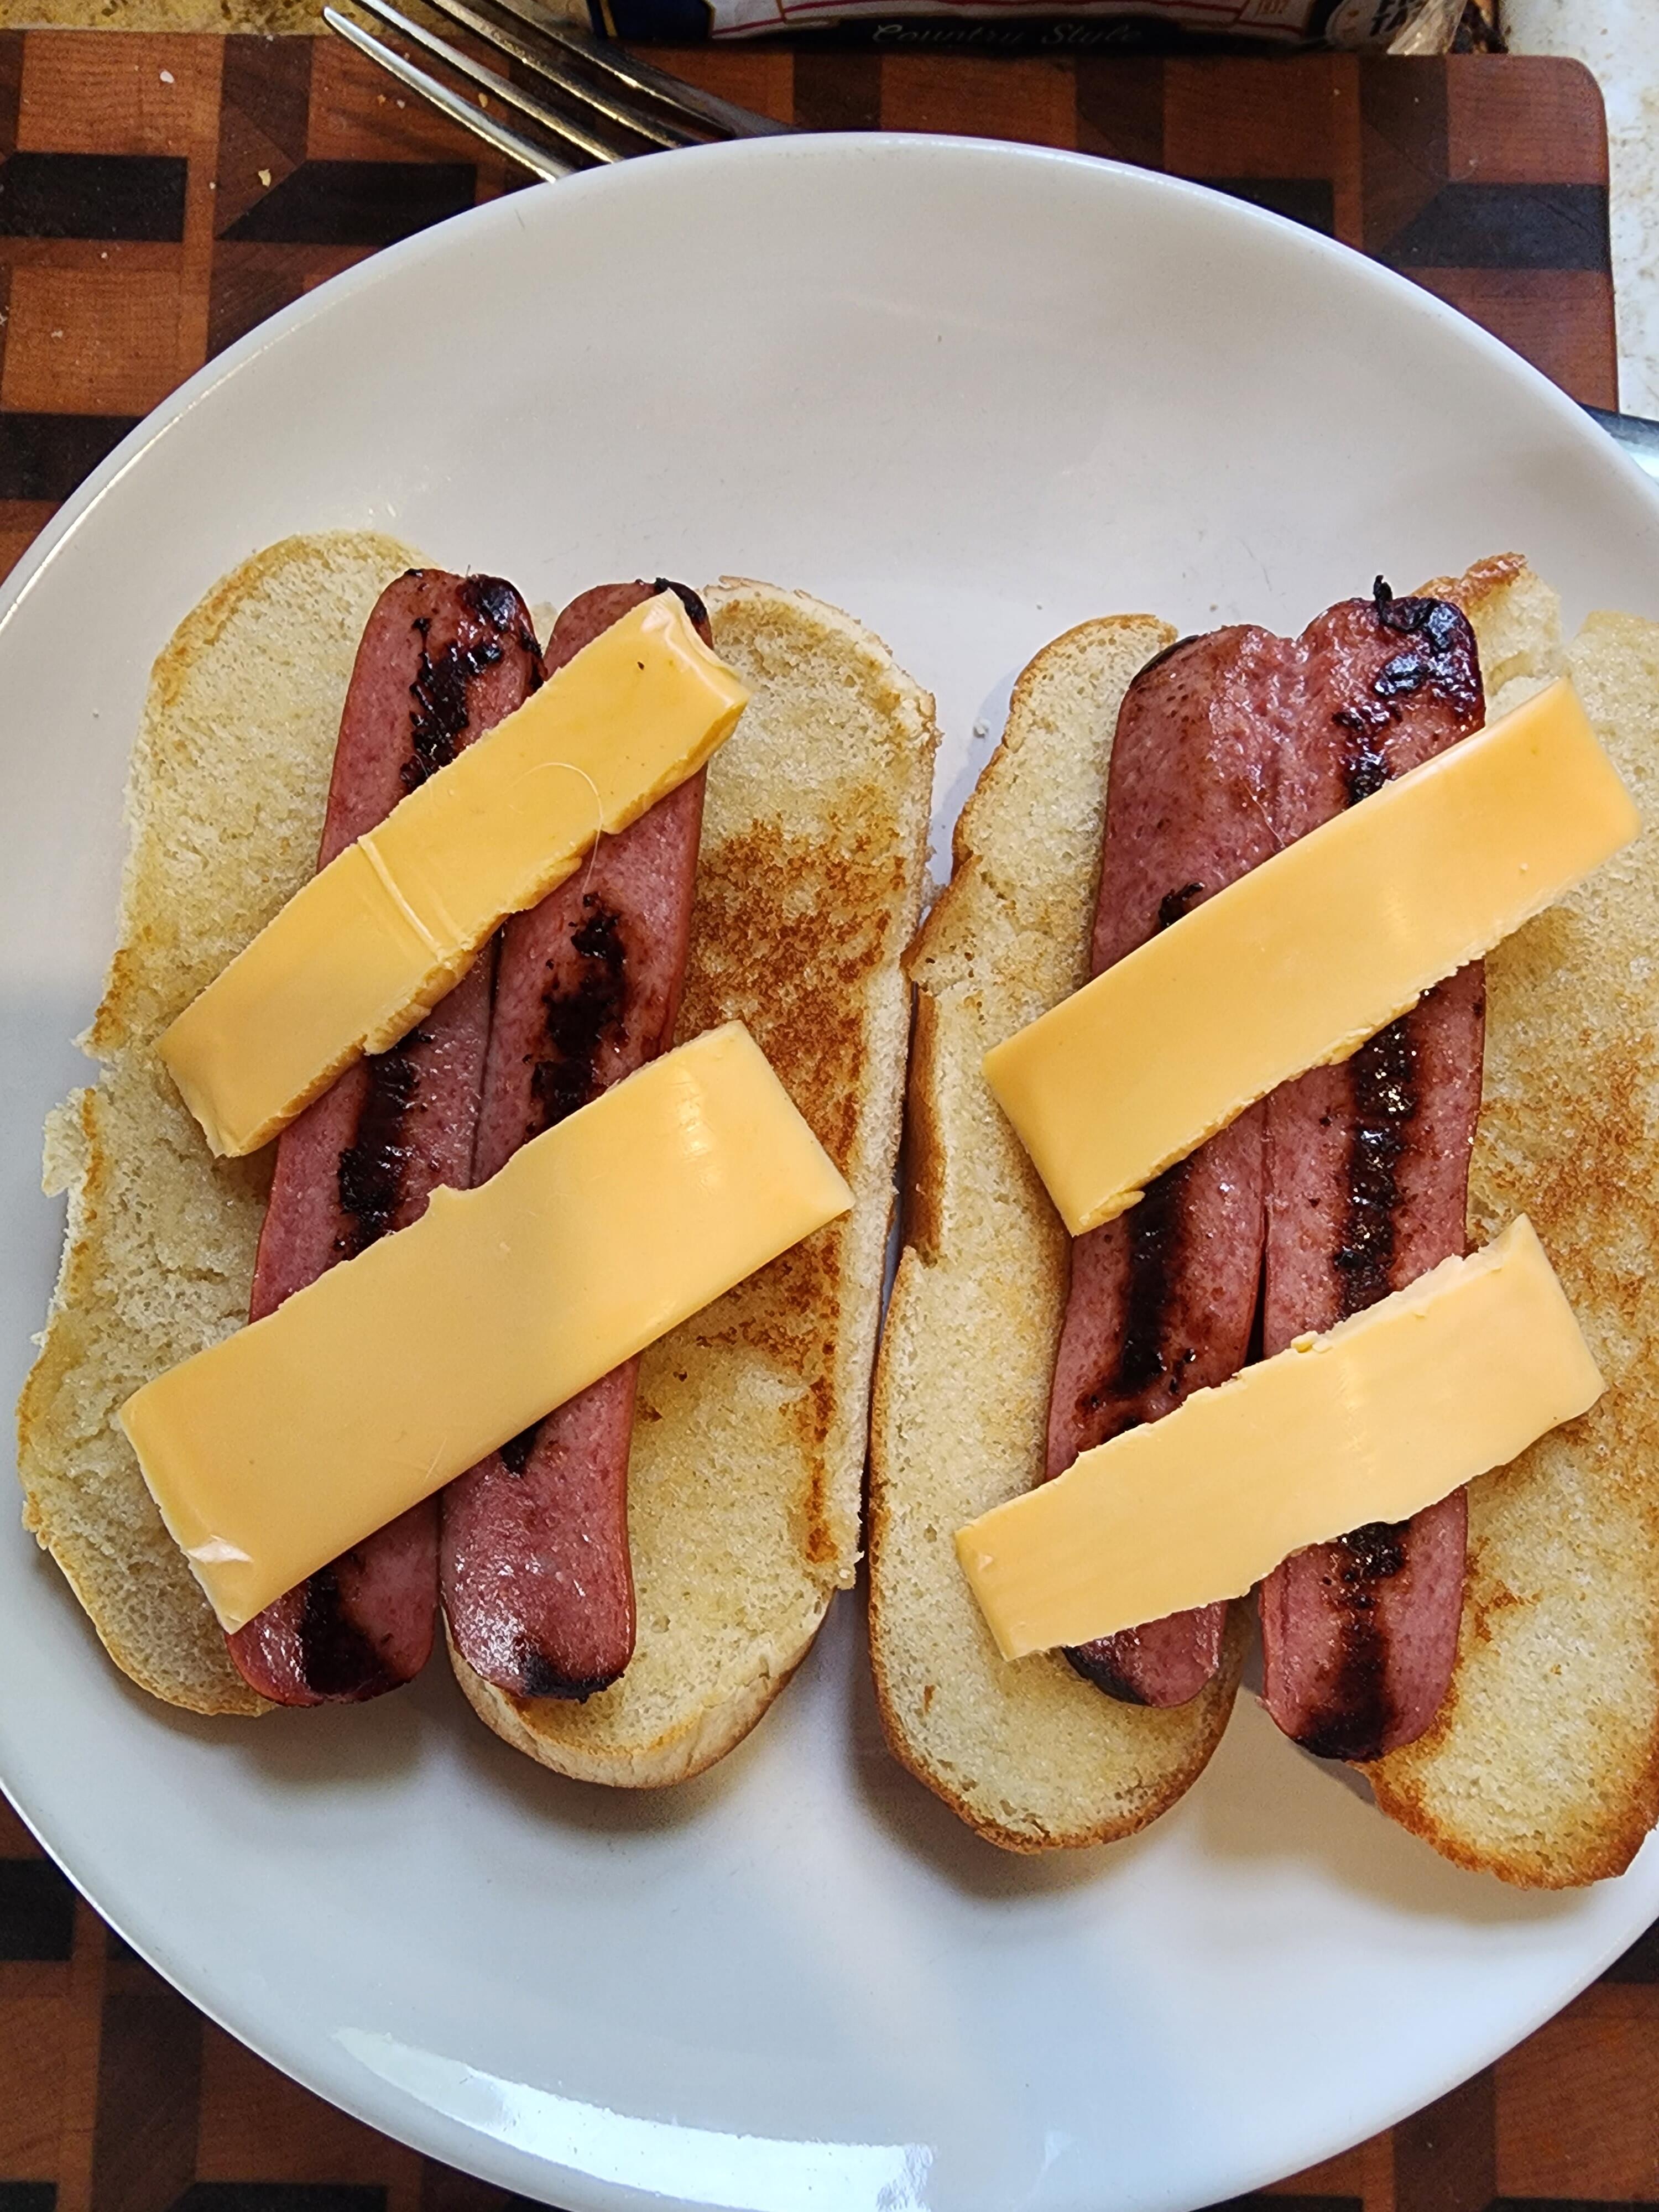
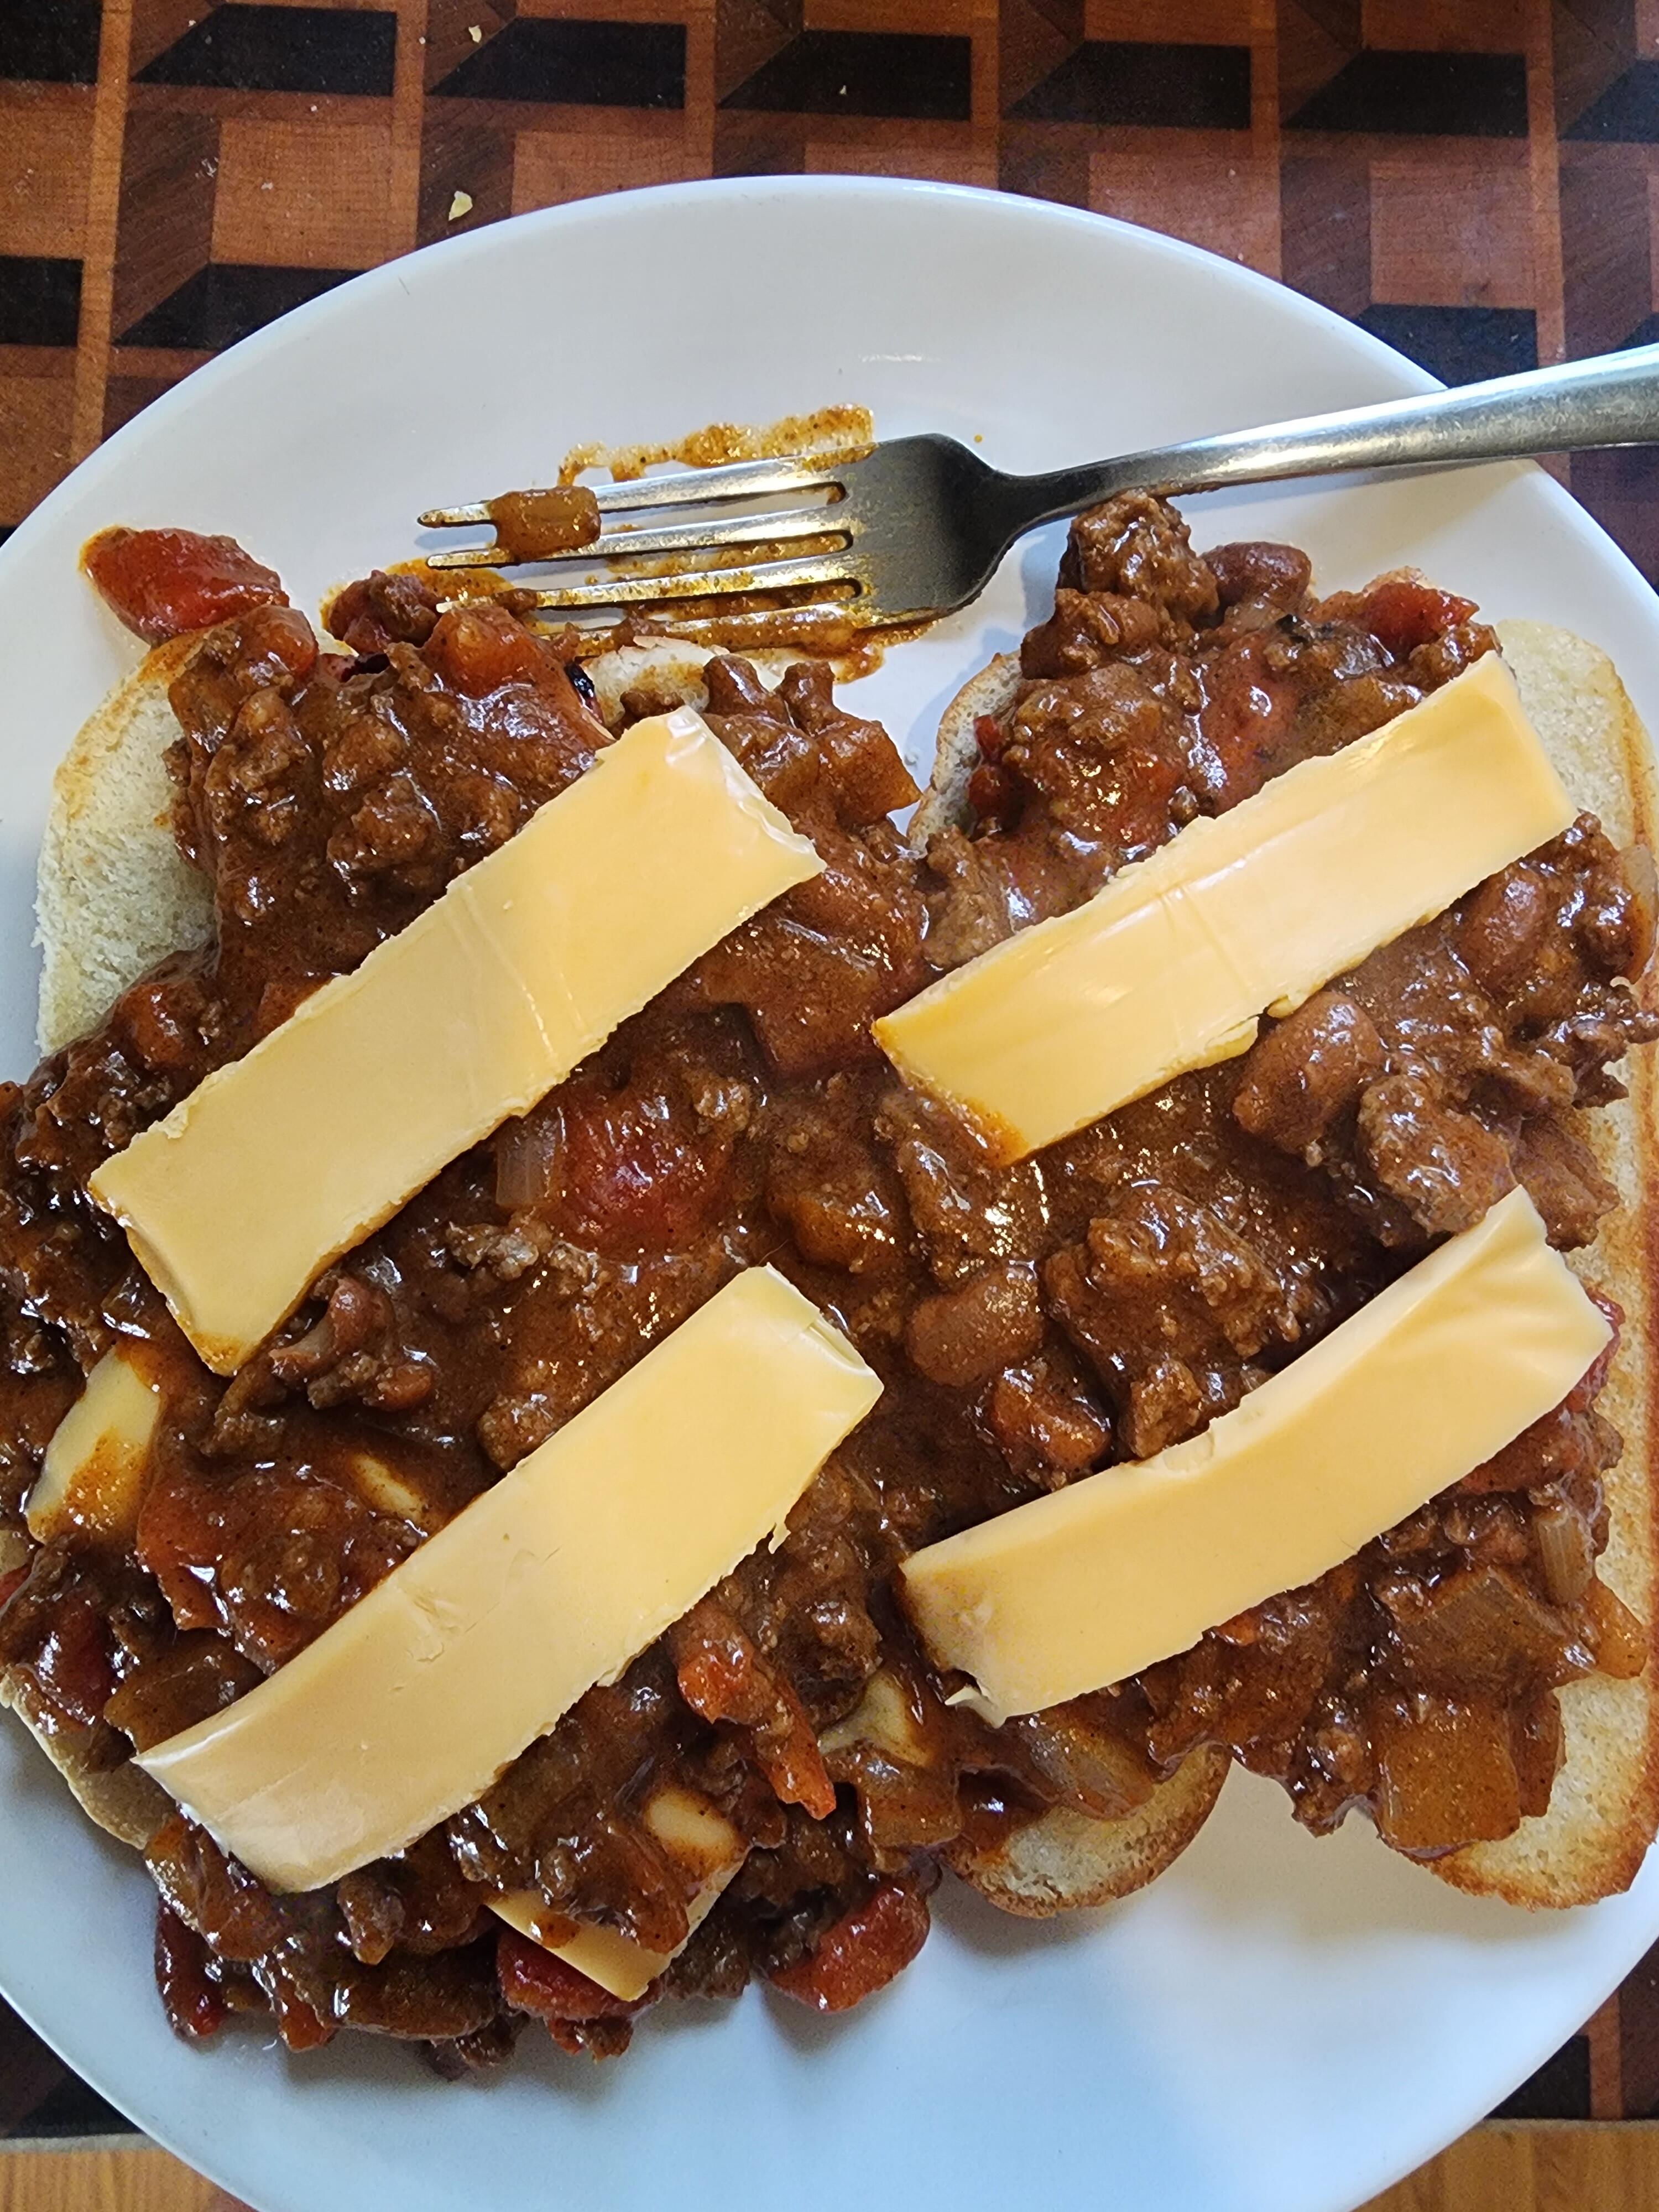
1 pointI still have a lot of chili left, so... I'm normally not a big fan of American cheese, but for chili and grilled cheese sandwiches, it's so melty.
 1 point
 -
1 point
-
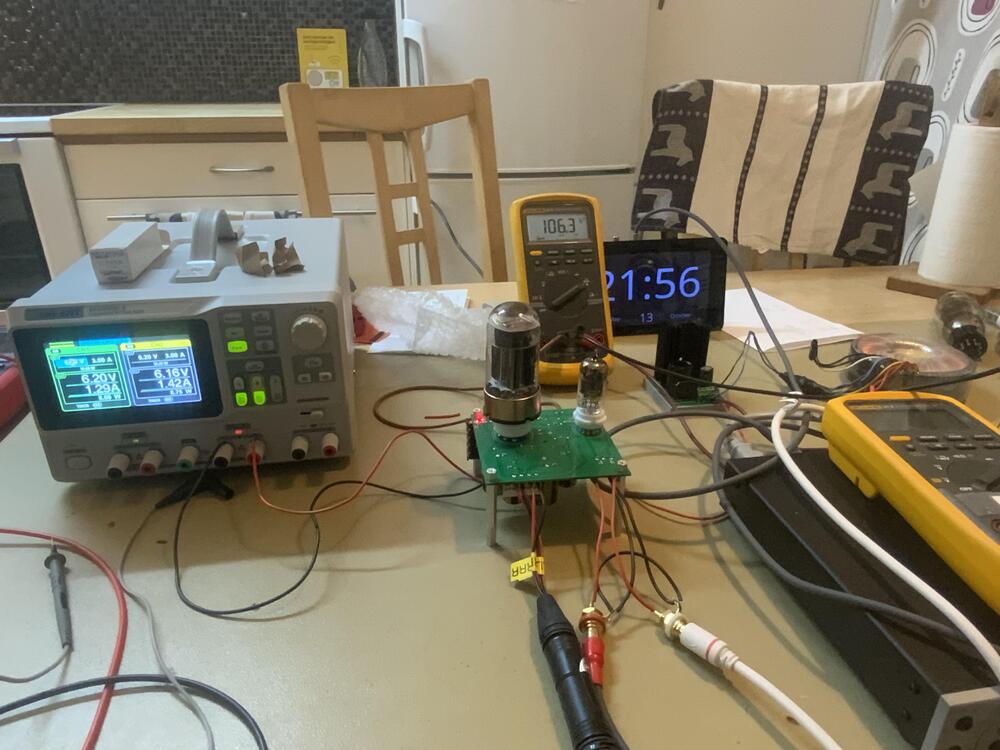
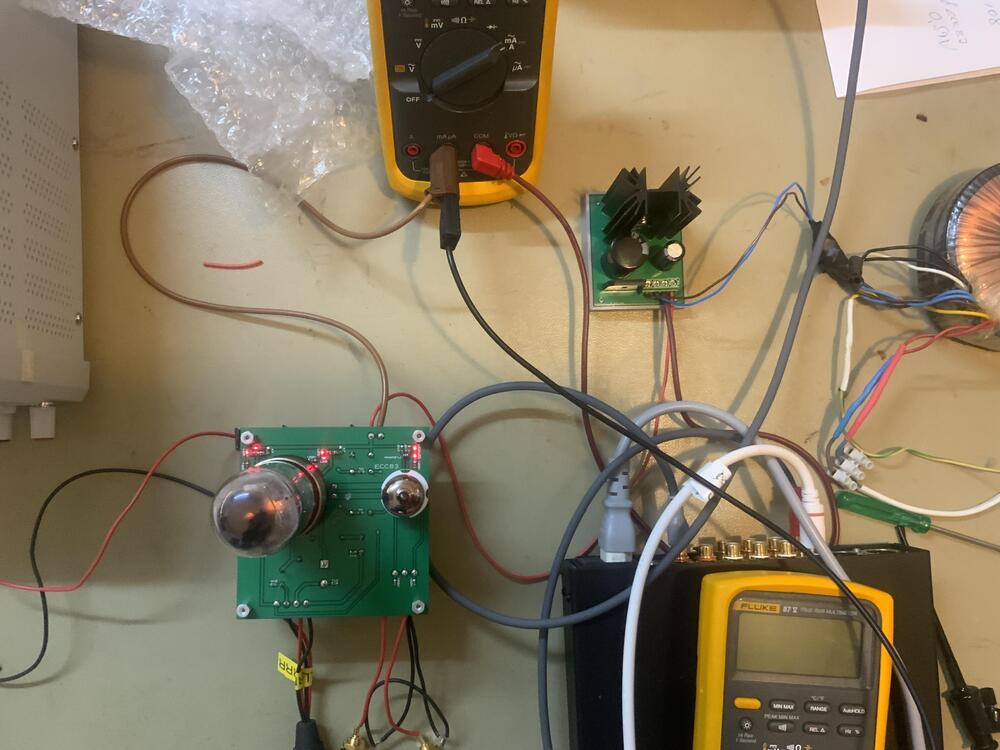
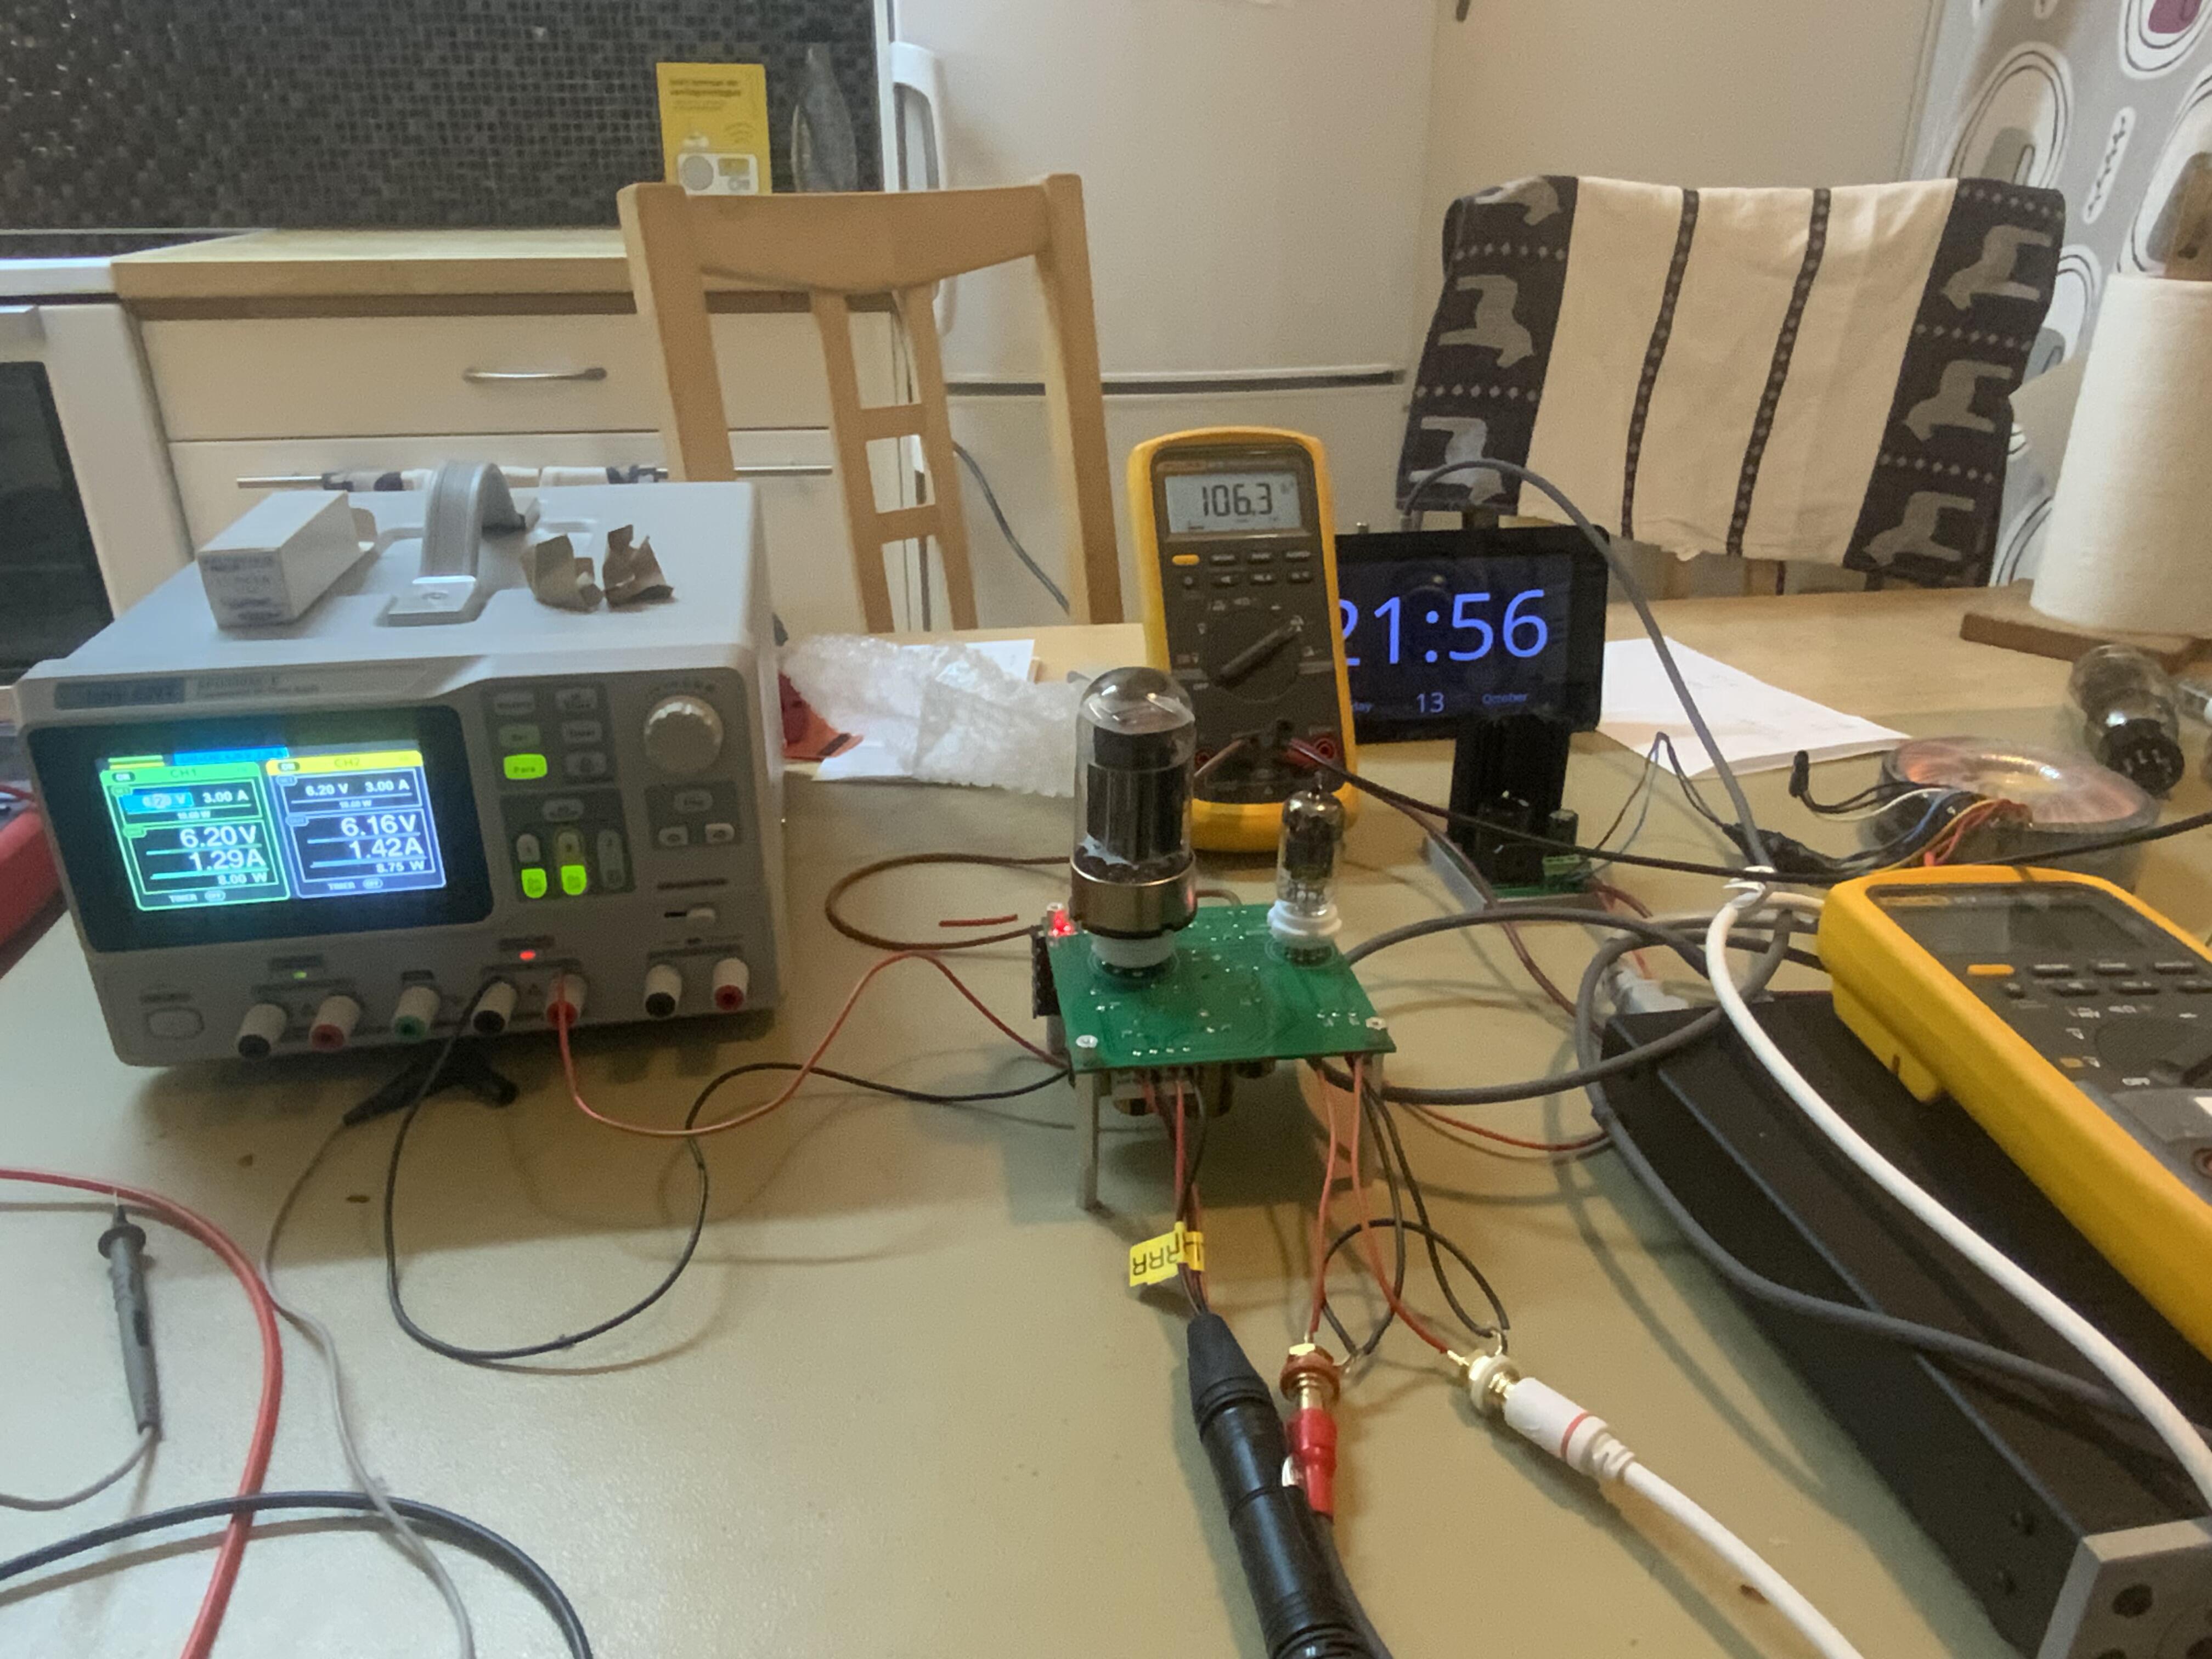
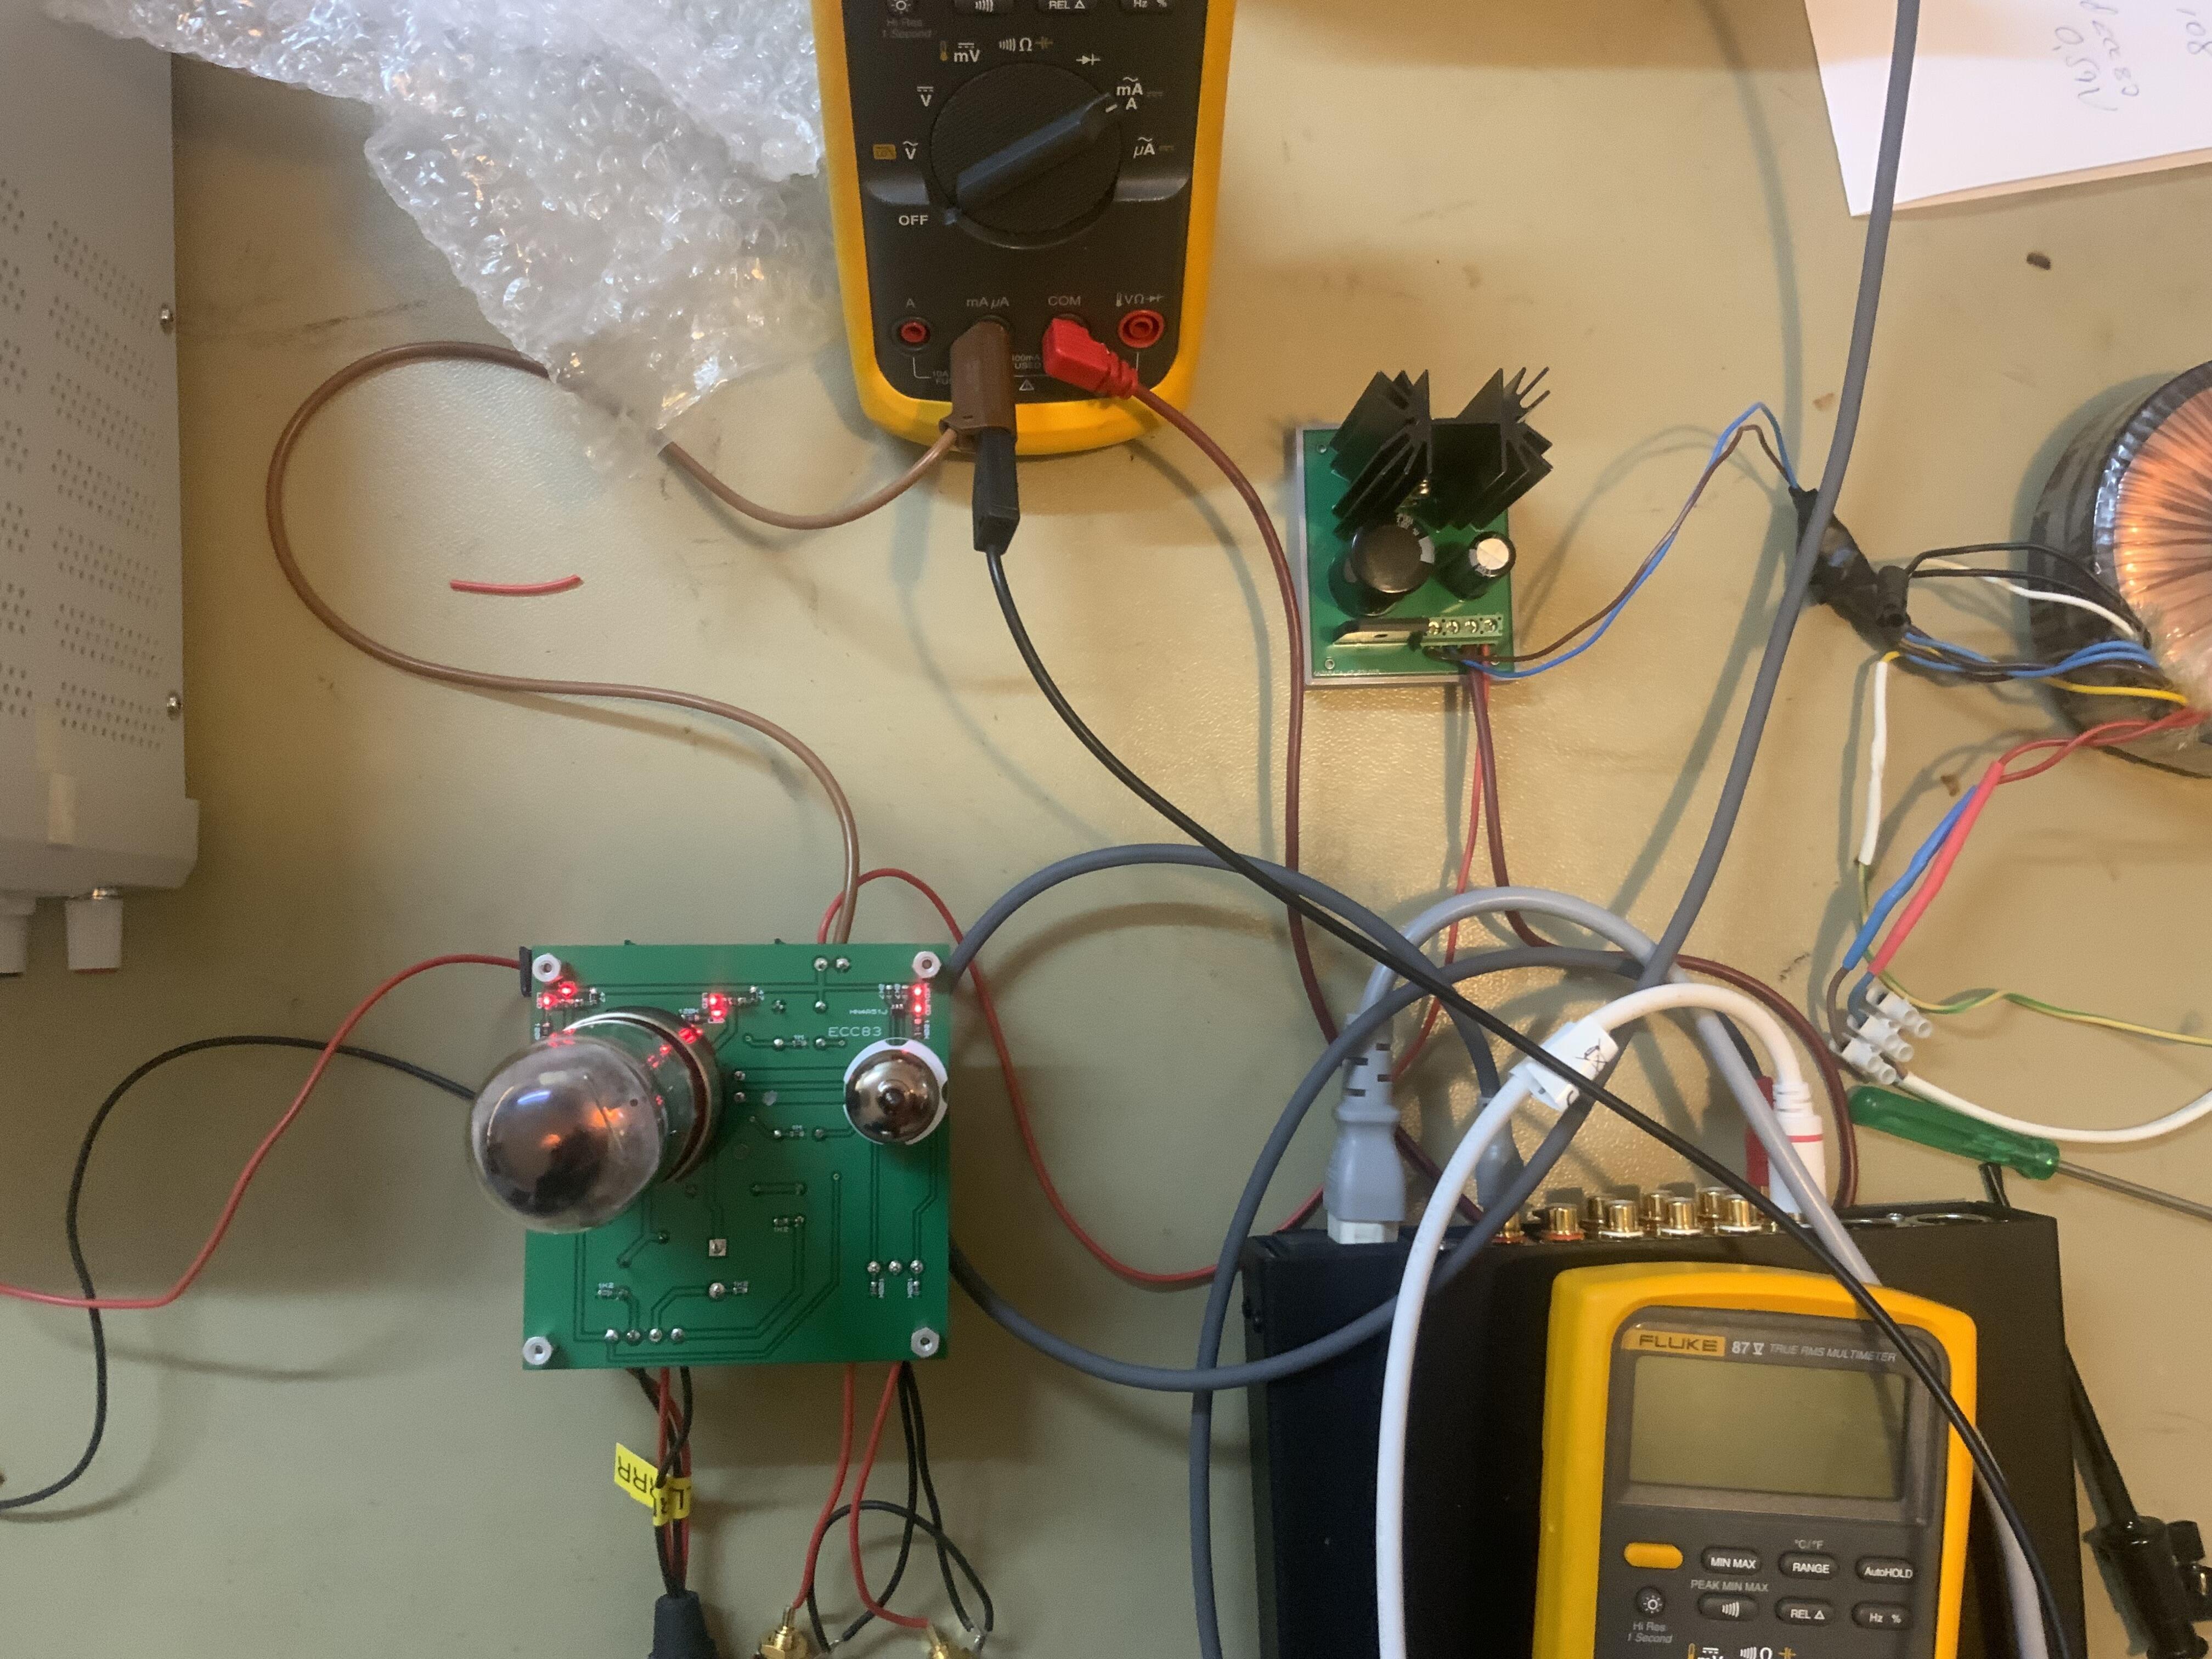
1 pointA senior Head Case member sent me two tubes some days ago. An old 6080 and a Westinghouse 12AX7A. Today I completed this in my kitchen. Amplifier is based on Jade, what now that is? PSU as mentioned above is based on Kevin’s GRHV power supply. It has been some fun building days.
 1 point
 -
1 pointYes, I'll wait a while until the hype settles down and the reviews come in, but I think it's an interesting product from Schiit (who openly admitted their Modius chip amplifier wasn't interesting from an engineering standpoint). I think the Modius had a lukewarm reception and I don't have balanced equipment, so it was a bit academic for me. The only online material left on the Headsave Classic is my Head-Fi thread from 2005. Google probably thinks it's old news like everyone else. I found that Texas Instruments released a successor to the OPA627 opamp in 2018, the OPA828. I might get some of those to try in my Classic. I like Schiit's no-BS approach to making products affordable and interesting. I bought their Fulla v2 a few years ago and it has impressed me with its great sound and build quality. You can't find much else like it that's built in the USA.1 point
-
1 pointI got an email from them....this does look interesting. But I do very little headphone listening now.... Their new phono pre (Skoll?) looked interesting as well!1 point
-
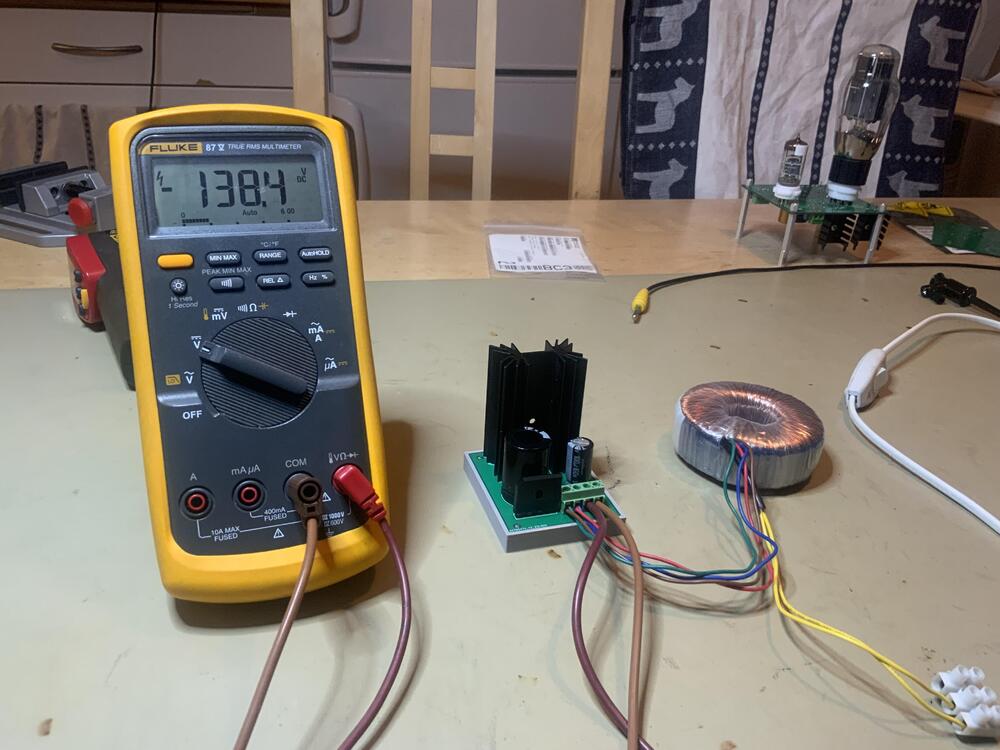
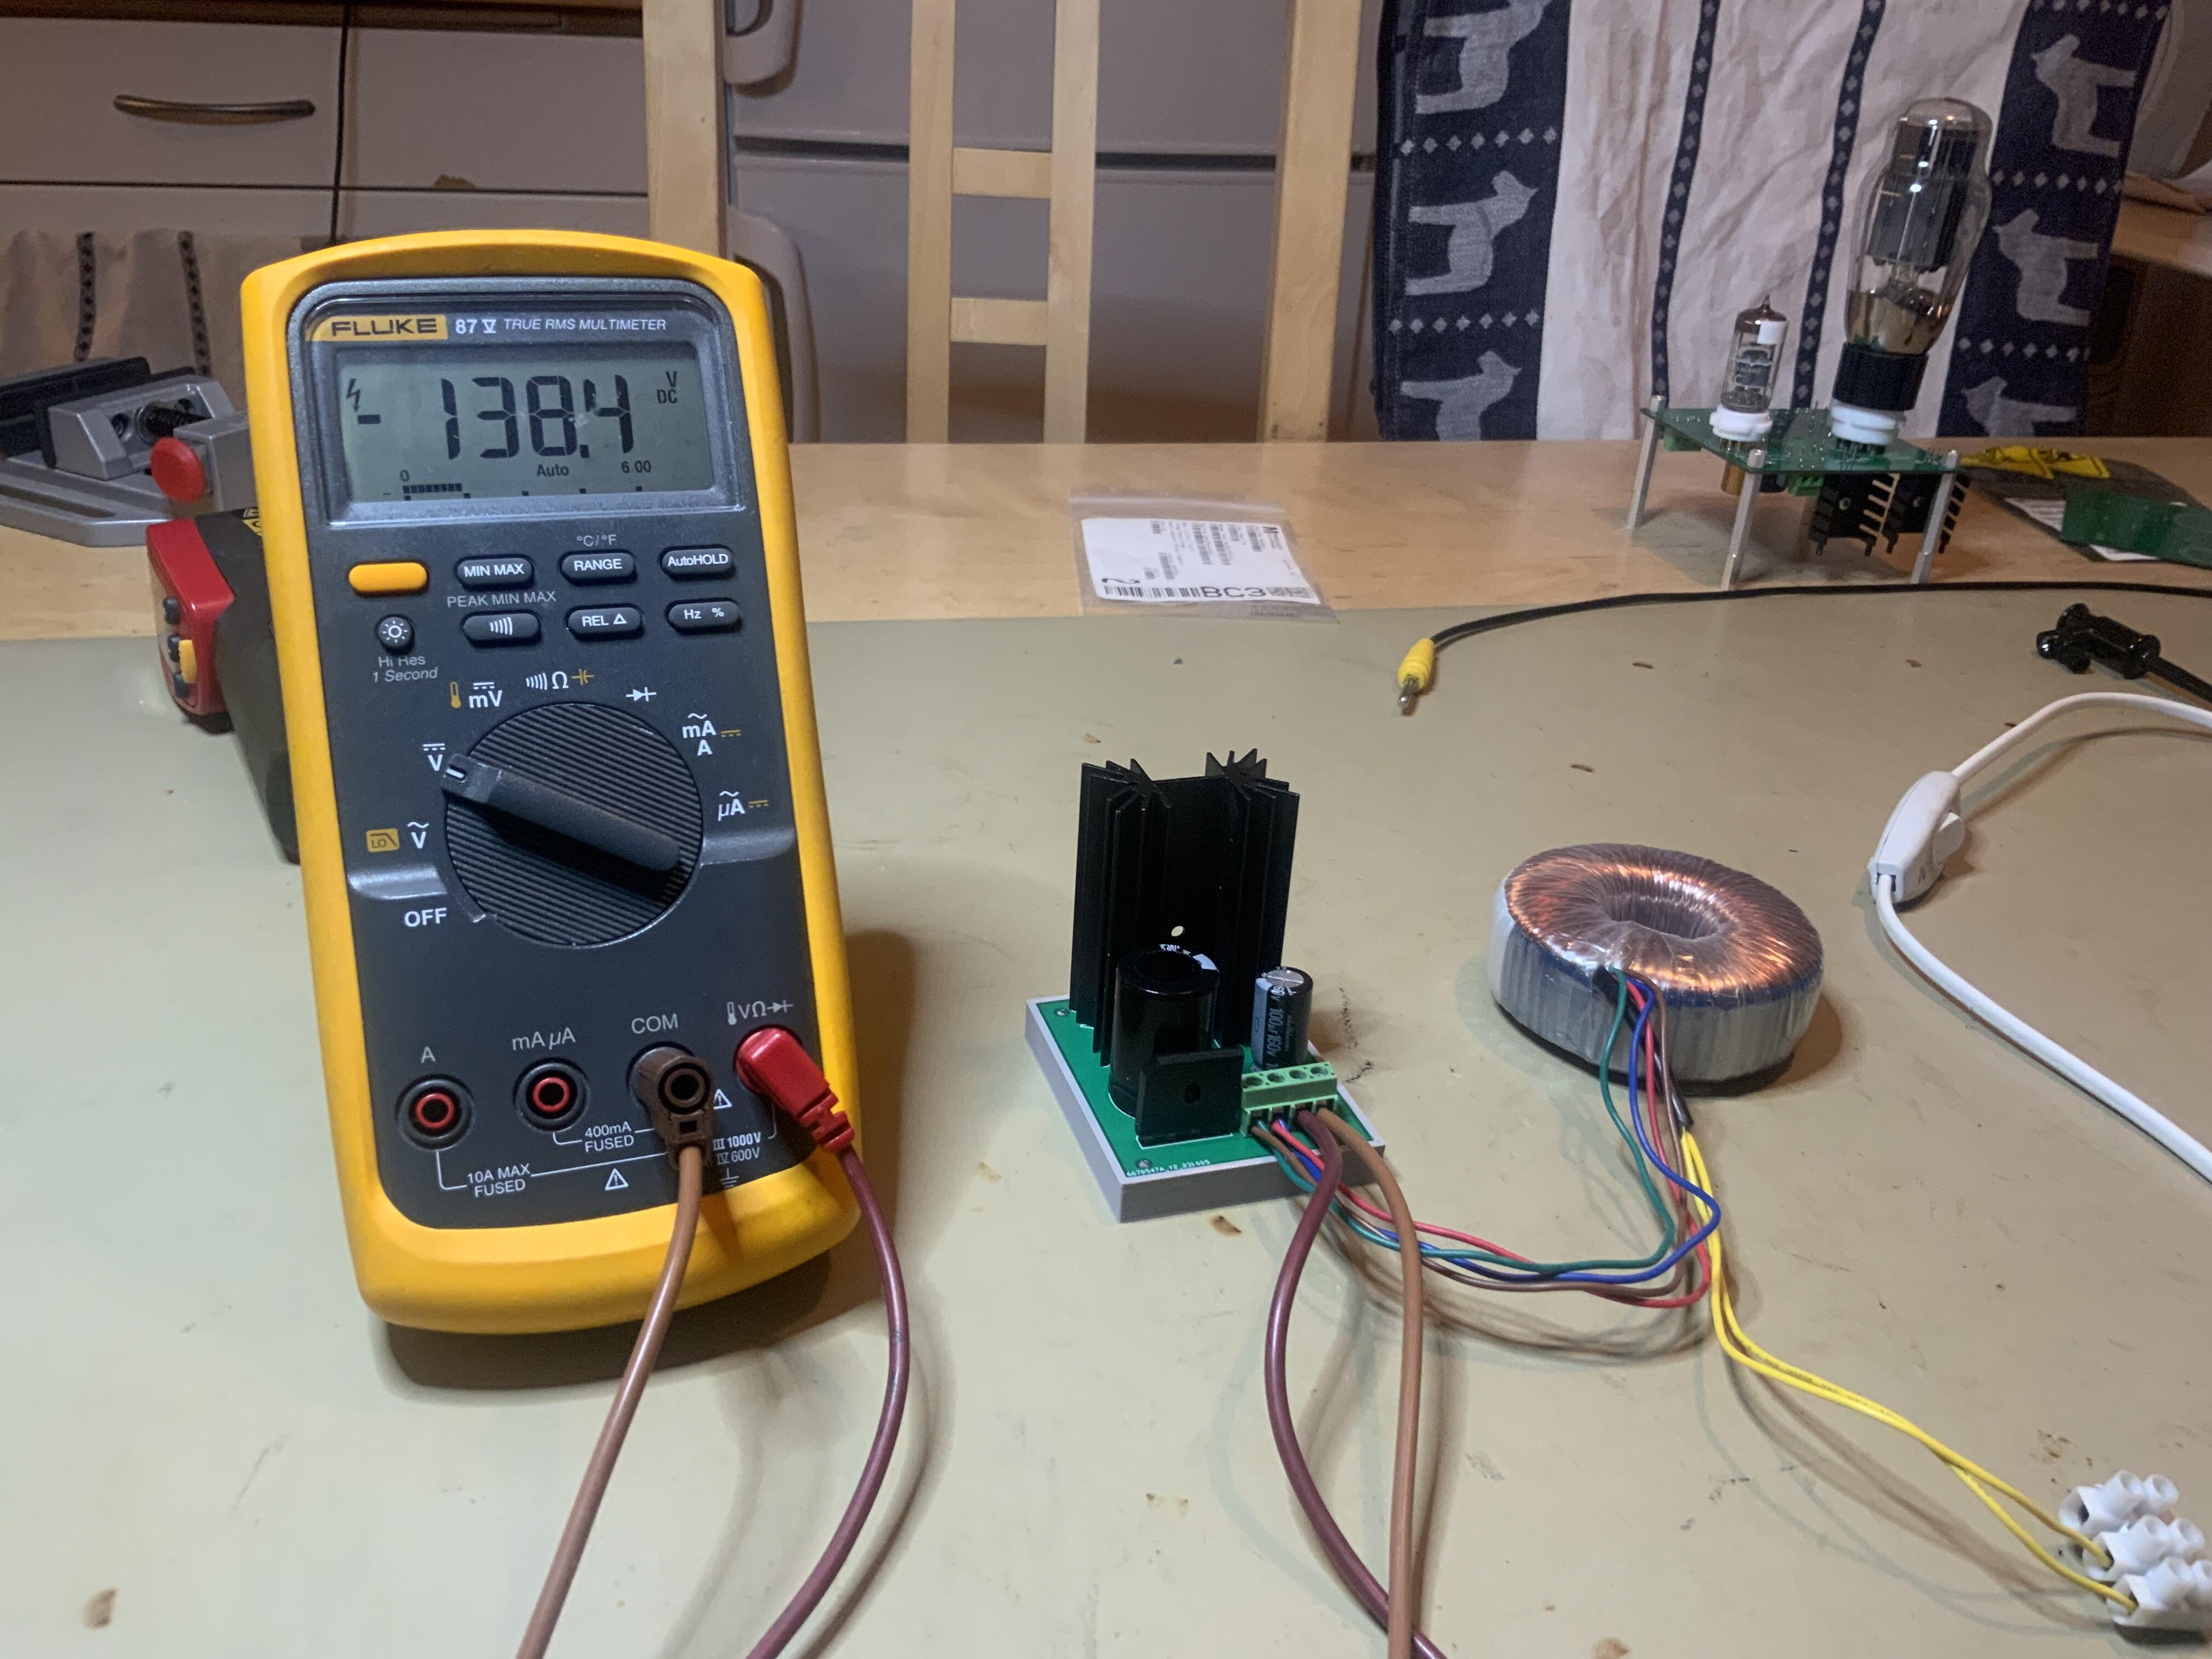
1 pointBuilt a small PSU - GRHV style - for a tube amplifier today. Ops. seems I mixed the test leads -138.4V on the clock. It's supposed to be a positive voltage supply.
 1 point
 -
1 pointThe difficulty setting the V(R42) to 6.55V could be due to something else. I assume that you observed different pin out when substituting 2SA1486 with 2SA1413. As long as the LED strings are lit stably and not flickering, the RV2 should adjust smoothly for 6.55V across R42. The idea is to set the 2SK246 ccs to about 297uA with the majority of that going through R42 and only a tiny bit from the base of Q16. If you have some spare 2SK246 from the same batch, resistors and pot, breadboard a circuit and test with a bench DC power supply. See if the pot hits the bottom or something wrong with your 2SK246. It’s a good idea to measure around the active battery circuit, using the top node as the reference point, mark voltages and currents on the schematic. The active battery does not take rocket science to troubleshoot. You just need to know 1) Ohm’s law, 2) Transistors have hfe, and 3) A forward-biased silicon junction has a voltage drop about 0.6V. There is no need to be paranoid about the battery not being spot-on at 740V. Since it is transparent to the audio signal, they can even be purposely set slightly differently from each other to compensate unbalances elsewhere in the circuit. But if your amp don’t like them being near 740V at all, that means some other parts of the amp is quite different from what the designer has envisioned. There are quite a few feedback loops in the works that maintain a near-zero offset. Let go of the active battery voltage temporarily in exchange for zero offset can set those loops at their normal operating point and help you find out who’s not behaving correctly. Mark any voltage reading with a ‘*’ if you hear oscillation when you get the reading, as it may not be reliable.1 point
-
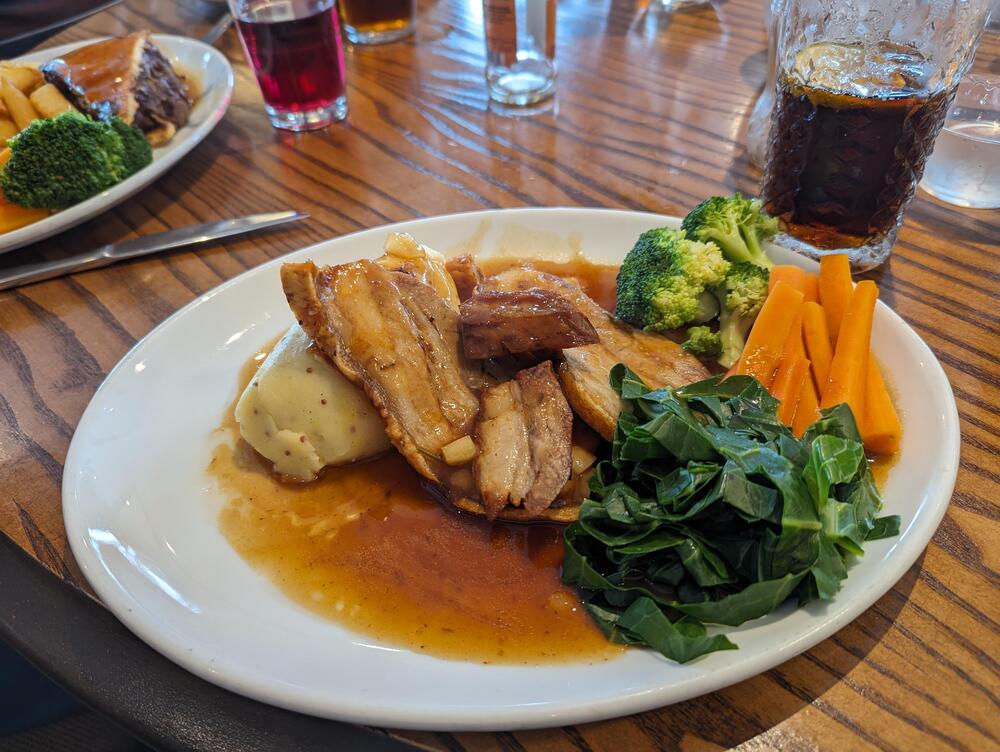
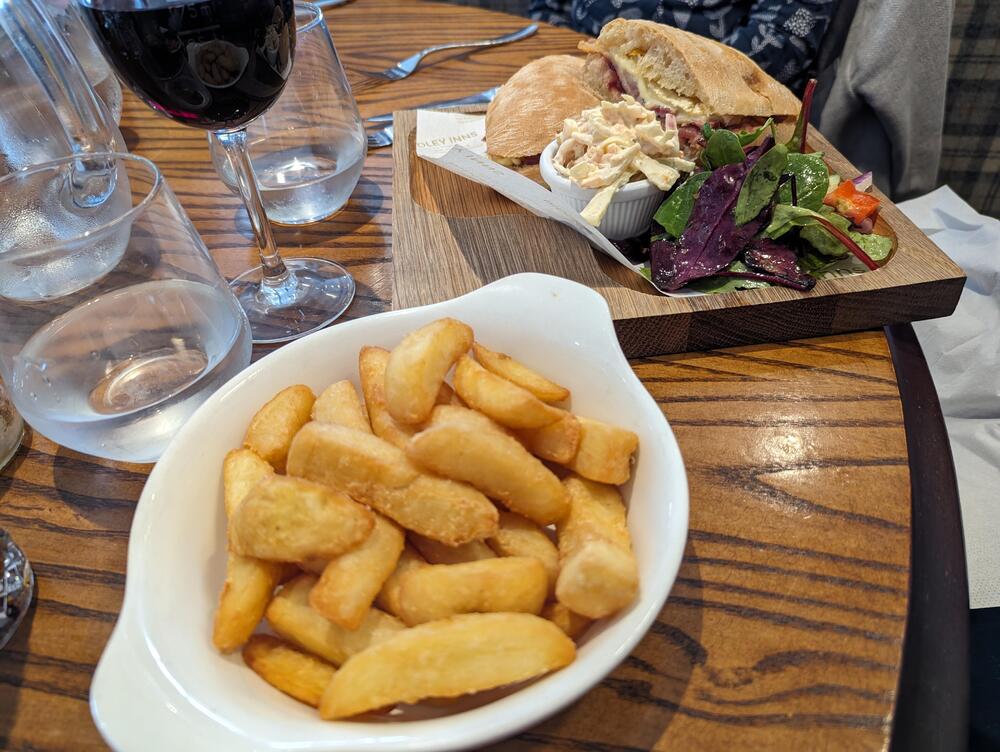
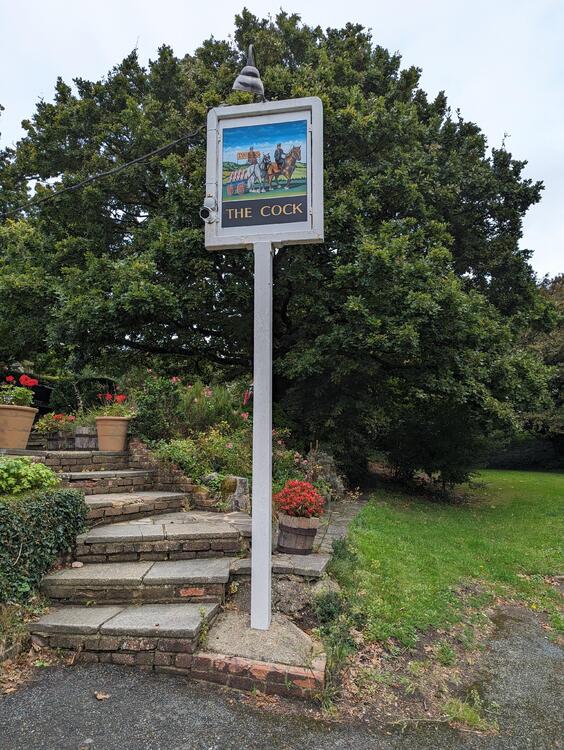
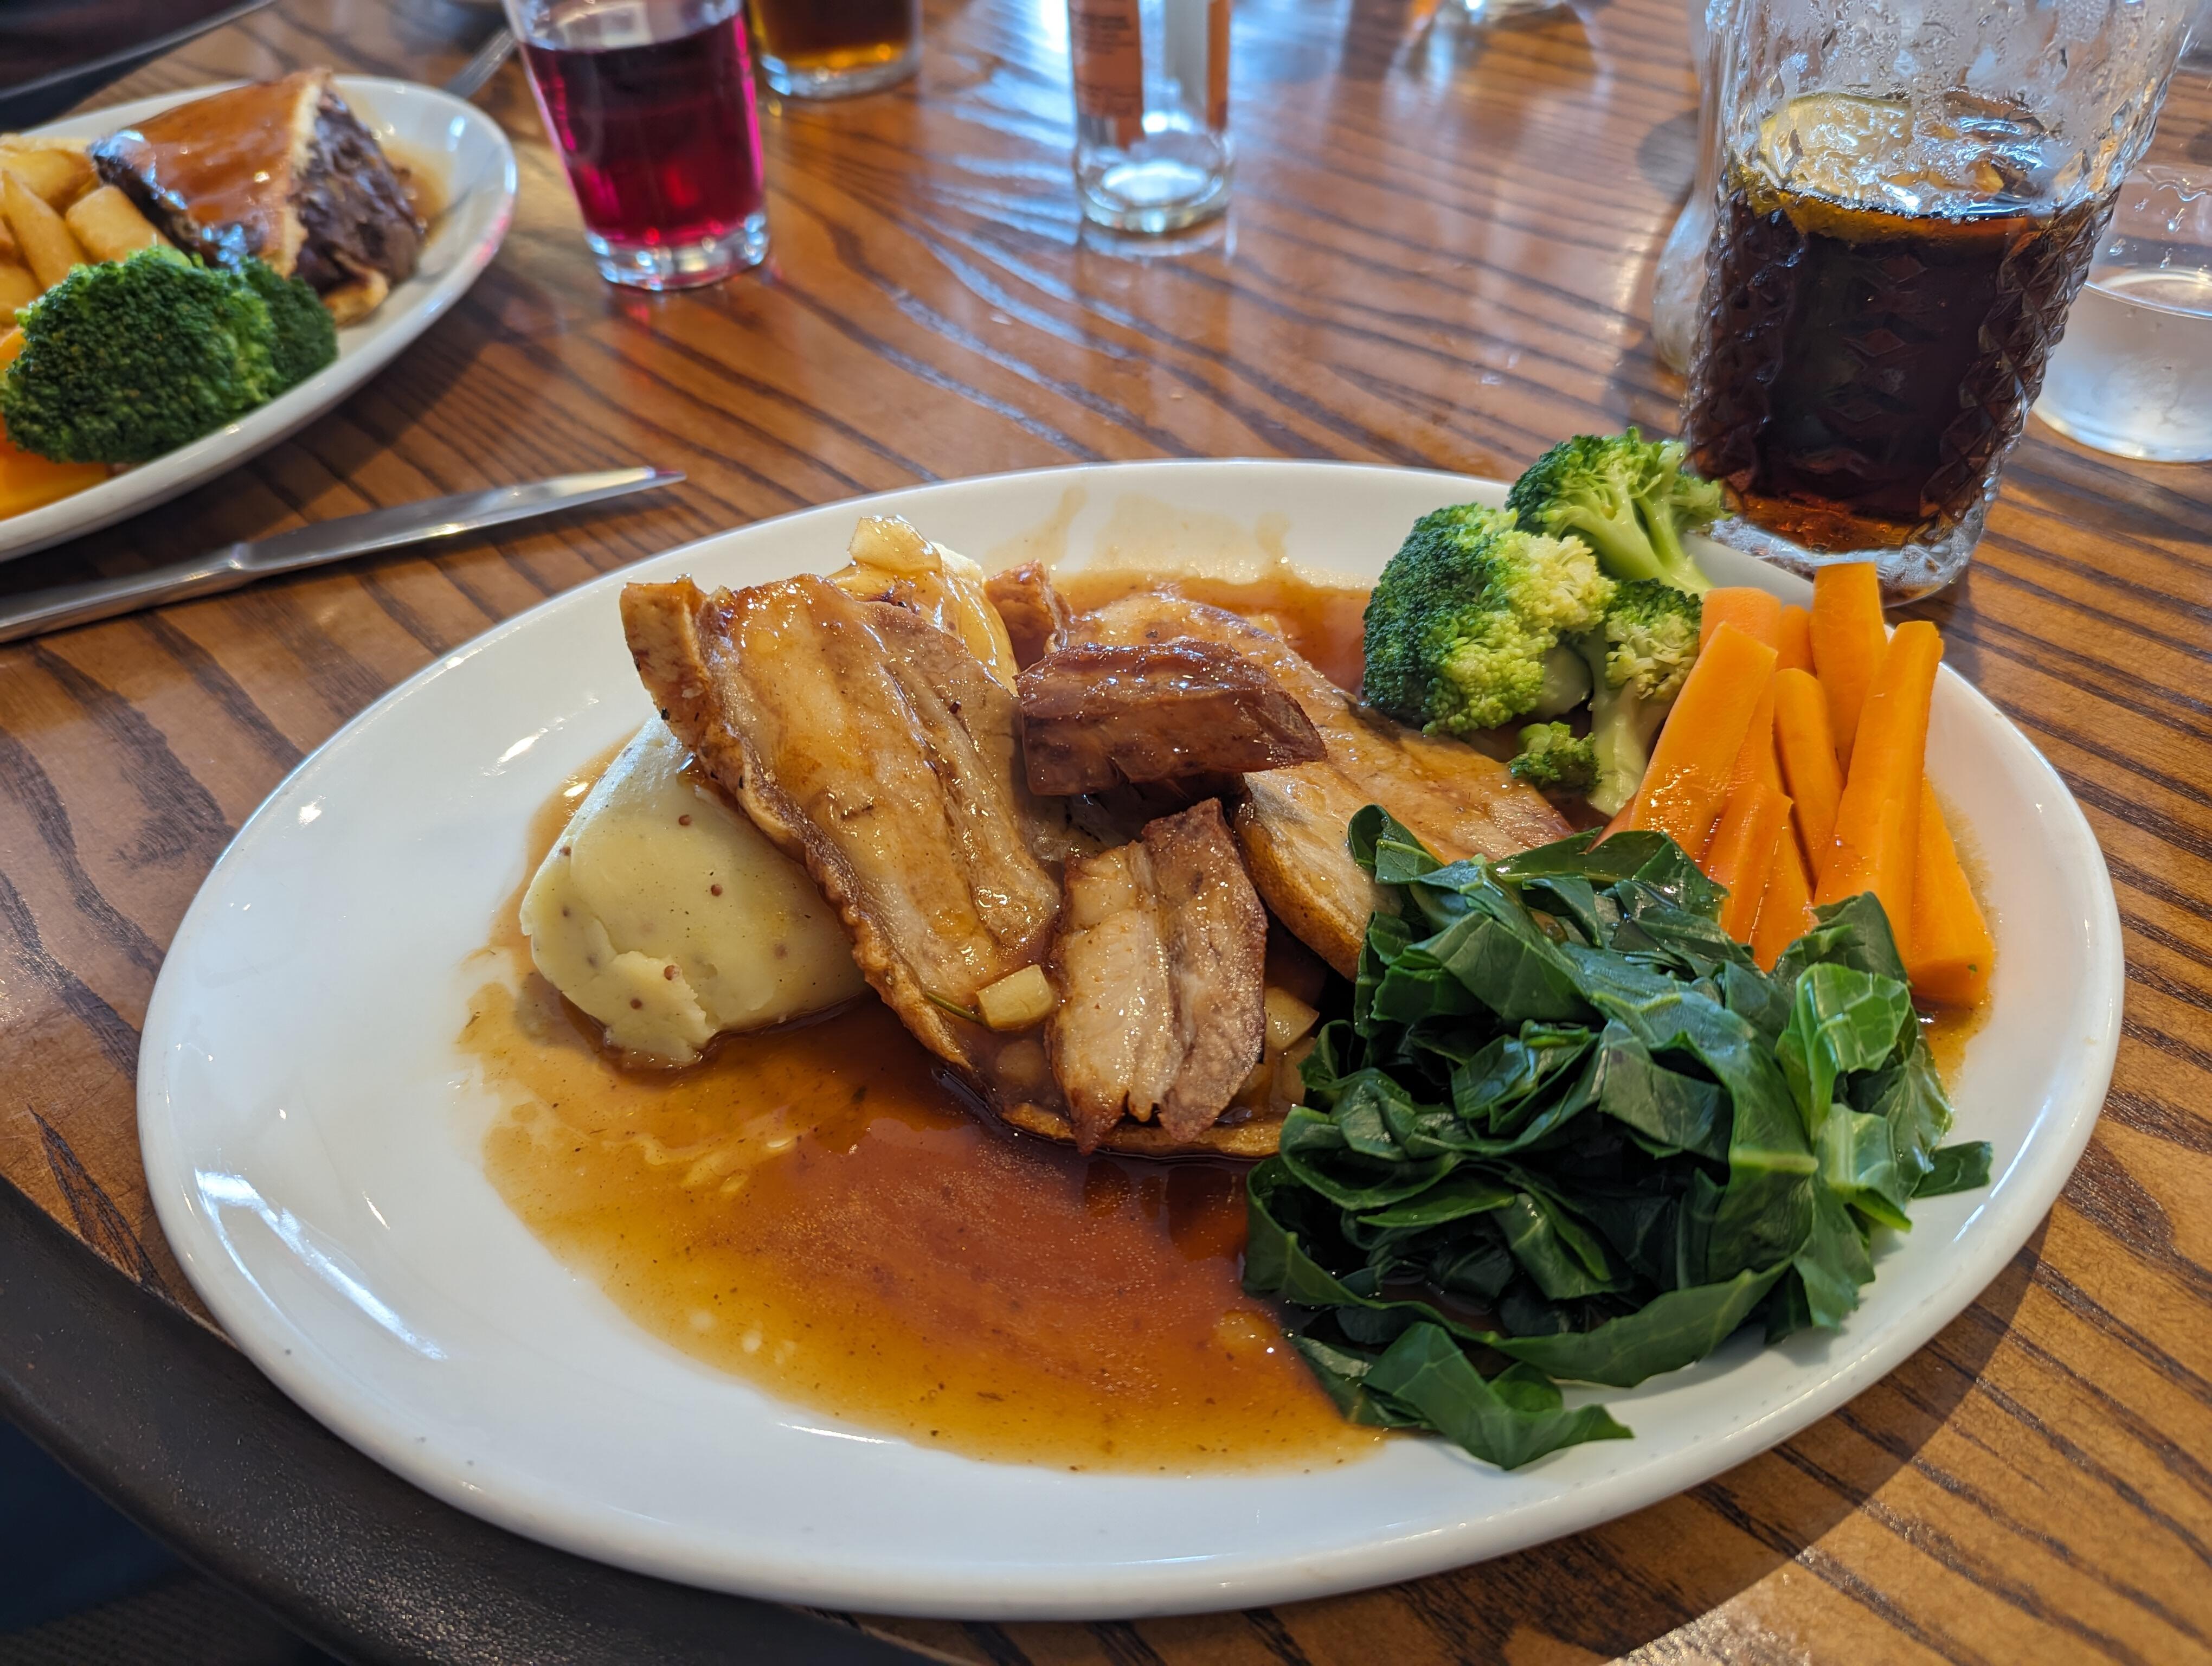
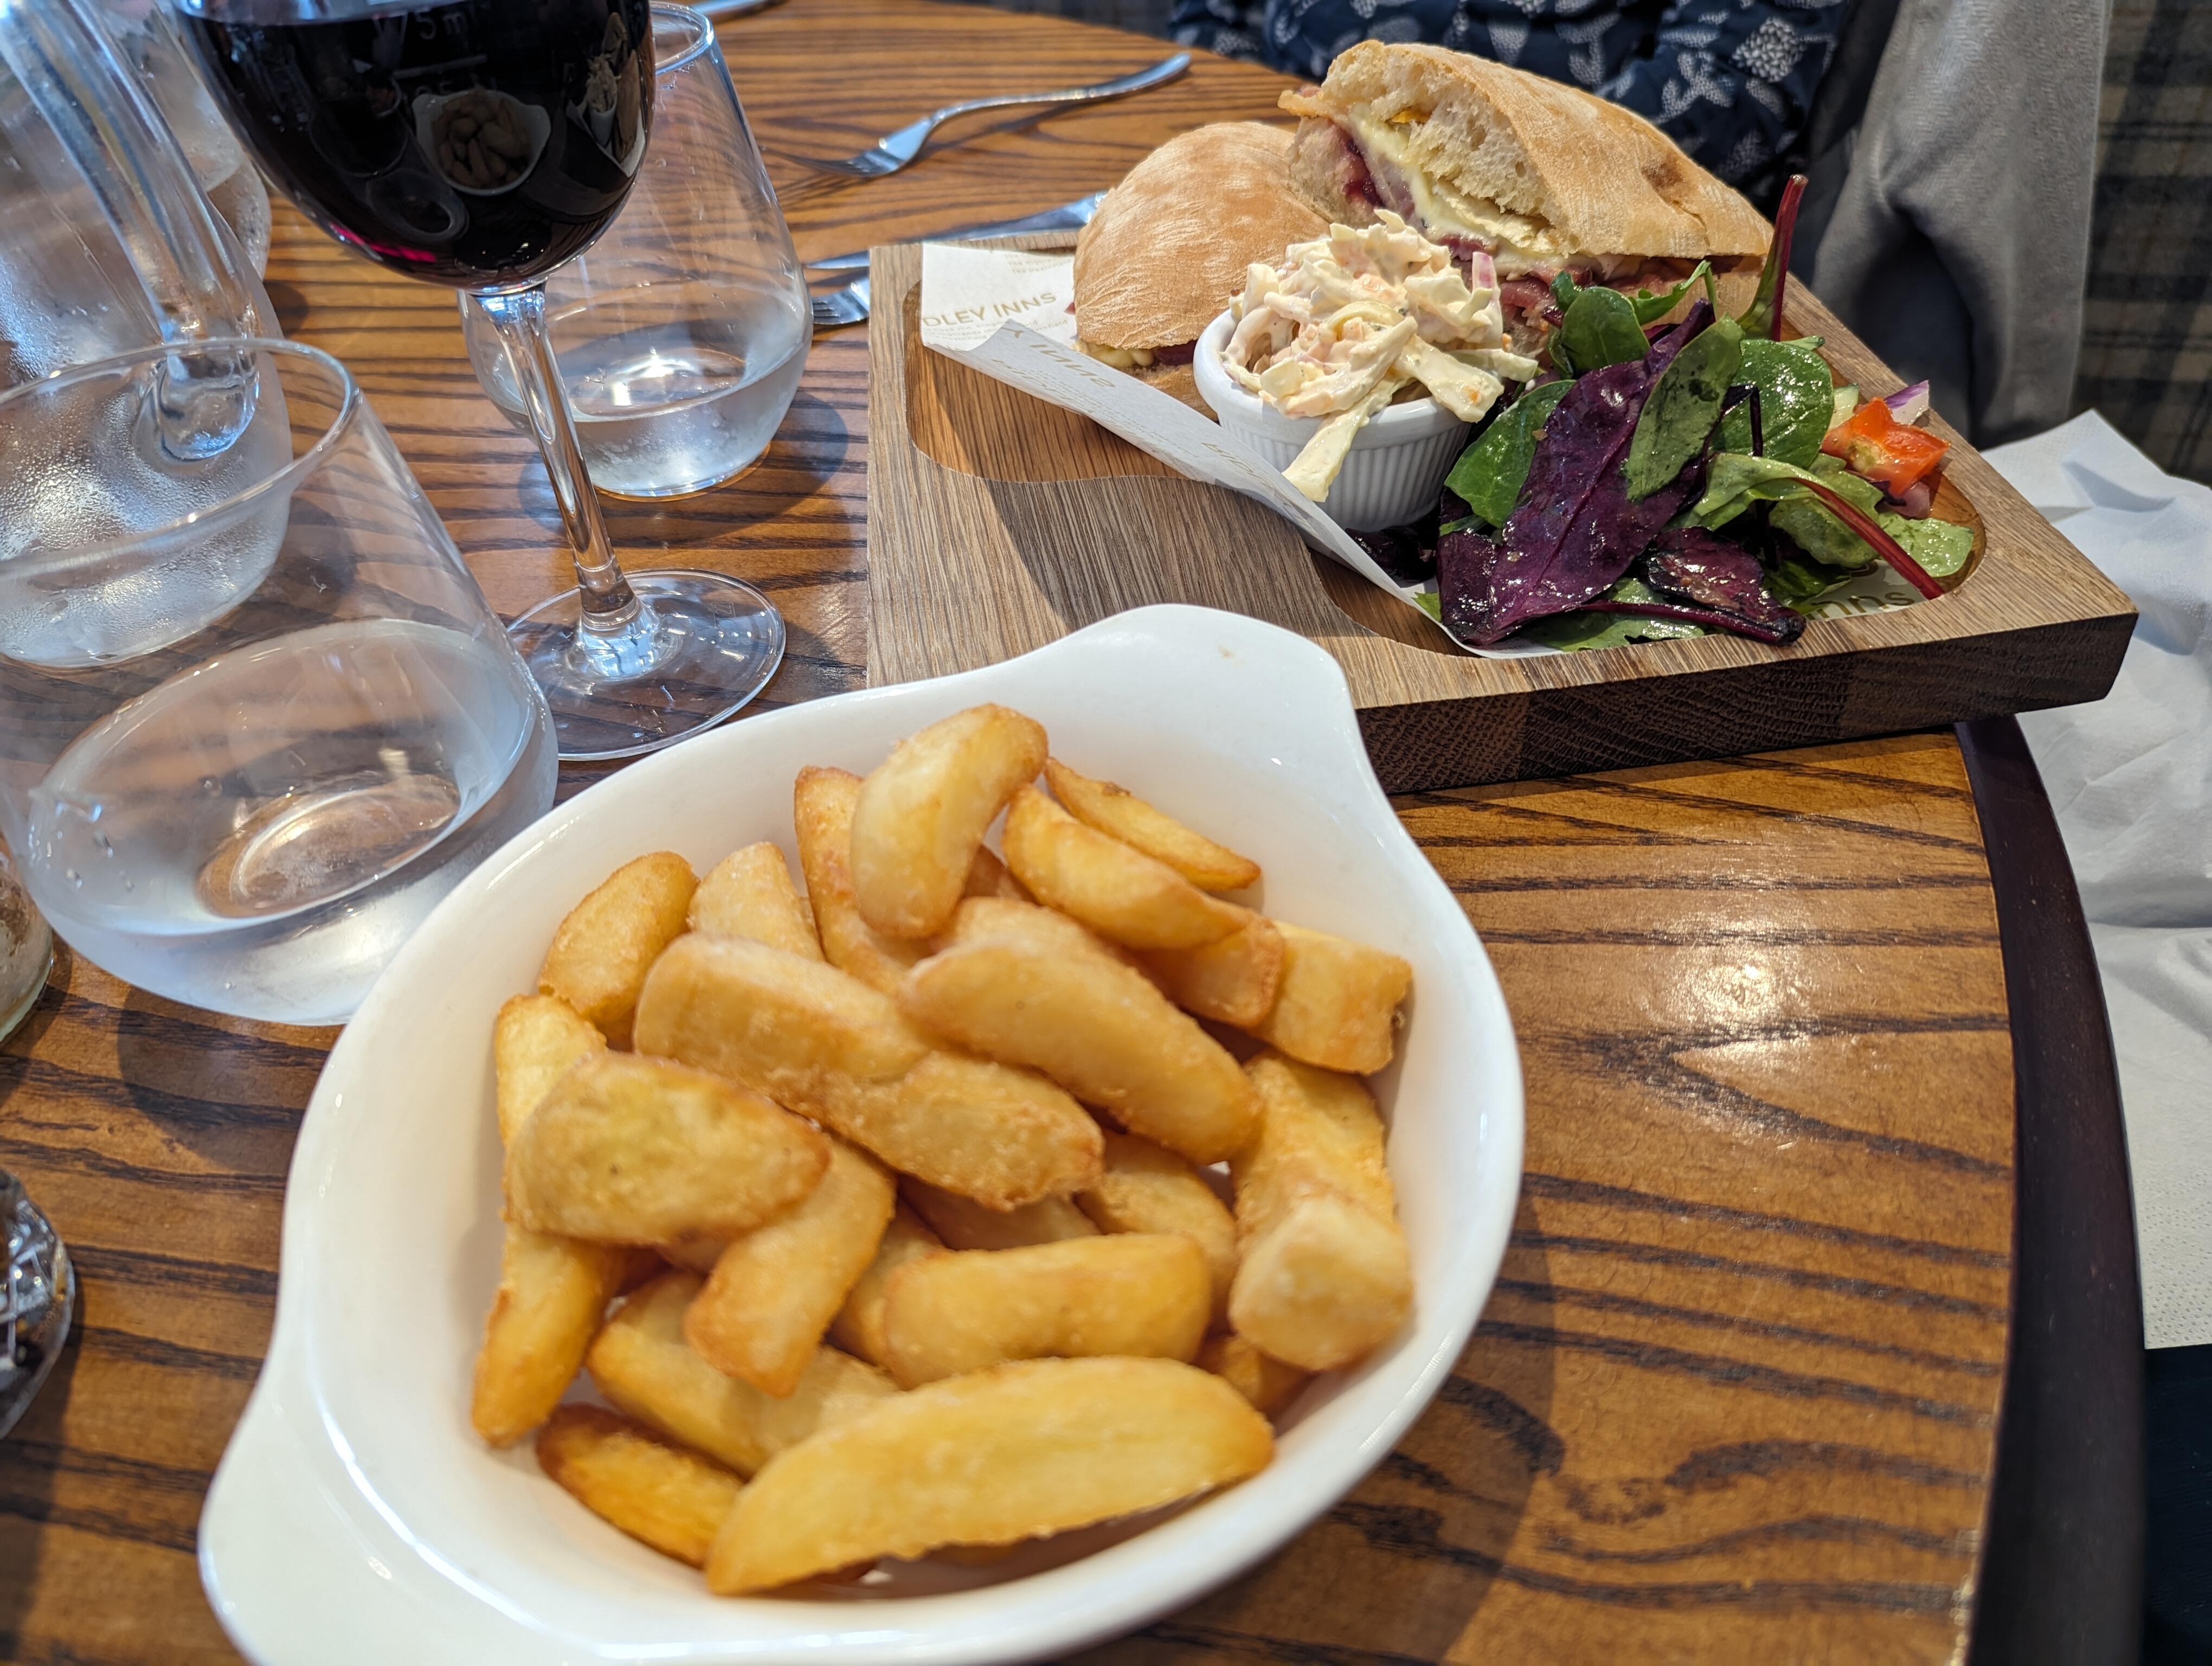
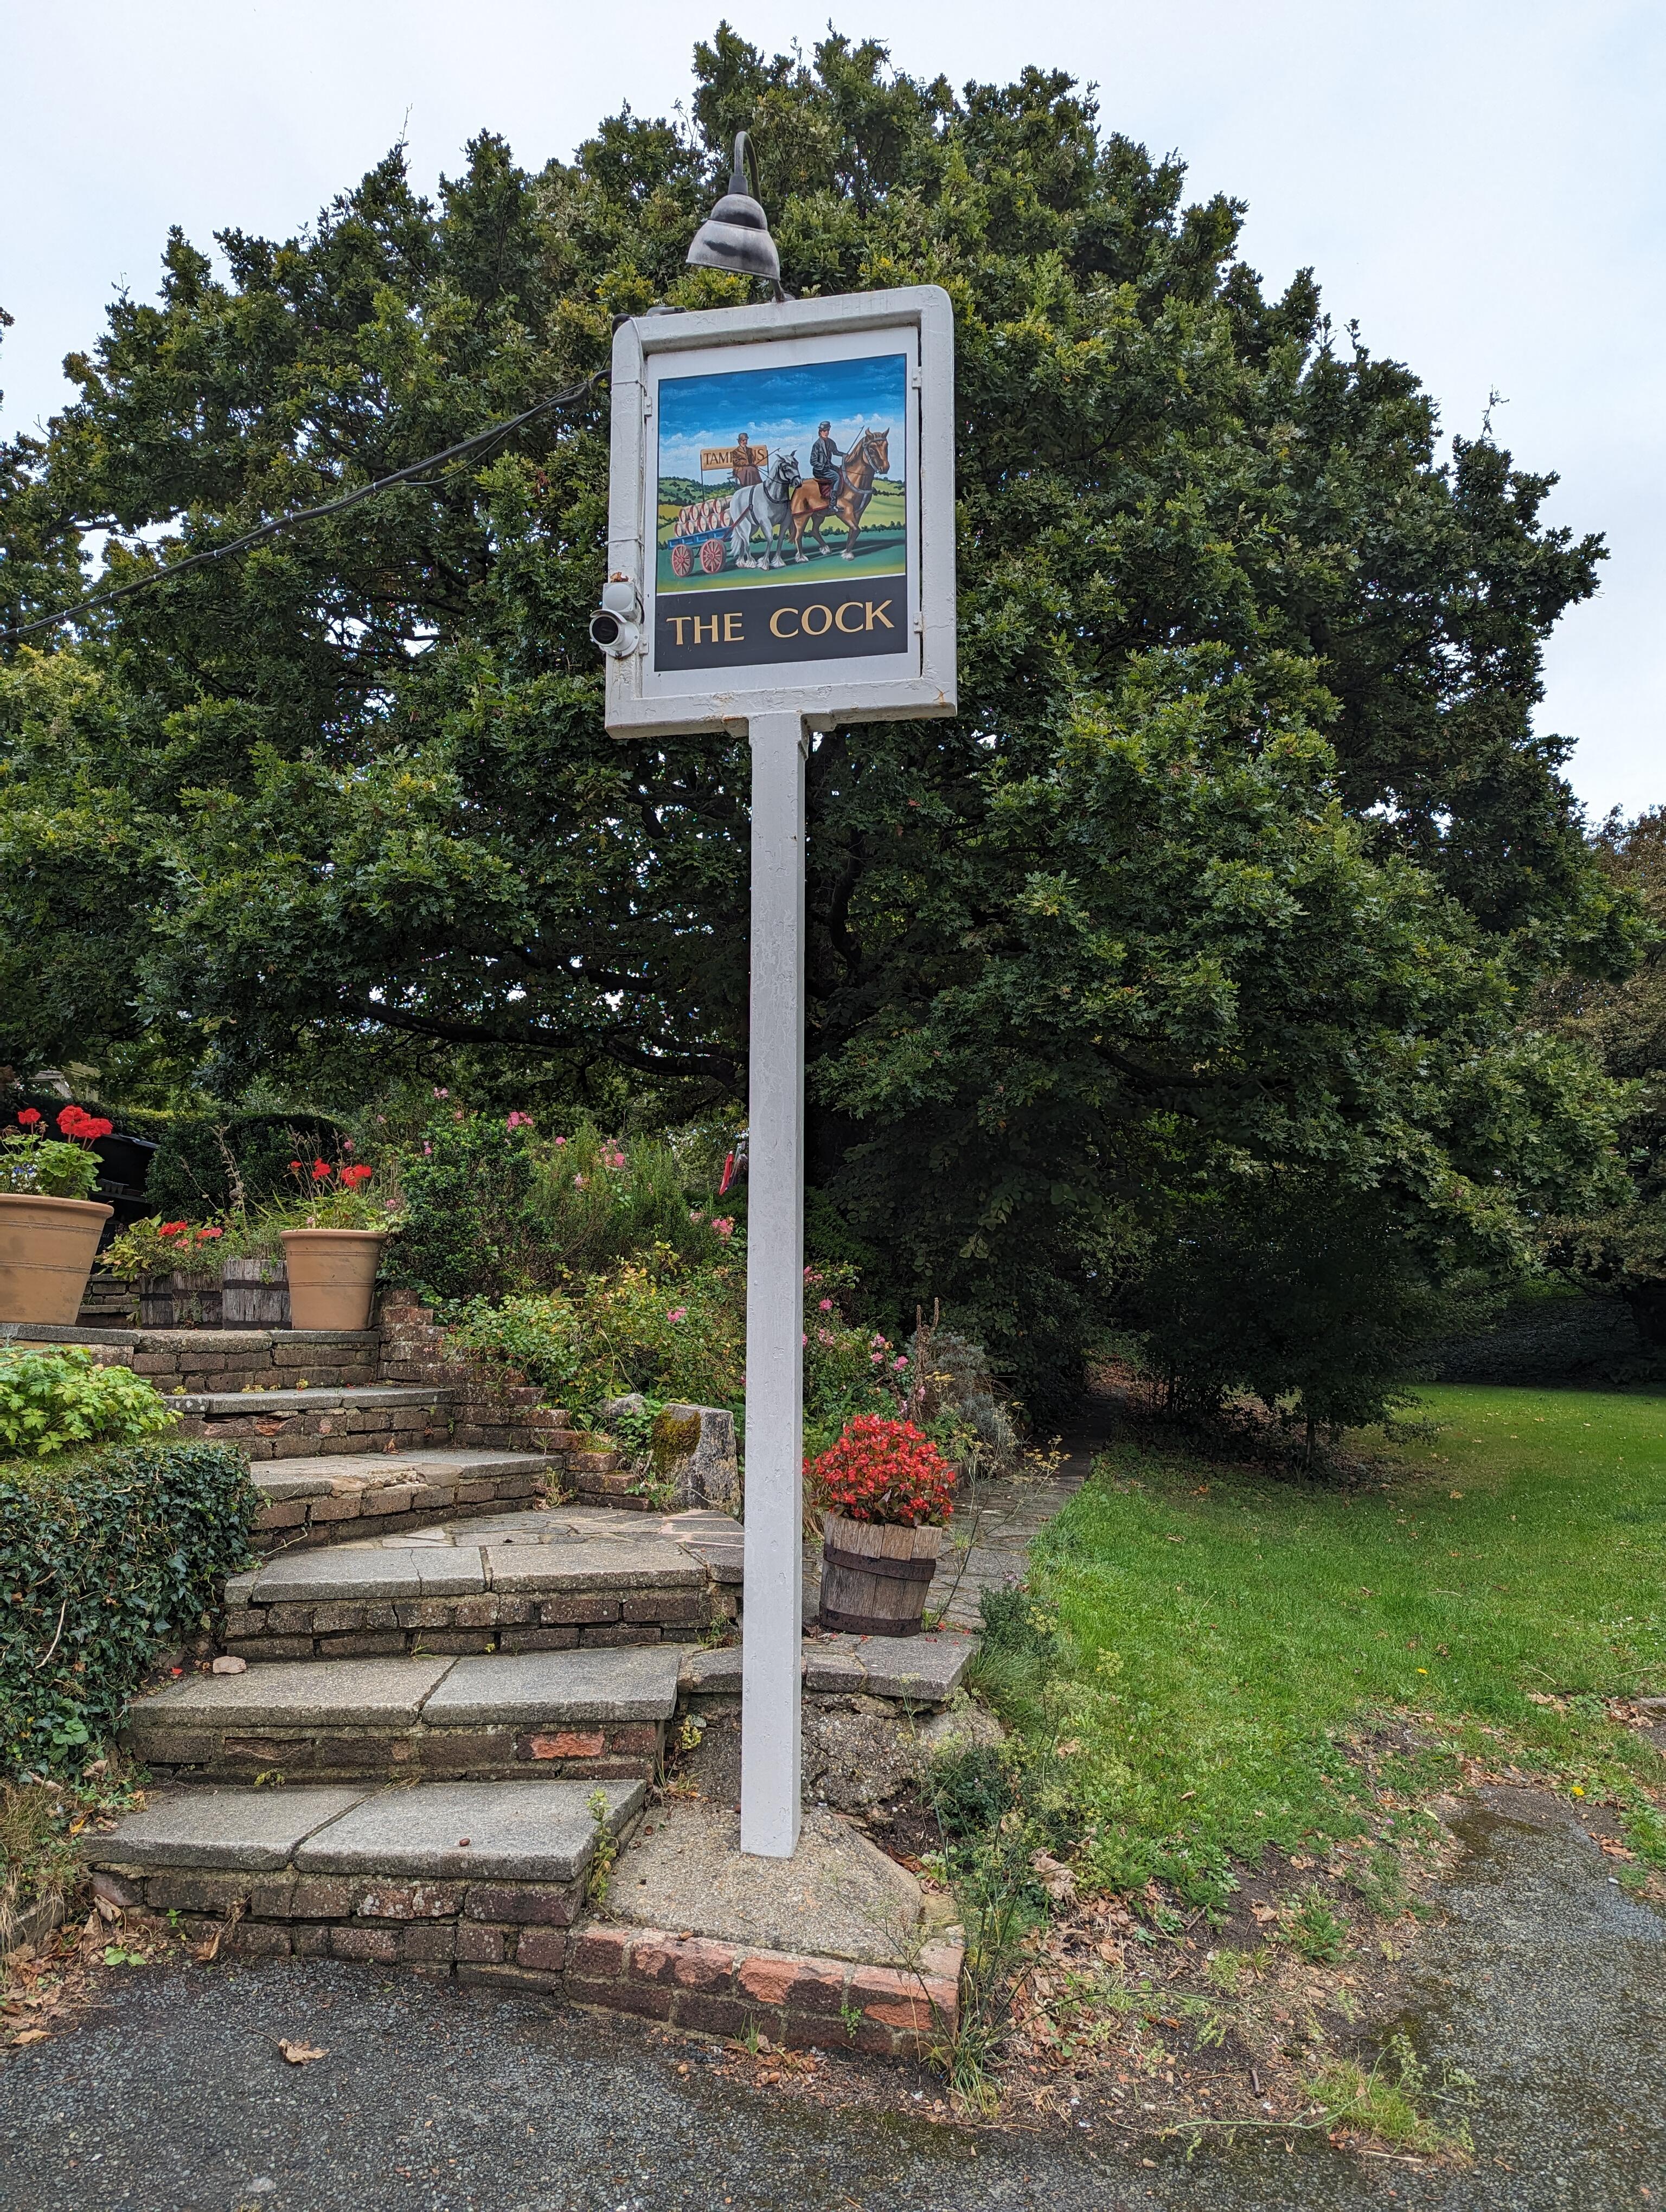
1 pointMet up with a bunch of old friends from Brighton. They had experienced the previously and left satisfied. We had Pork Belly Strips, Apple Sauce, Mustard Mash, Veggies and Gravy Bacon, Brie and Cranberry, And a bowl of chips. @ https://cockpub.co.uk/

 1 point
 -
1 pointVladimir Horowitz - Horowitz in Moscow Vladimir Horowitz 2010 (Ed - 1986) https://album.link/i/1452506788 Example: A master playing a masters game. At 81 with his return to Moscow, he really did show that he had very few peers. I remember watching this in the 80's on "CBS Sunday Morning" with Charles Kuralt and being mesmerized. I need to play this more.1 point1 point













Important Information
By using this site, you agree to our Terms of Use.