JoaMat
High Rollers
-
Joined
-
Last visited
Everything posted by JoaMat
-
A wise person once told me - the only sure thing is that it is uncertain (google translated from Swedish).
-
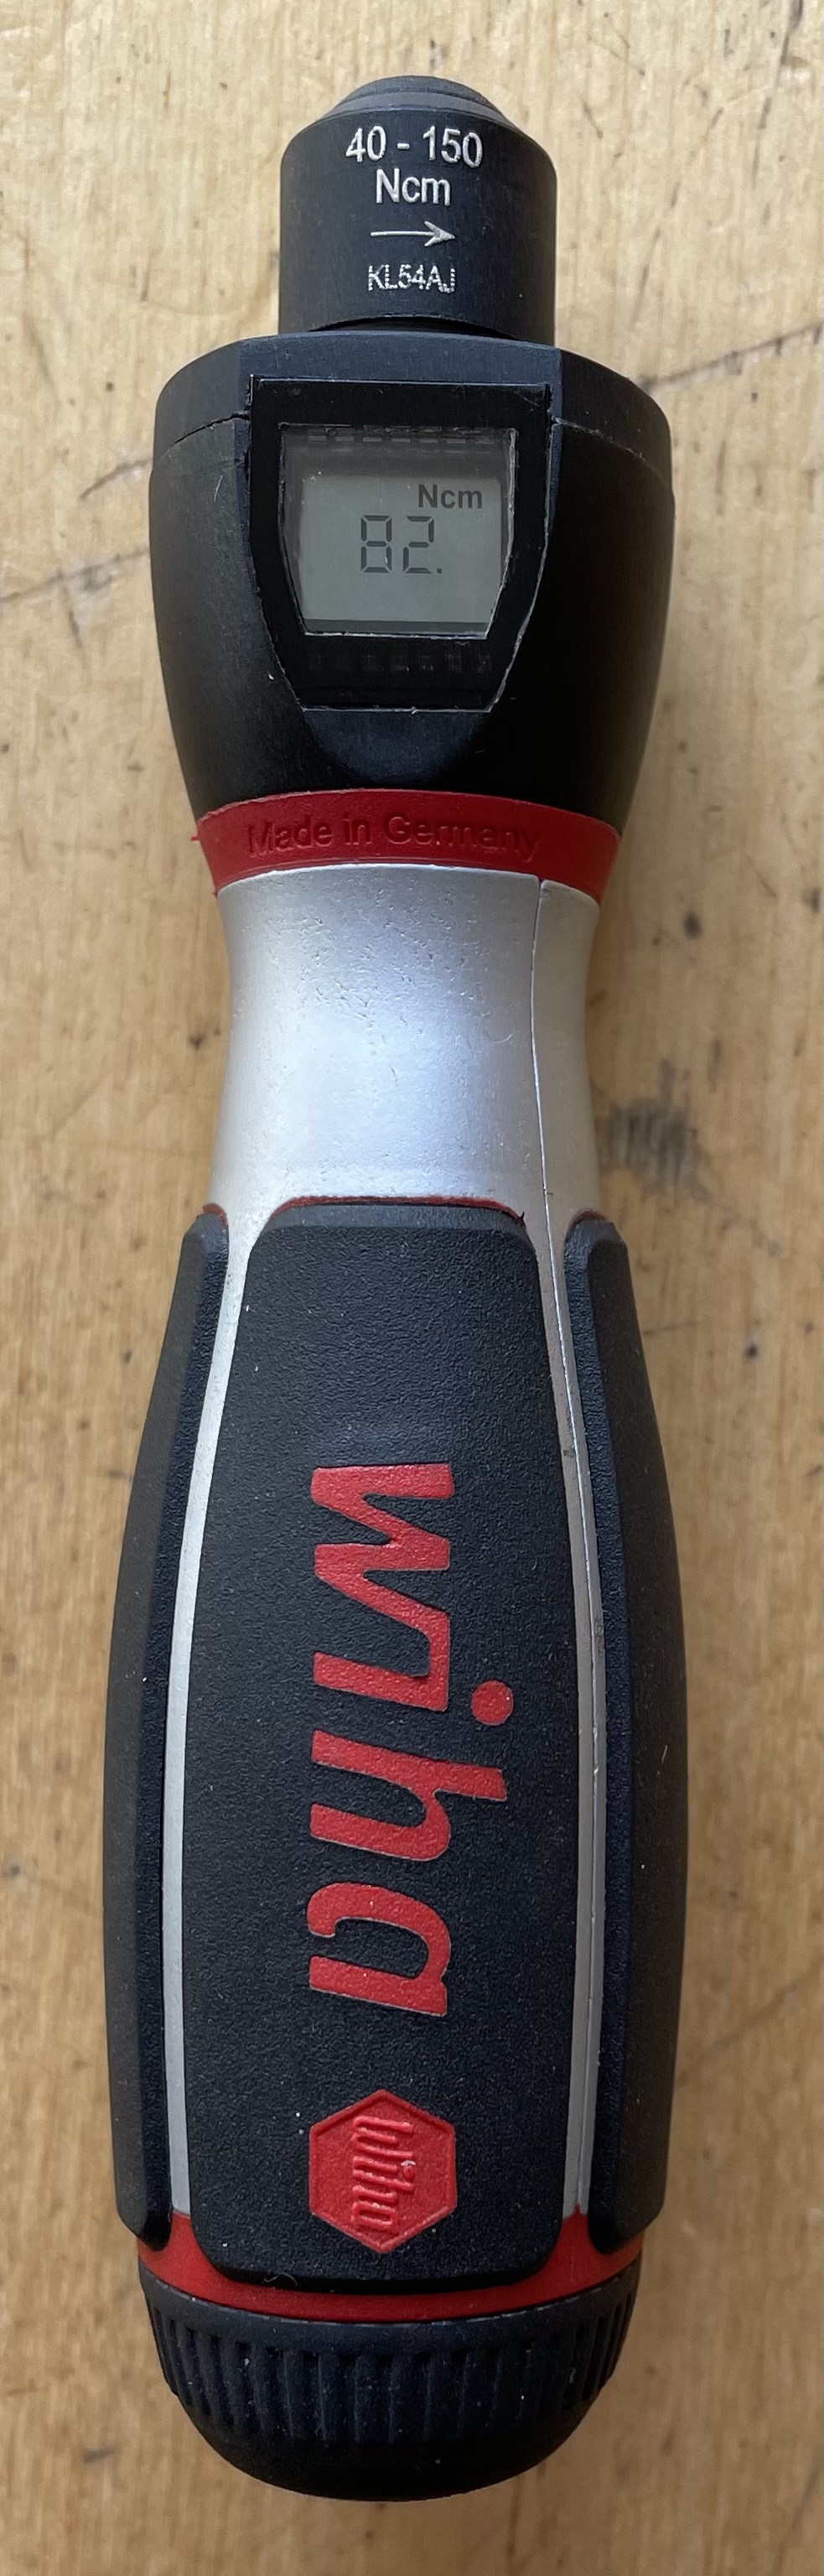
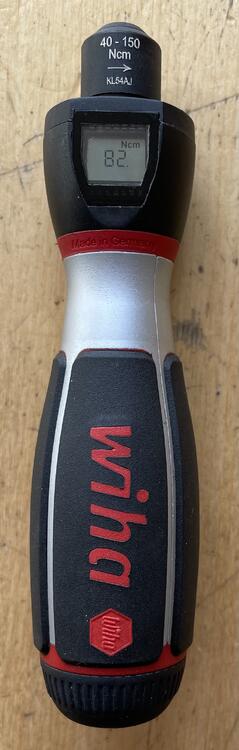
My torque setting of 82 Ncm equals to 0.82 Nm, or? Upper post’s 8-9 Nm must equal to 800-900 Ncm This link is very handy. https://www.convertunits.com/from/N-cm/to/N-m 😉
-
Used above setting for a long time and haven't had any issues so far – knock on wood. Also, in JoaMat kitchen we don’t use any kind of thermal compound... , but we use
-
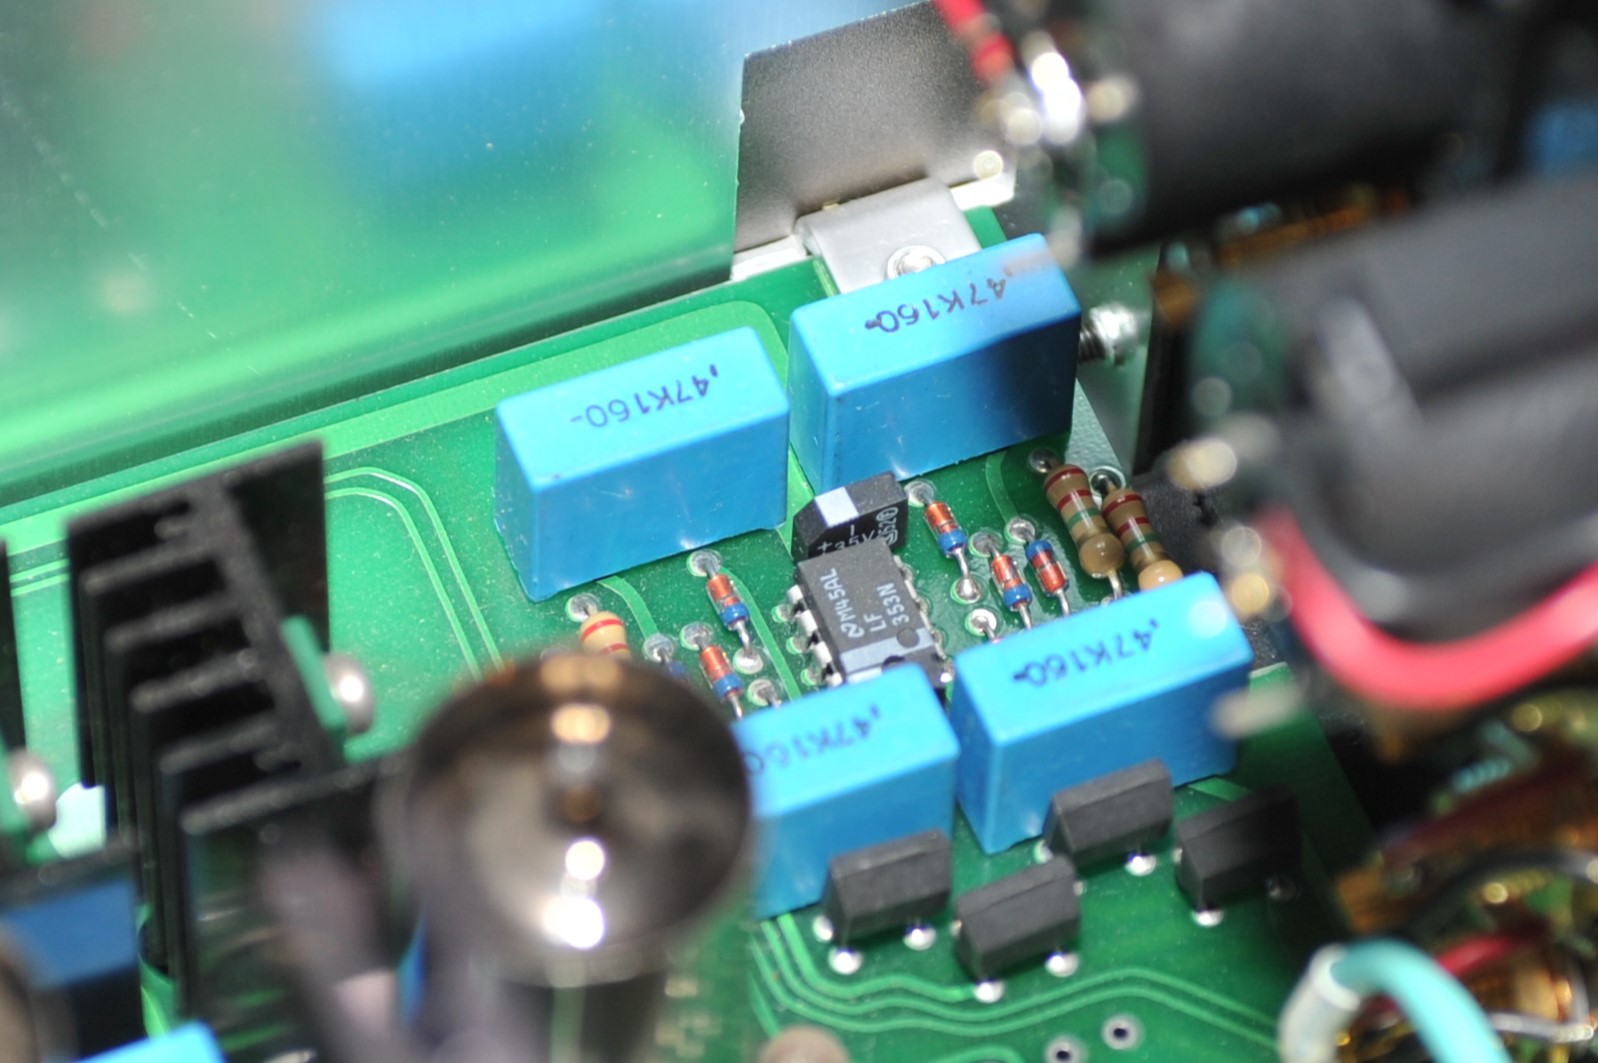
I believe the space around the rectifiers makes it risk free to use the uninsulated version on the original Kevin T2 PSU board.
-
and


-
Maybe already posted… anyhow, it’s what I’m listening to right now.

-
Happy Birthday, José!
-
Happy Birthday, Birgir!
-
Happy Birthday!
-
-
Happy Birthday, Kerry!
-
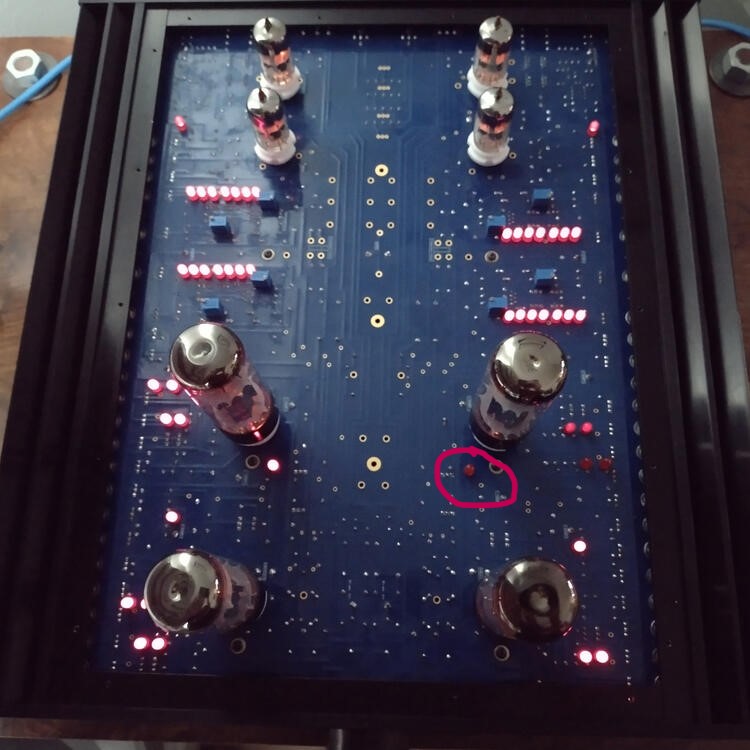
New T2 - great @s_r Remote diagnosis is not easy… but the dark LED in red circle – is it dead or wrong orientation? Diode test might give some answer.
-
They do sell as spare parts. You just have to dig deep enough. Click this link and scroll down till you find side panels 1/2/3/4 U and lengths of 170/230/280/350 mm.
-
Seems you have built yourself a good amplifier – Congratulations! To get rid of those annoying offsets – build KGOOS.
-
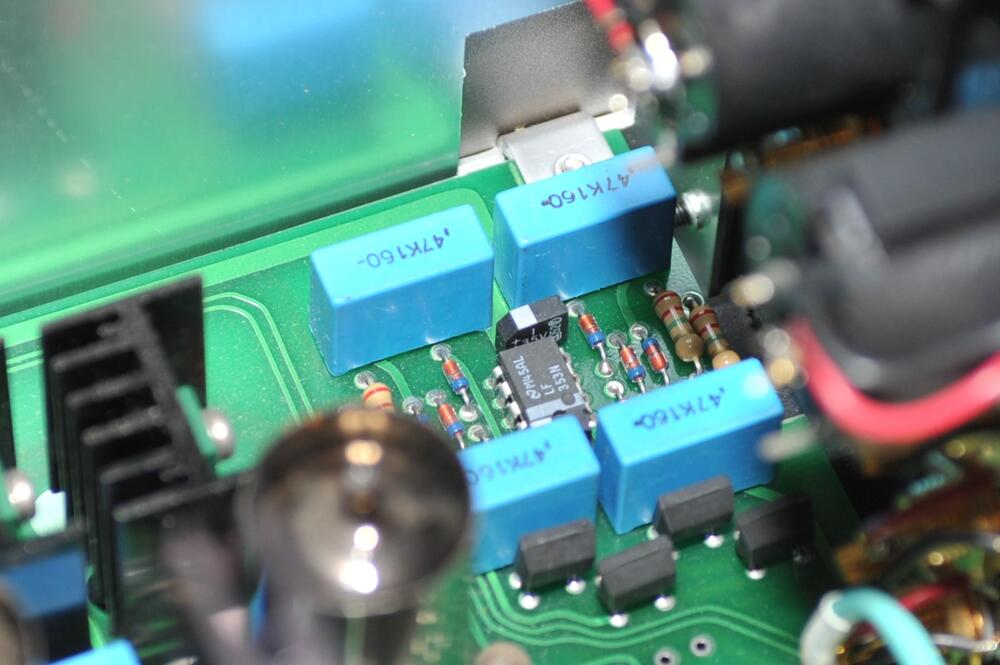
like this? - "Stax original"
-
Interesting item. I use Pomona model 6341. On my third pair now – after some use it seems that the wire break at the handle edge - else I like them. Probe Master looks good so I ordered a pair. Can be bought in EU at https://eleshop.eu/probe-master-8150-spring-loaded-micro-tip-test-lead-kit.html and/or https://www.welectron.com/Probe-Master-8150-Spring-Loaded-Micro-Tip-Test-Lead-Kit_1 .
-
-
-
Yes, Kevin’s design. Just added one 6922 and two resistors. I have a lot of 6922 doing nothing.
-
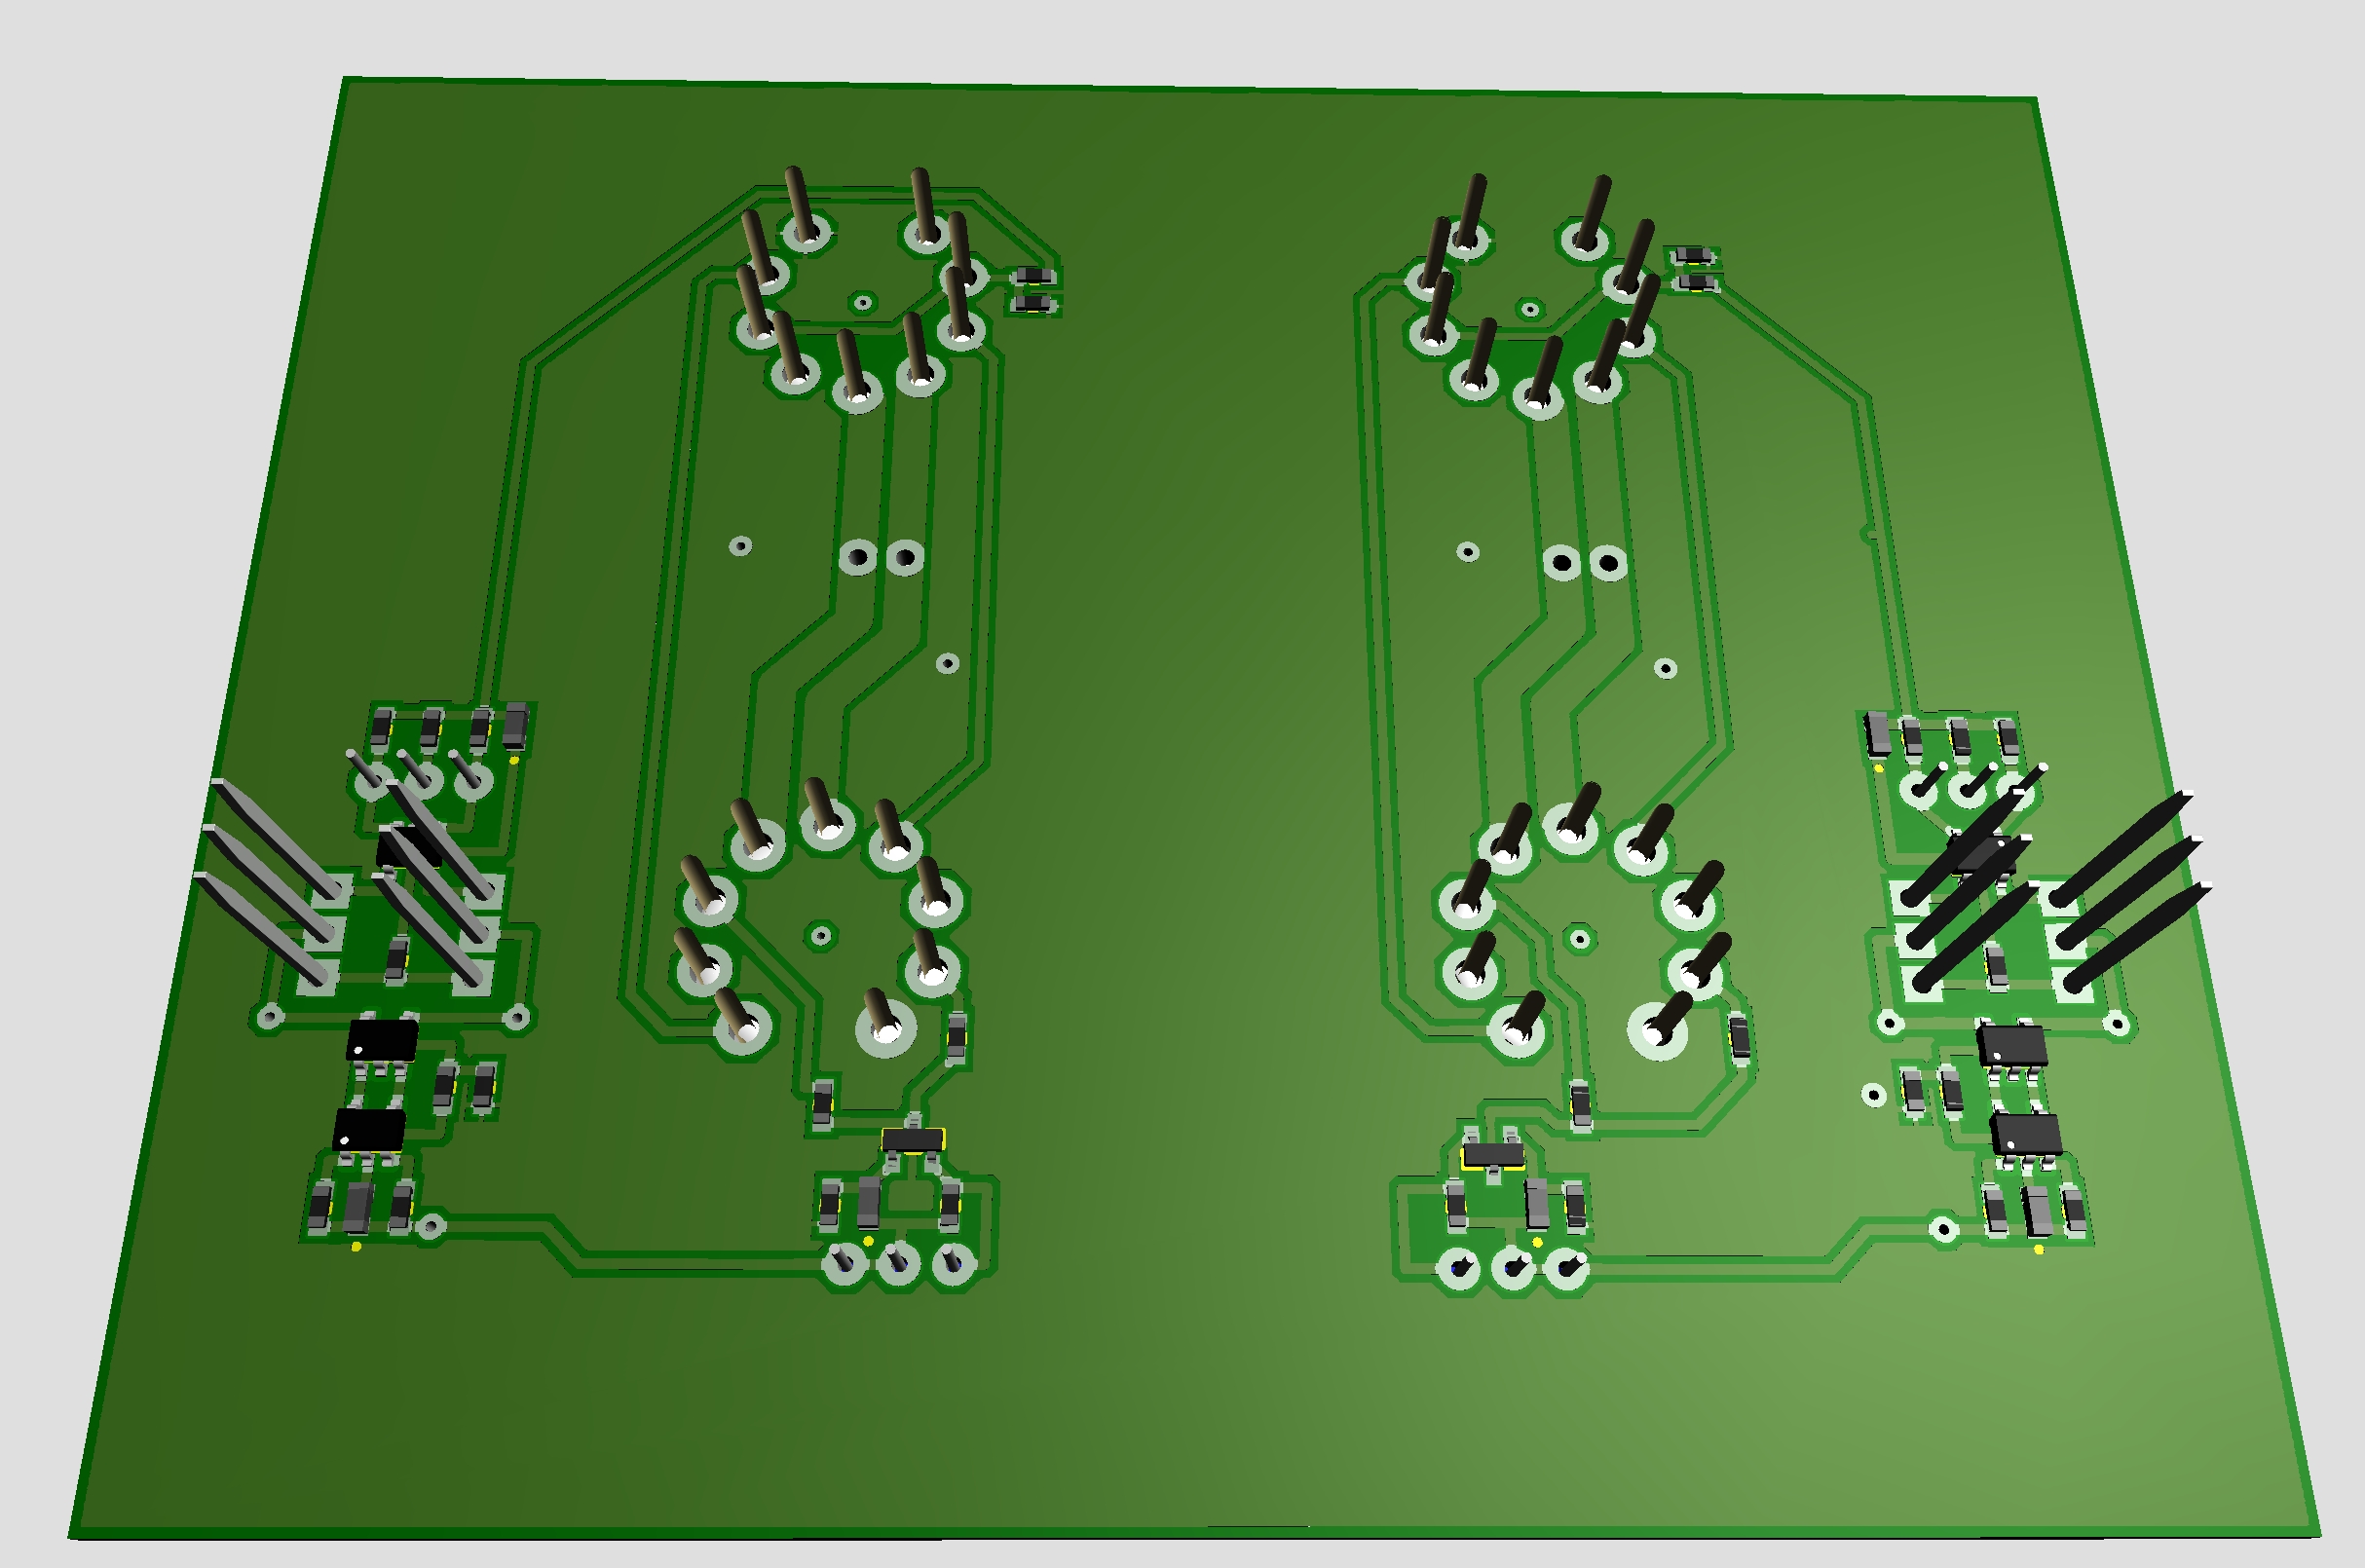
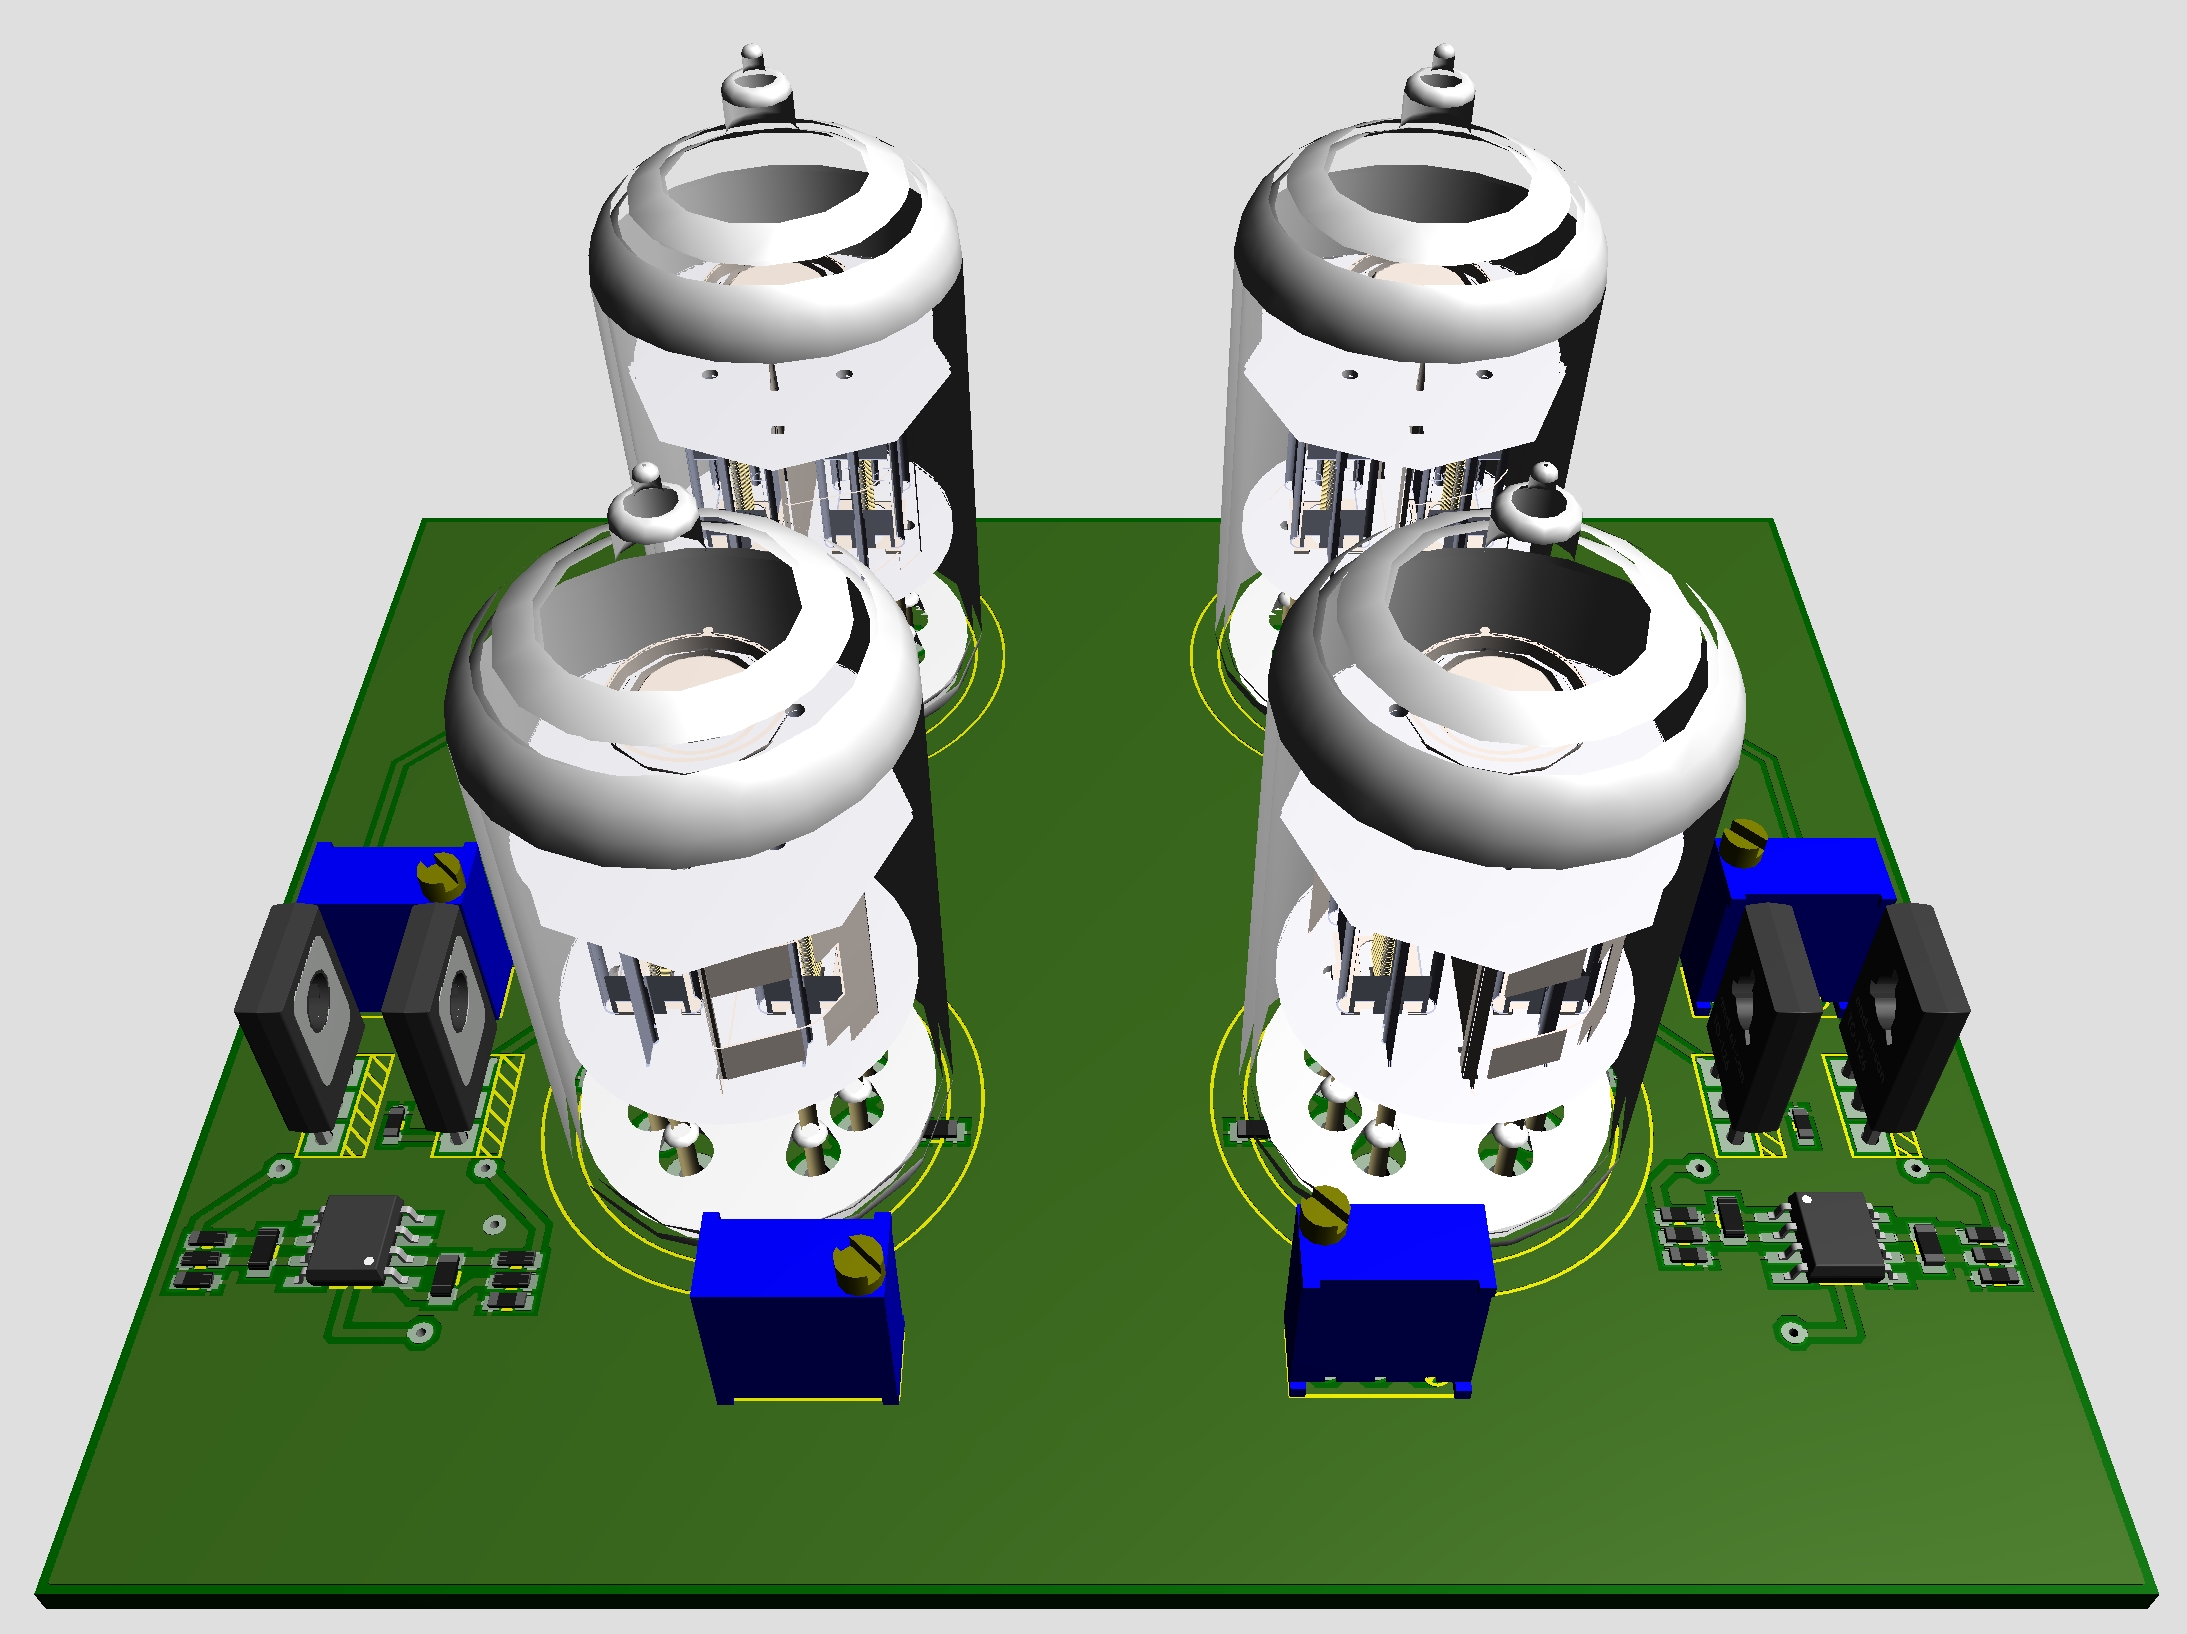
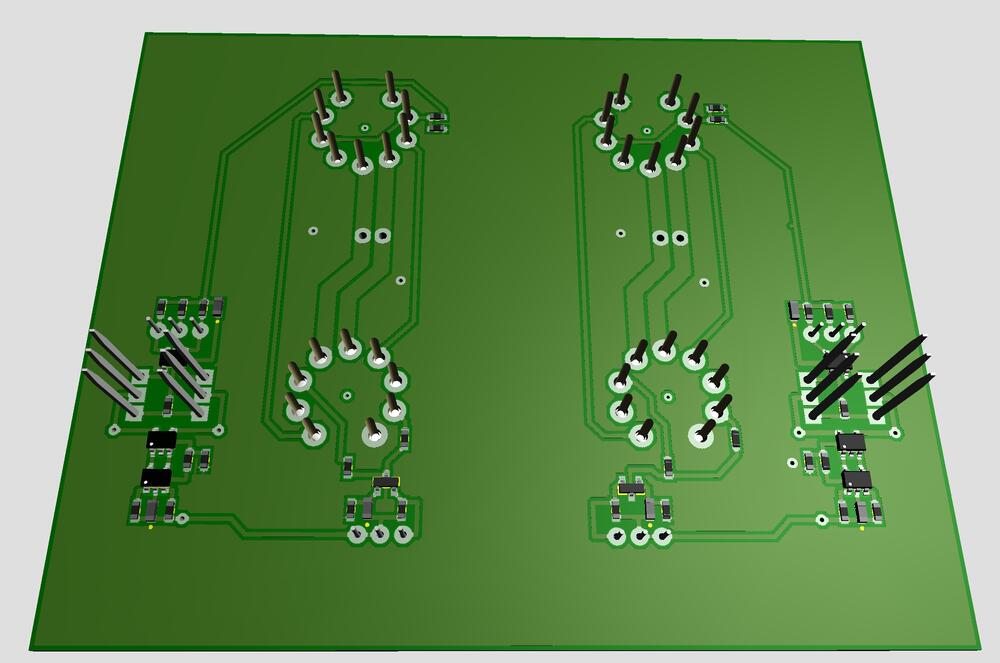
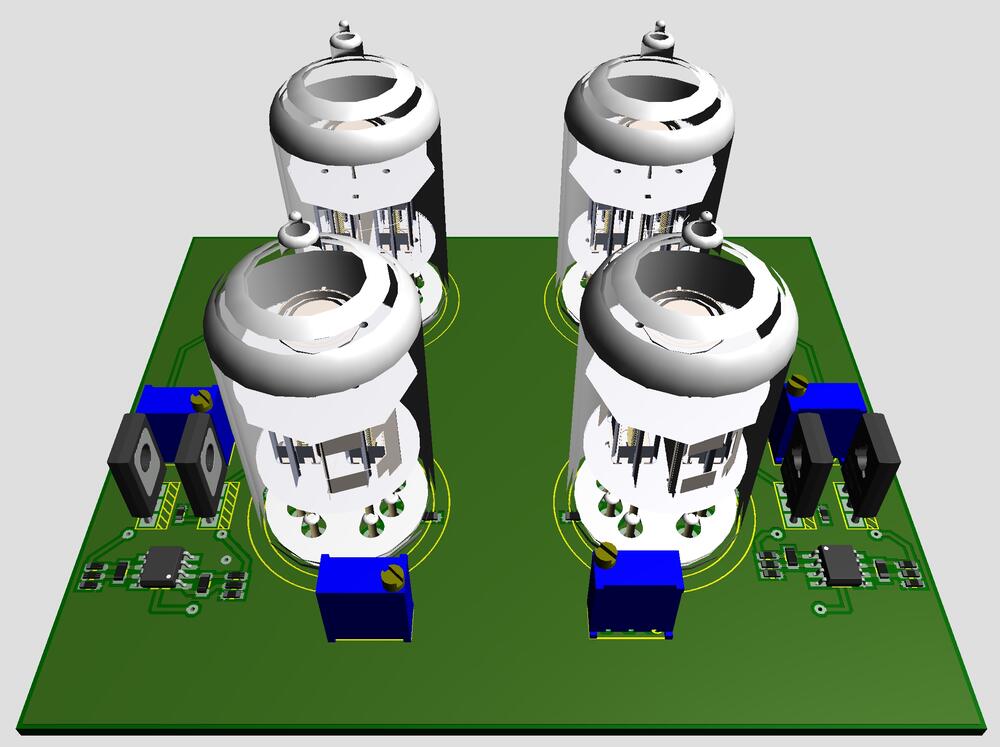
Inspired by Satyrnine's project and an attempt to recover from my Tube input CFA3smd failure some time ago I’ve been busy with this today. I call it Cascode Tube Input Something - intended for my CFA3smd something. +220/+15/-15V and filament needed. Based on ubaltoblatubeschem2, thank you Kevin.
-
-
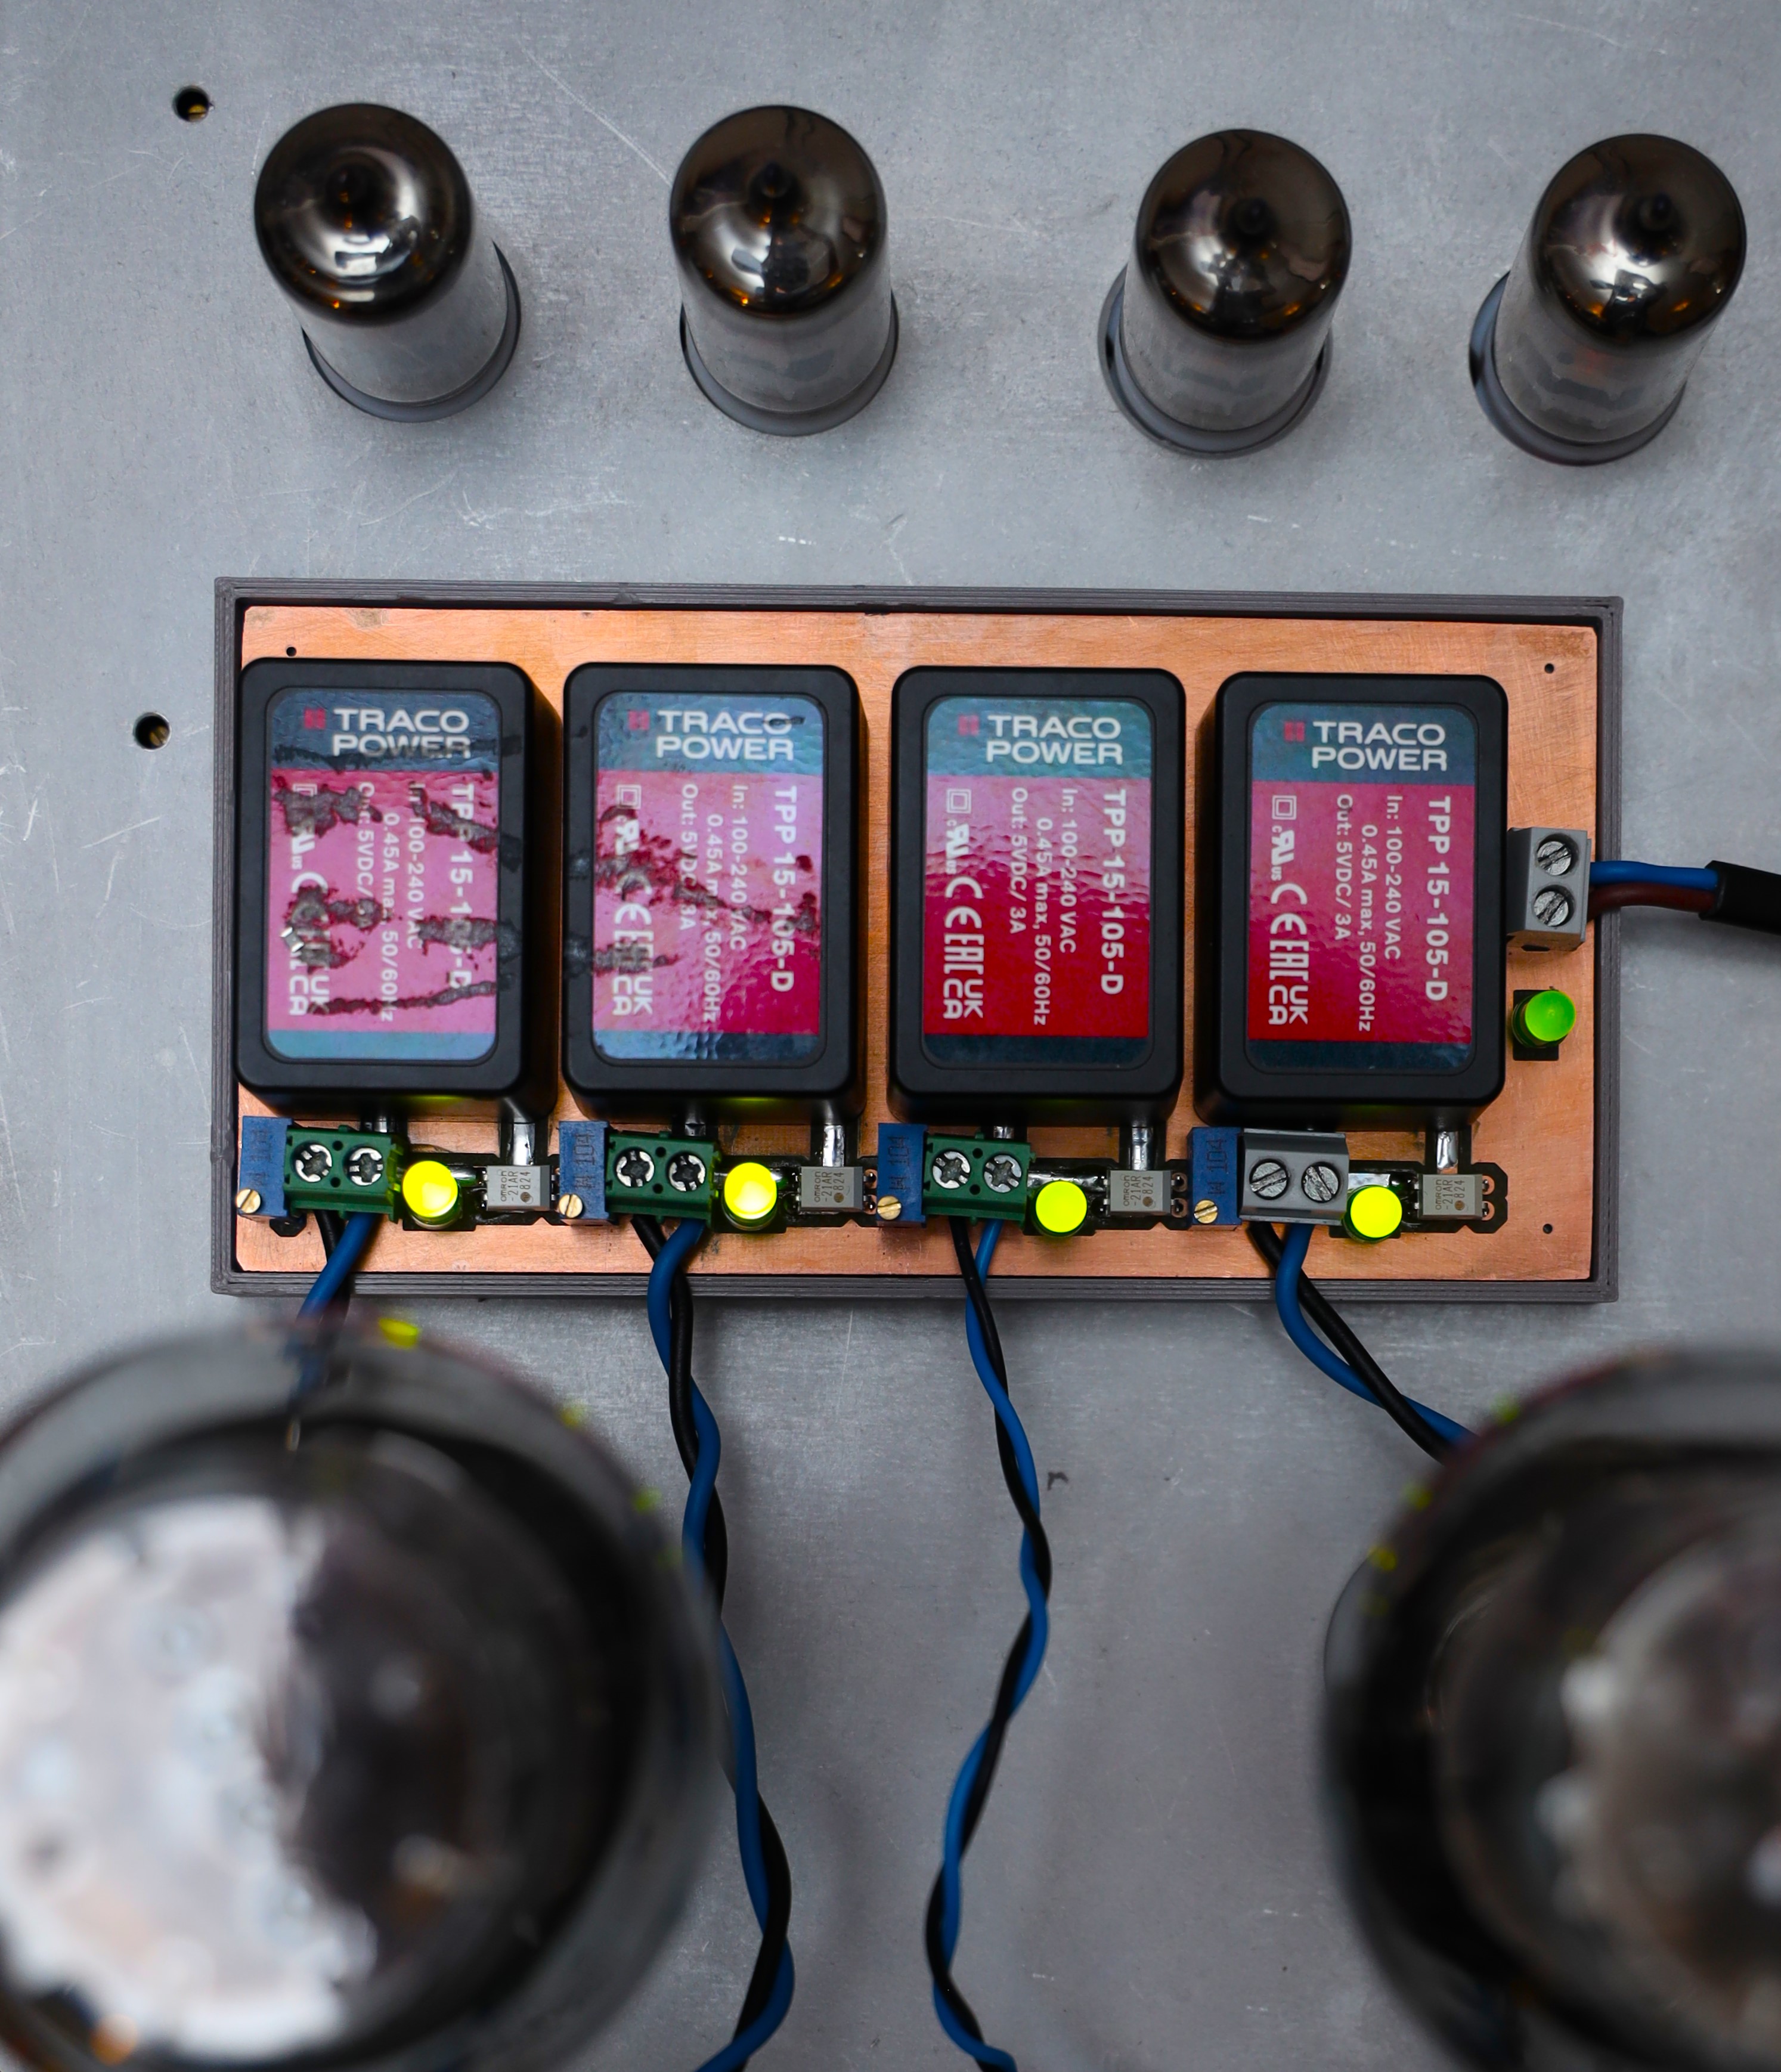
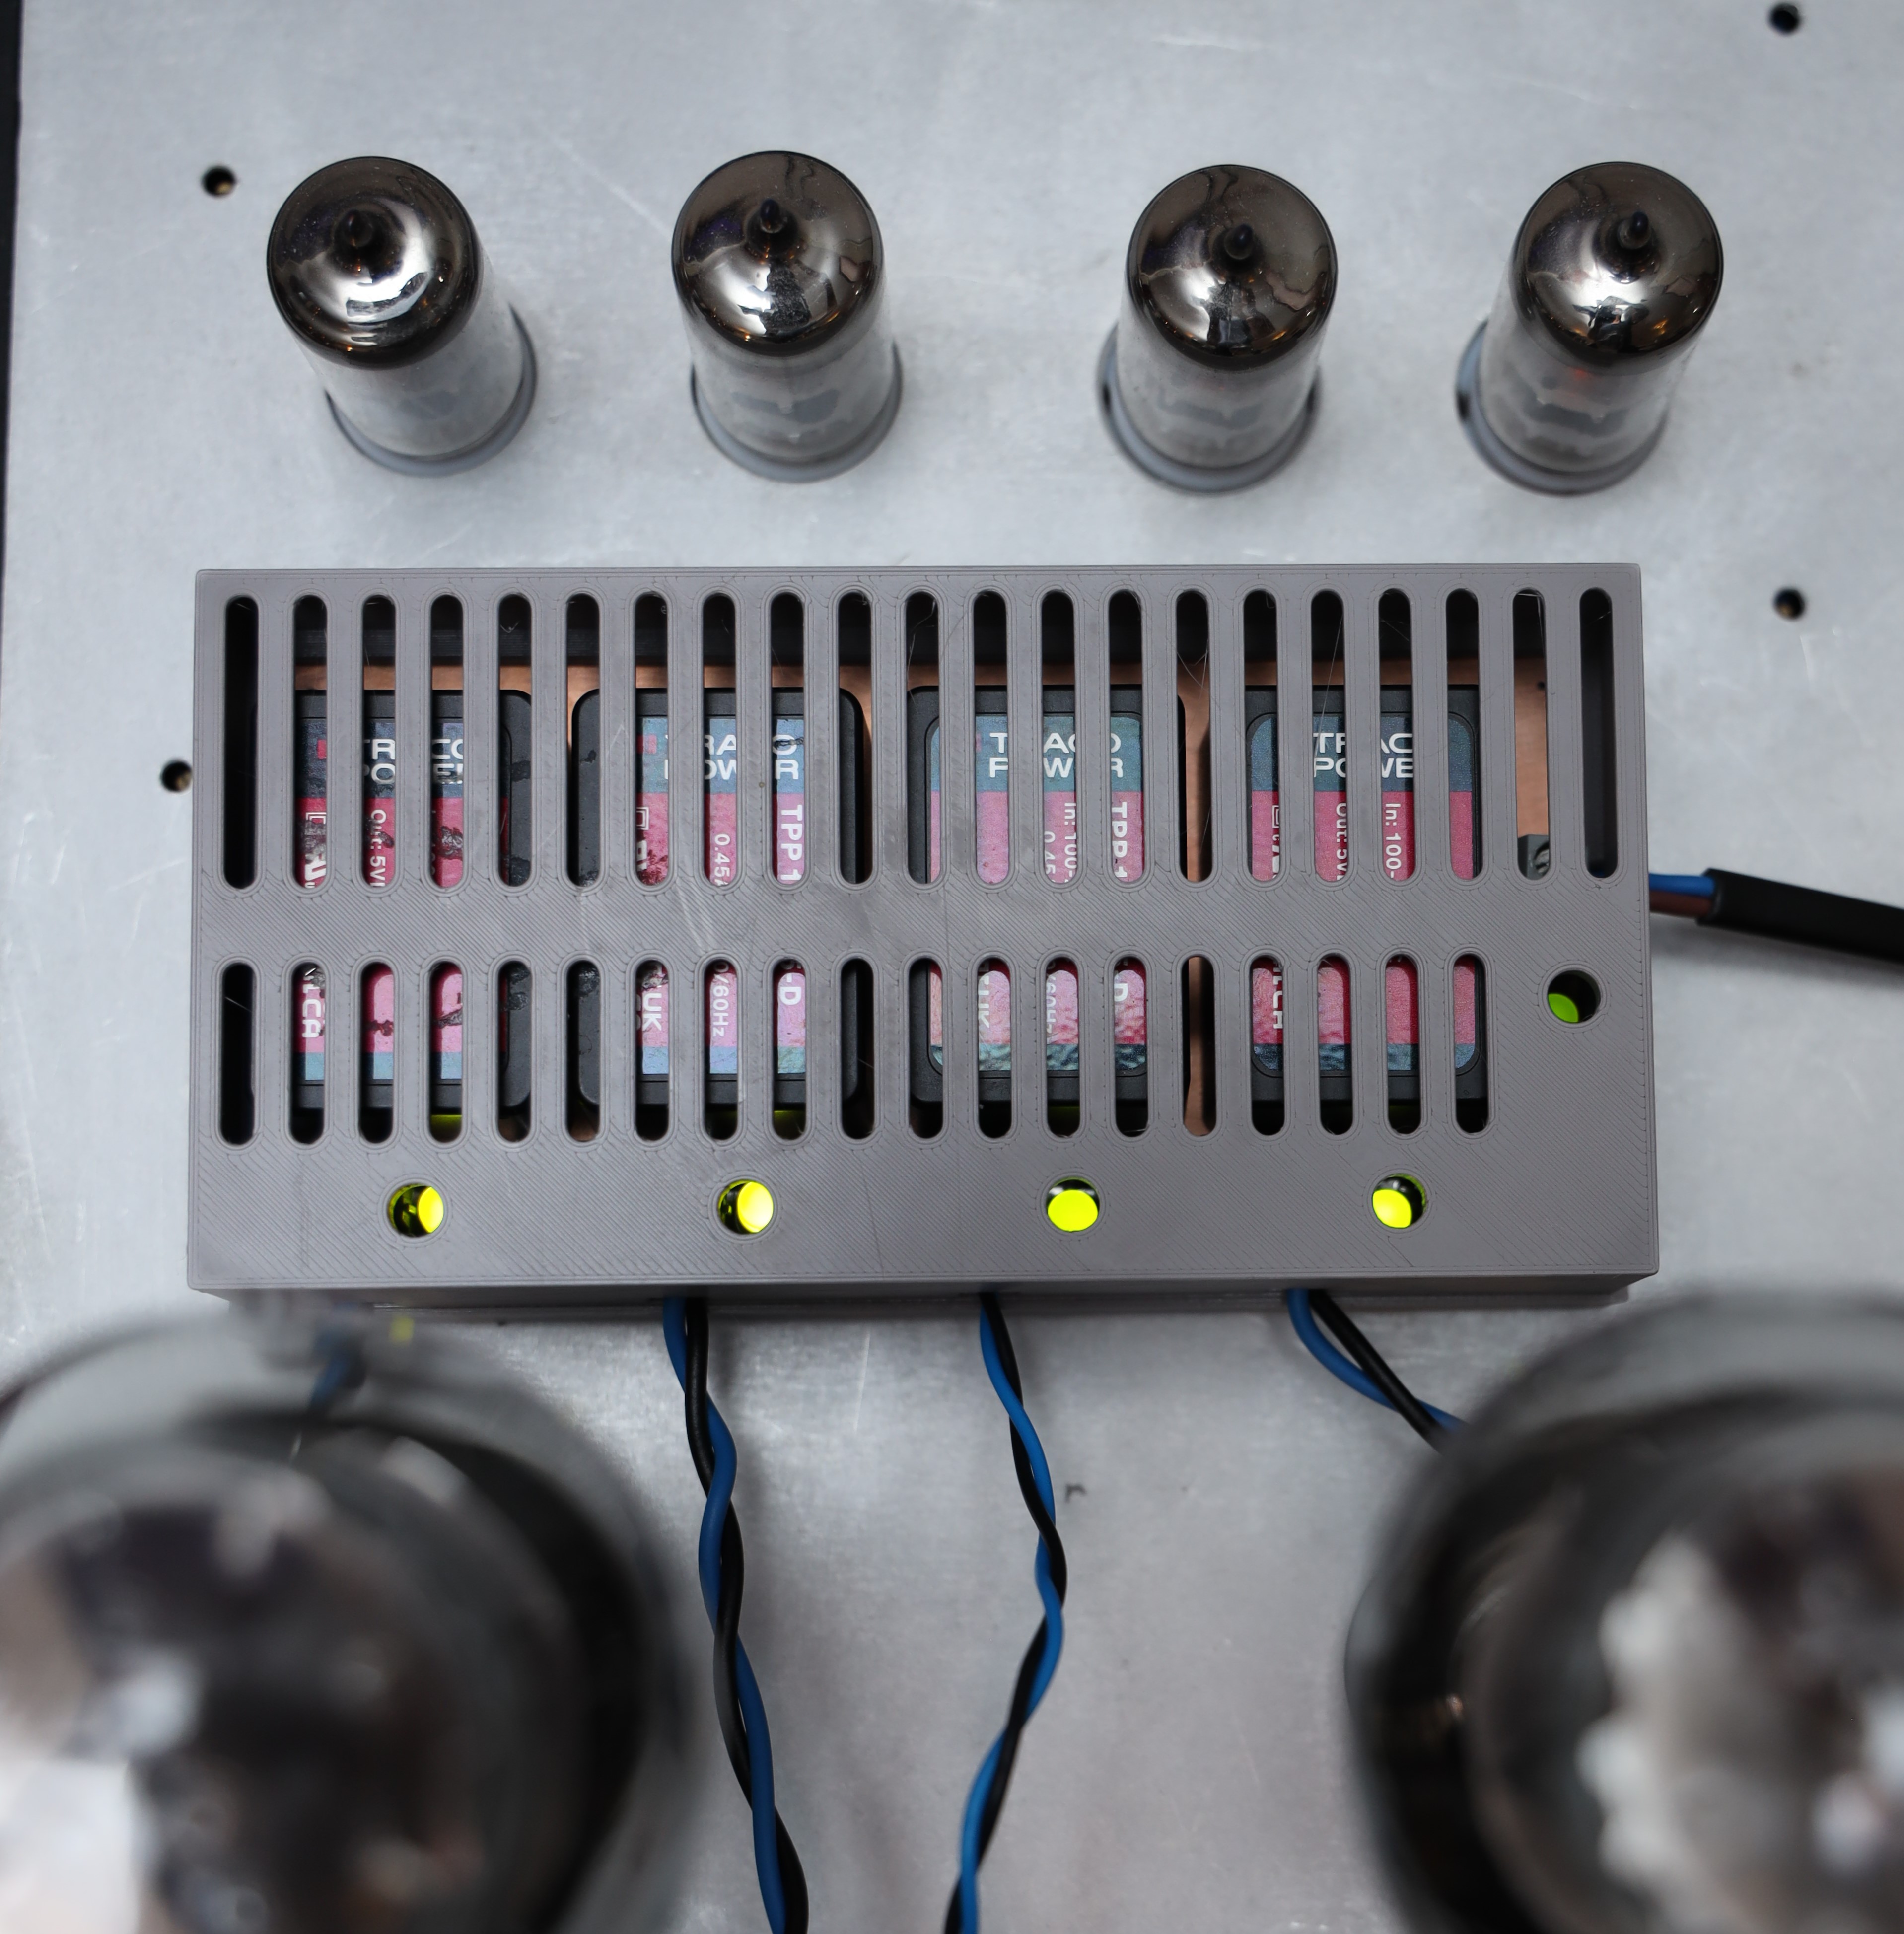
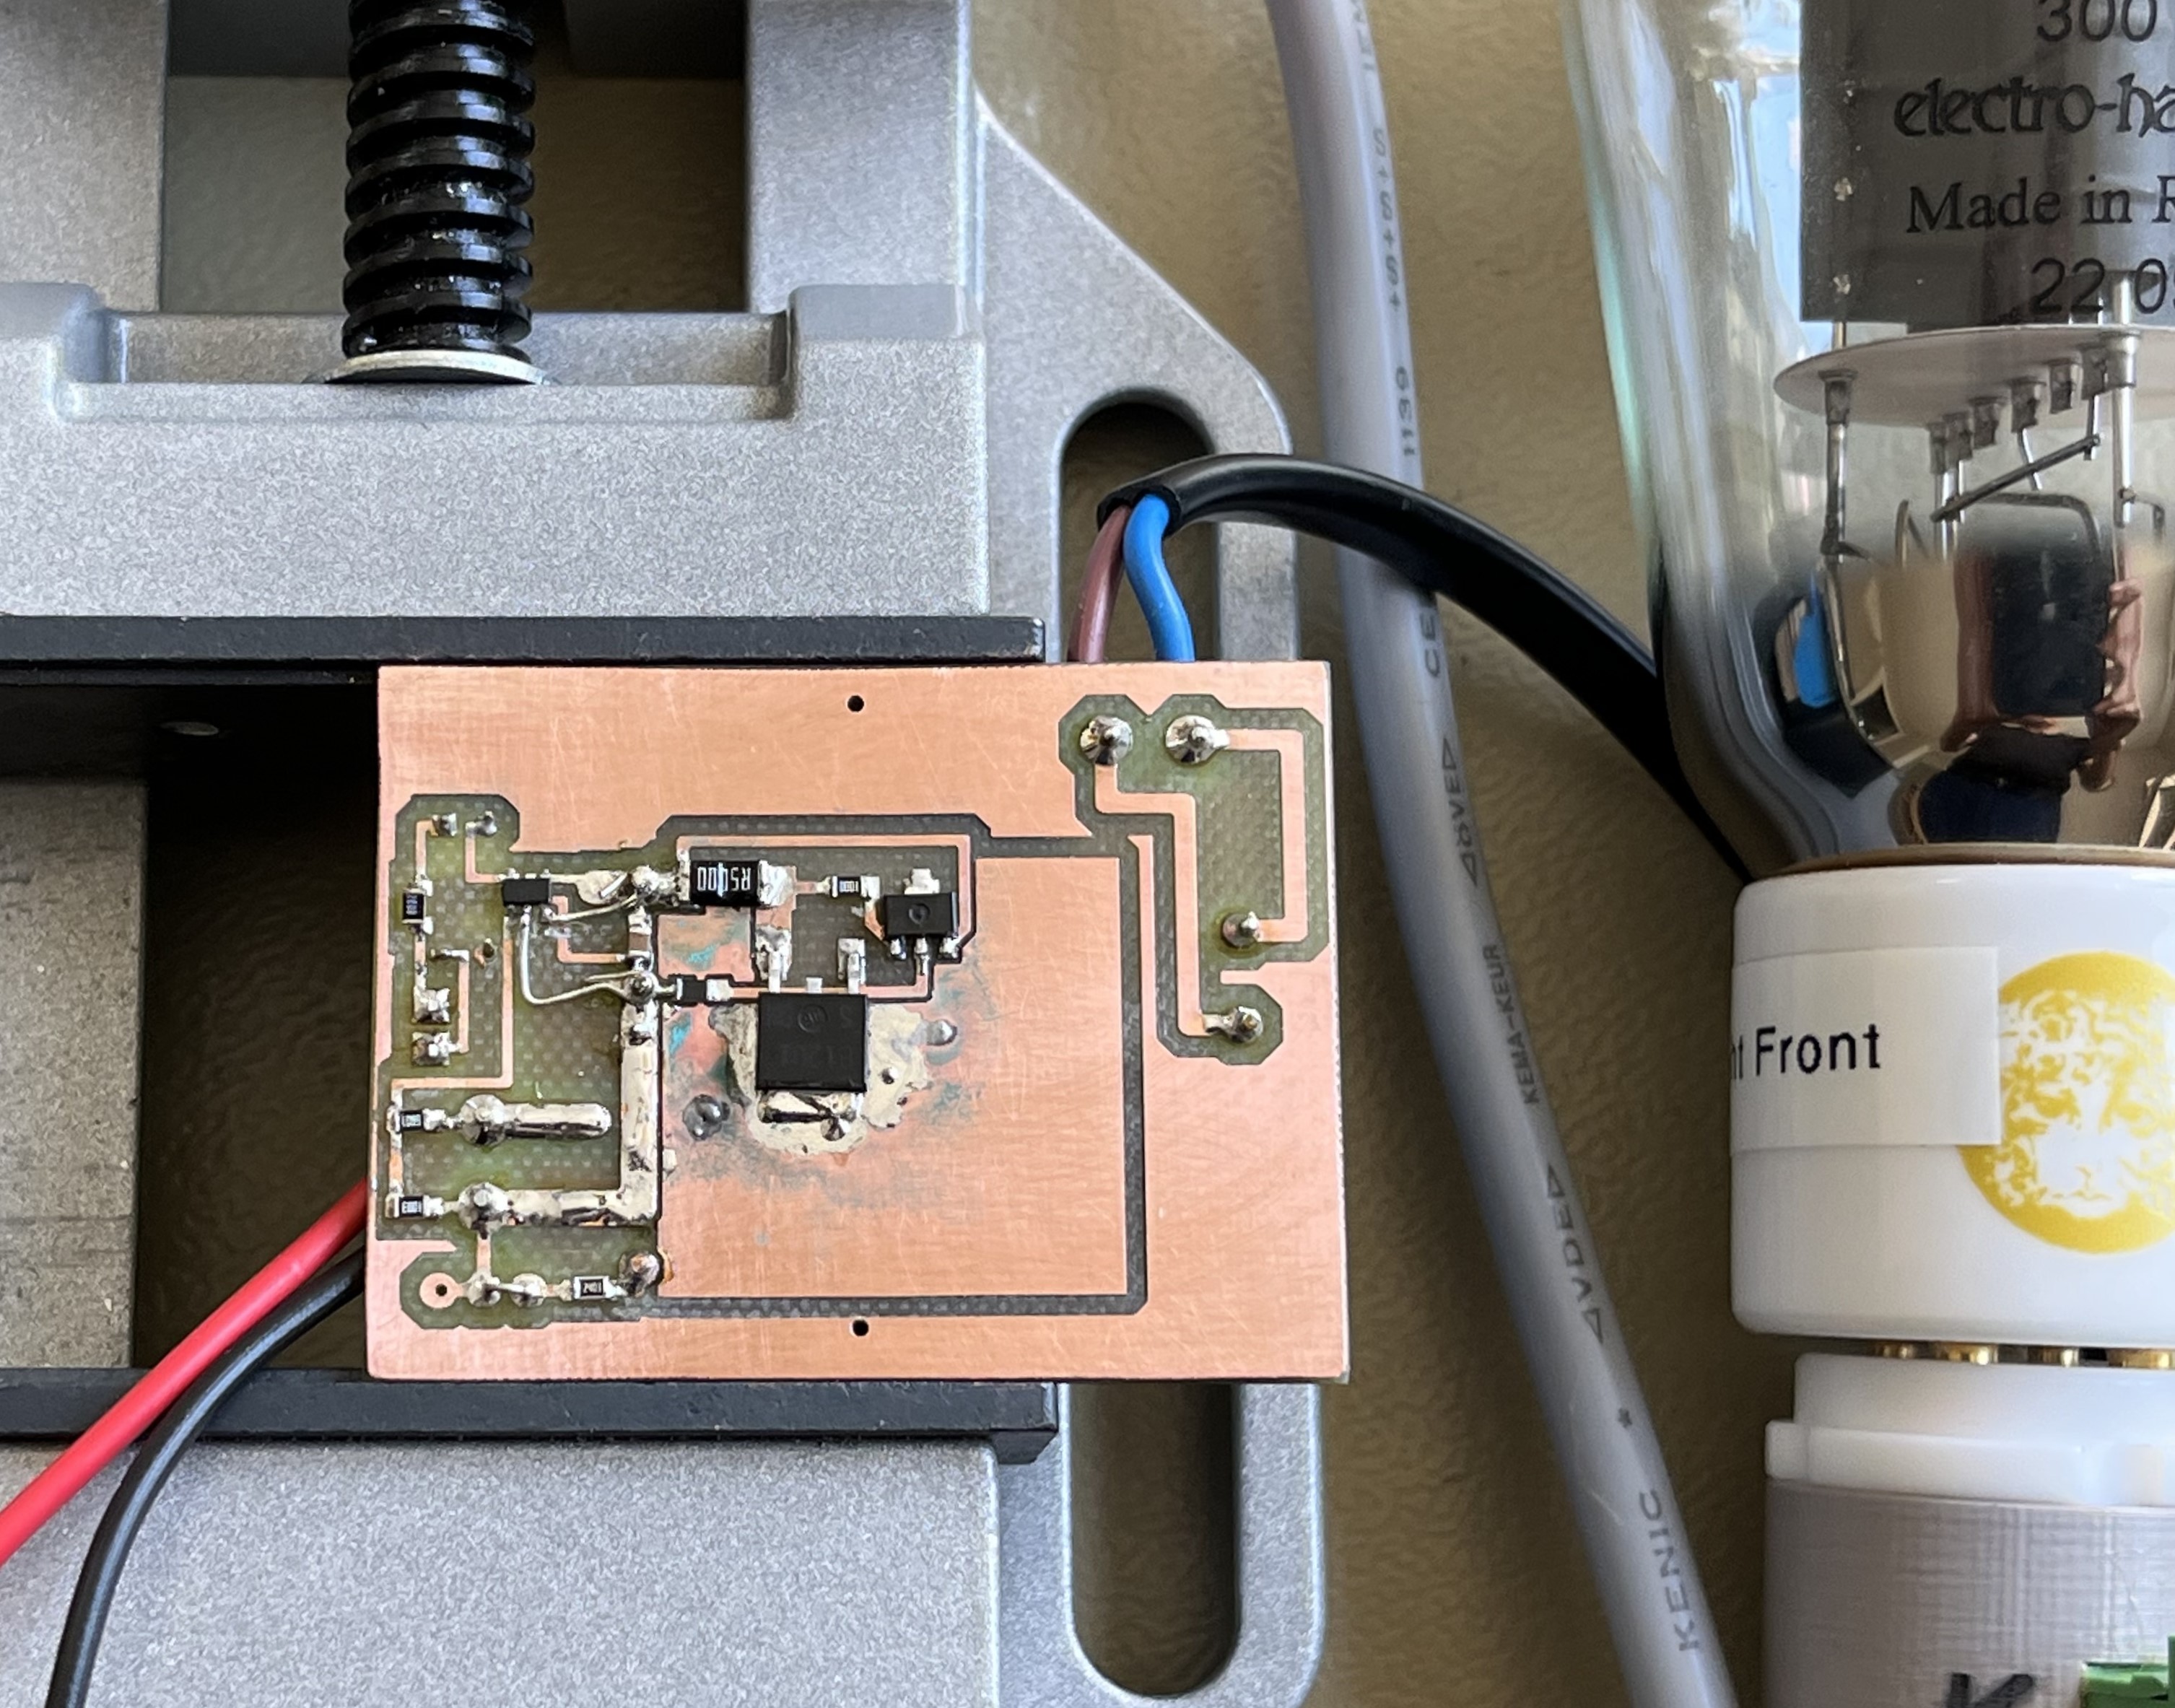
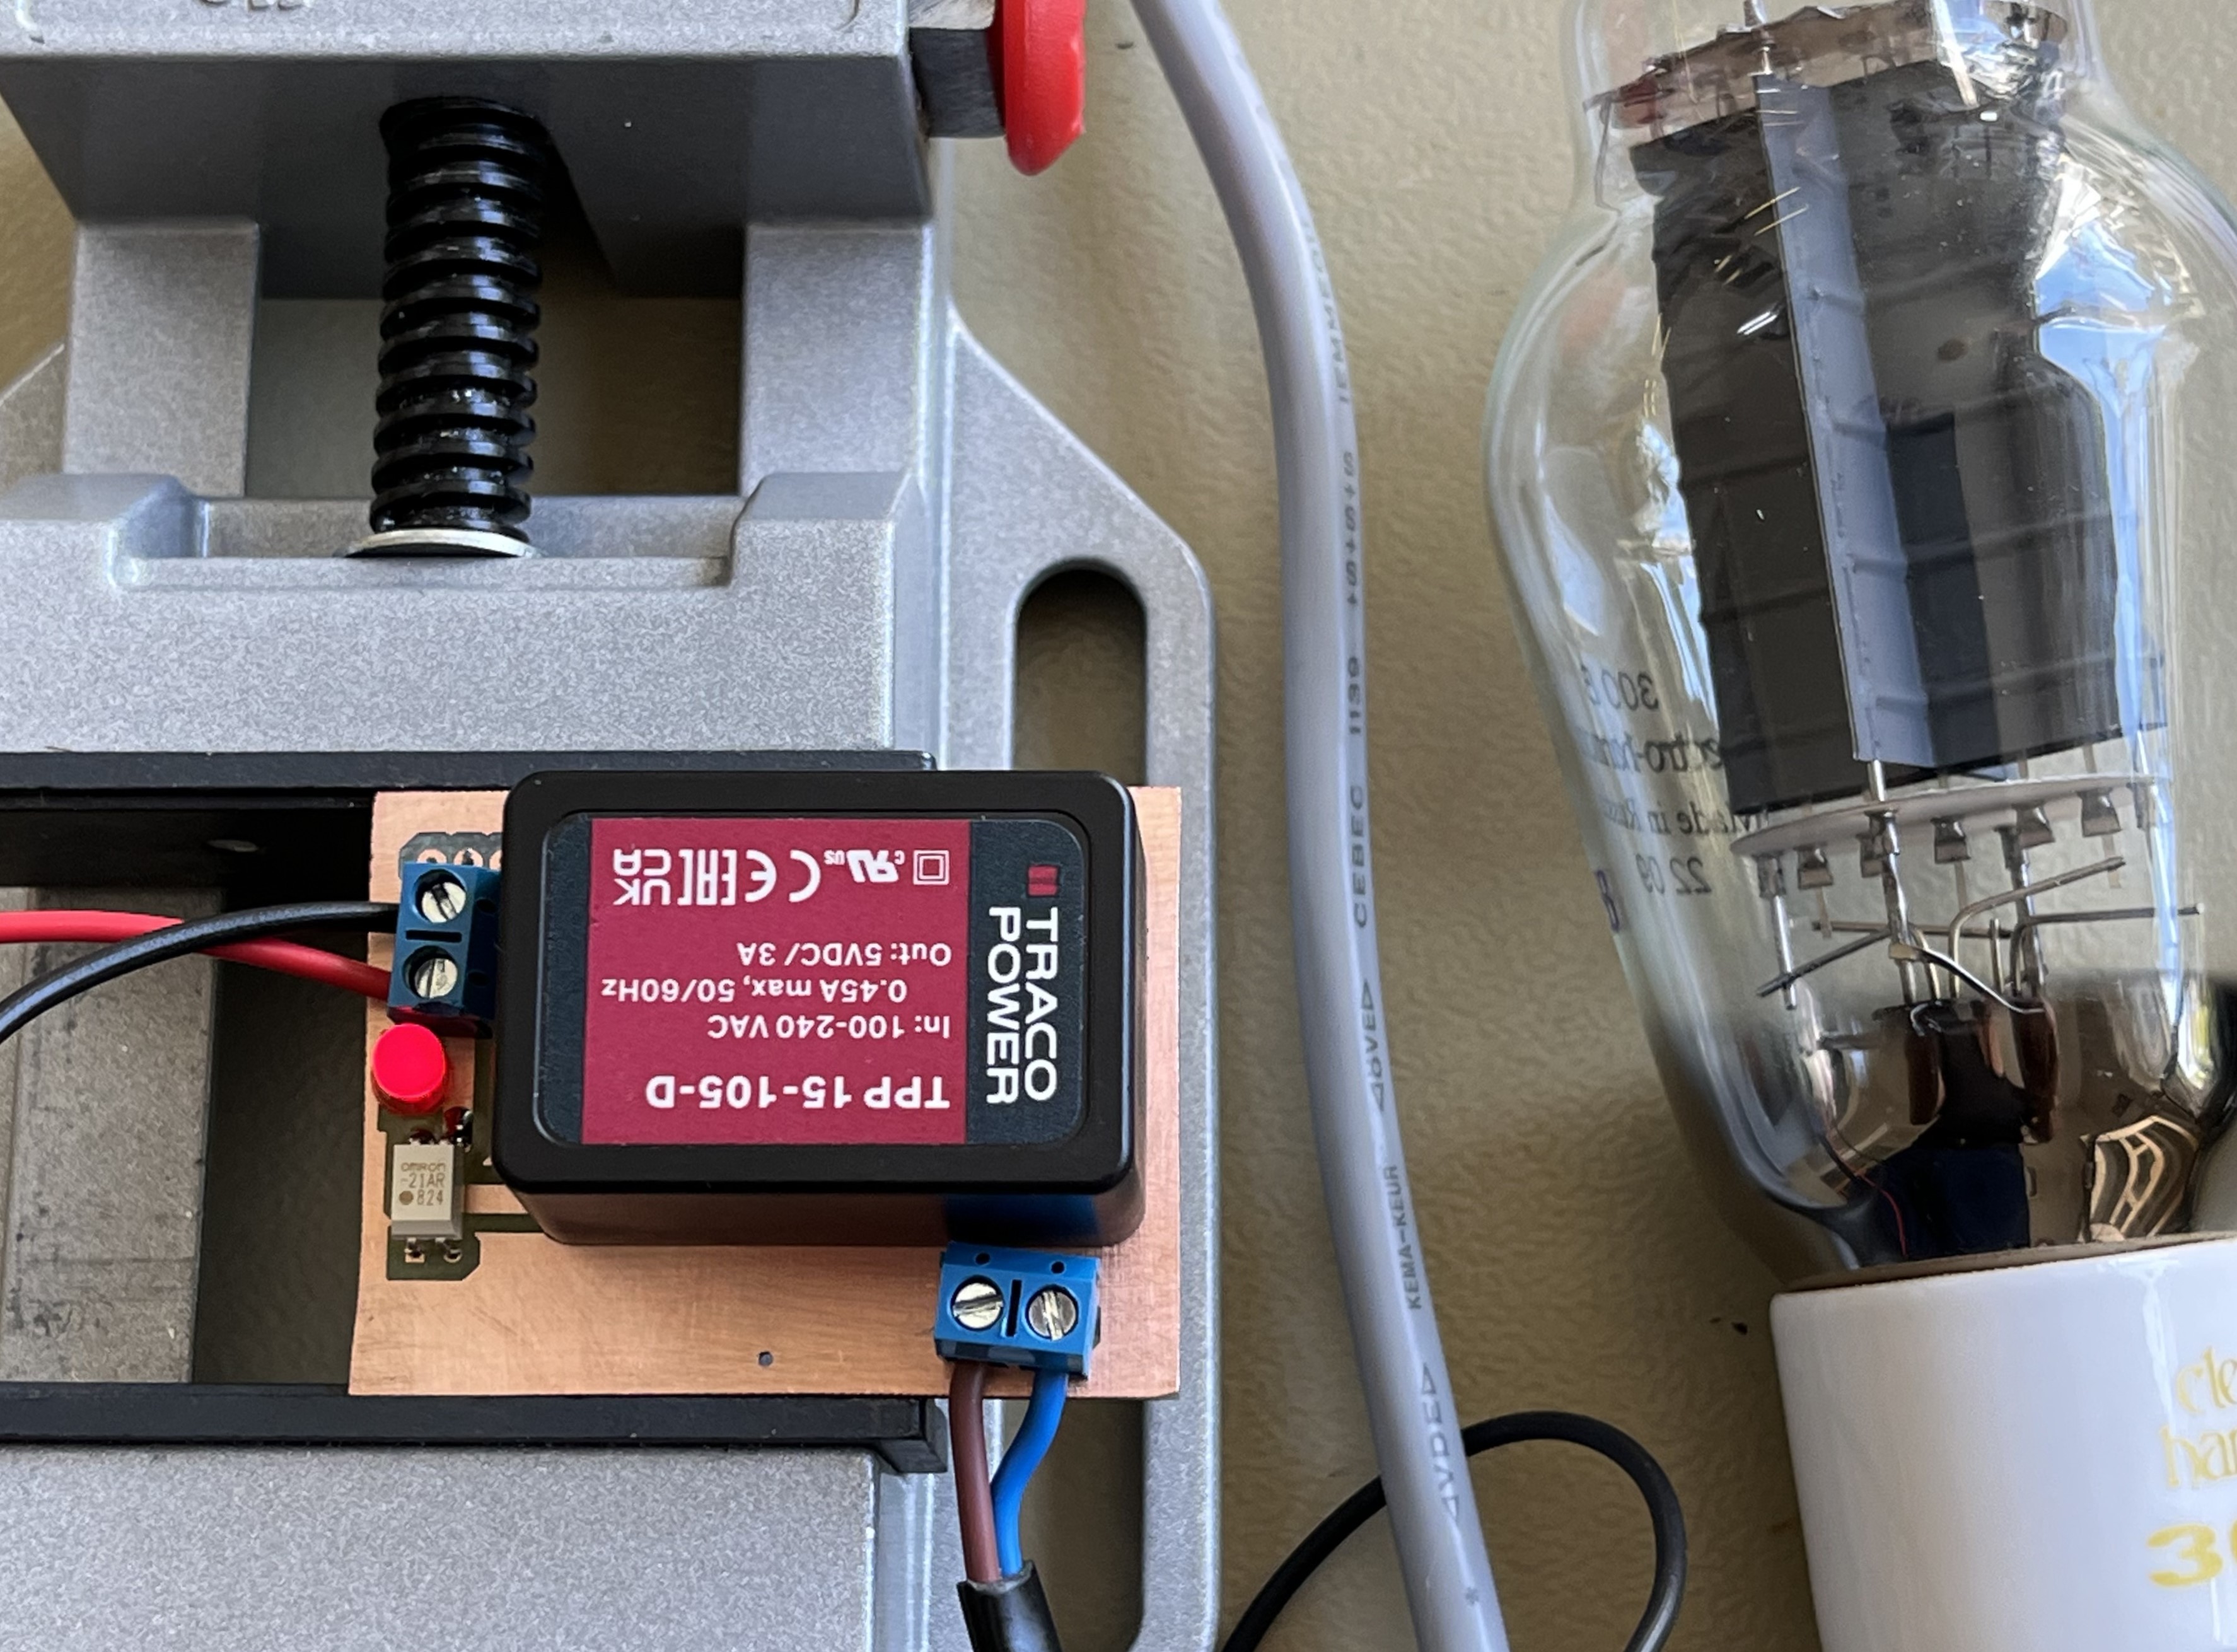
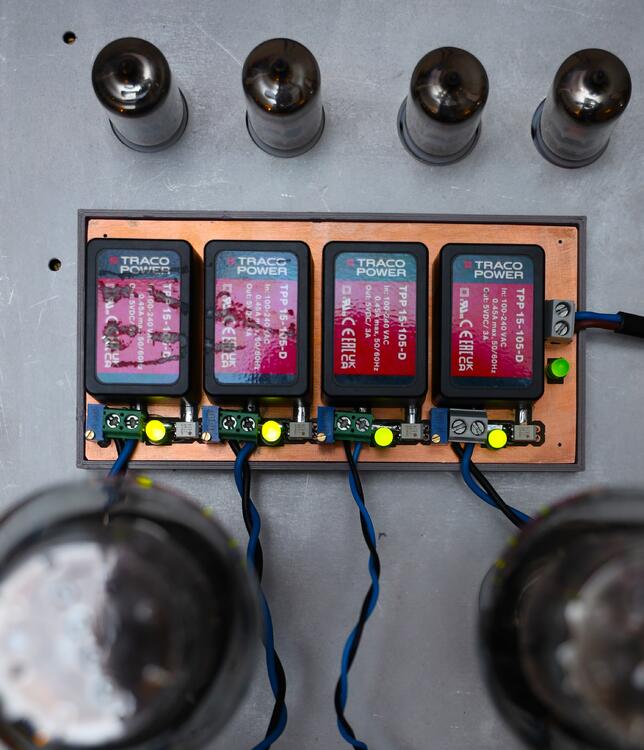
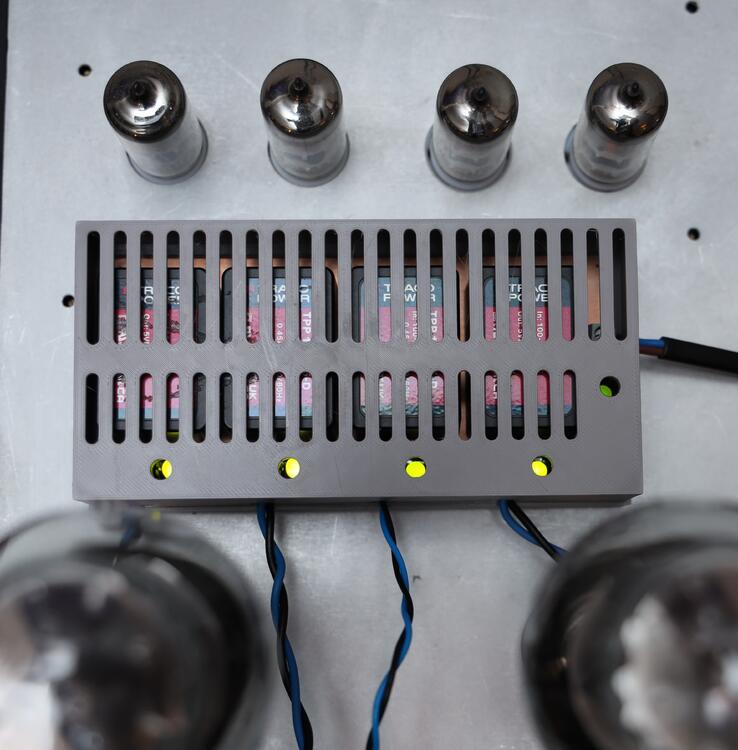
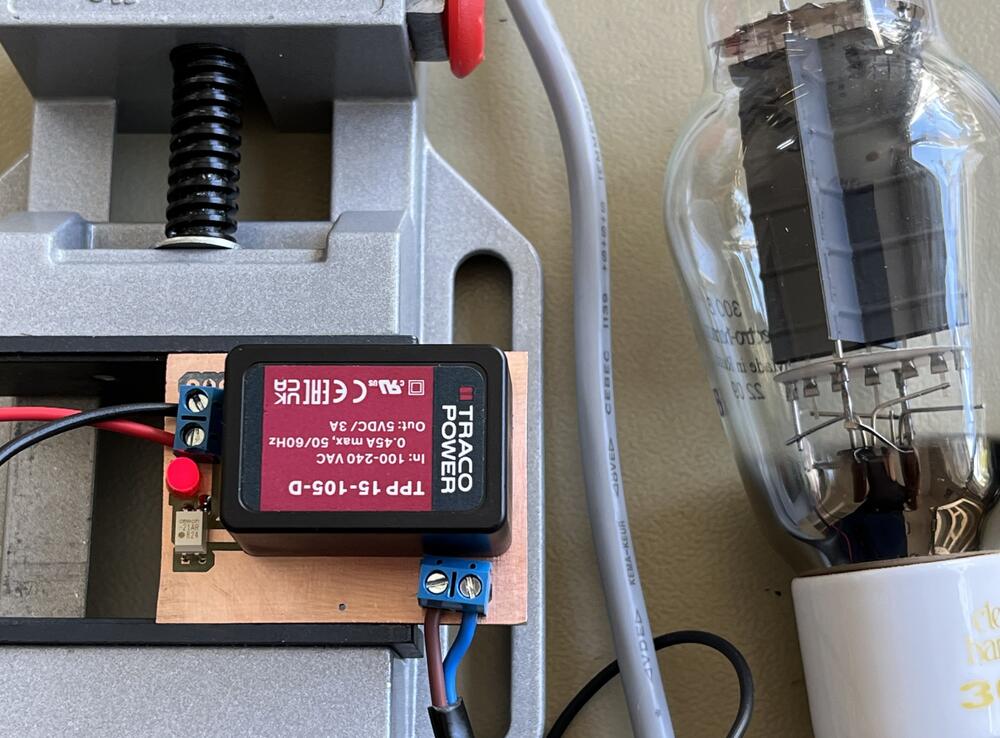
Now I think I’ve a 300B filament power unit I like. All smd on bottom side and common (through hole) trimmers and LEDs, and the Tracos of course on top side. With trimmers voltage at tube pins is easily set to 5.00 +/-0,05V. There is voltage drop cross wires and solid-state relays. Cover with ventilation slots. The Tracos produce some heat.
-
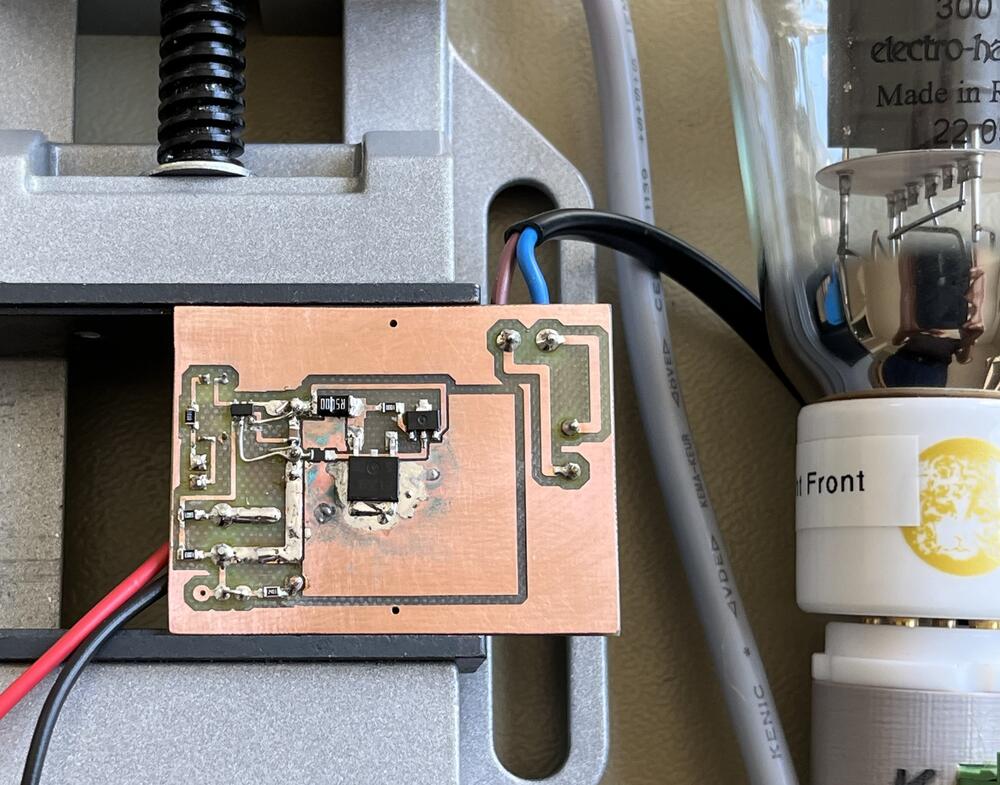
Yep, it seems to work. So far so good. No heat problems. Current set to 1.5A and when filament voltage reaches 3.7V solid state relay closes.
-
-
Take a look in the balanced headphone protector thread. Just a few pages and I think you might find something useful there.