

Leaderboard


Popular Content
Showing content with the highest reputation on 10/10/22 in all areas
-
5 points
-
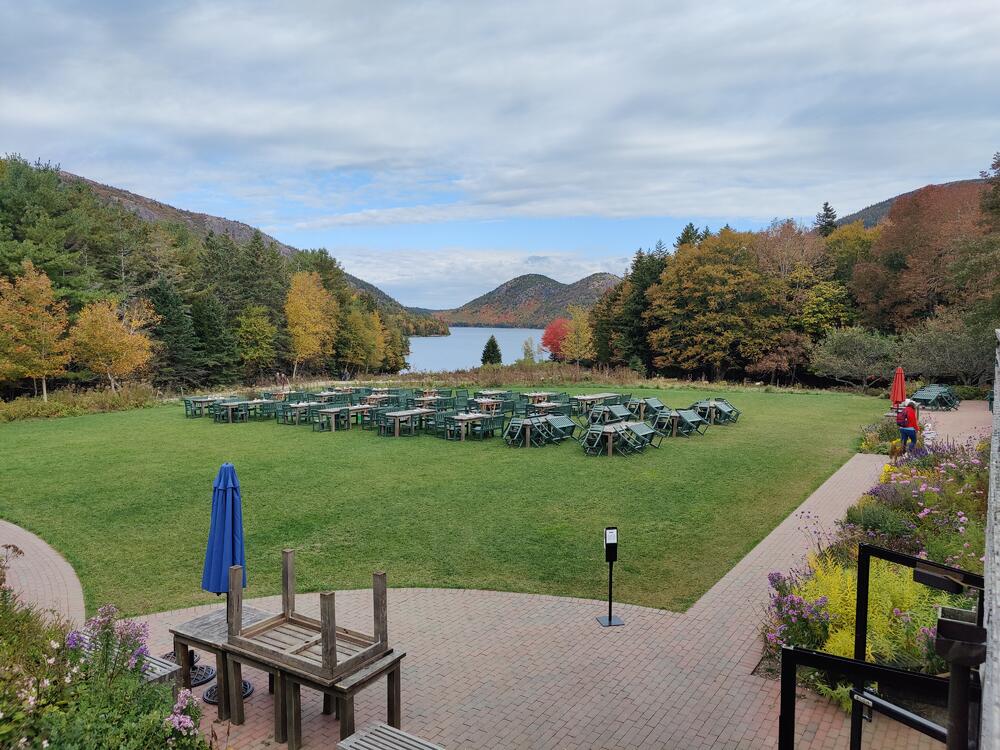
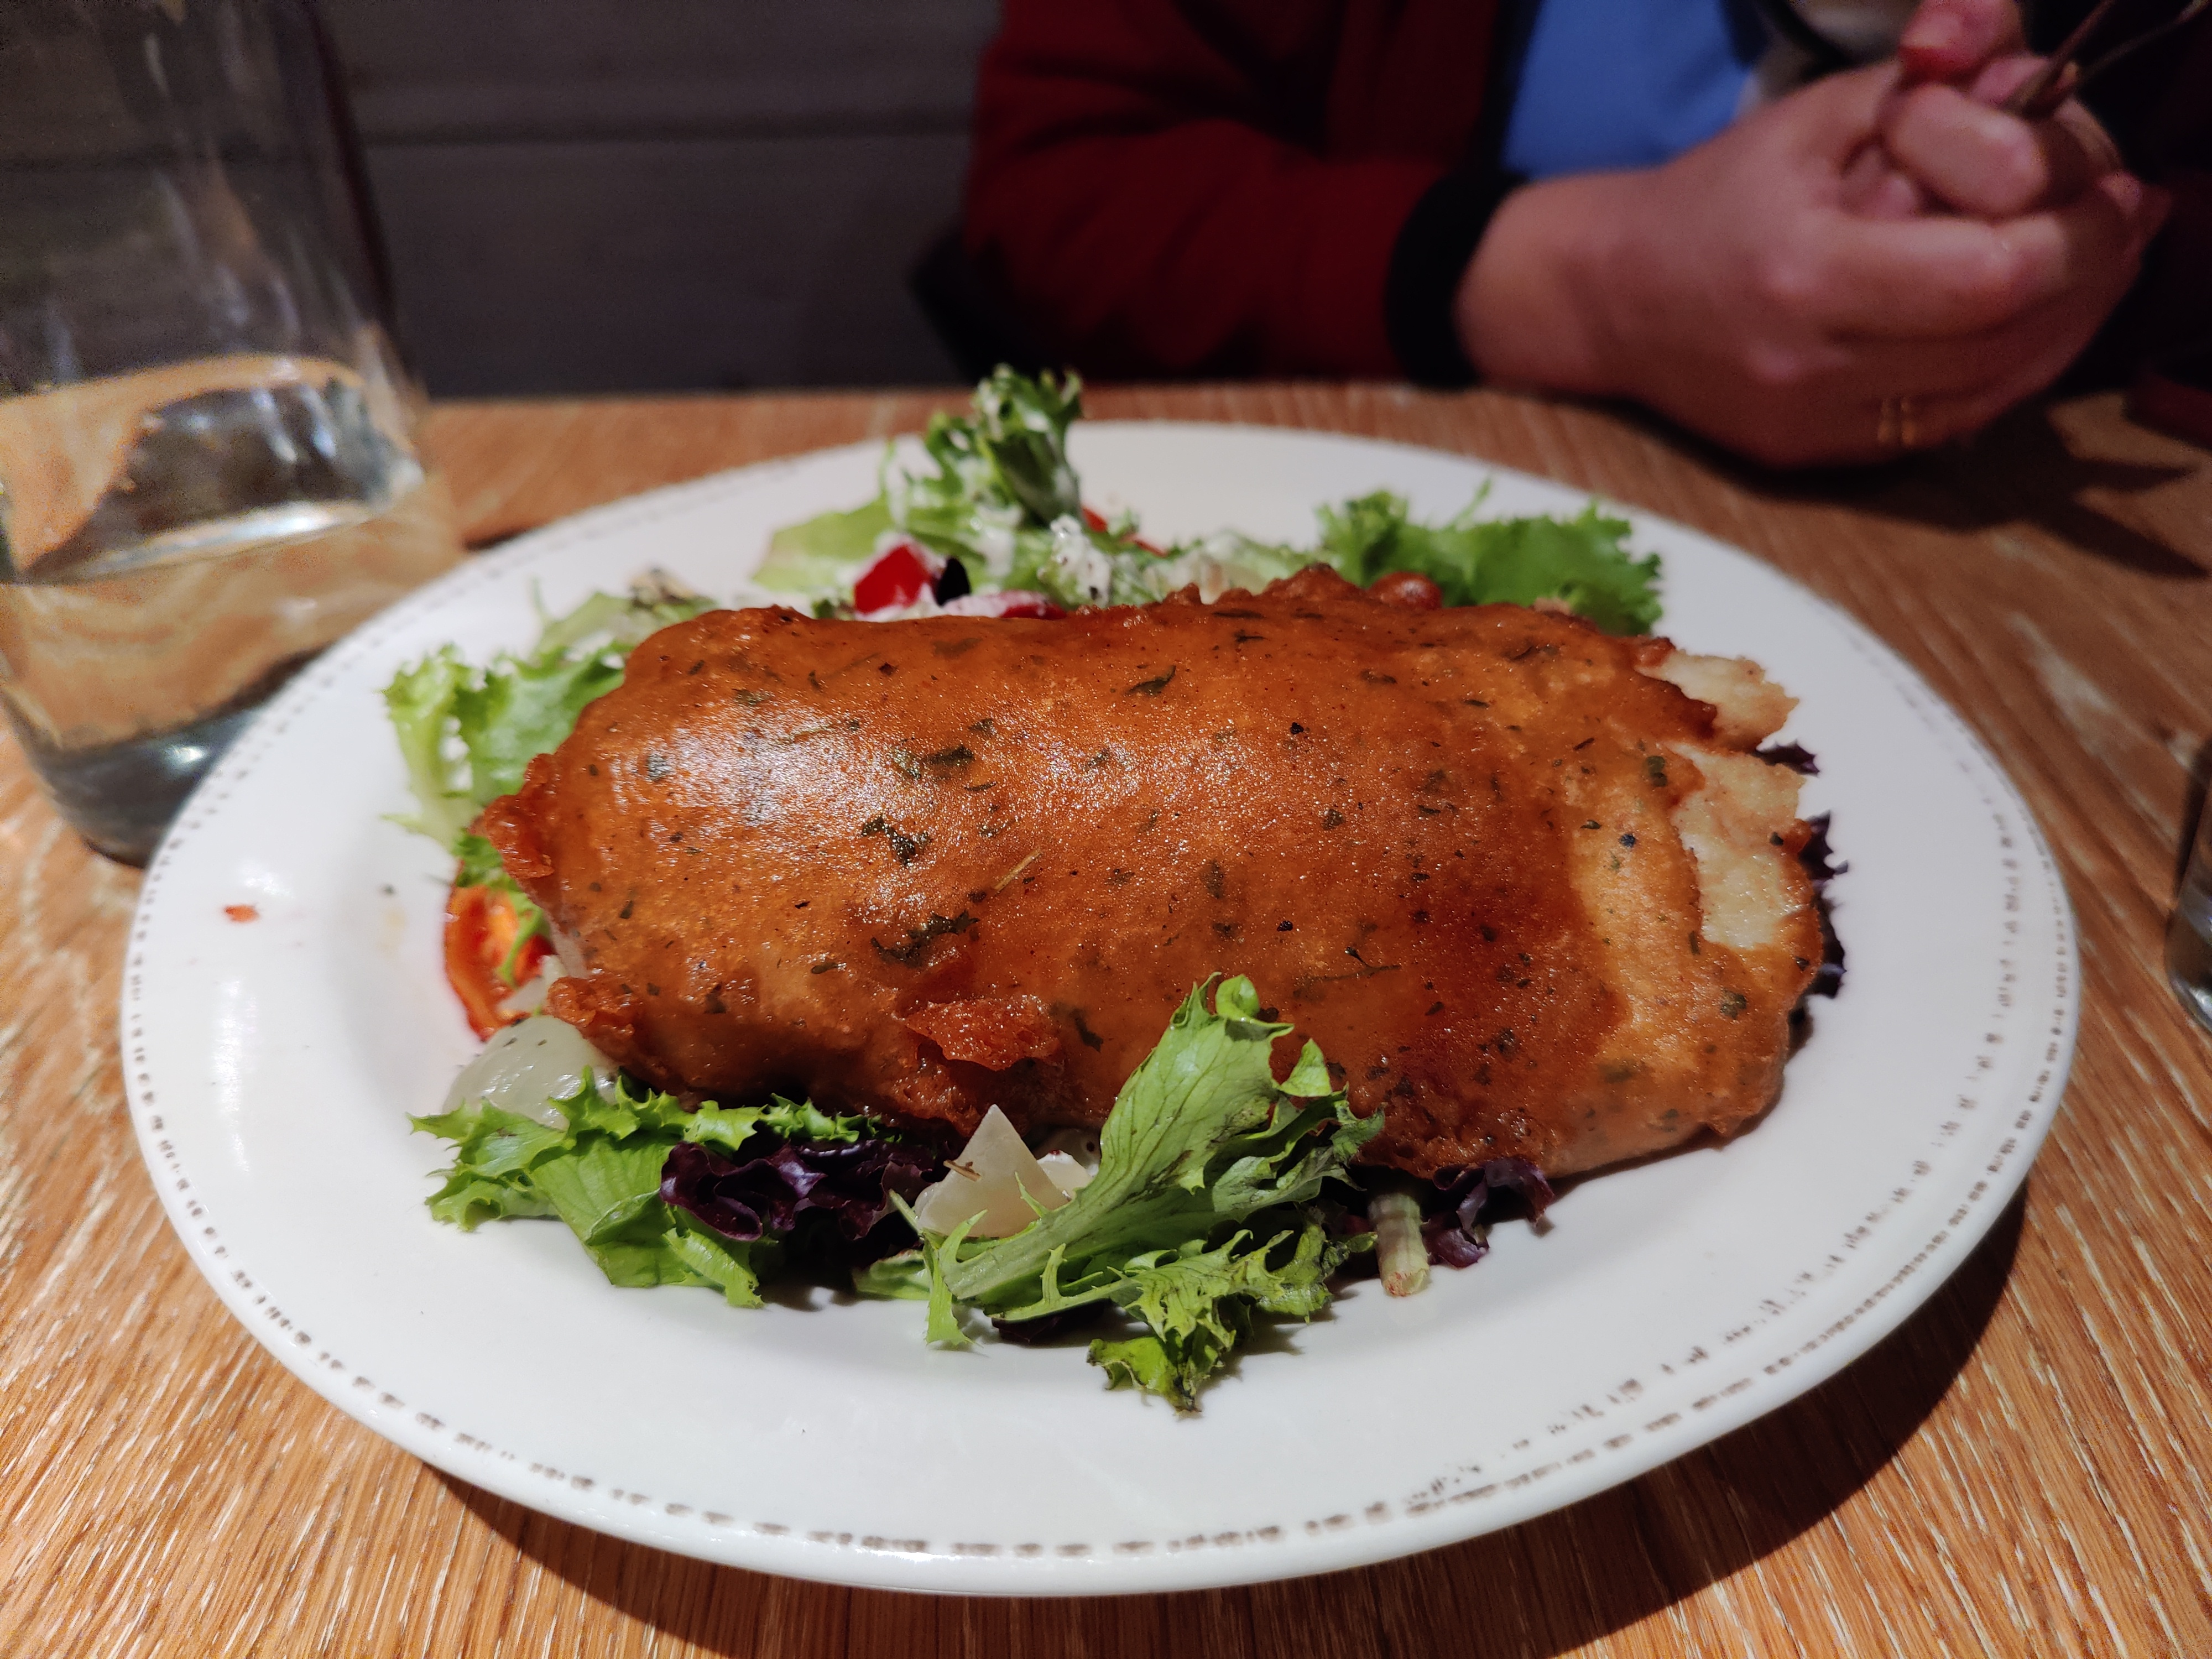
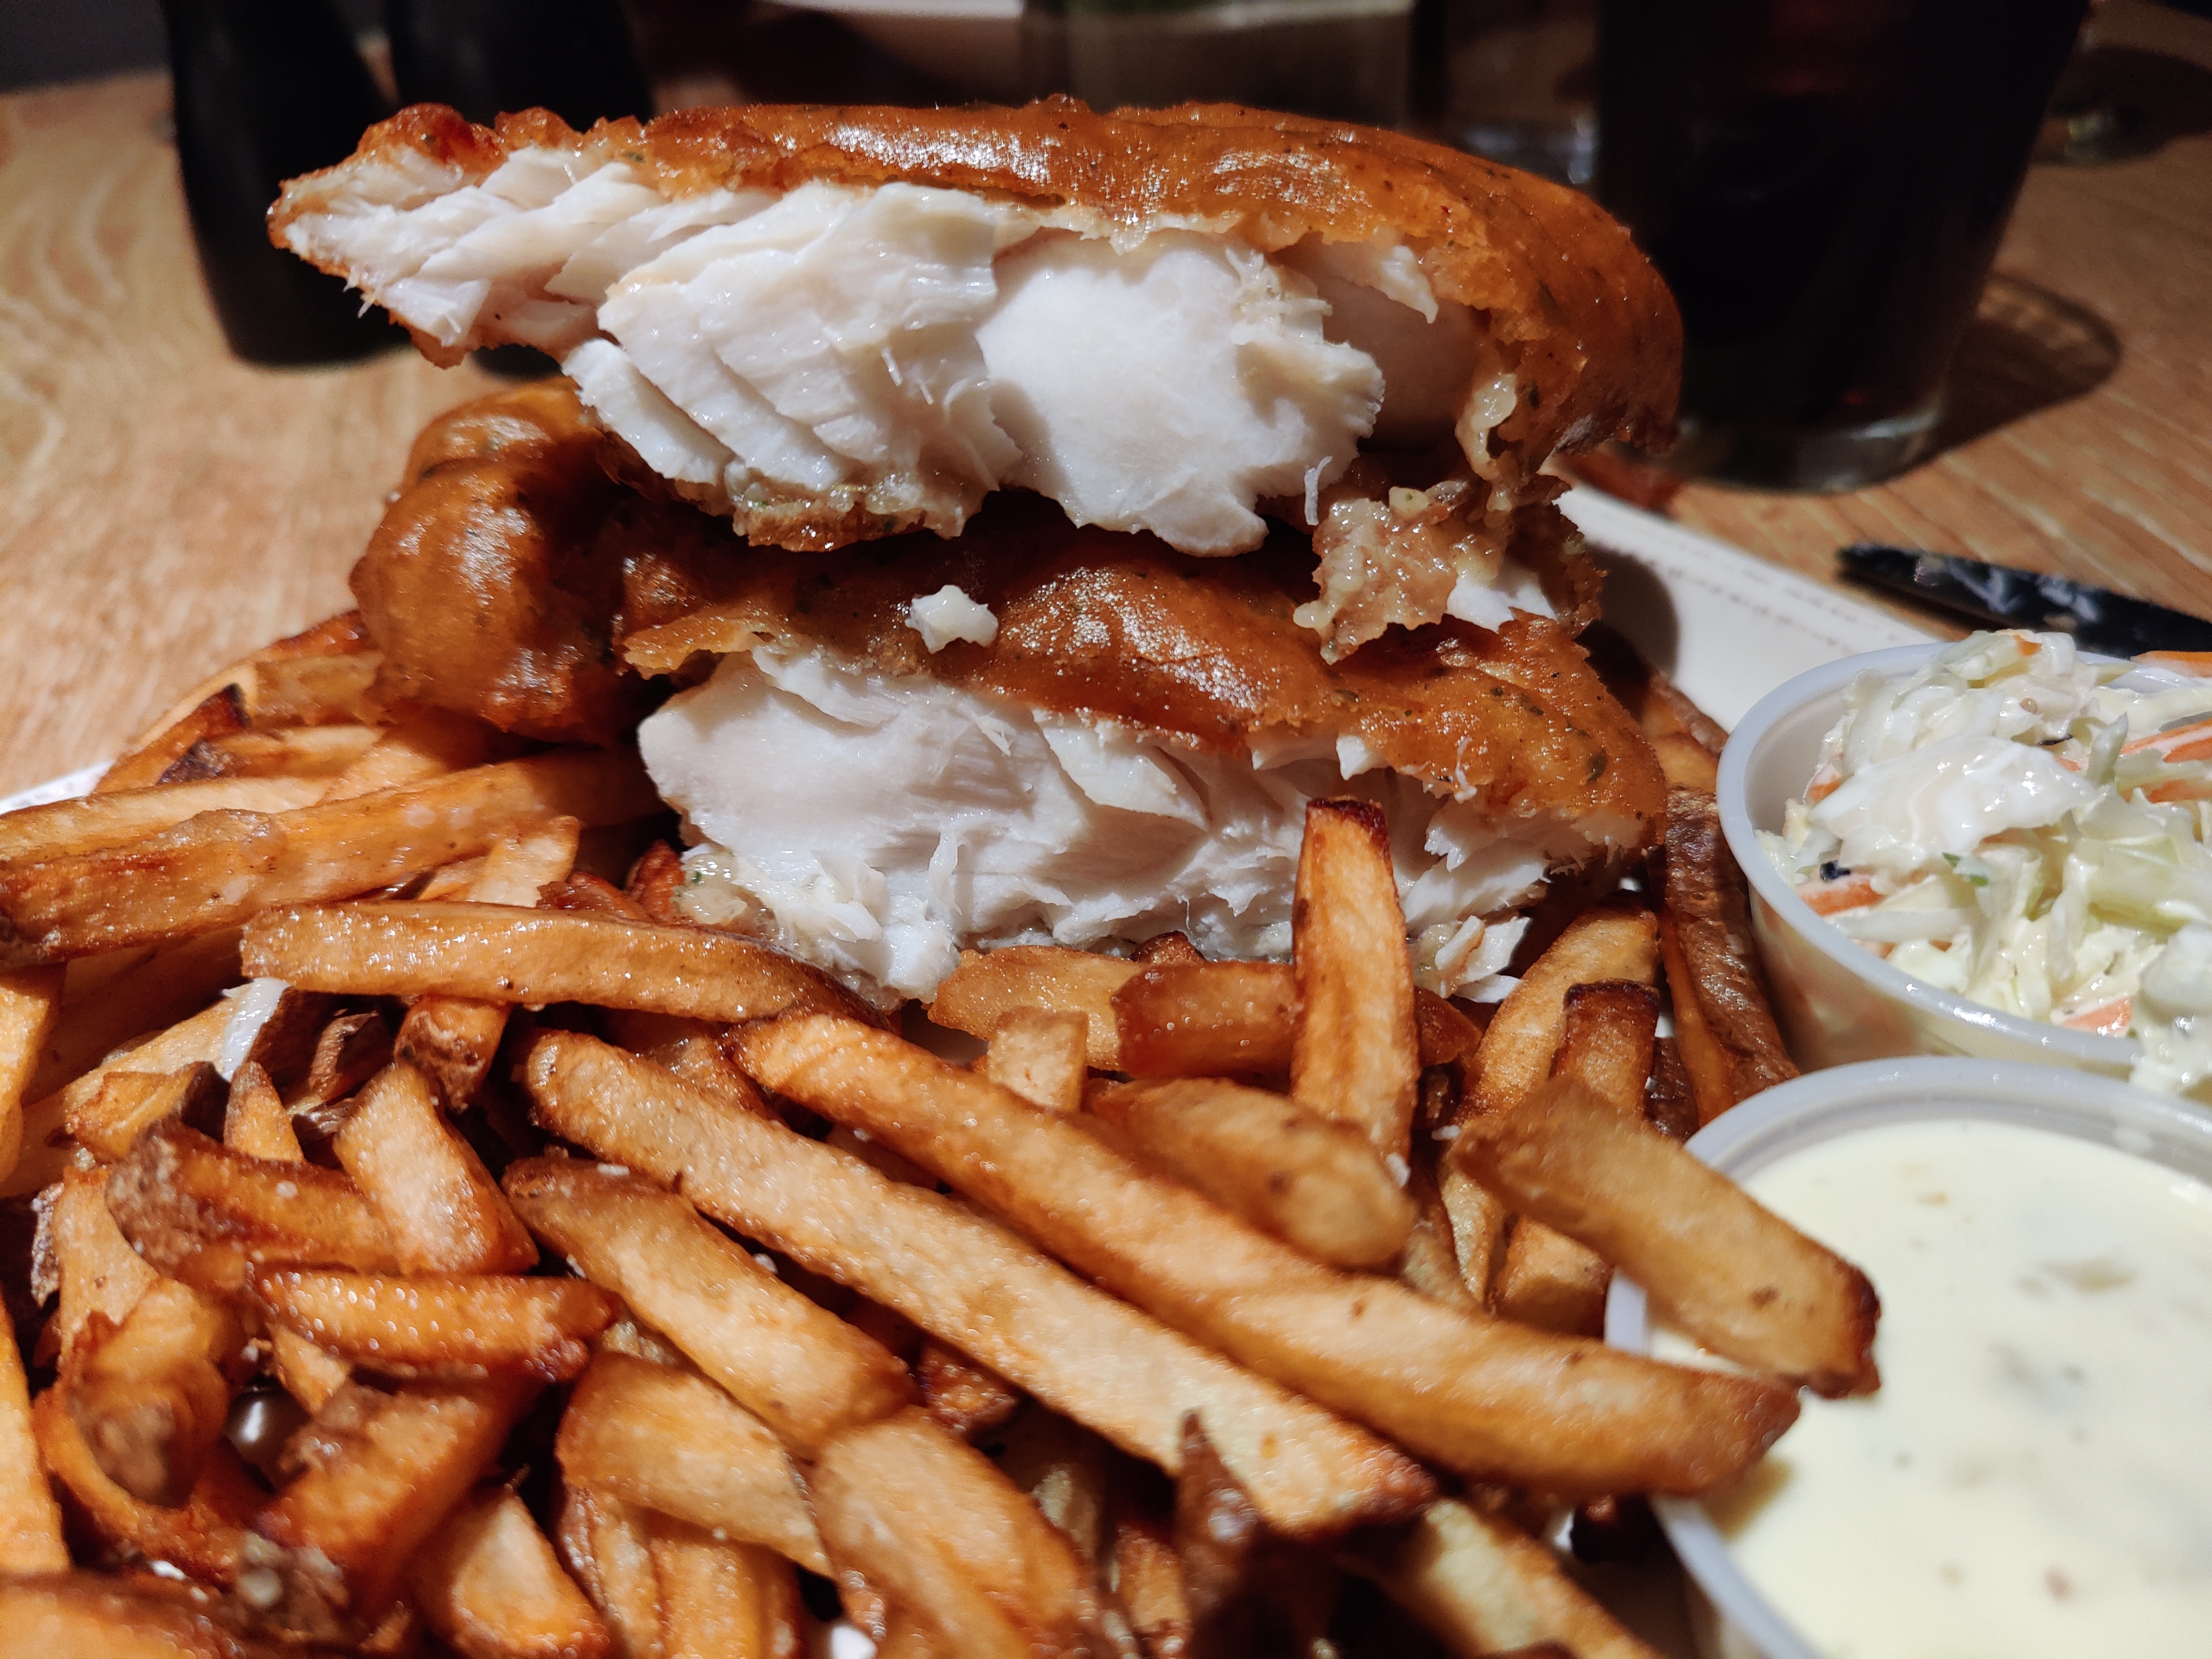
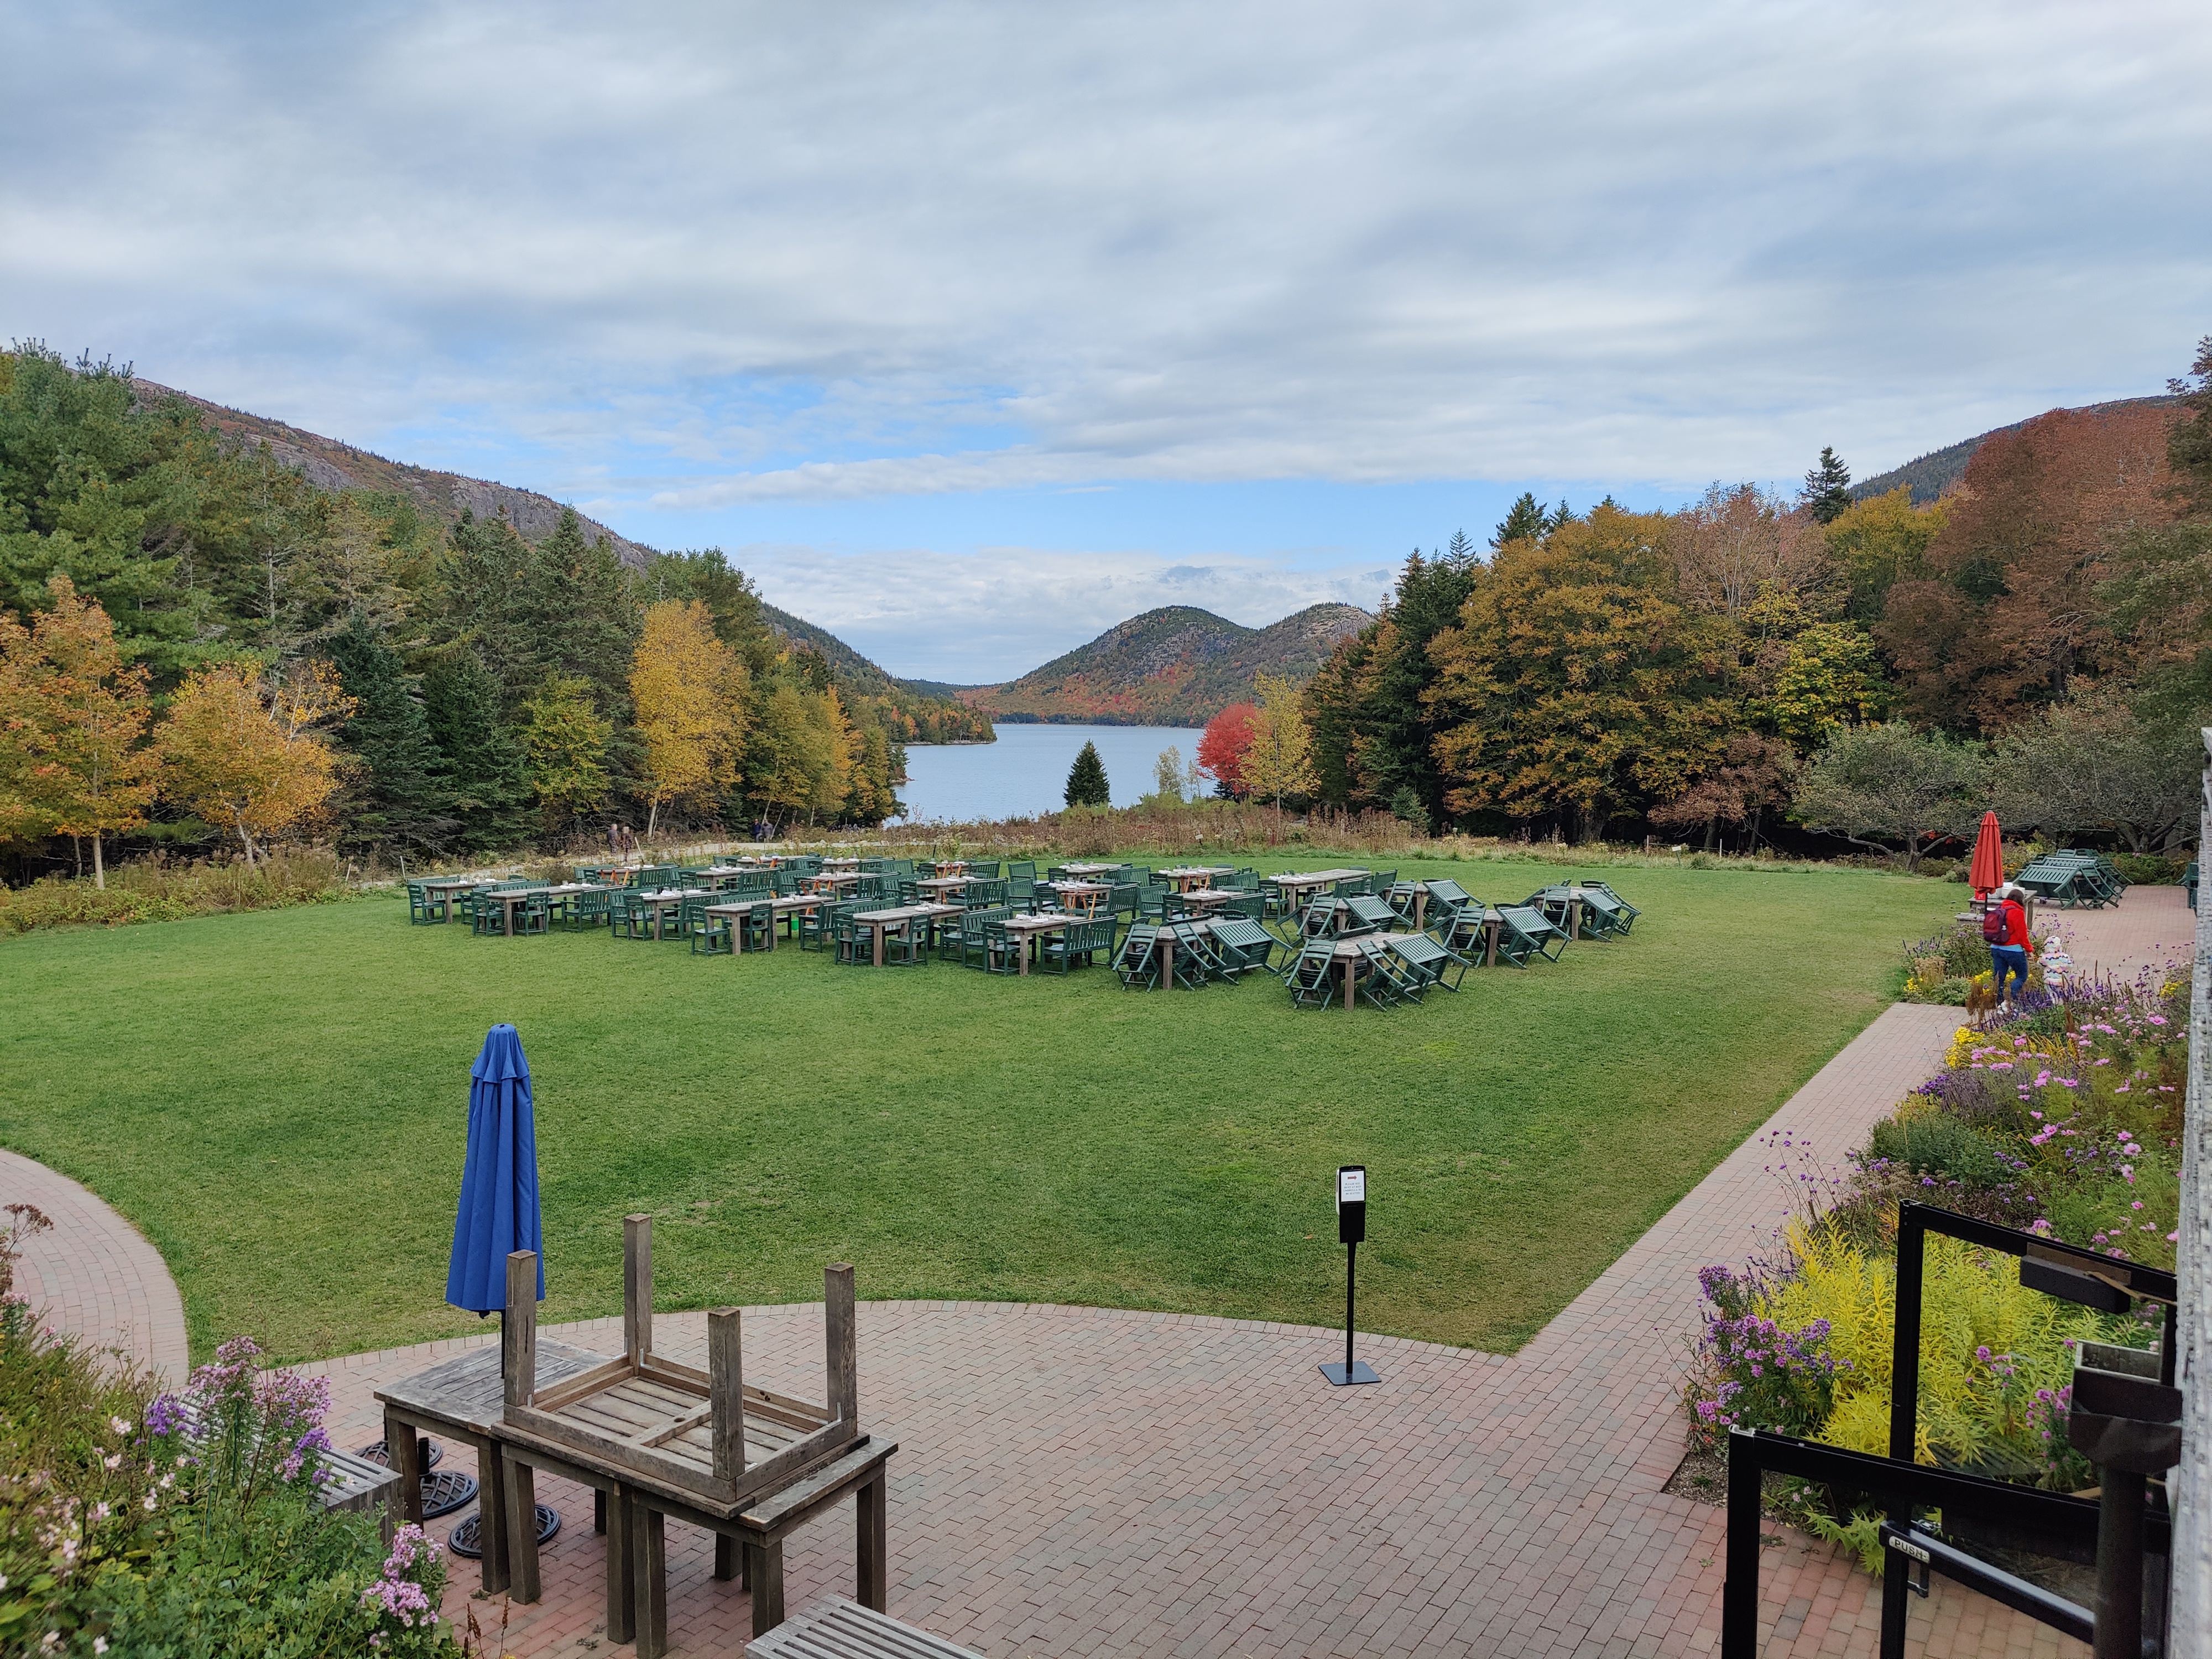
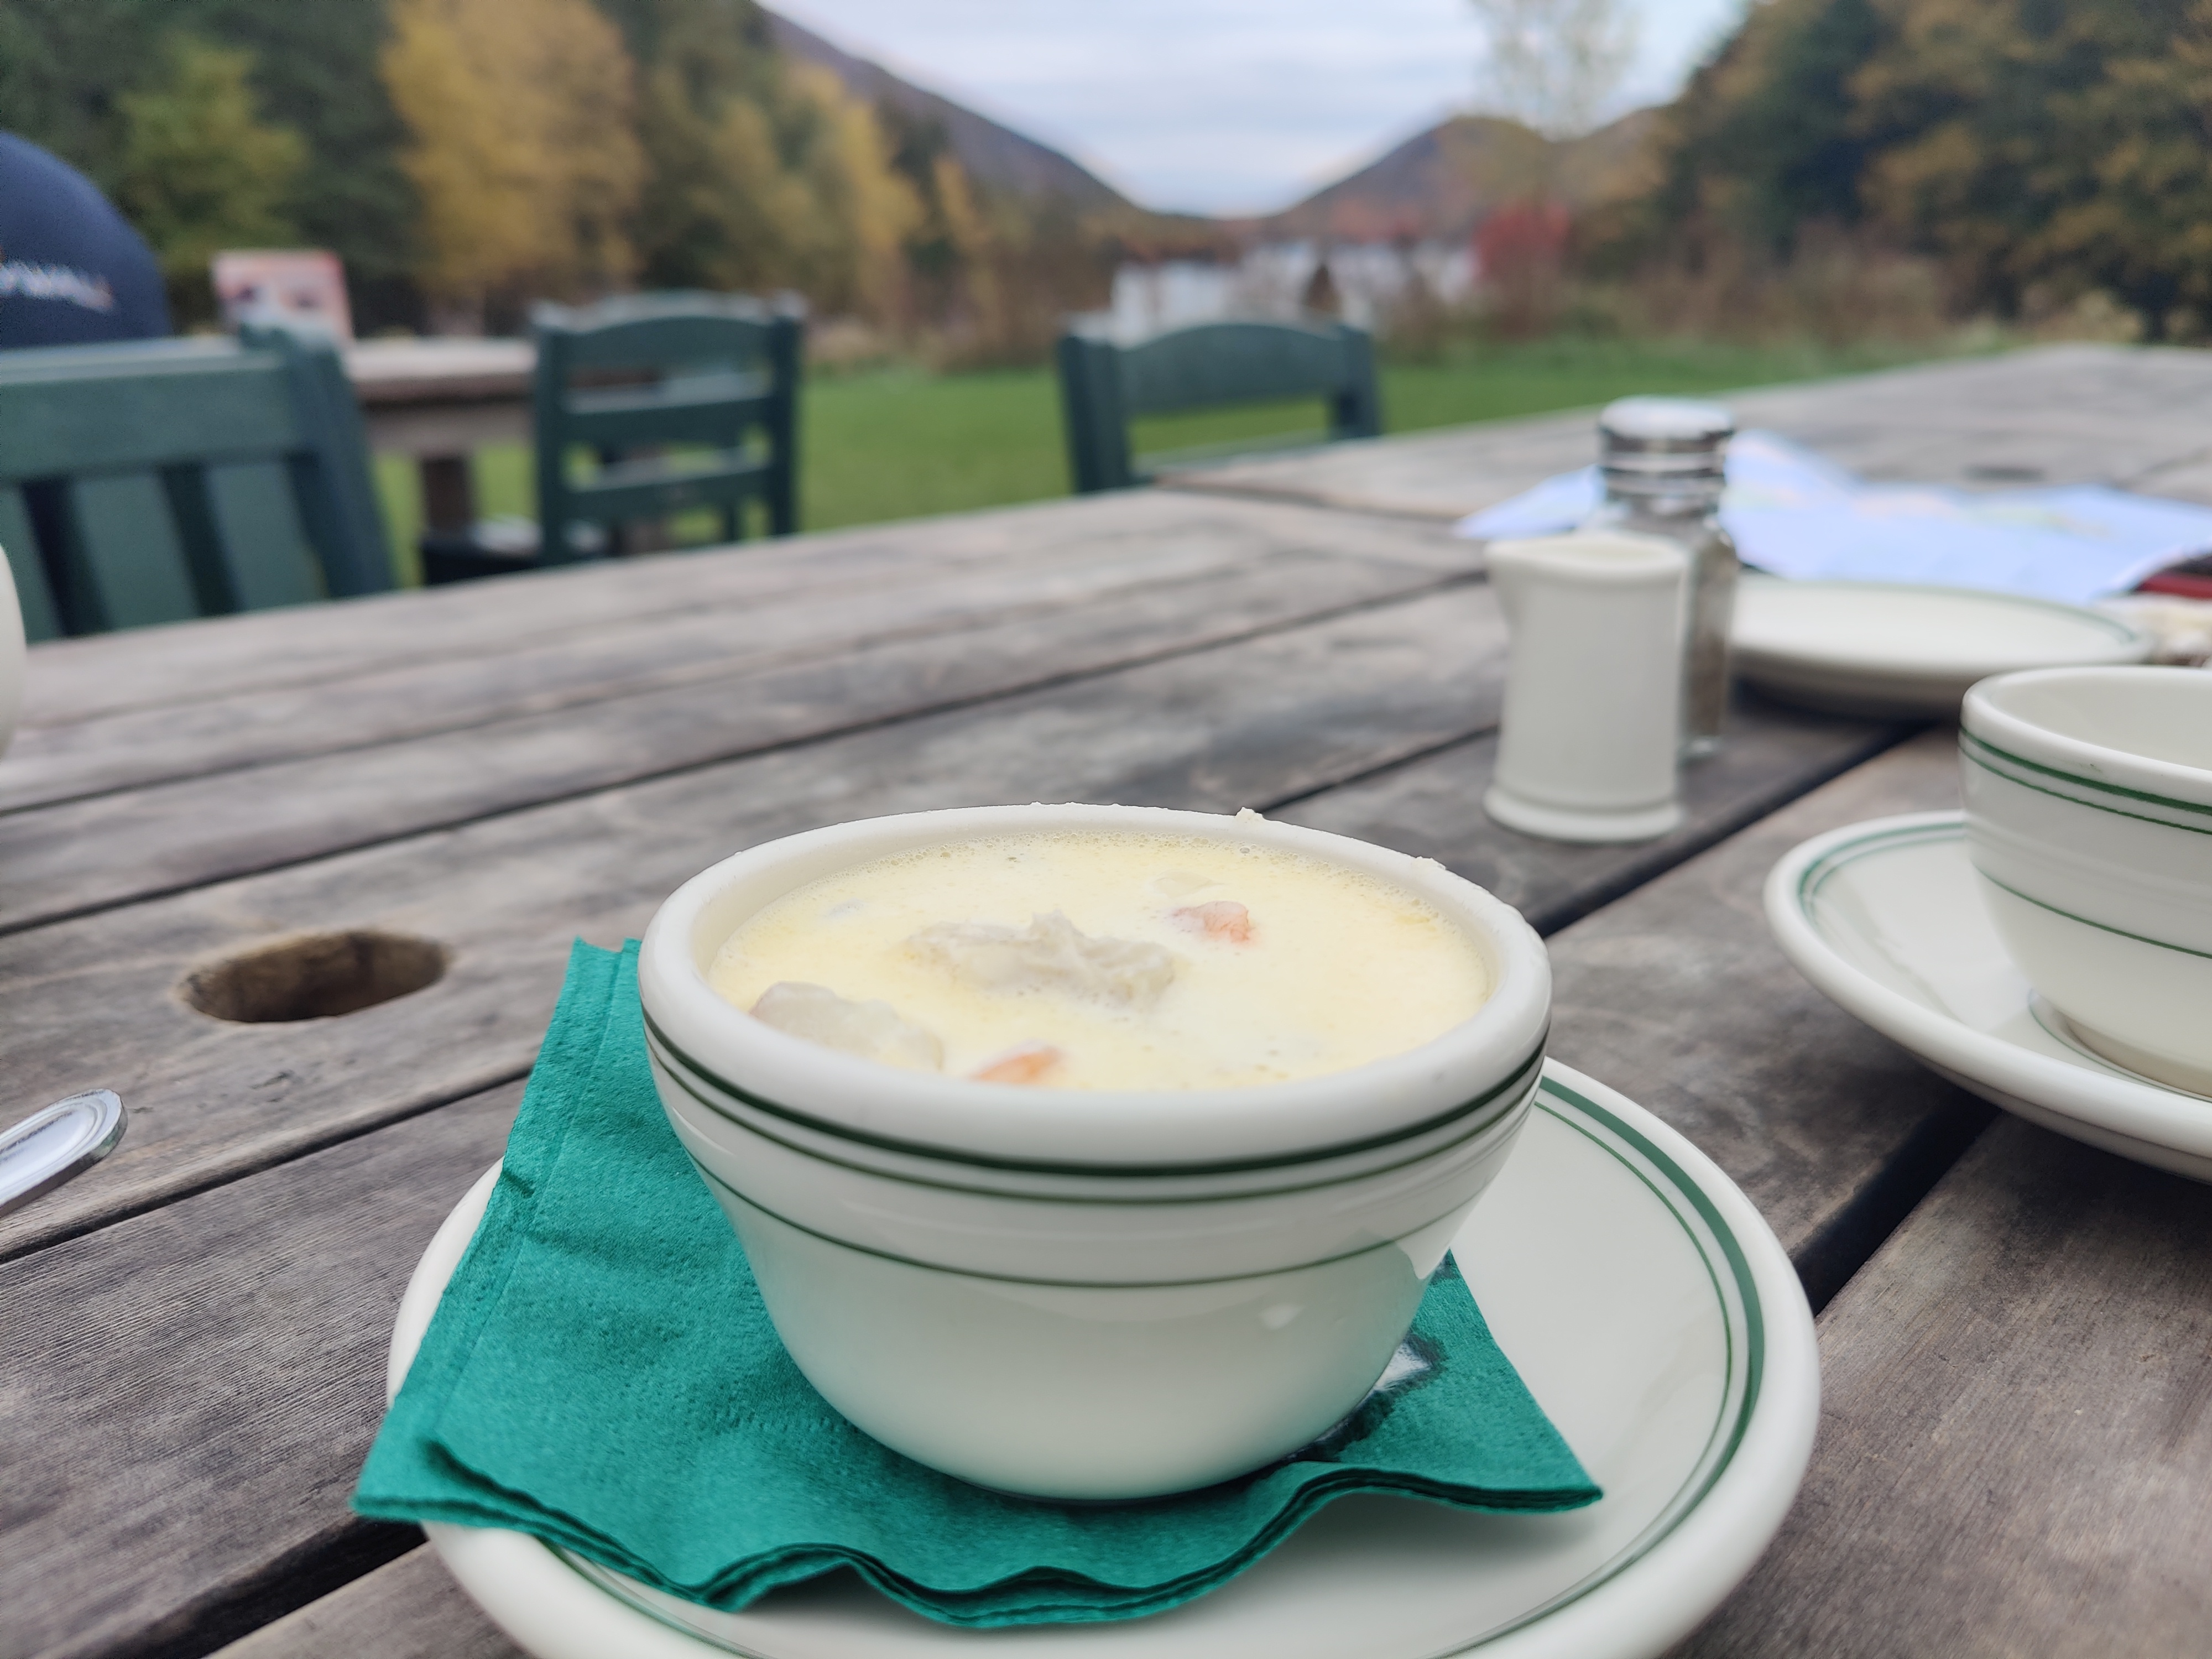
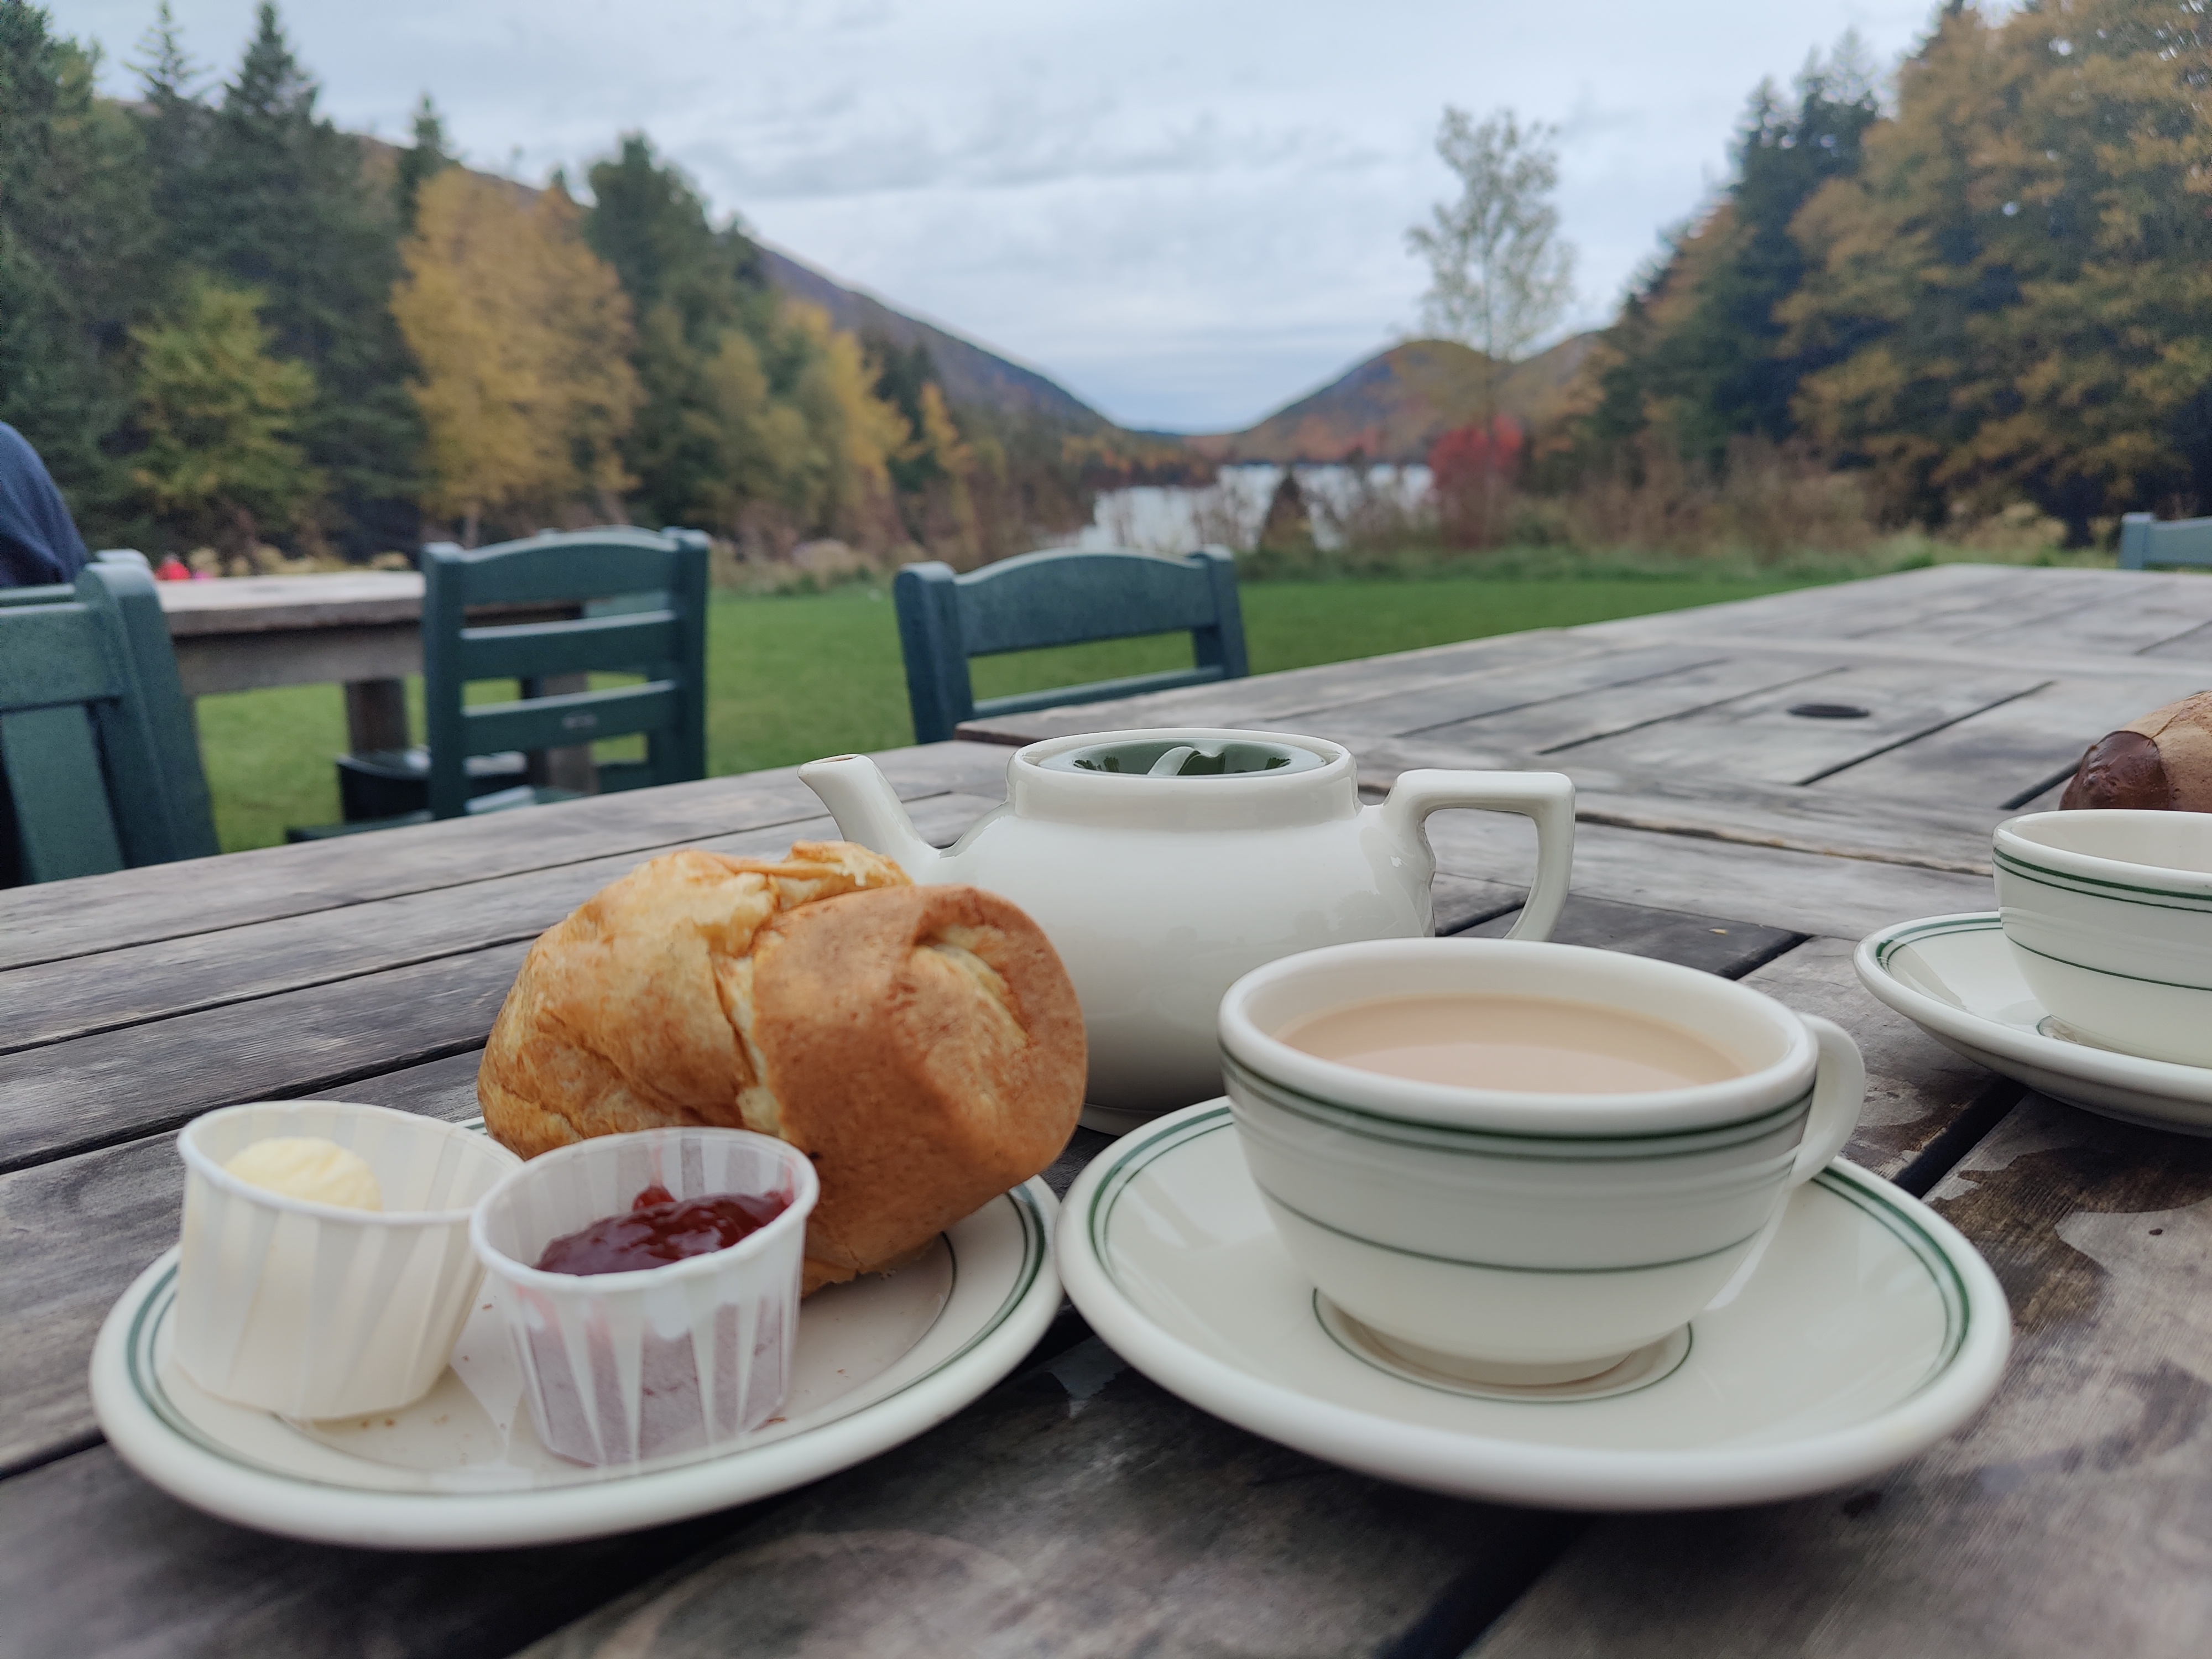
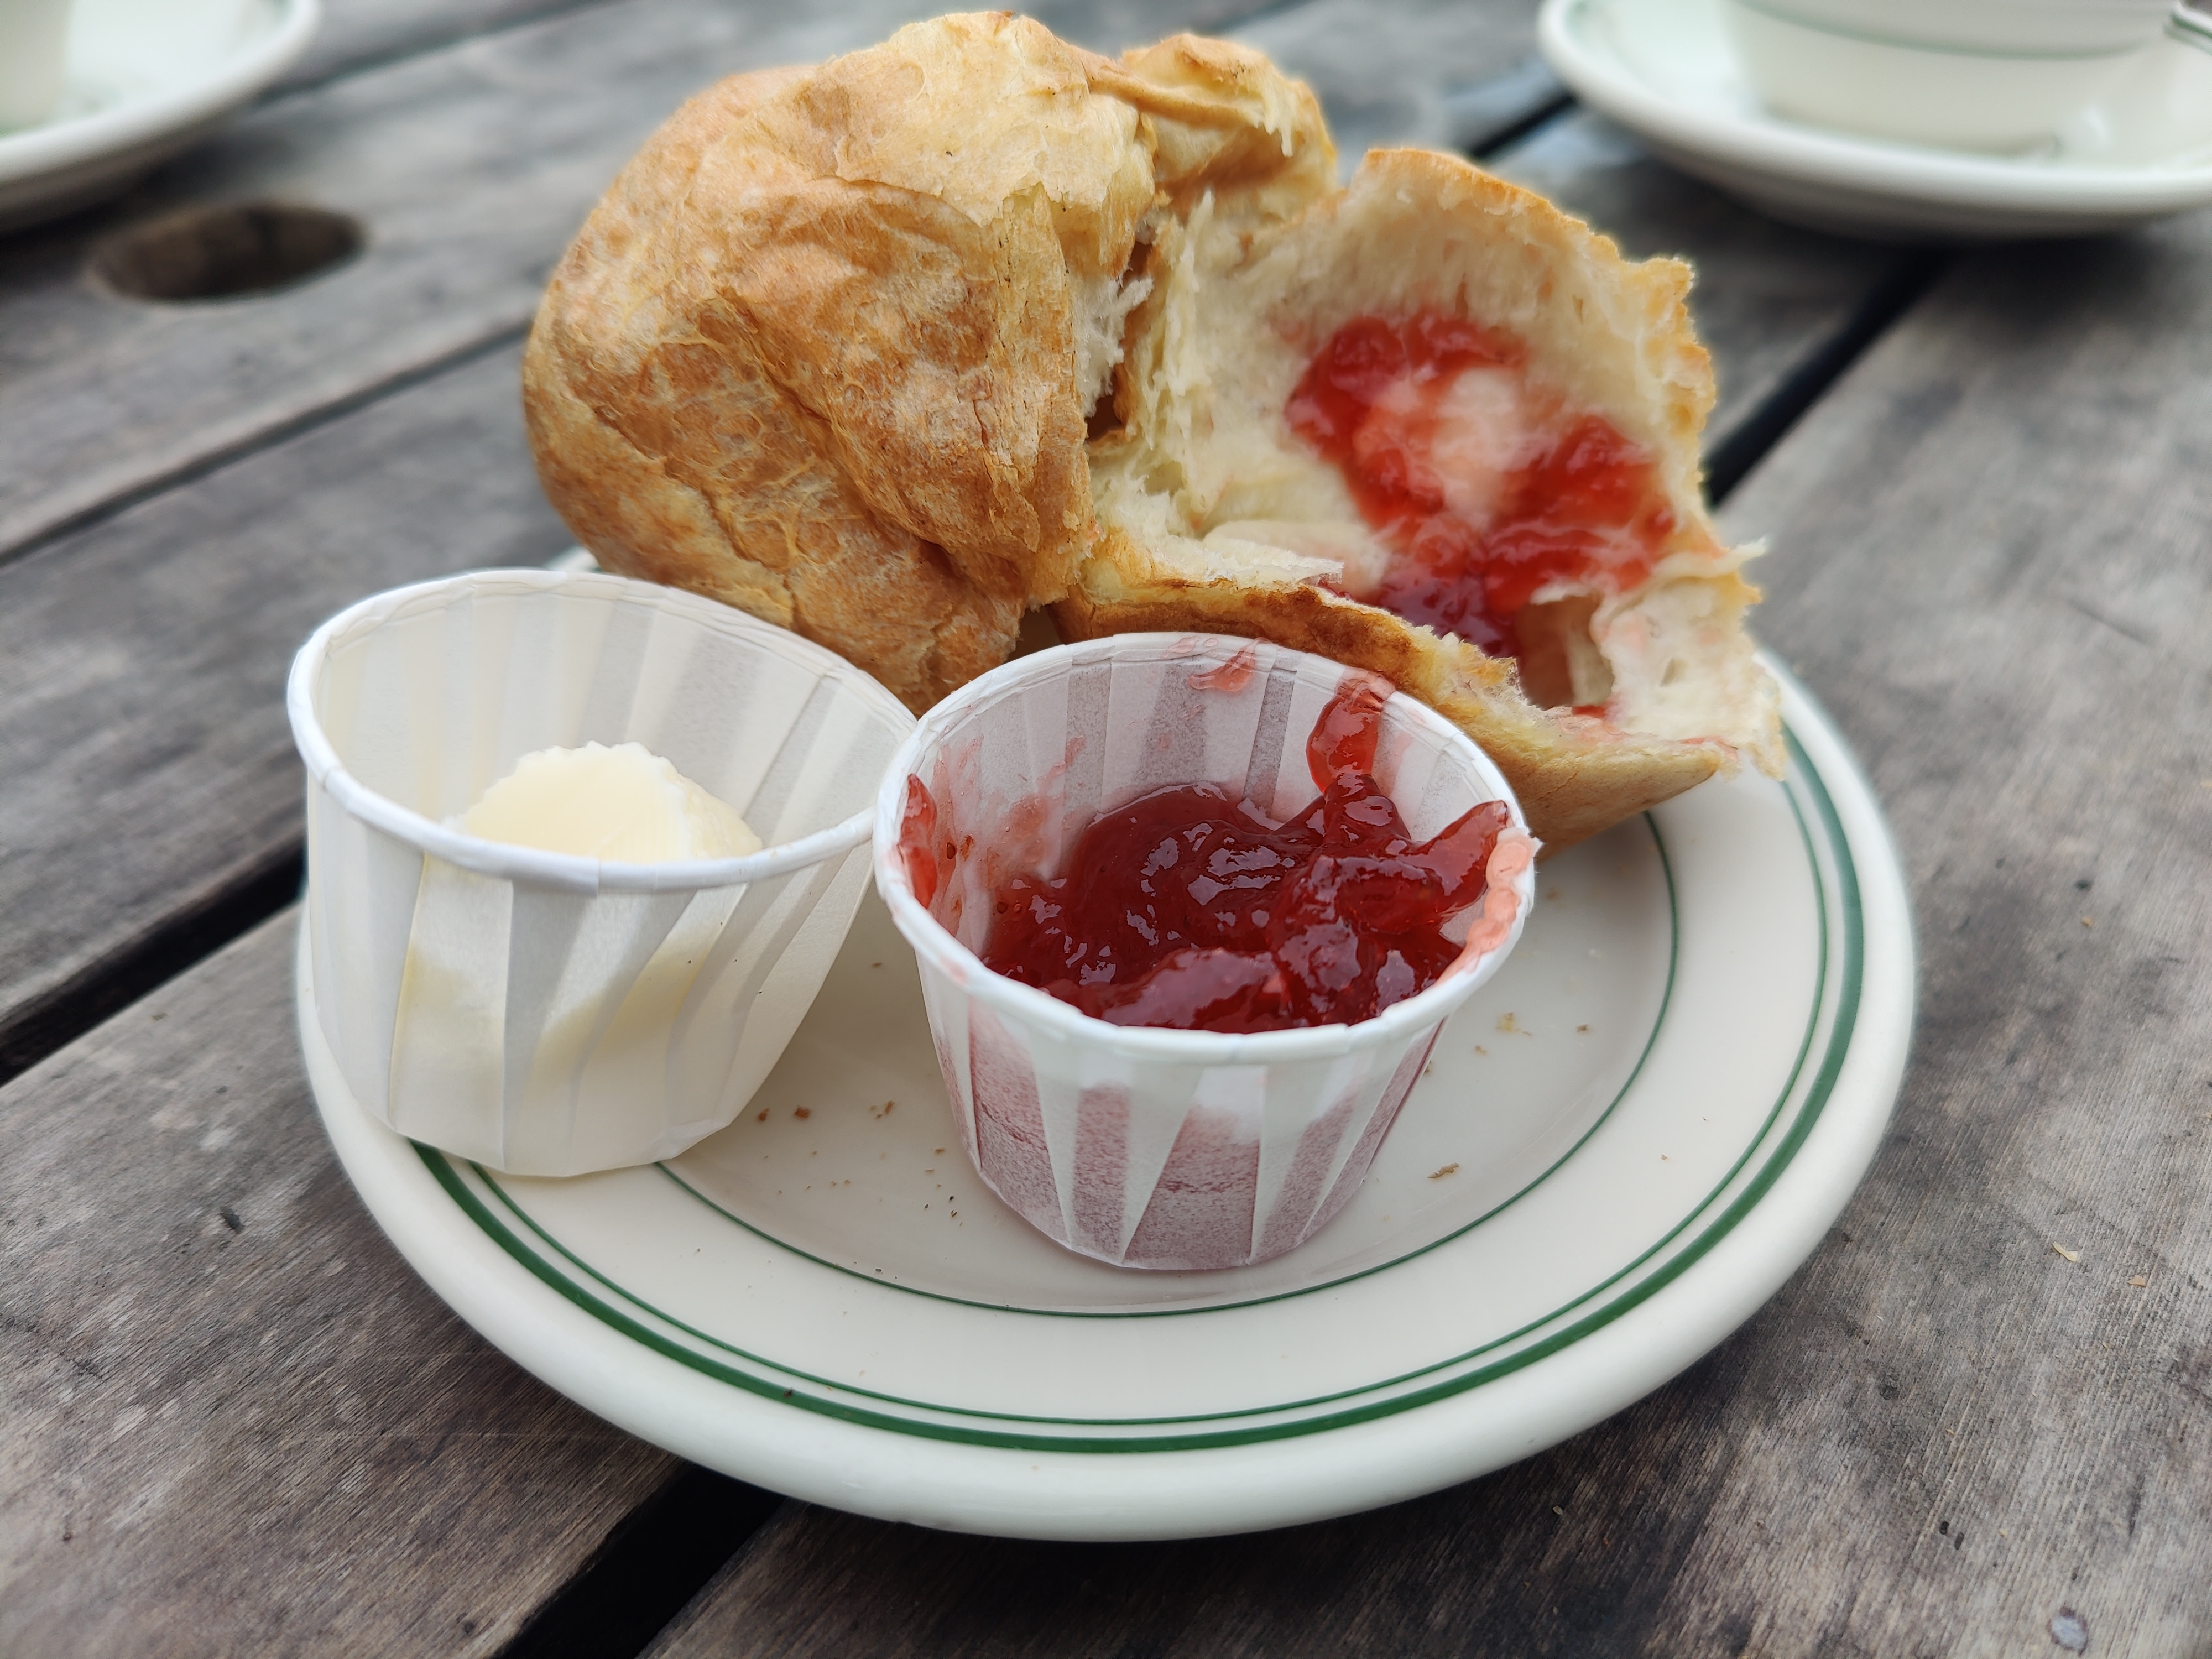
4 pointsLast day of outdoor seating So we could enjoy the view Warming Seafood stew And then tea and popovers (aka Yorkshire ,er, pudding) @ https://jordanpondhouse.com/


 4 points
 -
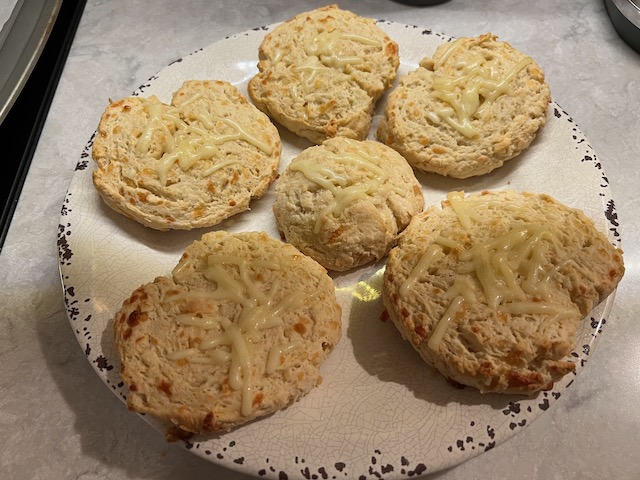
4 pointsSouthern-style cheddar biscuits are in the oven, pics to follow. LATER - had to rush, couldn't quite do them as drop biscuits, but they were tasty. Breakfast tomorrow will be good.
 4 points
 -
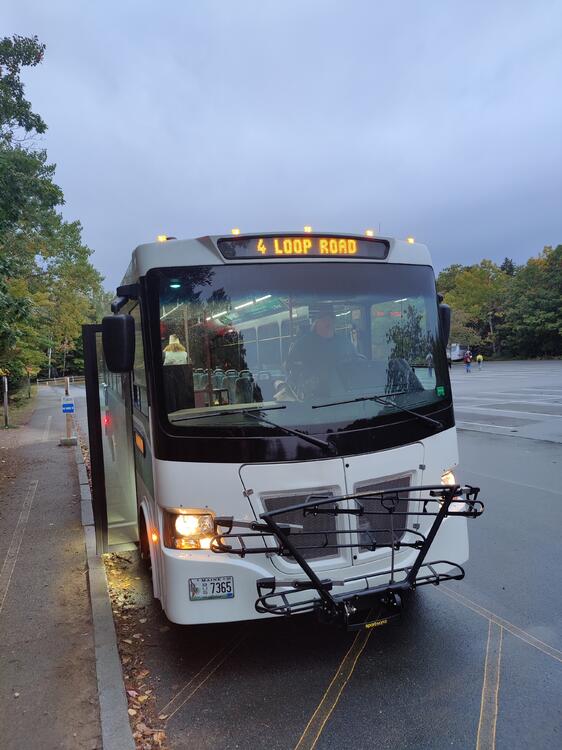
2 points1 pointPlenty of beauty to go round at Arcadia National Park. , Not just at the Jordan Pond House. And if you leave your car in parking lot, and take the free shuttle You get even more time to appreciate it, rather than trying to avoid the other drivers distracted by all the beauty.
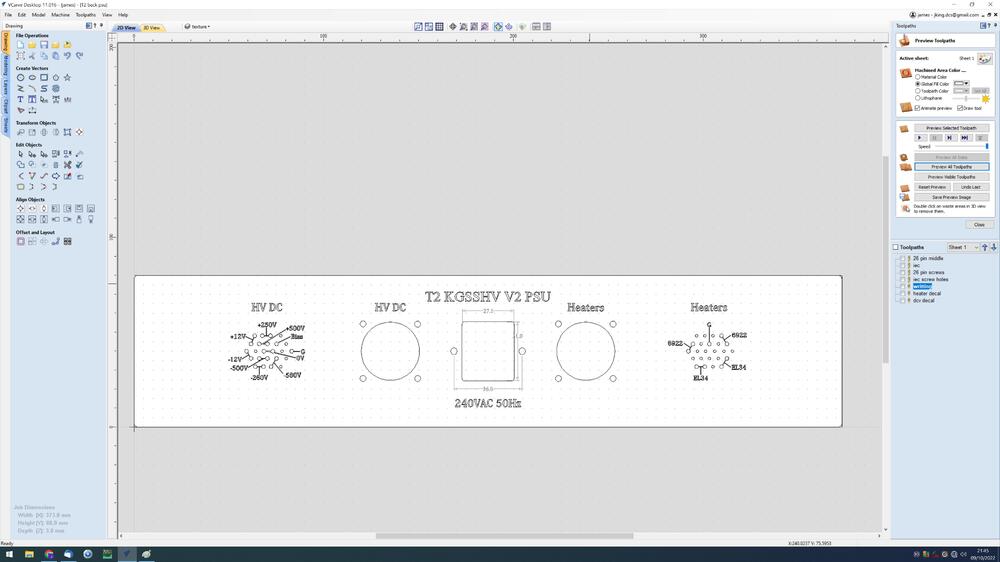
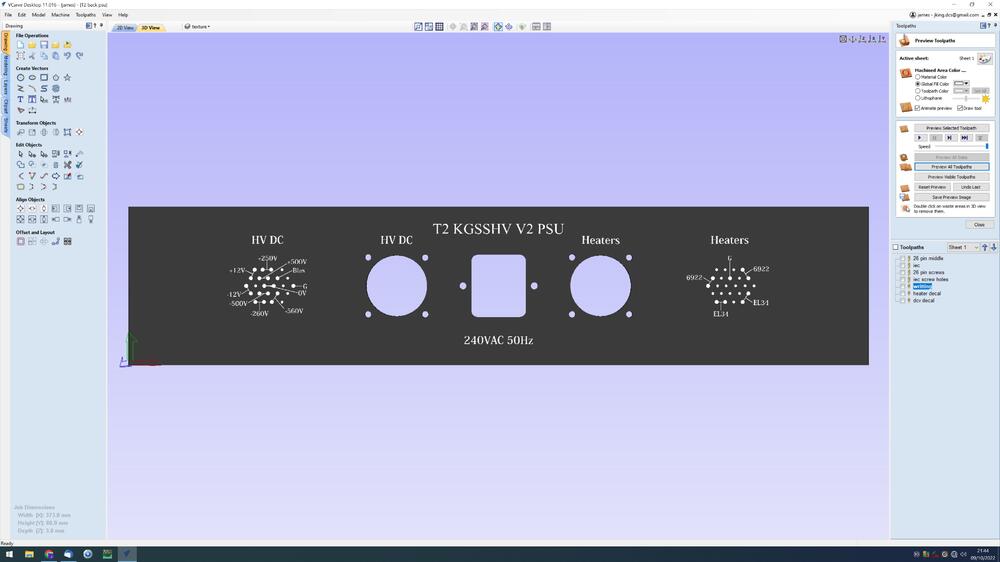
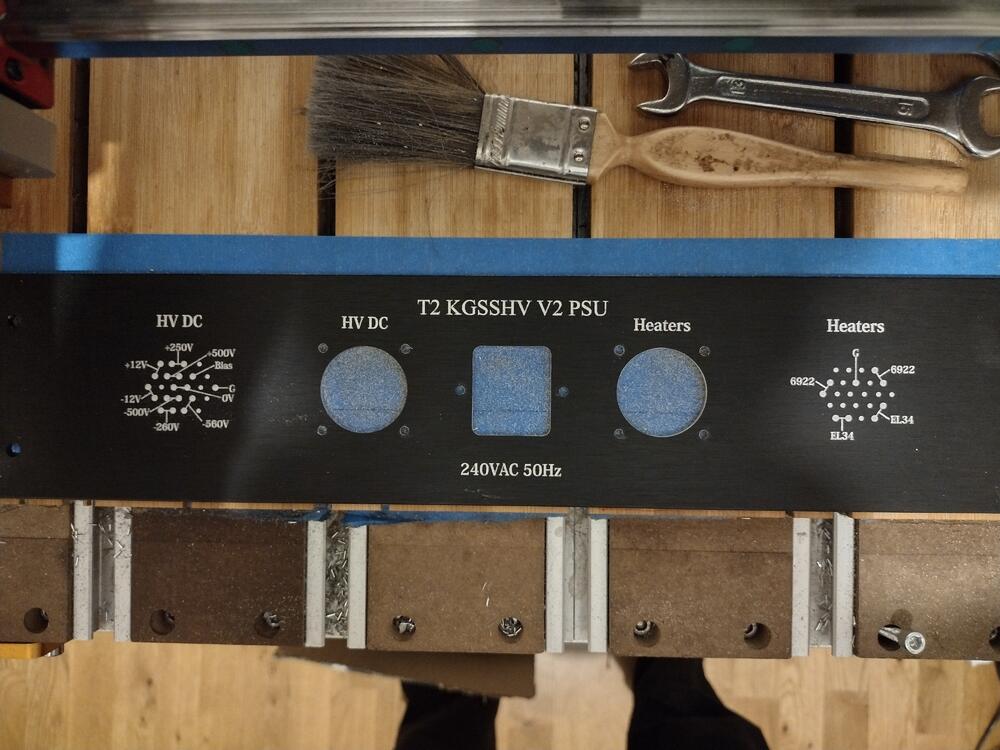
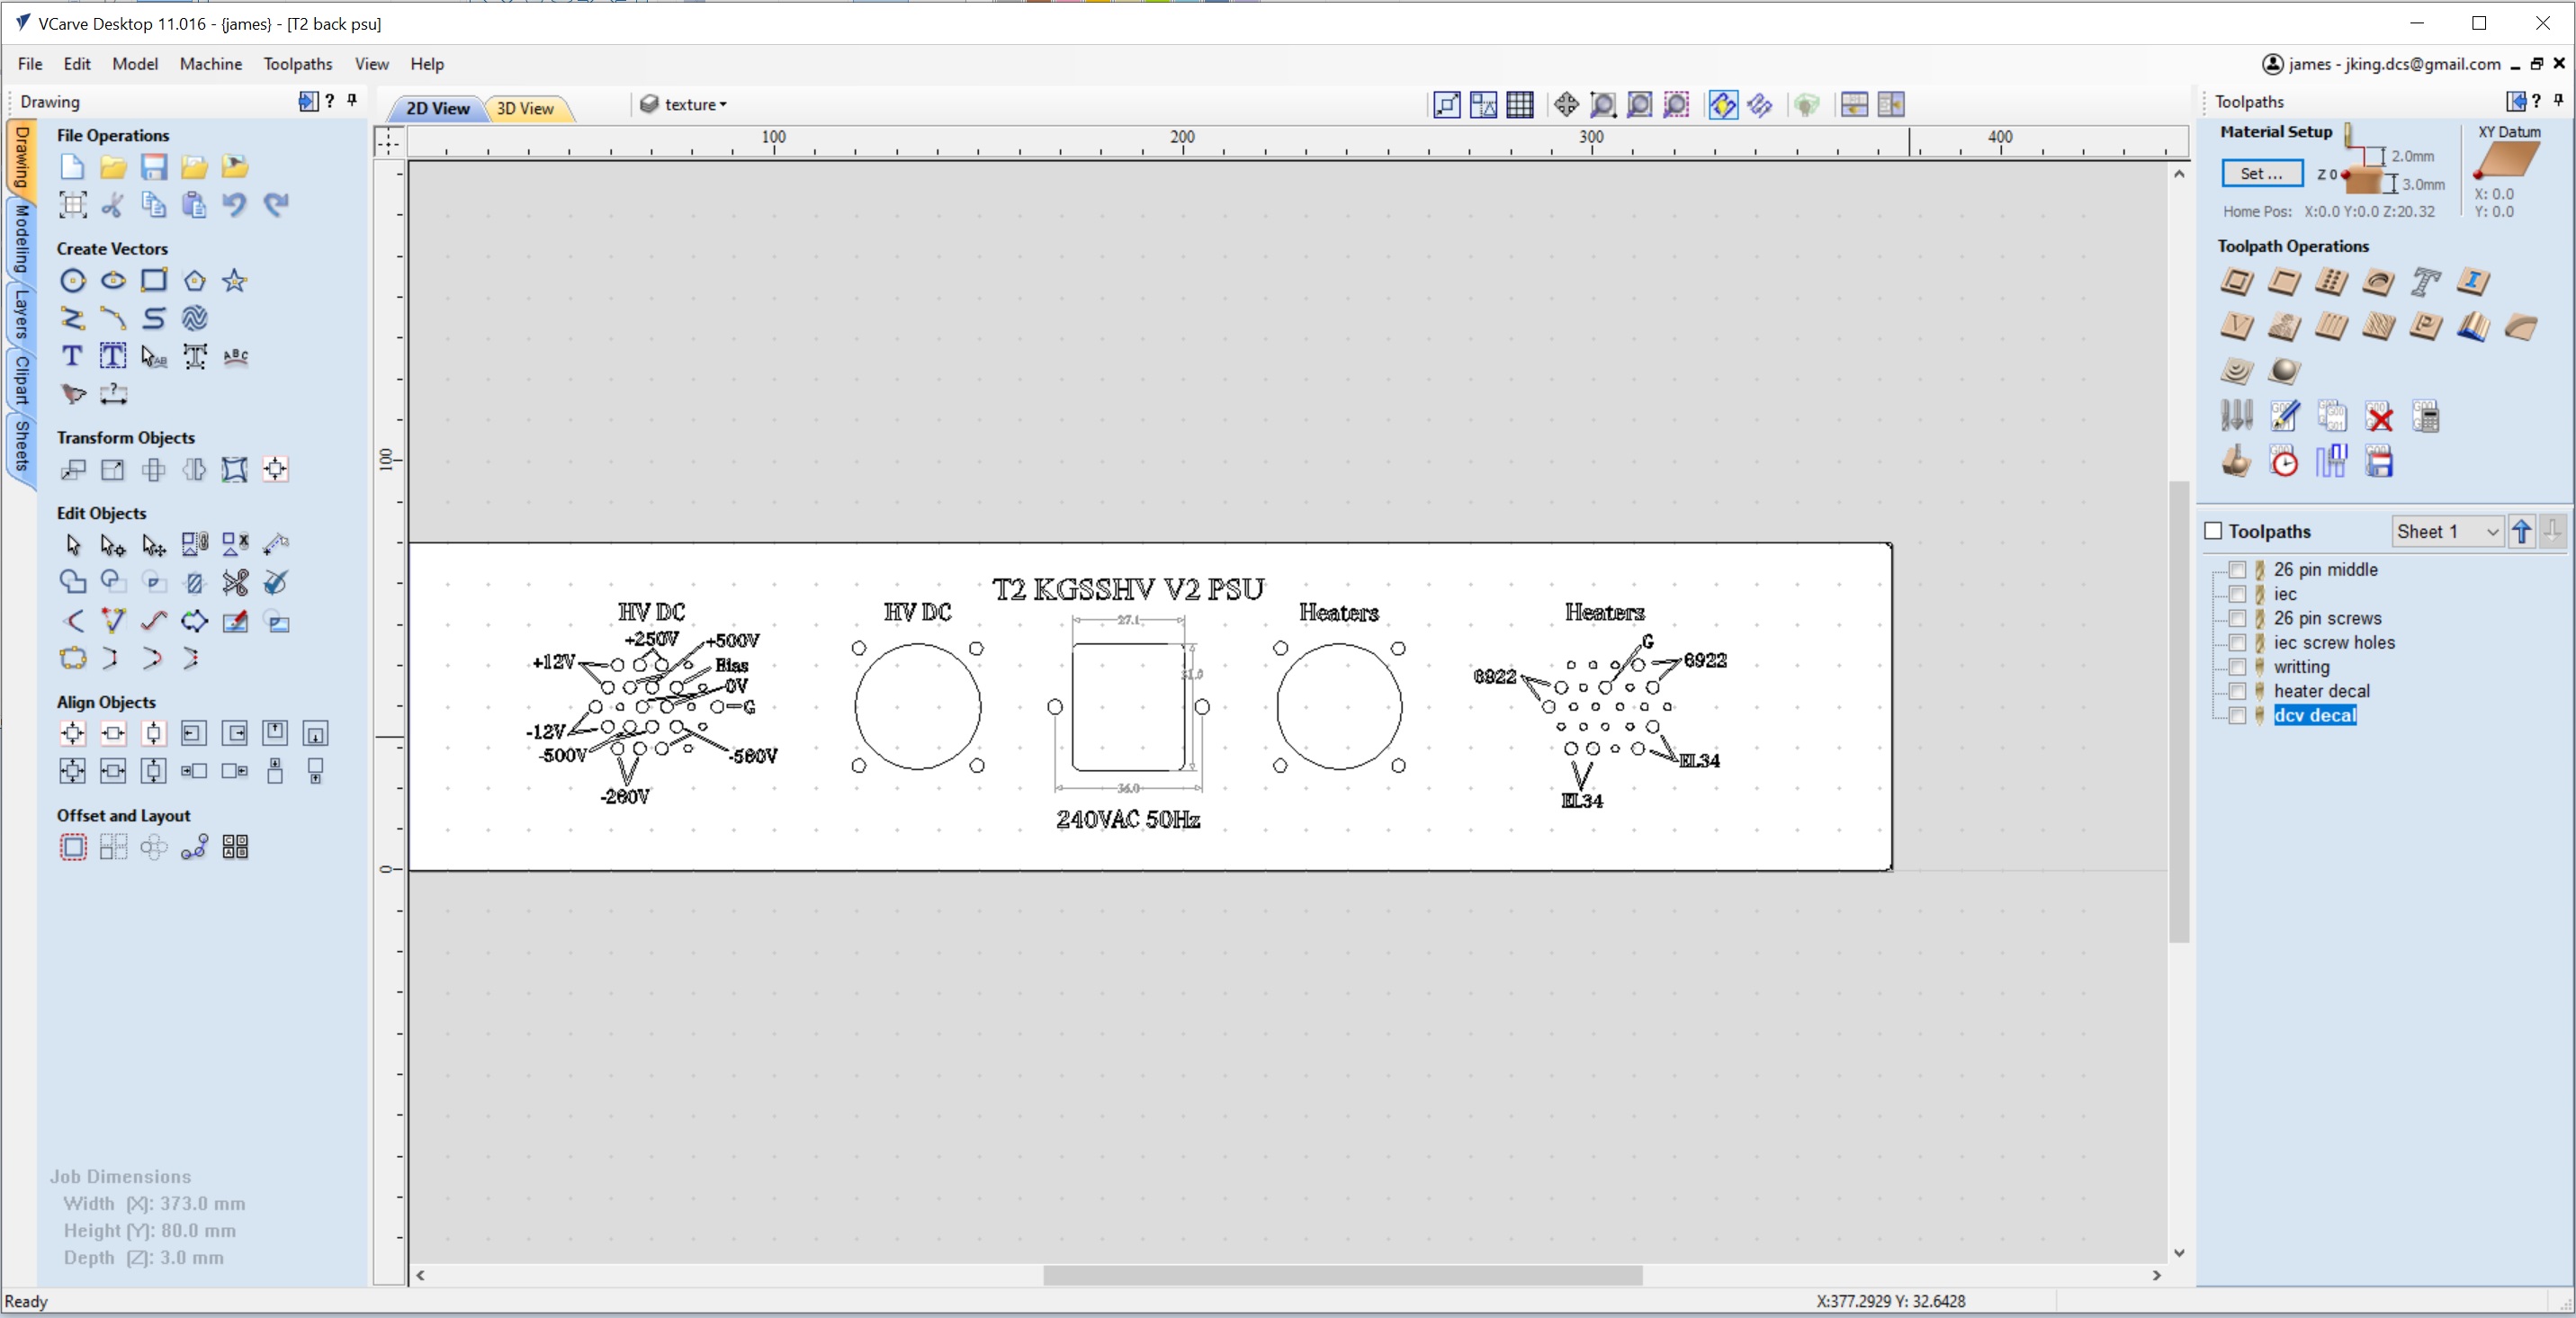
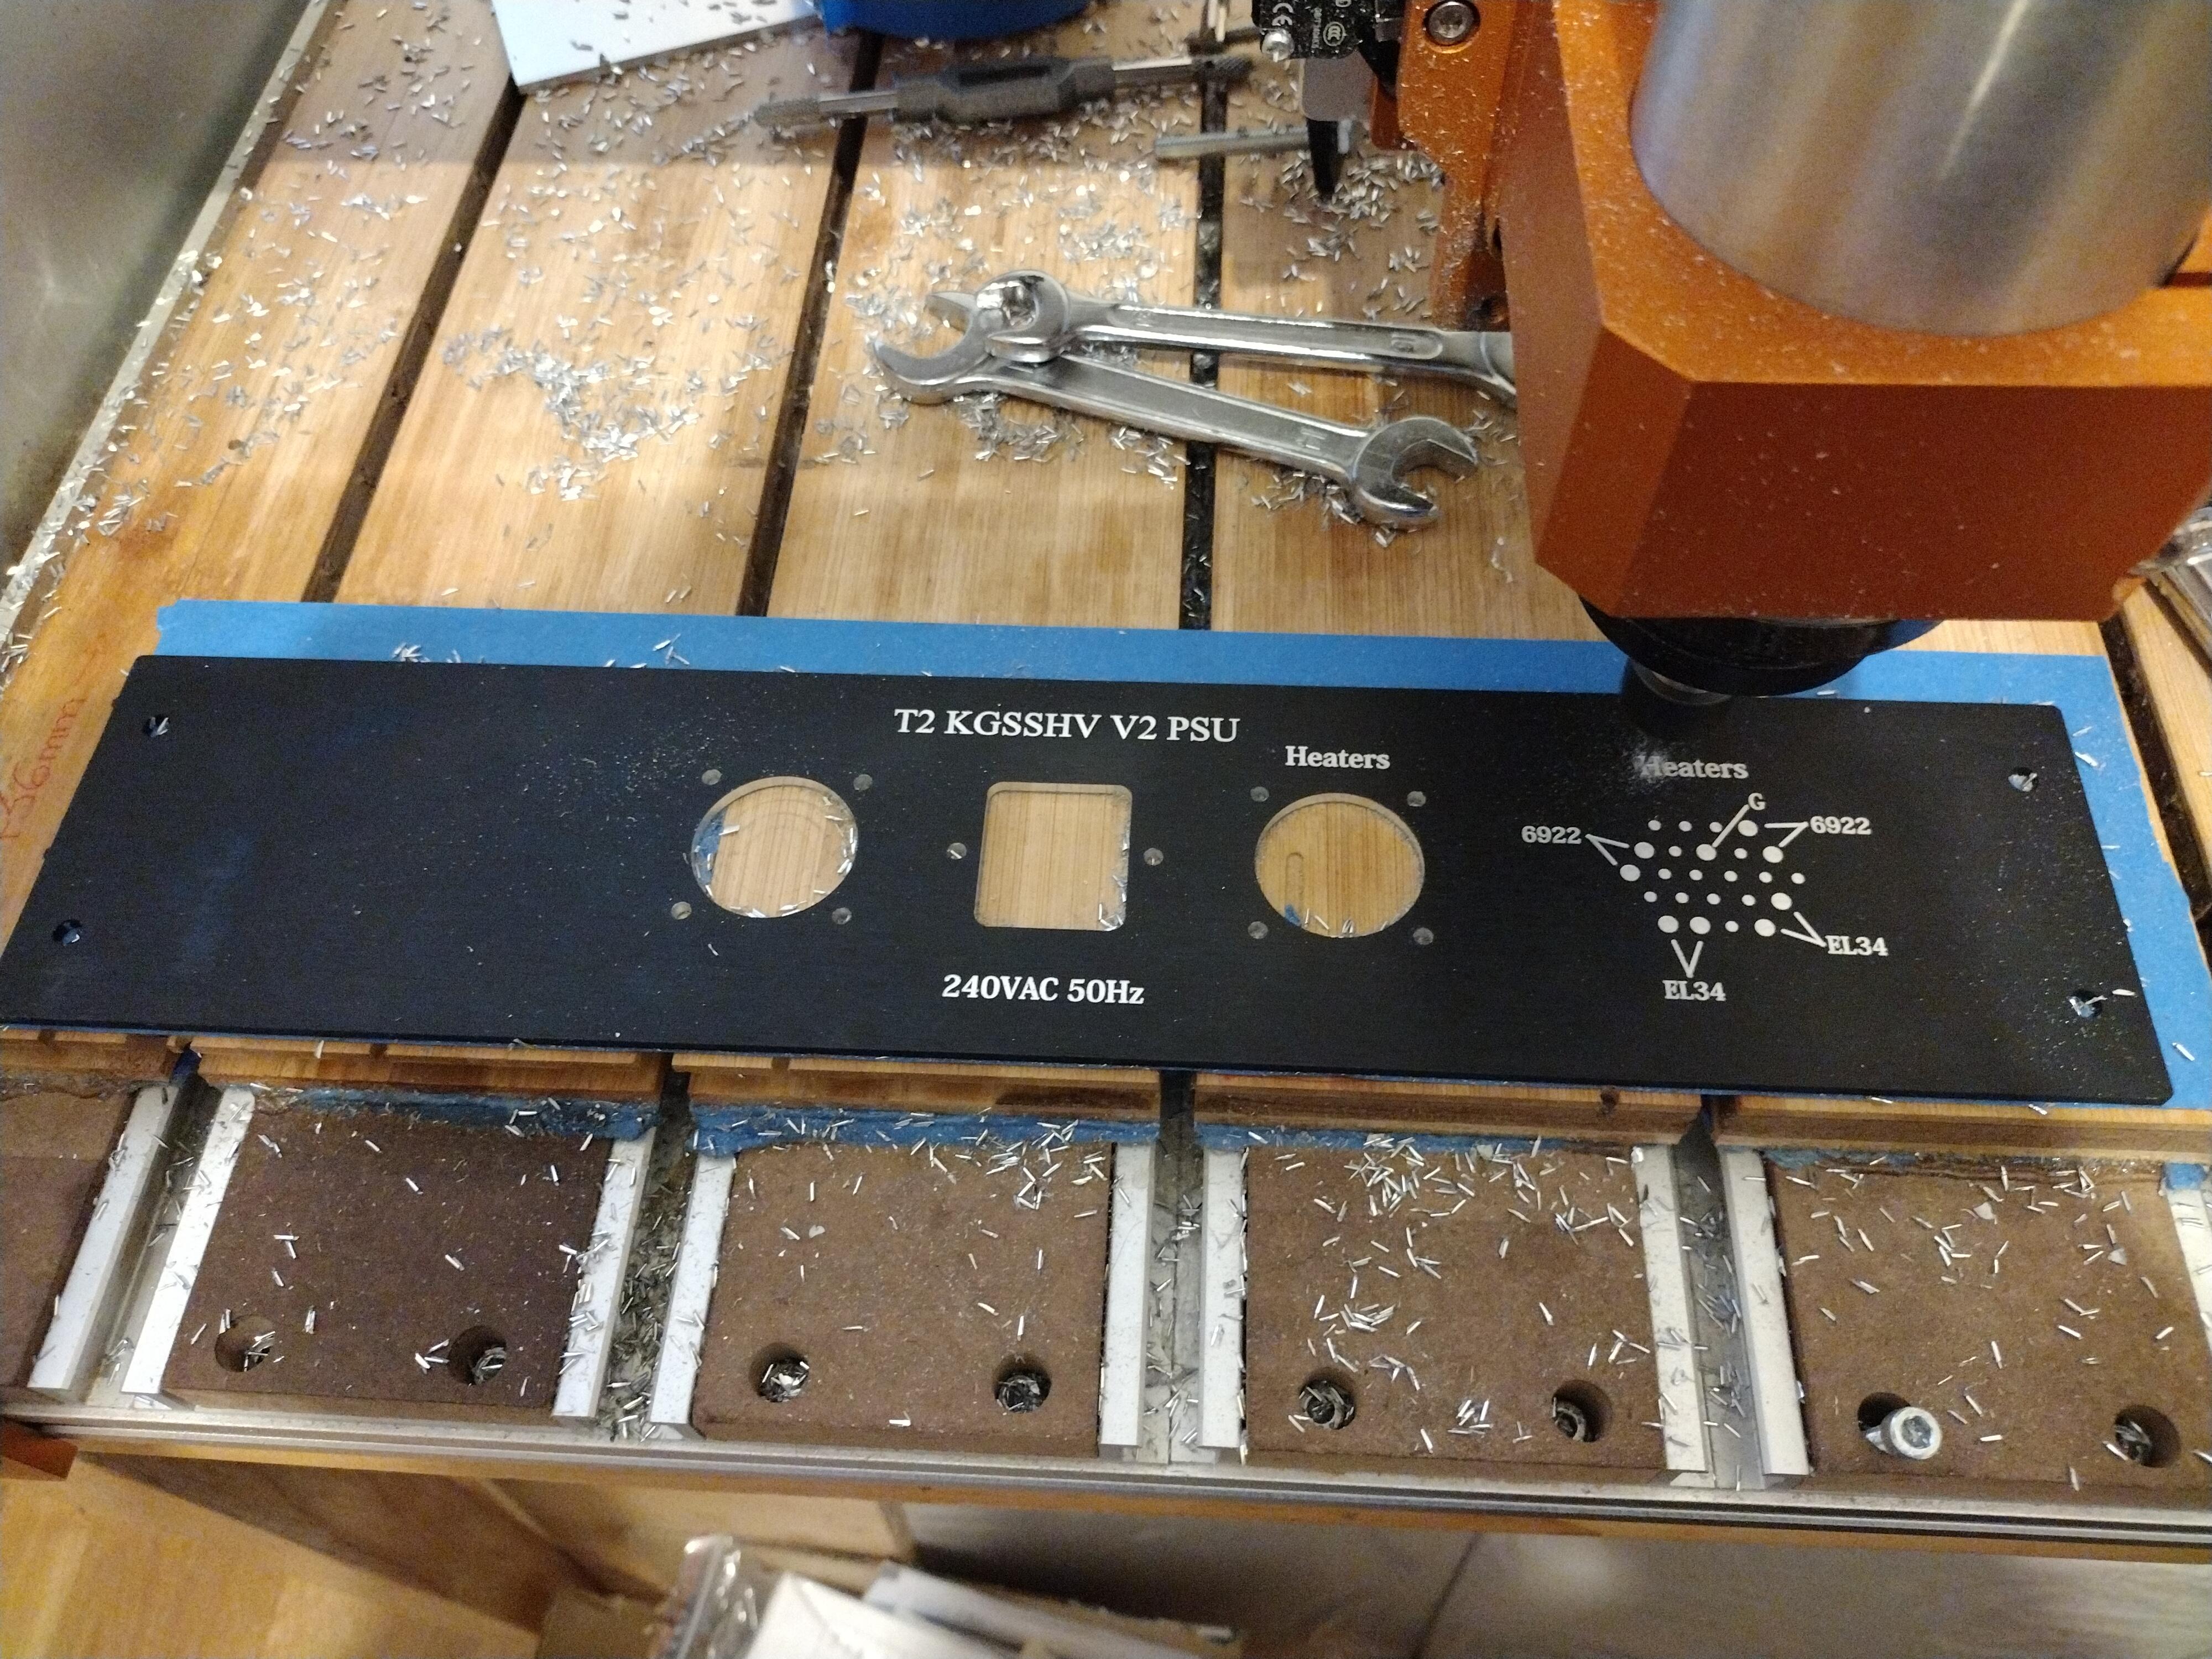
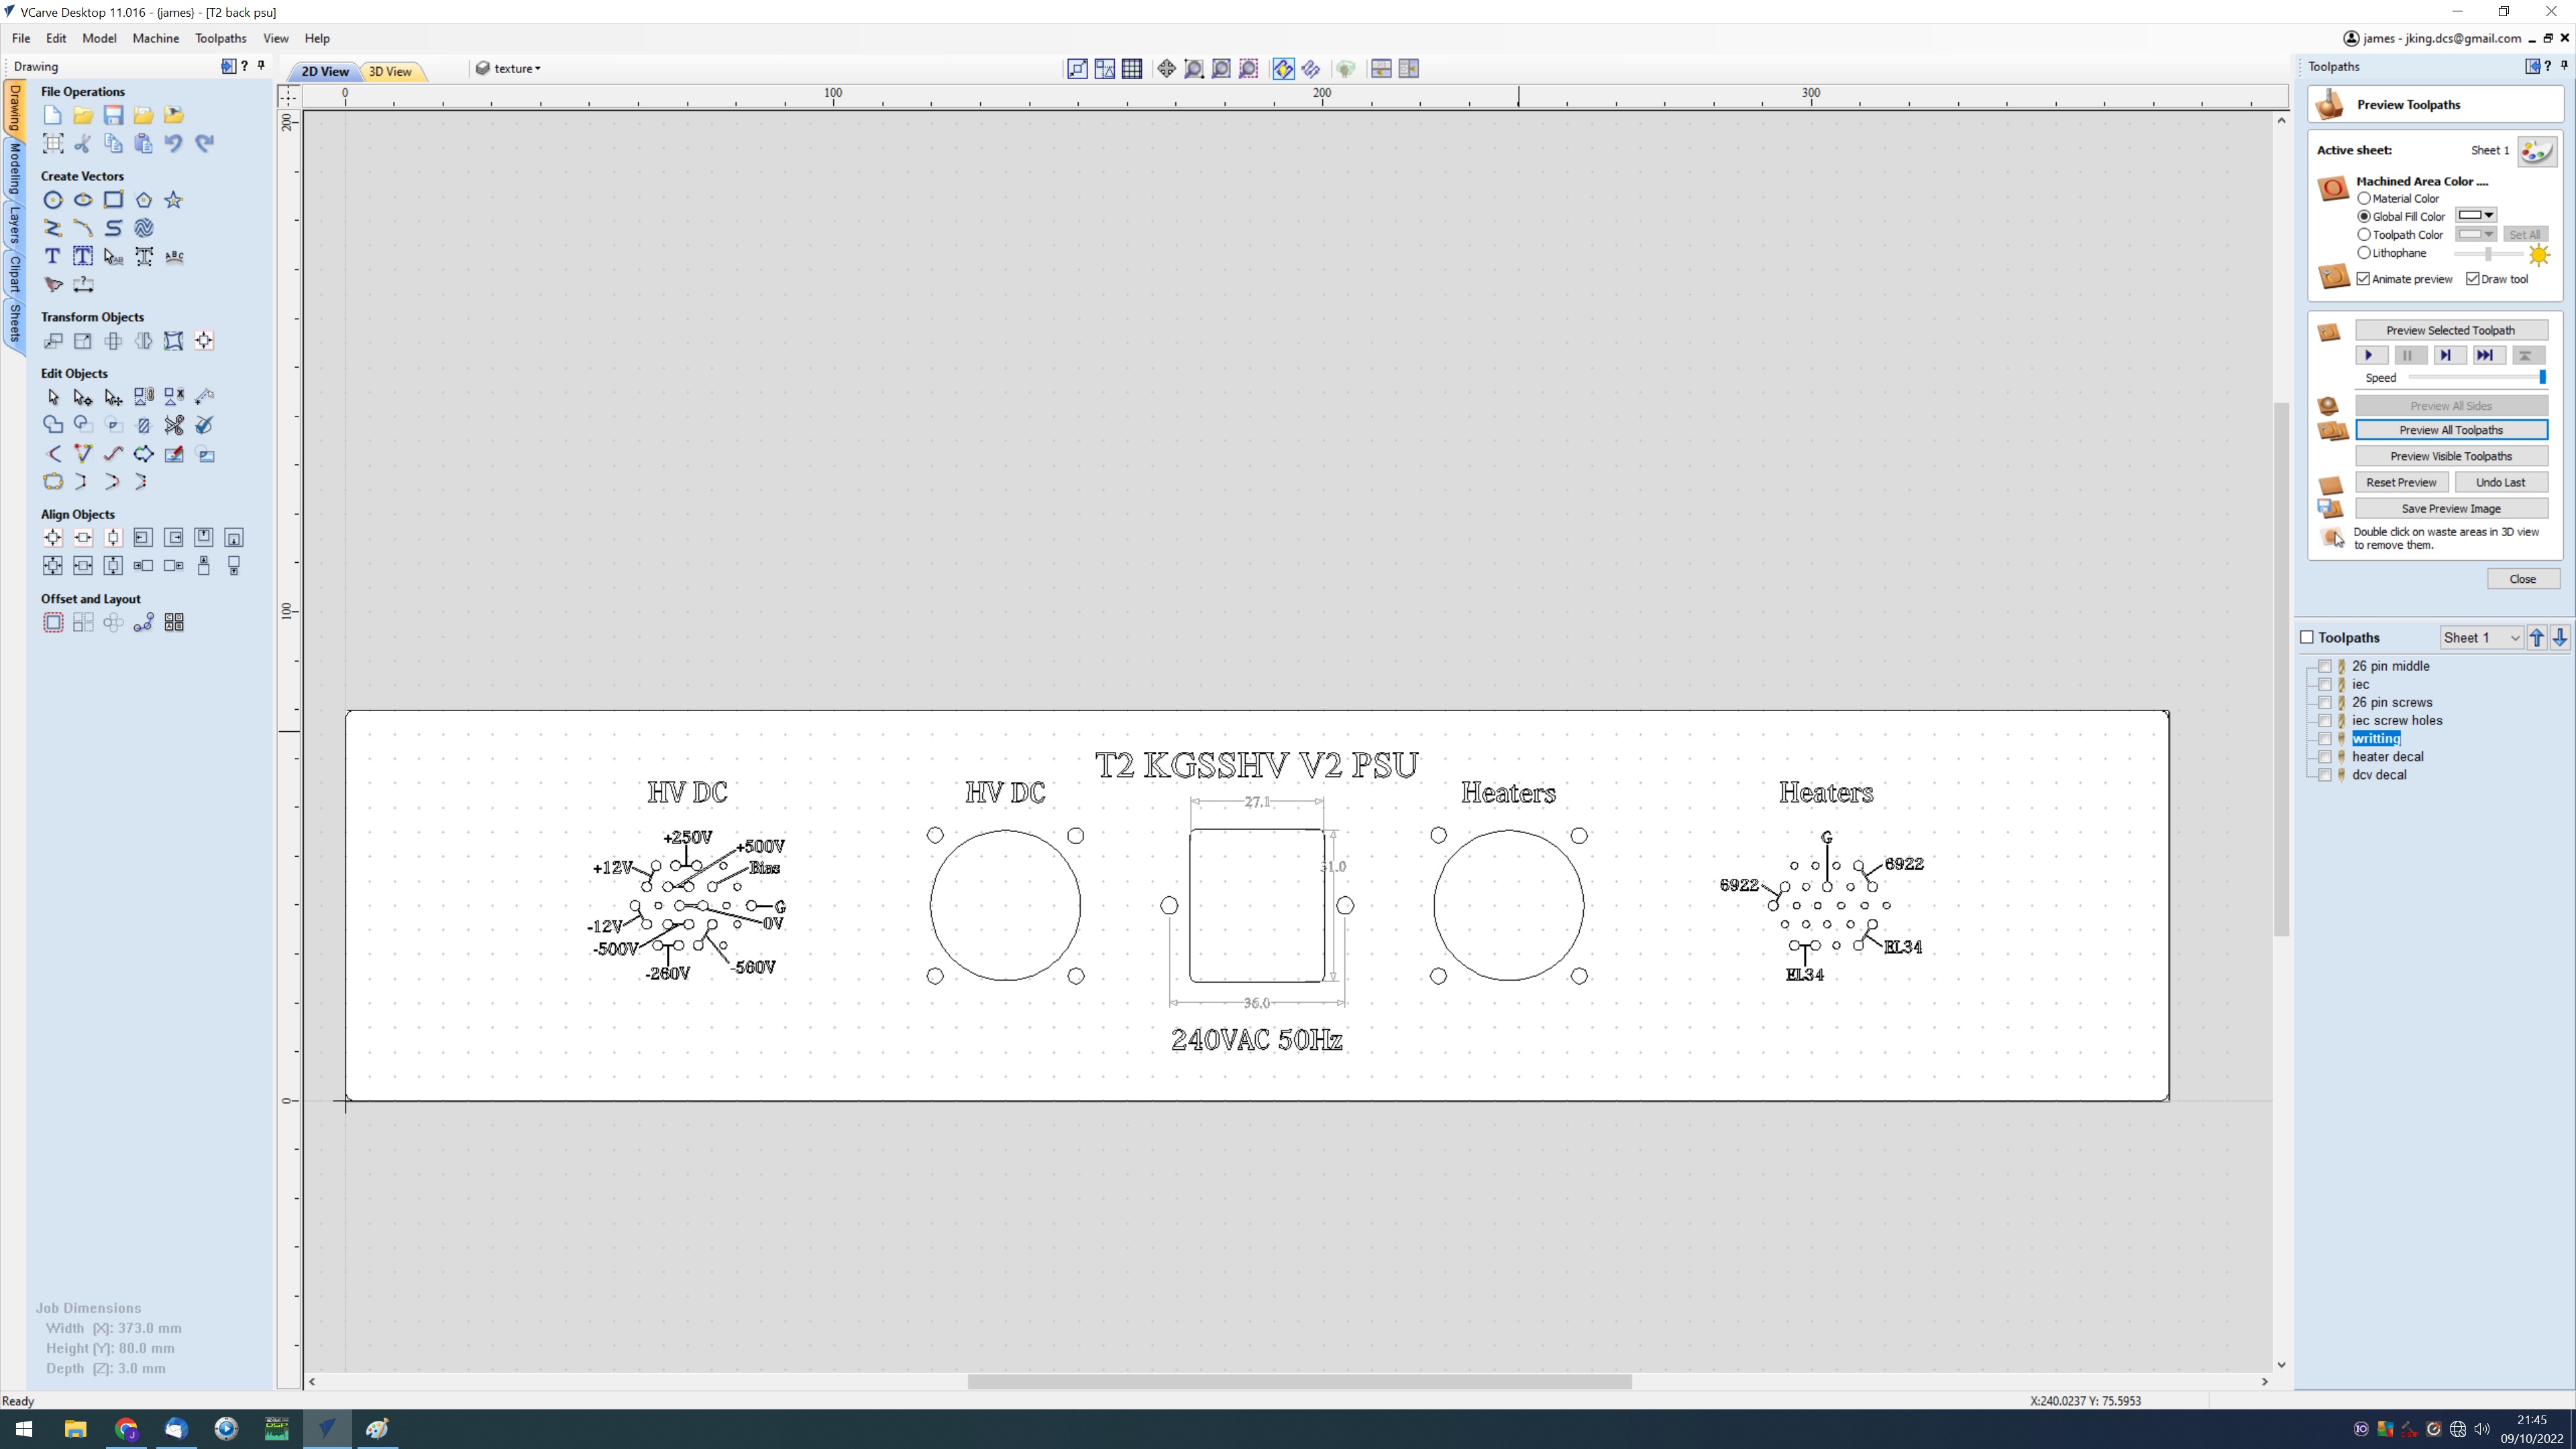
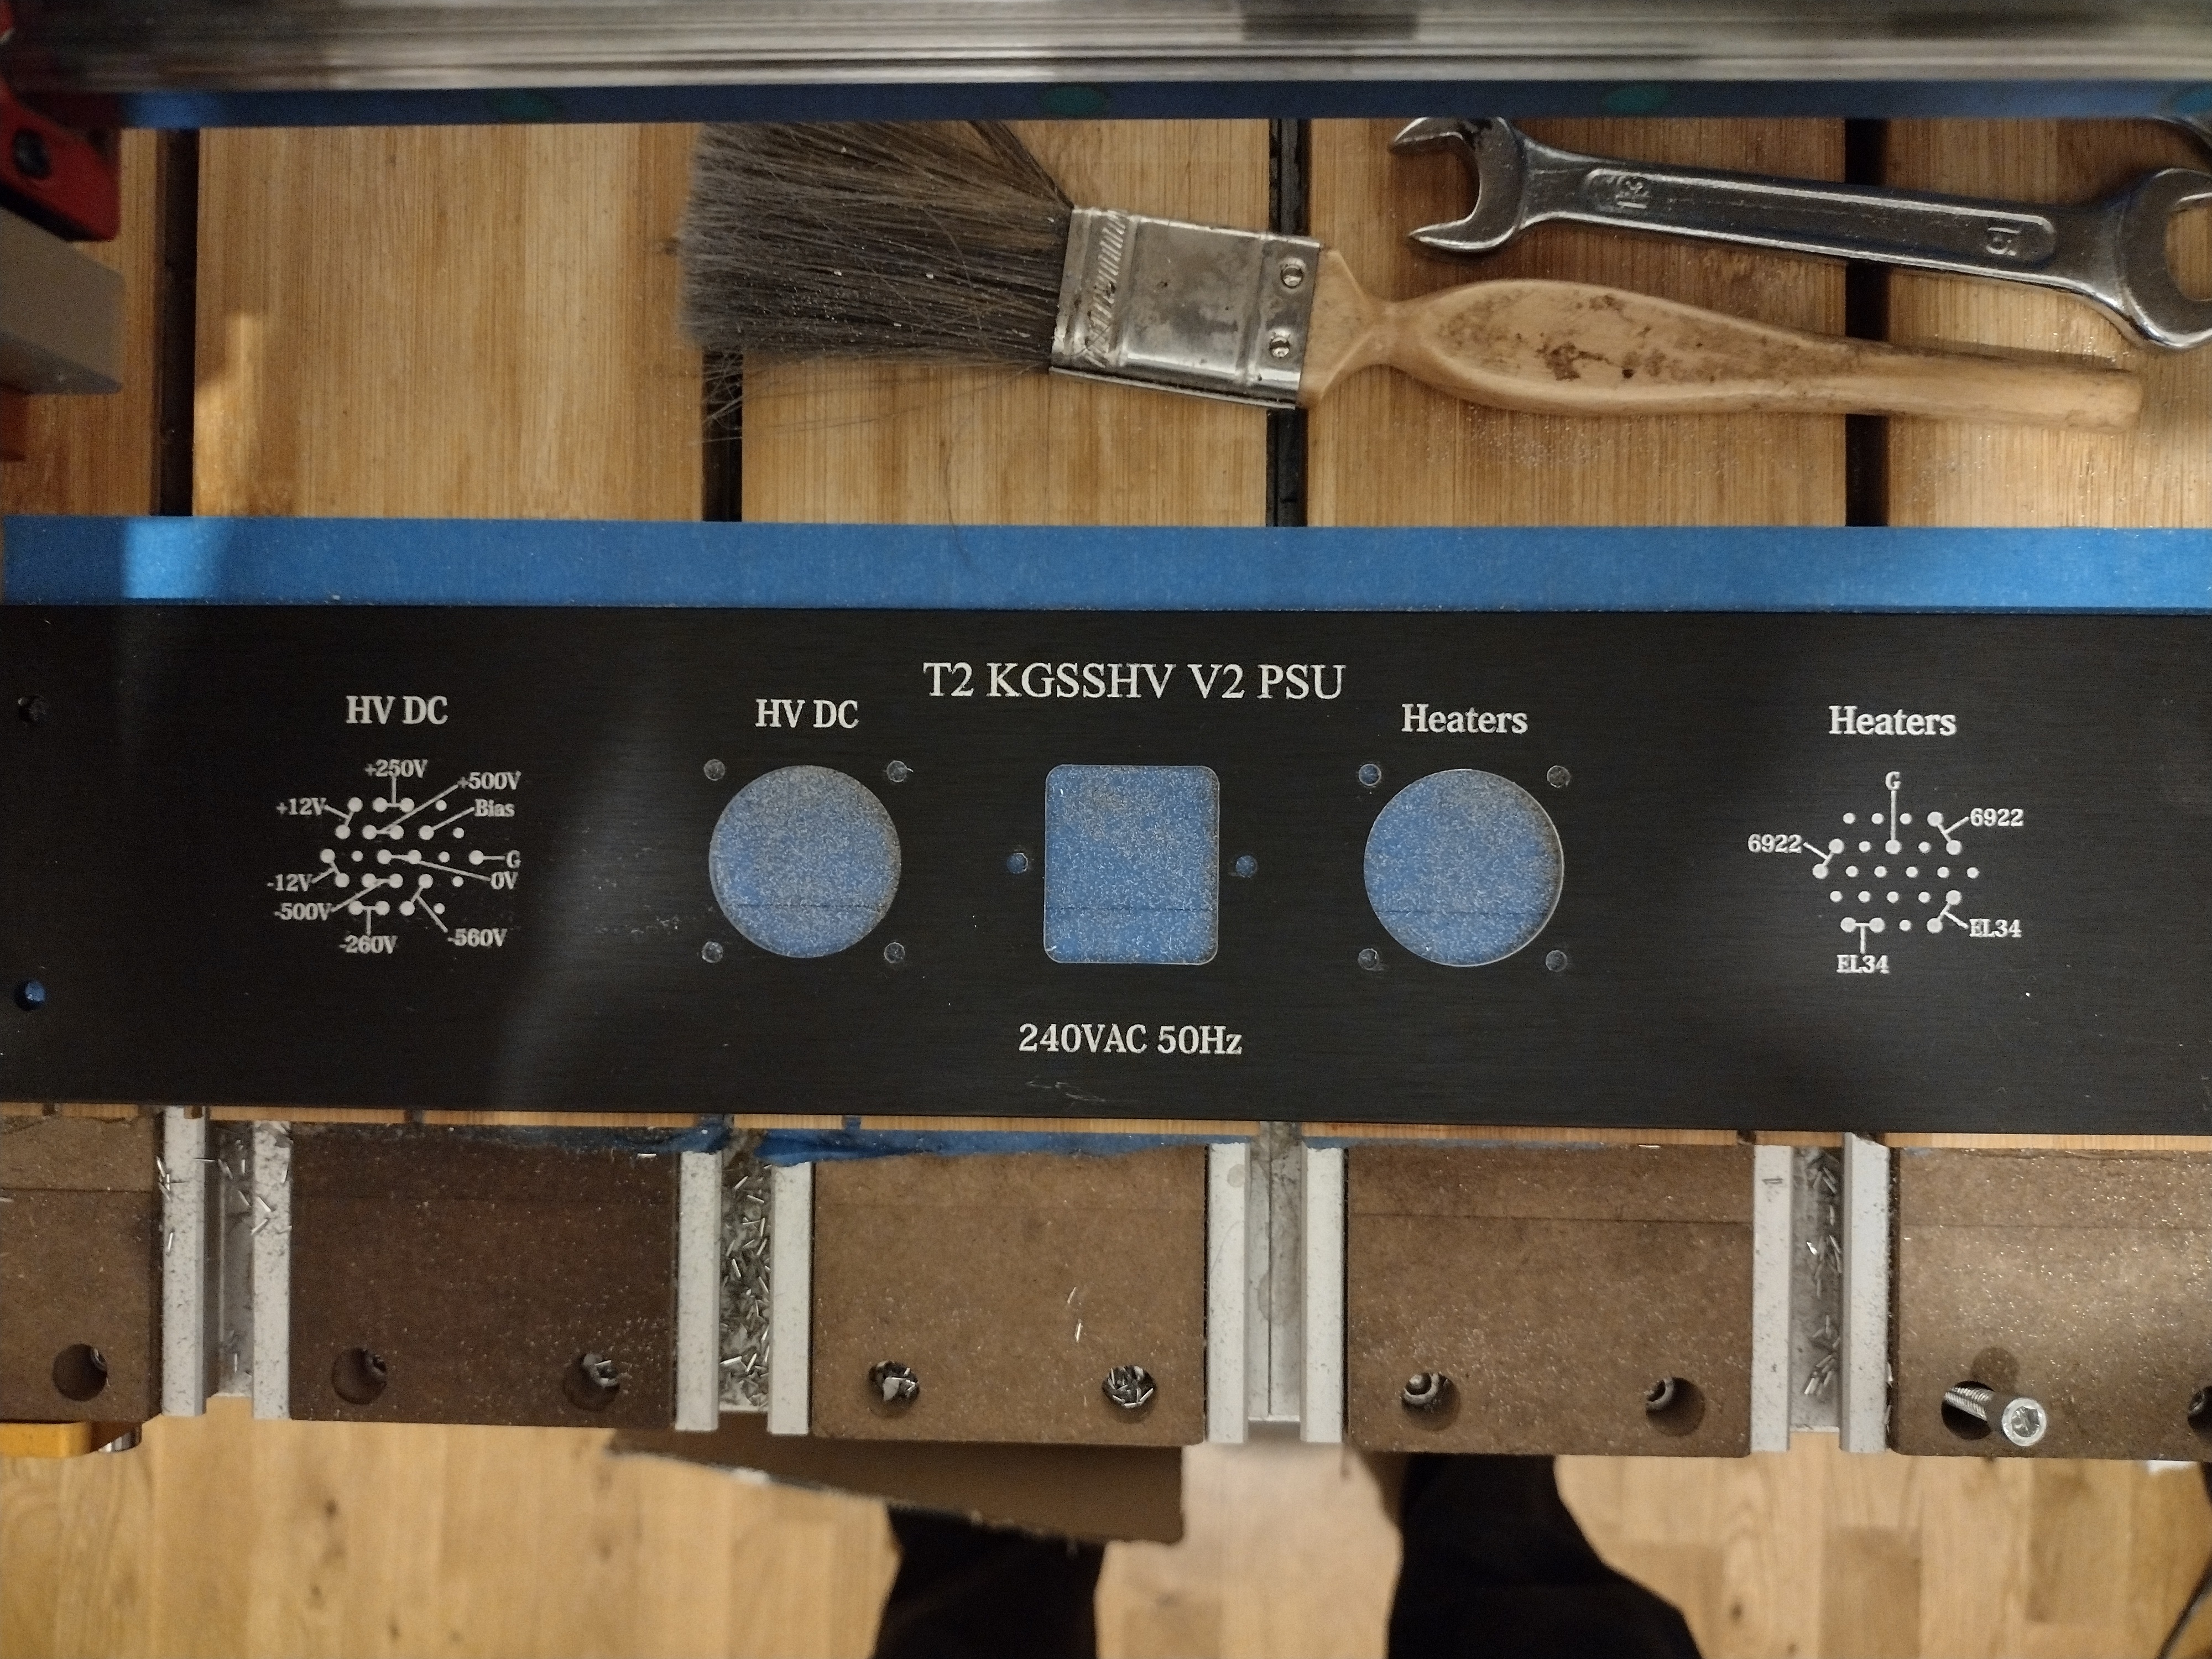
 1 point1 point1 pointThe legs are splayed a bit, but it still seems to me that most of the weight is placed in a downward force on the legs themselves. Not the joints. As for the screws, they are holding the weight horizontaly, not vertically. So there's no danger of the screws pulling out. It's all about the shear strength of the screw, not the holding power of the threads. It seems like a pretty sound design to me. A piece connecting the front and back legs, down low would add a lot of strength, but probably take away from the overall esthetic.1 pointAbsence Terence Blanchard 2021 https://album.link/i/1575807410 Example: Some very good Serious Sunday Jazz (SSJ). Throw in the The E-Collective and Turtle Island Quartet, and you have a lot of meat on the bone to come back to.1 point1 point1 pointT2 psu back panel, design and cut. I wanted to have the pin outs of the sockets for the umbilical chords from the psu to amp to be on the psu back for future reference.. I decided to go for 10degree 0.1mm tip engraving bit for the lettering, 0.025mm depth of cut rather than laser. Screw holes done with 3.175 end mill and main cut outs 6mm end mill. Now I have a good collection of quality bits and little experience now. CNC machining is starting to become FUN 🙂. Its so much nicer and more satisfying watching a CNC cut than using a hand drill and Dremel... Tool changing is a bit of a hassle and then I have to use a Z block and Z probe command get the new Z height reference for the tool sickout. So I try to minimise the number of different tools used. Tape hold-down and CA glue works perfectly. I'm very happy with the surface finish, perhaps the text for the pinouts and lines could be a little narrower, but its certainly not a disaster. Cut still currently in progress: The nice thing about symmetrical panels is that you can always adjust your settings and have another go with the other side... I decided to decrease the line width by half, nock 20% off the size of the socket decals, decrease the socket decal font size, change the style of the lines and reduce the engraving depth from 0.025 to 0.02mm... I think the new version should look a little less blocky and a bit more refined... The 0.02mm engraving depth is slightly too little, other than that I think its an improvement.
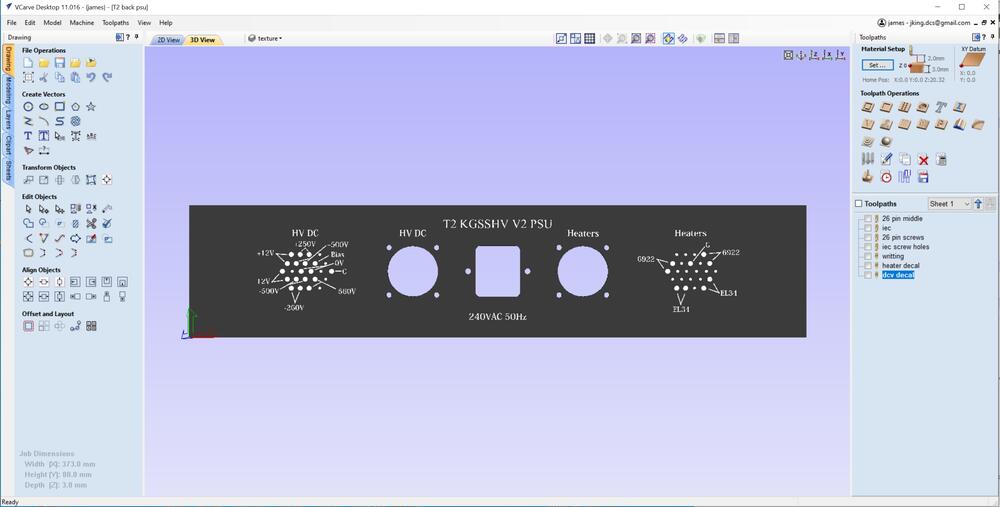


 1 pointYou can use FN281-4-06 from Schaffner. It is available in a horizontal or vertical orientation and includes a fuse holder and power switch. Take a look at the pdf spec sheet as the picture isn't correct, showing a different style.1 pointAny IEC socket will be fine if bought from a reputable source. I'll let others chime in on the proper characteristics of the fuse for this amp as I haven't built one. https://letmegooglethat.com/?q=iec+socket+with+fuse1 point1 pointI learned much of what I know from watching Norm. I truly feel like I know the man. I did have the pleasure of having lunch with him and Steve Thomas. The company I worked for in Alaska set it up for me. They knew what a huge fan I was. And they got me on the panel at the Home Show, and the luncheon with Norm. I set across from Norm and next to Steve Thomas. After 10 minutes or so I got up the nerve to throw out a zinger about what a premadonna Bob Vila was. That got both of them laughing and we spent the rest of the lunch making fun of him. Great fun, and a day I'll never forget. He is getting old, and it makes me sad. It's hard to believe he's at the end of his career, and I'm not far behind. Time goes by so fast!1 point


Important Information
By using this site, you agree to our Terms of Use.
Account
Navigation
Search
Configure browser push notifications
Chrome (Android)
- Tap the lock icon next to the address bar.
- Tap Permissions → Notifications.
- Adjust your preference.
Chrome (Desktop)
- Click the padlock icon in the address bar.
- Select Site settings.
- Find Notifications and adjust your preference.
Safari (iOS 16.4+)
- Ensure the site is installed via Add to Home Screen.
- Open Settings App → Notifications.
- Find your app name and adjust your preference.
Safari (macOS)
- Go to Safari → Preferences.
- Click the Websites tab.
- Select Notifications in the sidebar.
- Find this website and adjust your preference.
Edge (Android)
- Tap the lock icon next to the address bar.
- Tap Permissions.
- Find Notifications and adjust your preference.
Edge (Desktop)
- Click the padlock icon in the address bar.
- Click Permissions for this site.
- Find Notifications and adjust your preference.
Firefox (Android)
- Go to Settings → Site permissions.
- Tap Notifications.
- Find this site in the list and adjust your preference.
Firefox (Desktop)
- Open Firefox Settings.
- Search for Notifications.
- Find this site in the list and adjust your preference.