

Leaderboard
-
Hopstretch
High Rollers12Points16800Posts -
MexicanDragon
High Rollers8Points8369Posts -
n_maher
Administrators7Points27489Posts -
Augsburger
High Rollers6Points13165Posts



Popular Content
Showing content with the highest reputation on 03/13/19 in all areas
-
3 pointsLT1021-7 is worth trying – in LTspice it acts like LT1021-10 and LT1236-10. The LED TLMS1100 is a tiny thing and personally I think that’s the most tricky part to handle and solder. I started to use it in battery daughter board for T2 and I did buy a hundred pieces right away. It might be a good idea to buy some extra in case if you lose one (on floor, overheat when solder or what so ever). Now days I solder in the LED first and then check it with DMM in diode test mode, positive test pin on anode and negative on cathode and the LED will glow if everything is right (no guarantee for bad soldering though - by own experience). It will not glow with transistor and resistors in place. We send the designer a bottle of Scotch each and see what happens…3 points
-
2 pointsFor the GRHV78XXX I would recommend to have the full board assembled as part of the group buy. Yeah, 0603 LEDs are fun2 points
-
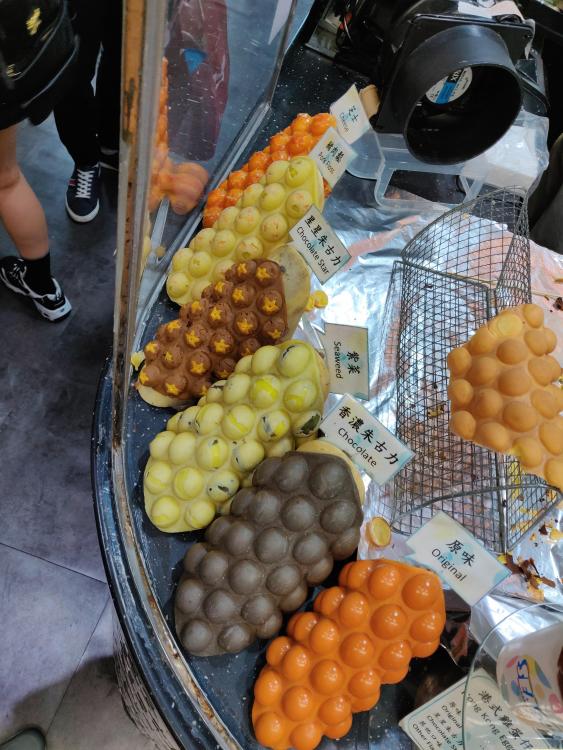
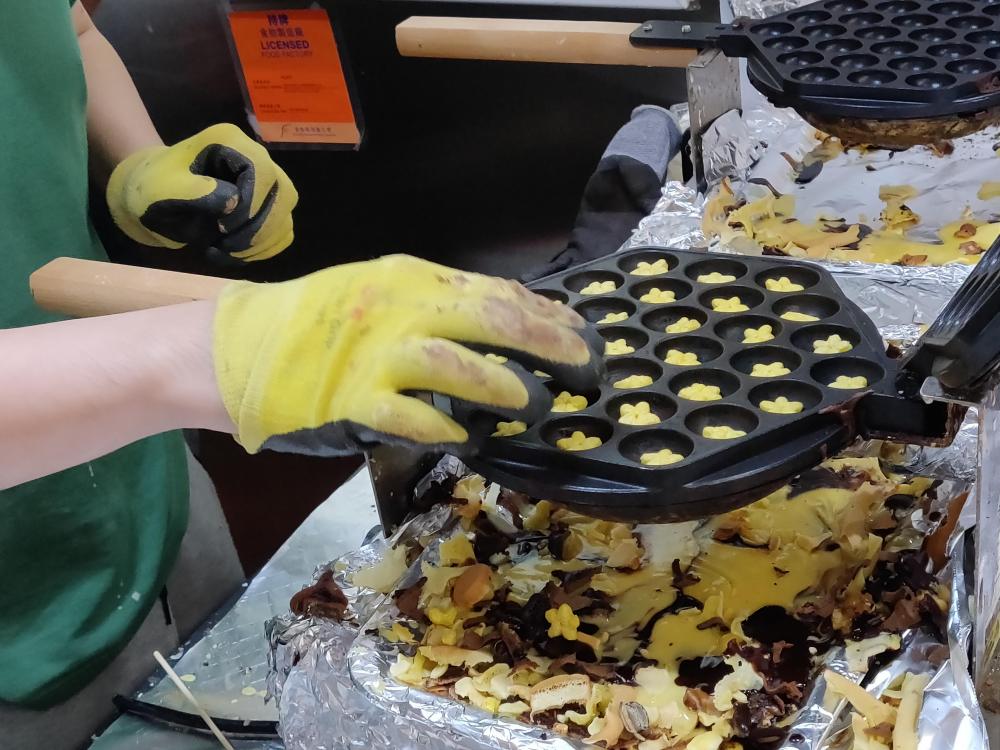
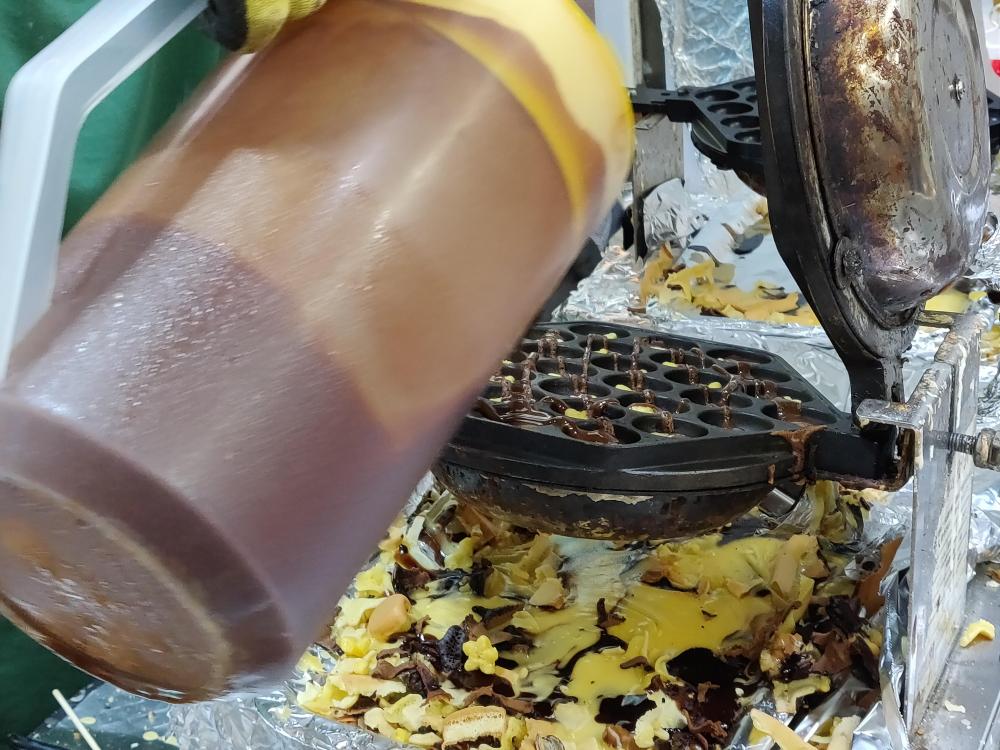
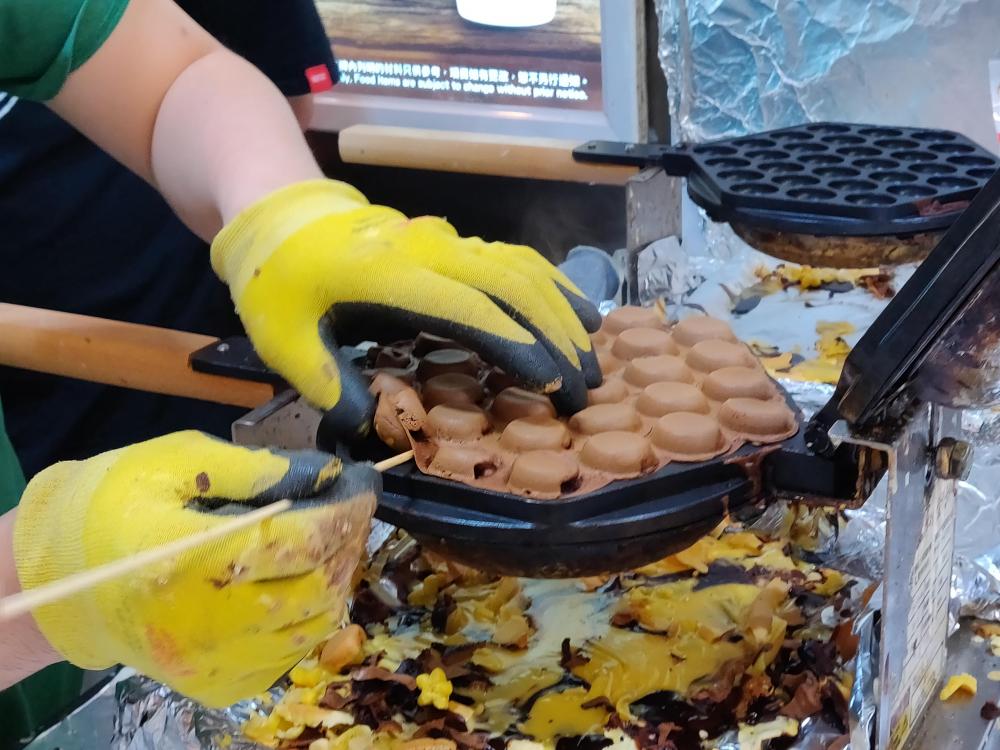
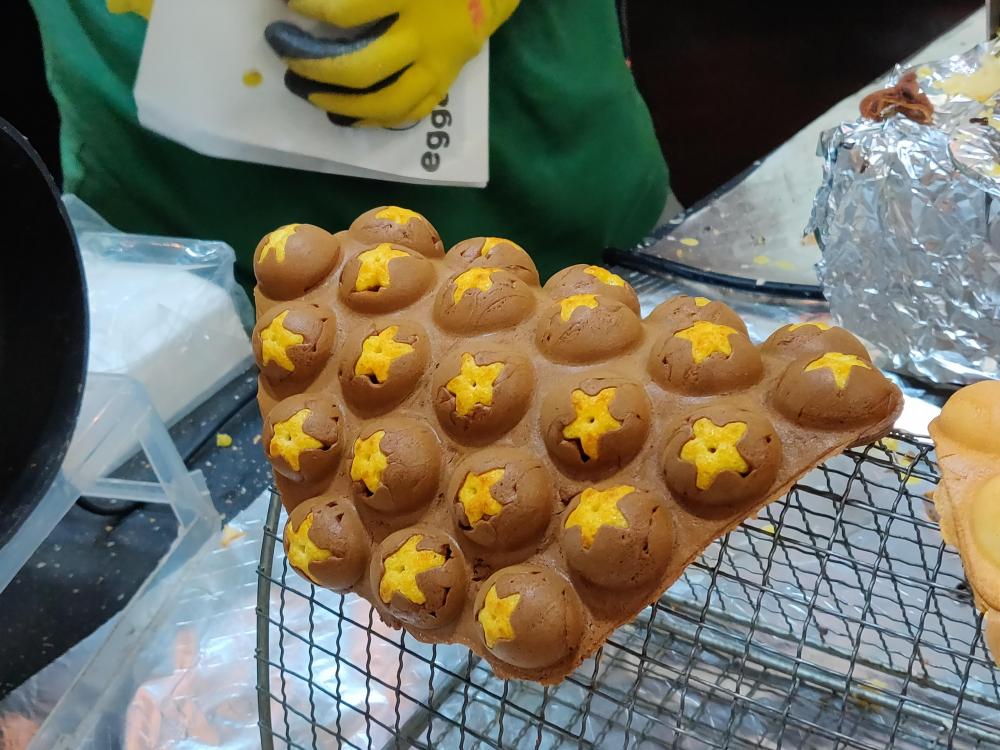
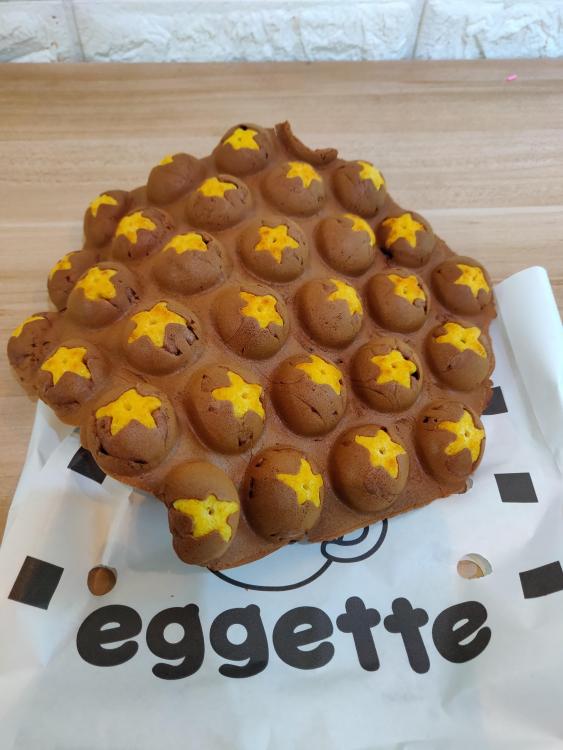
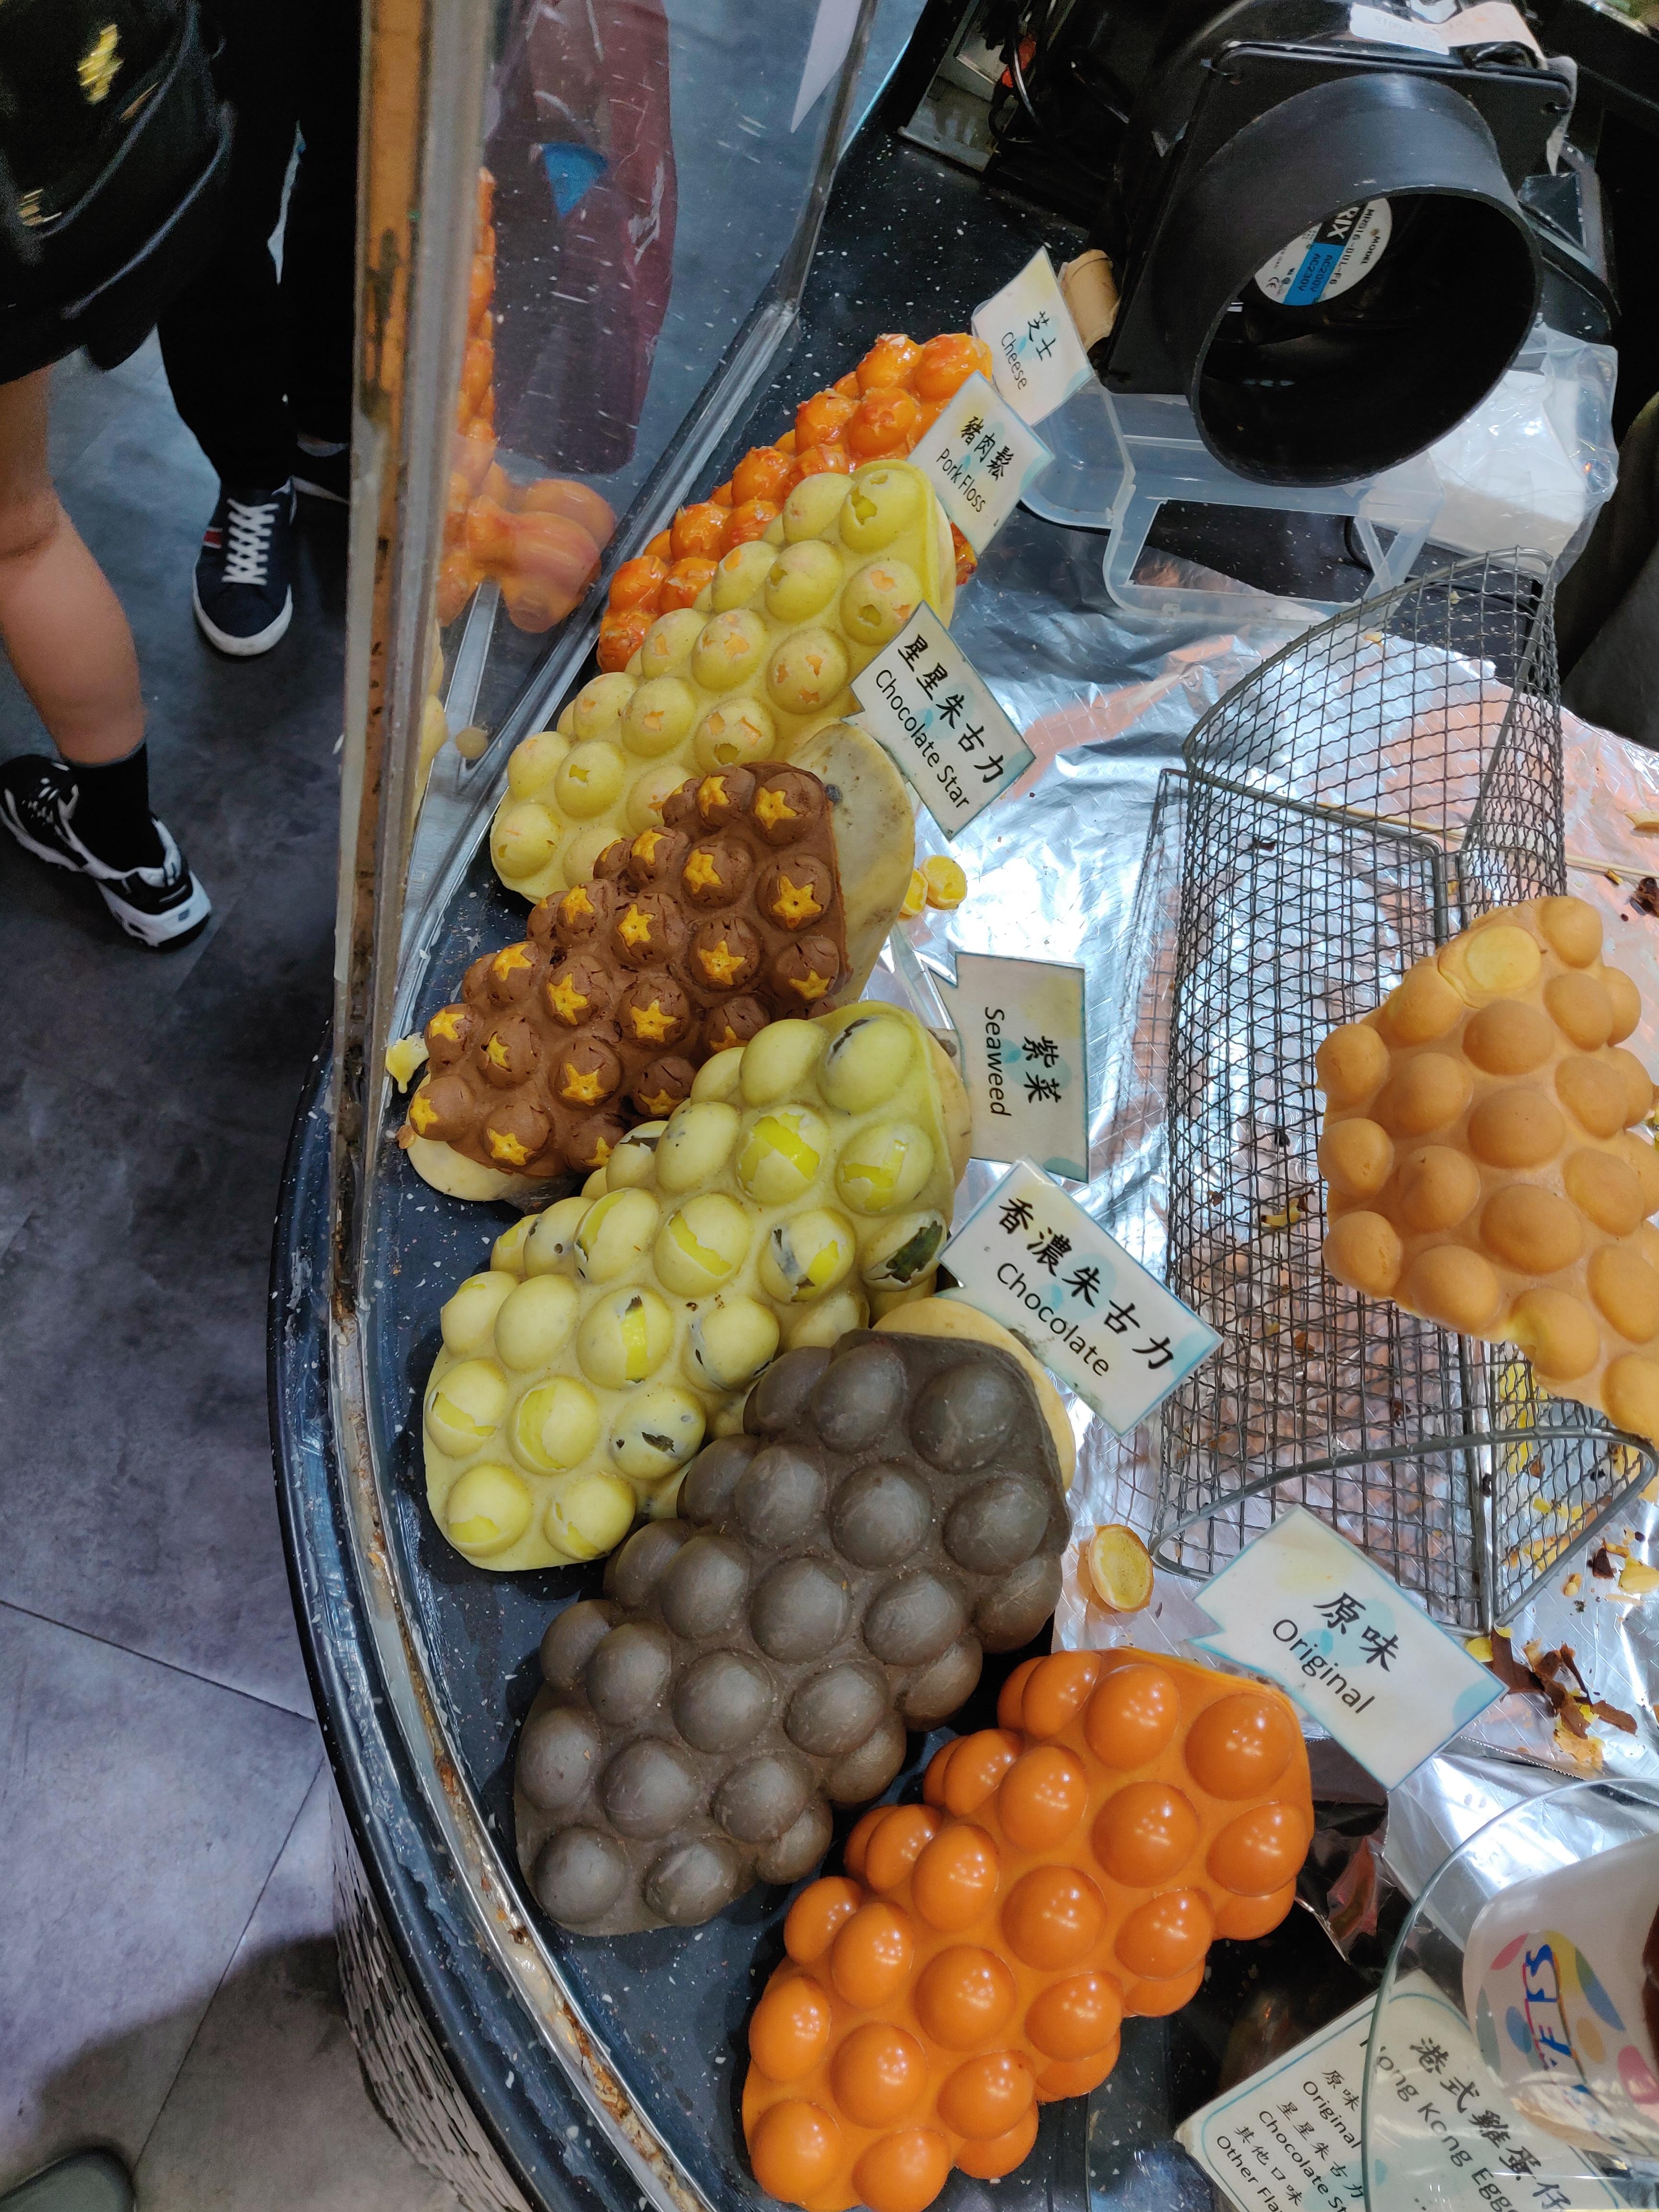
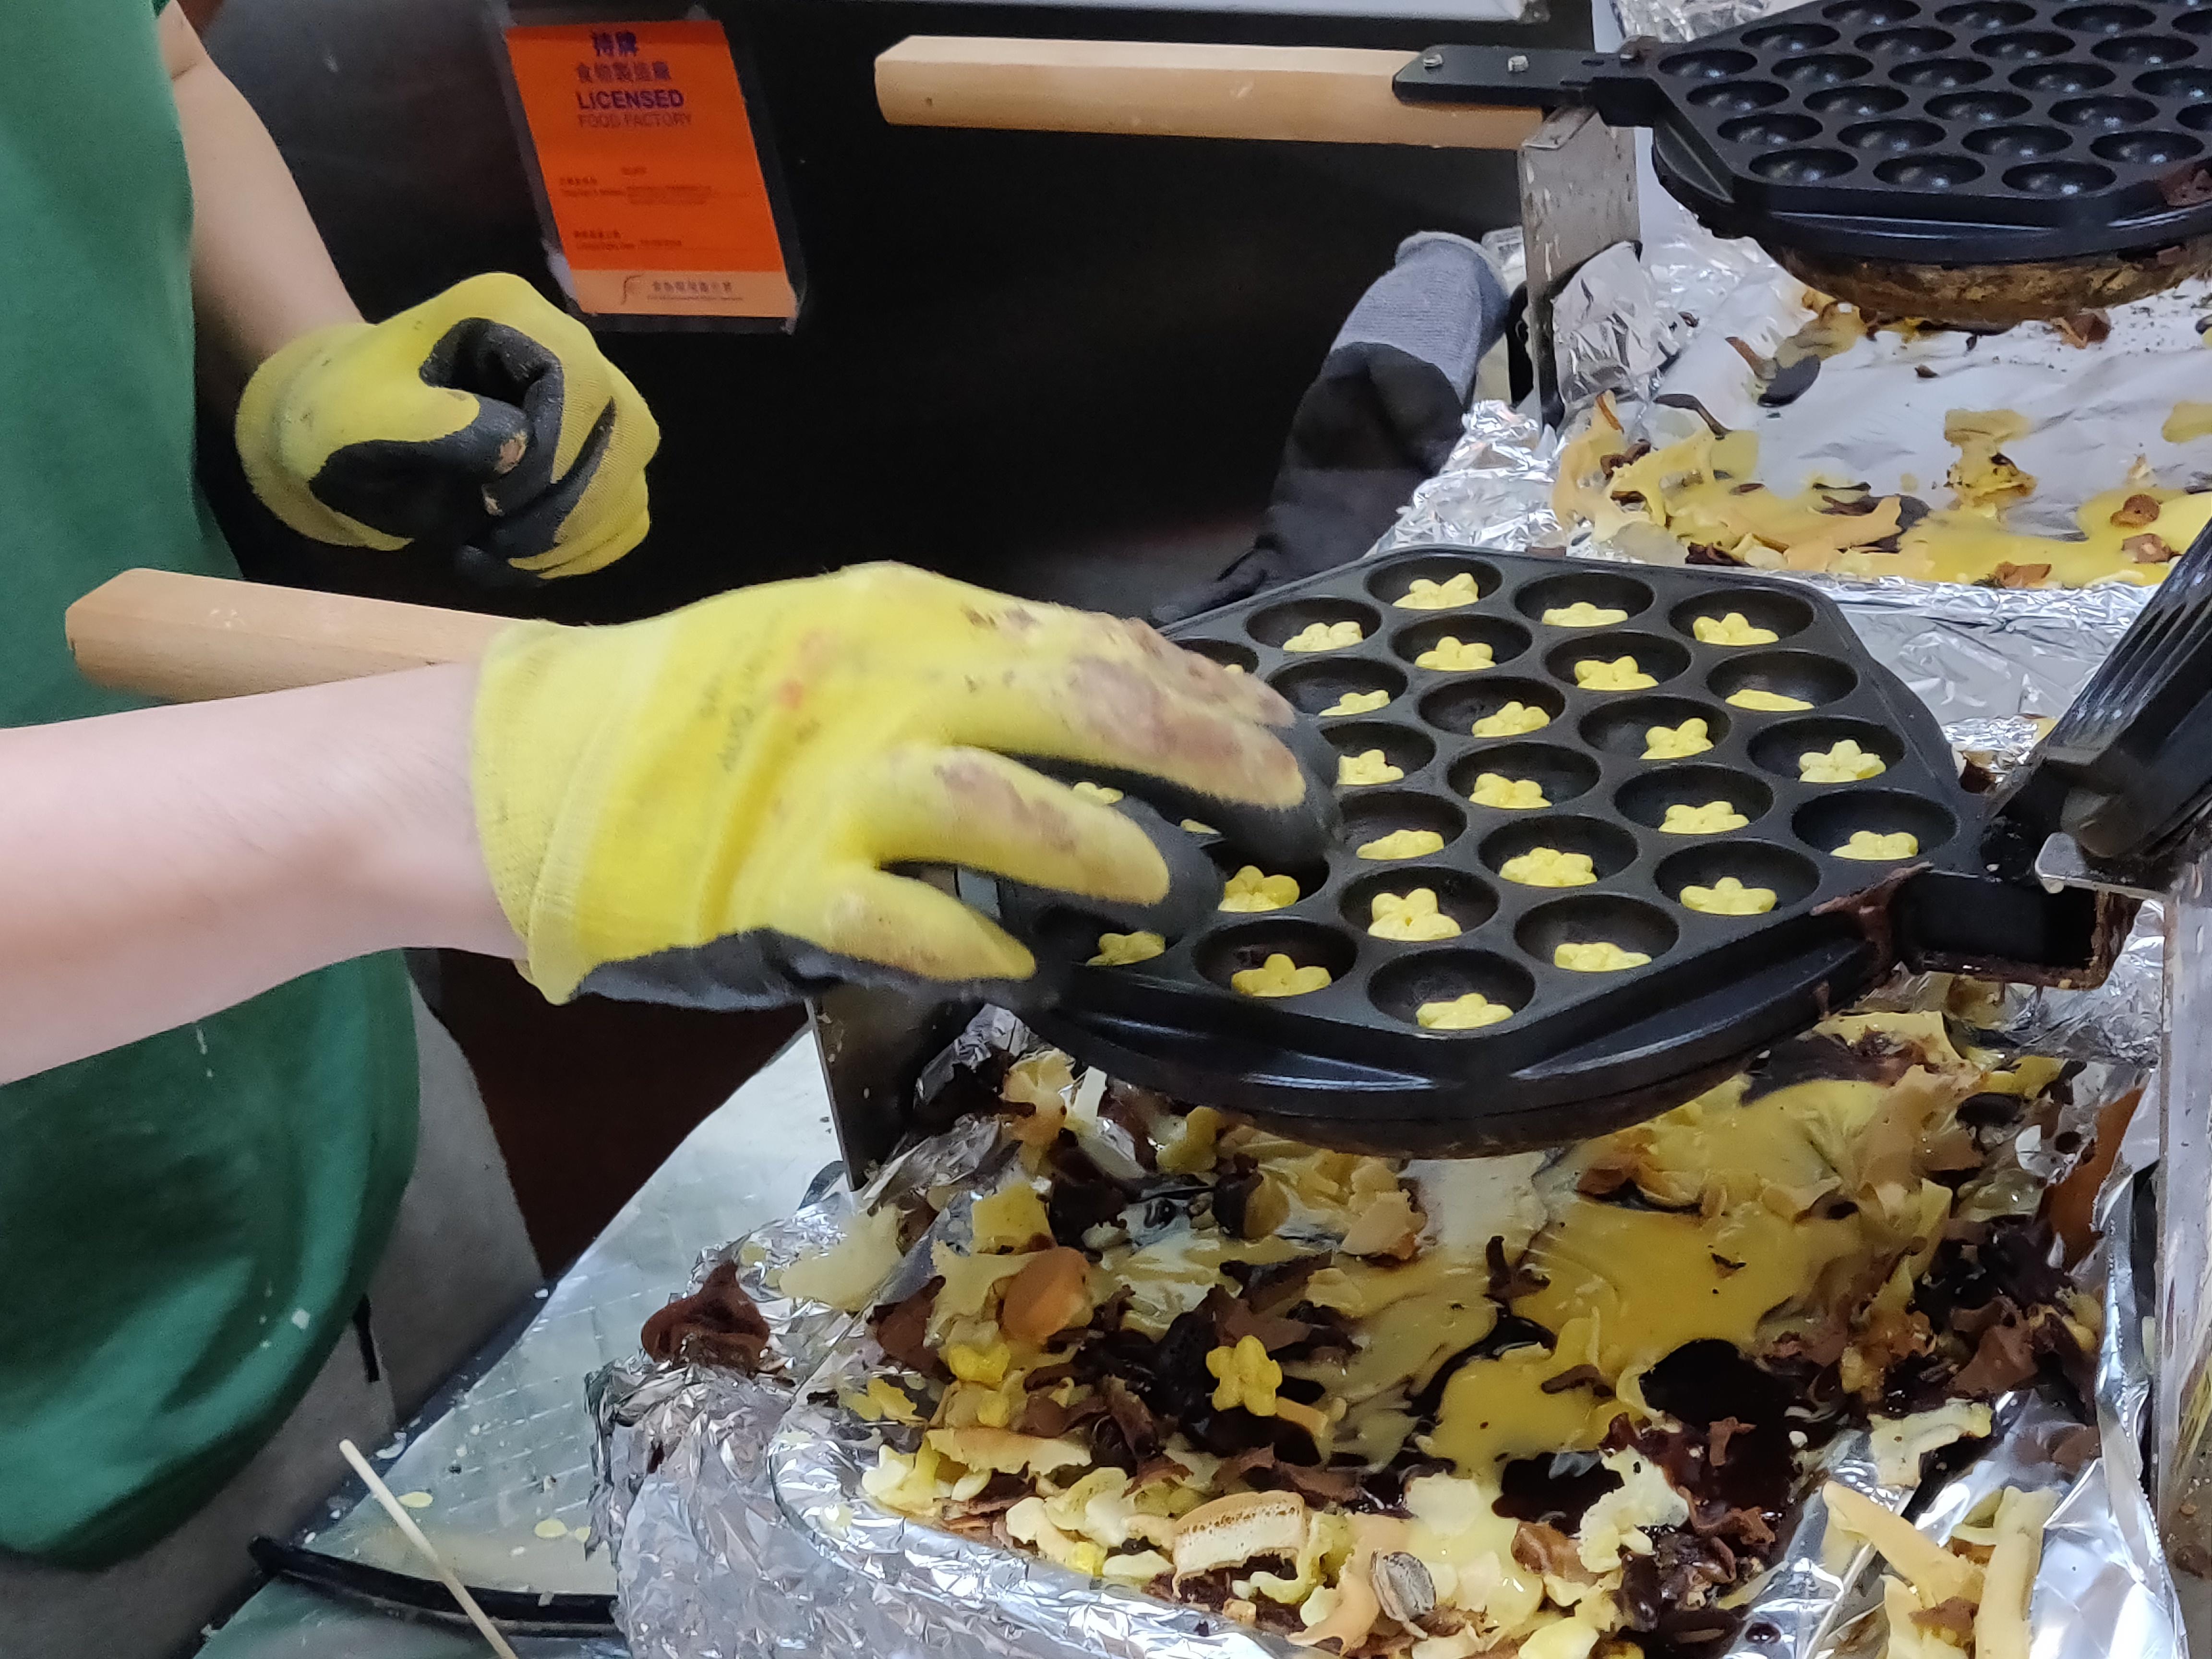
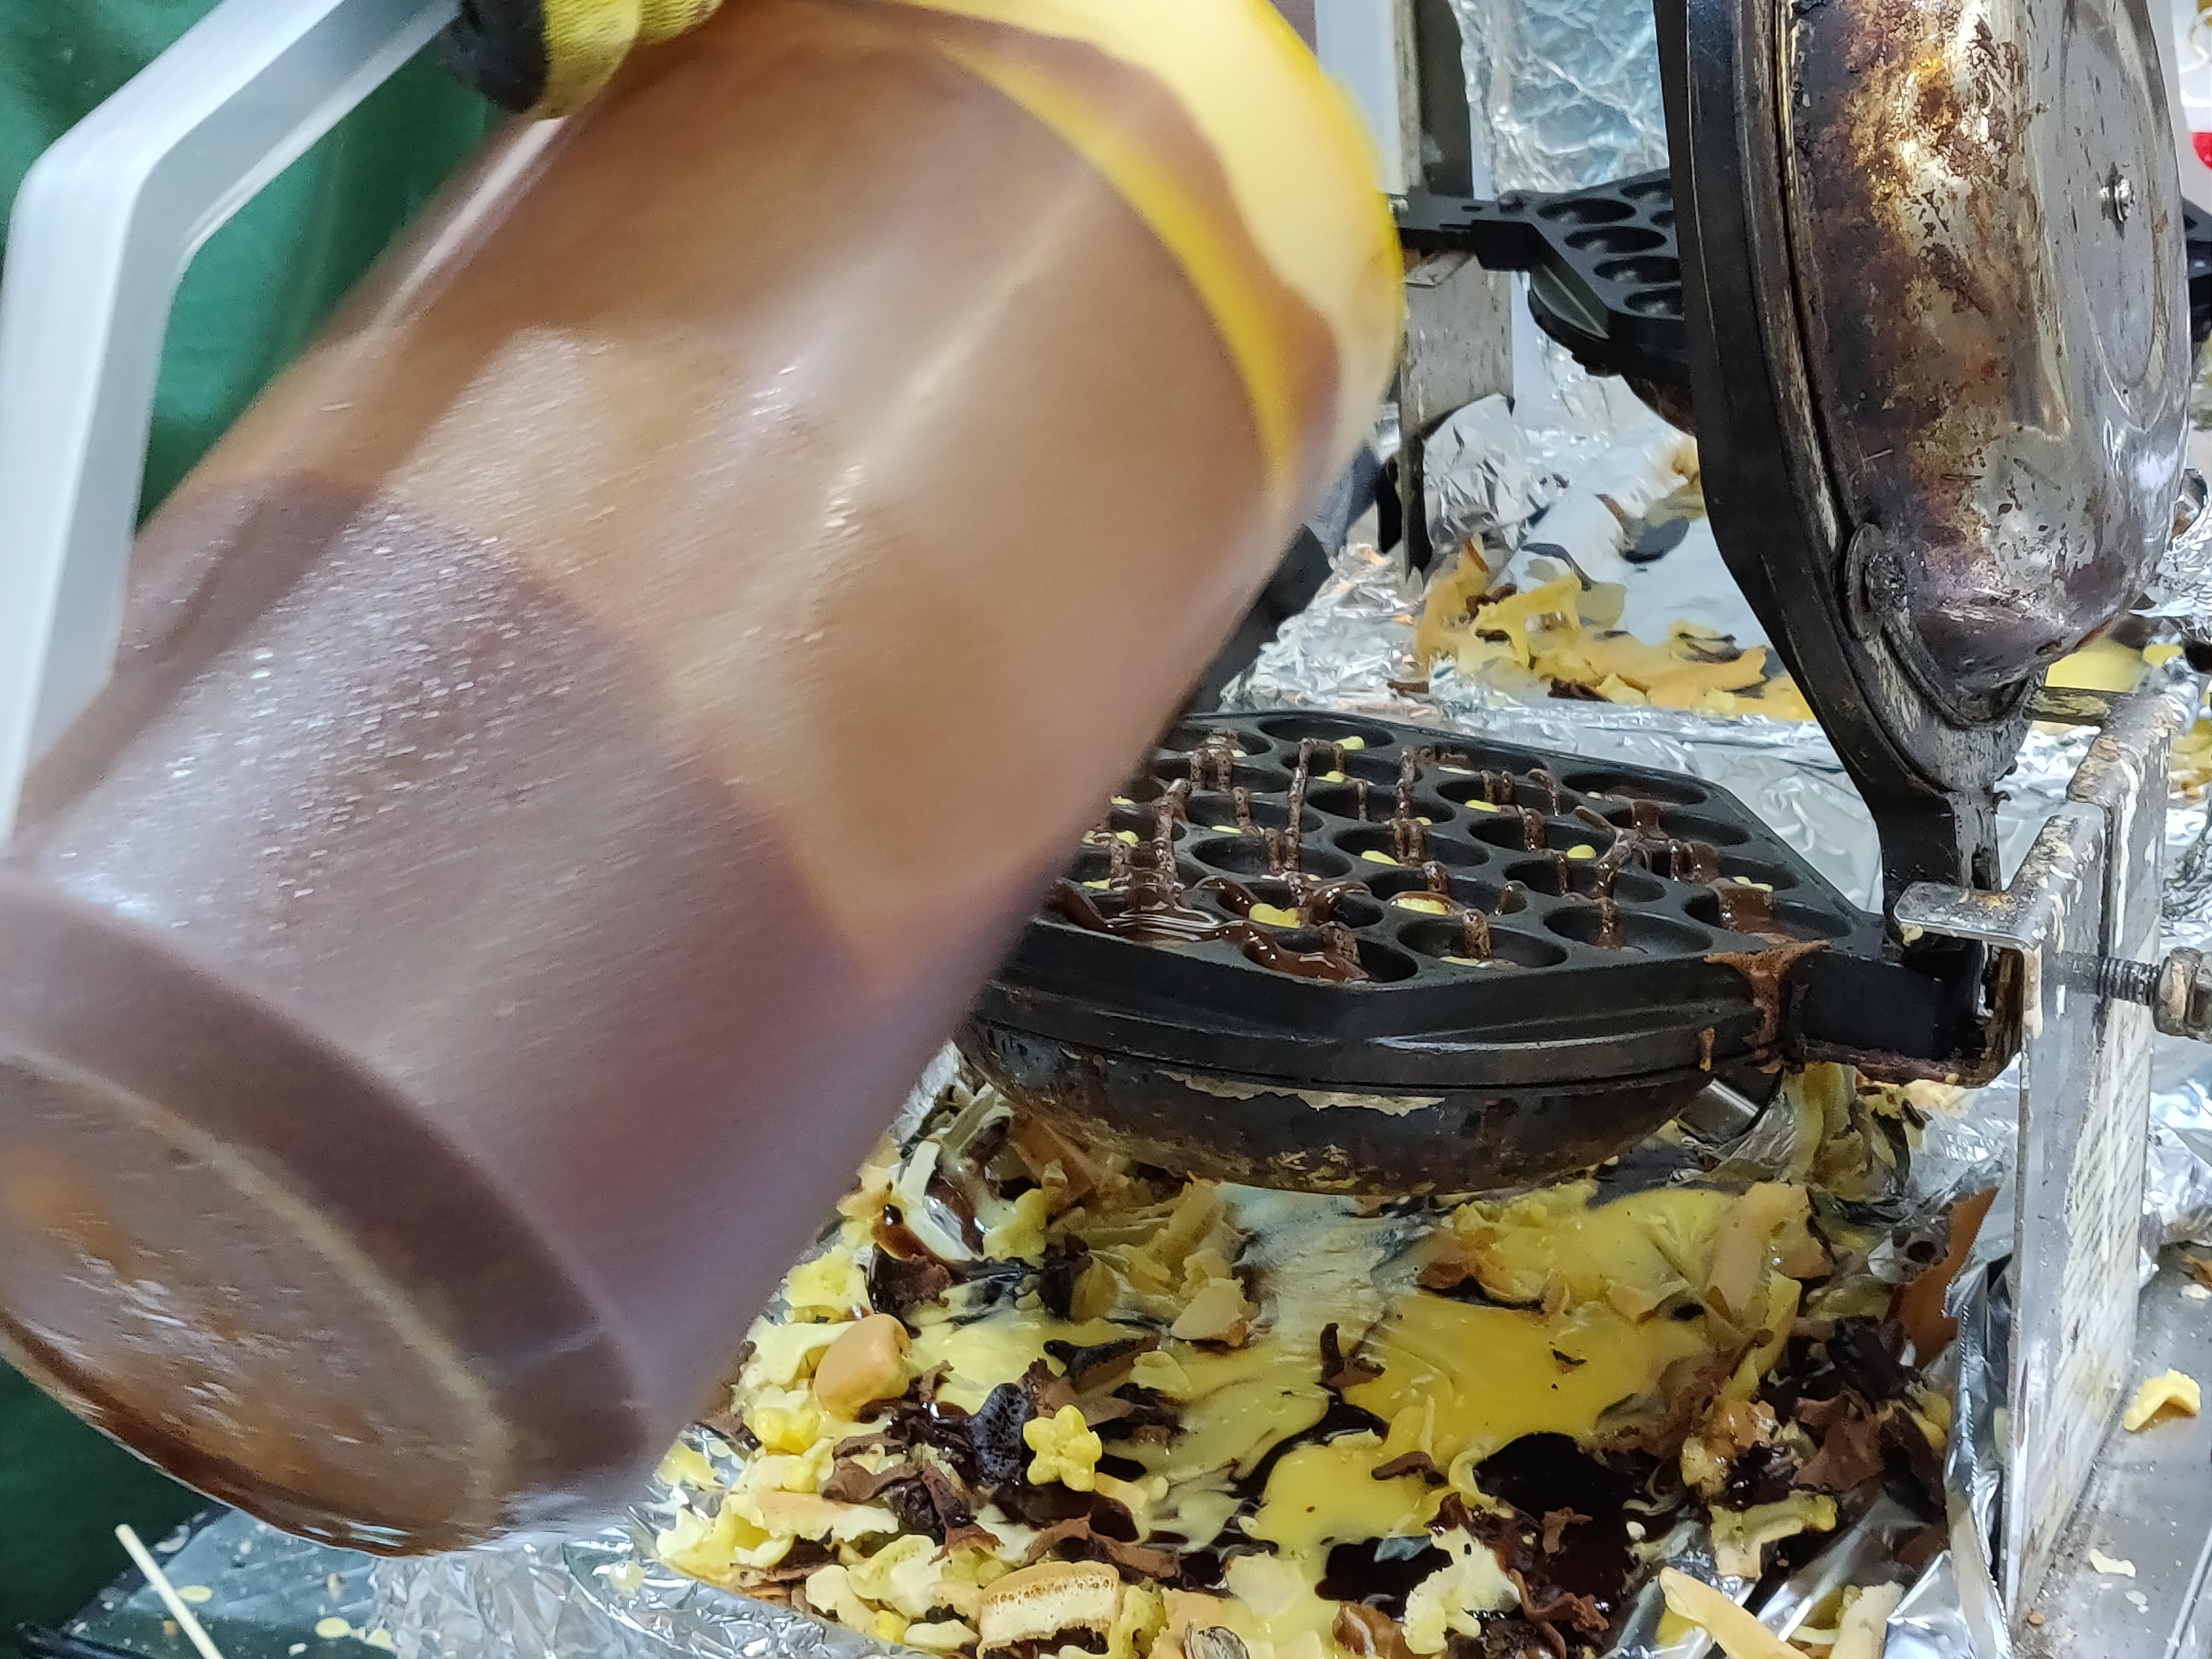
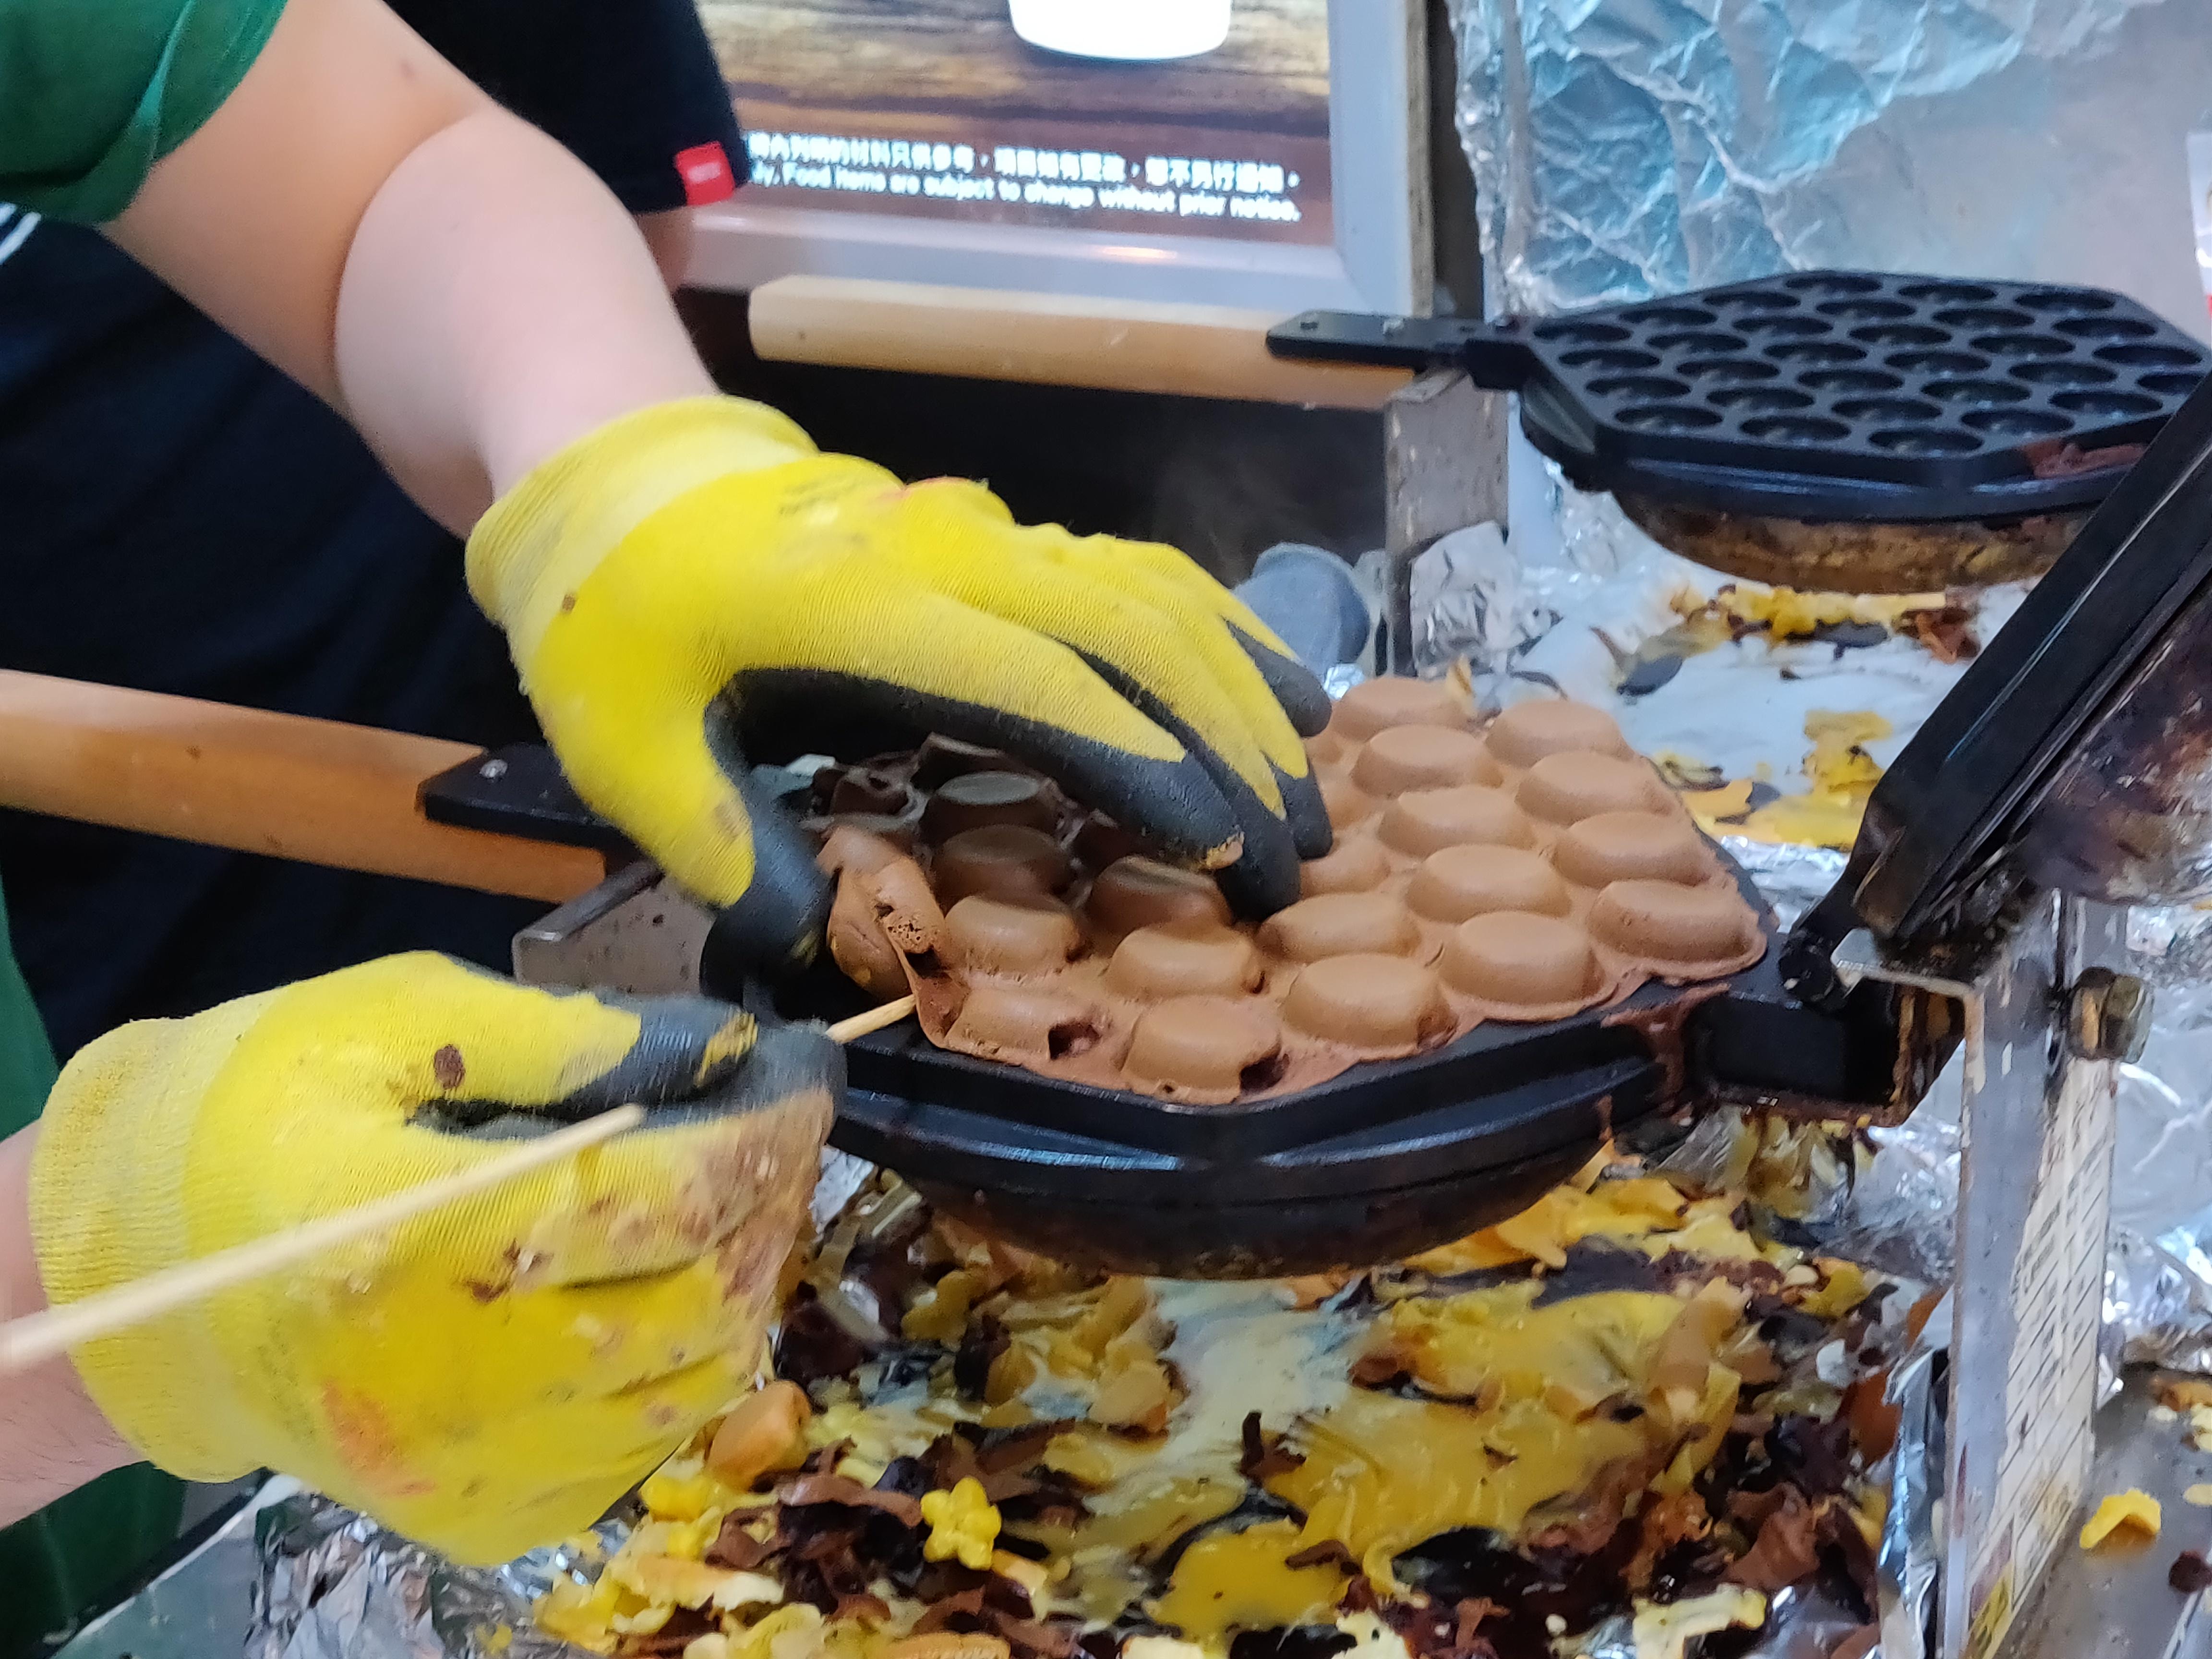
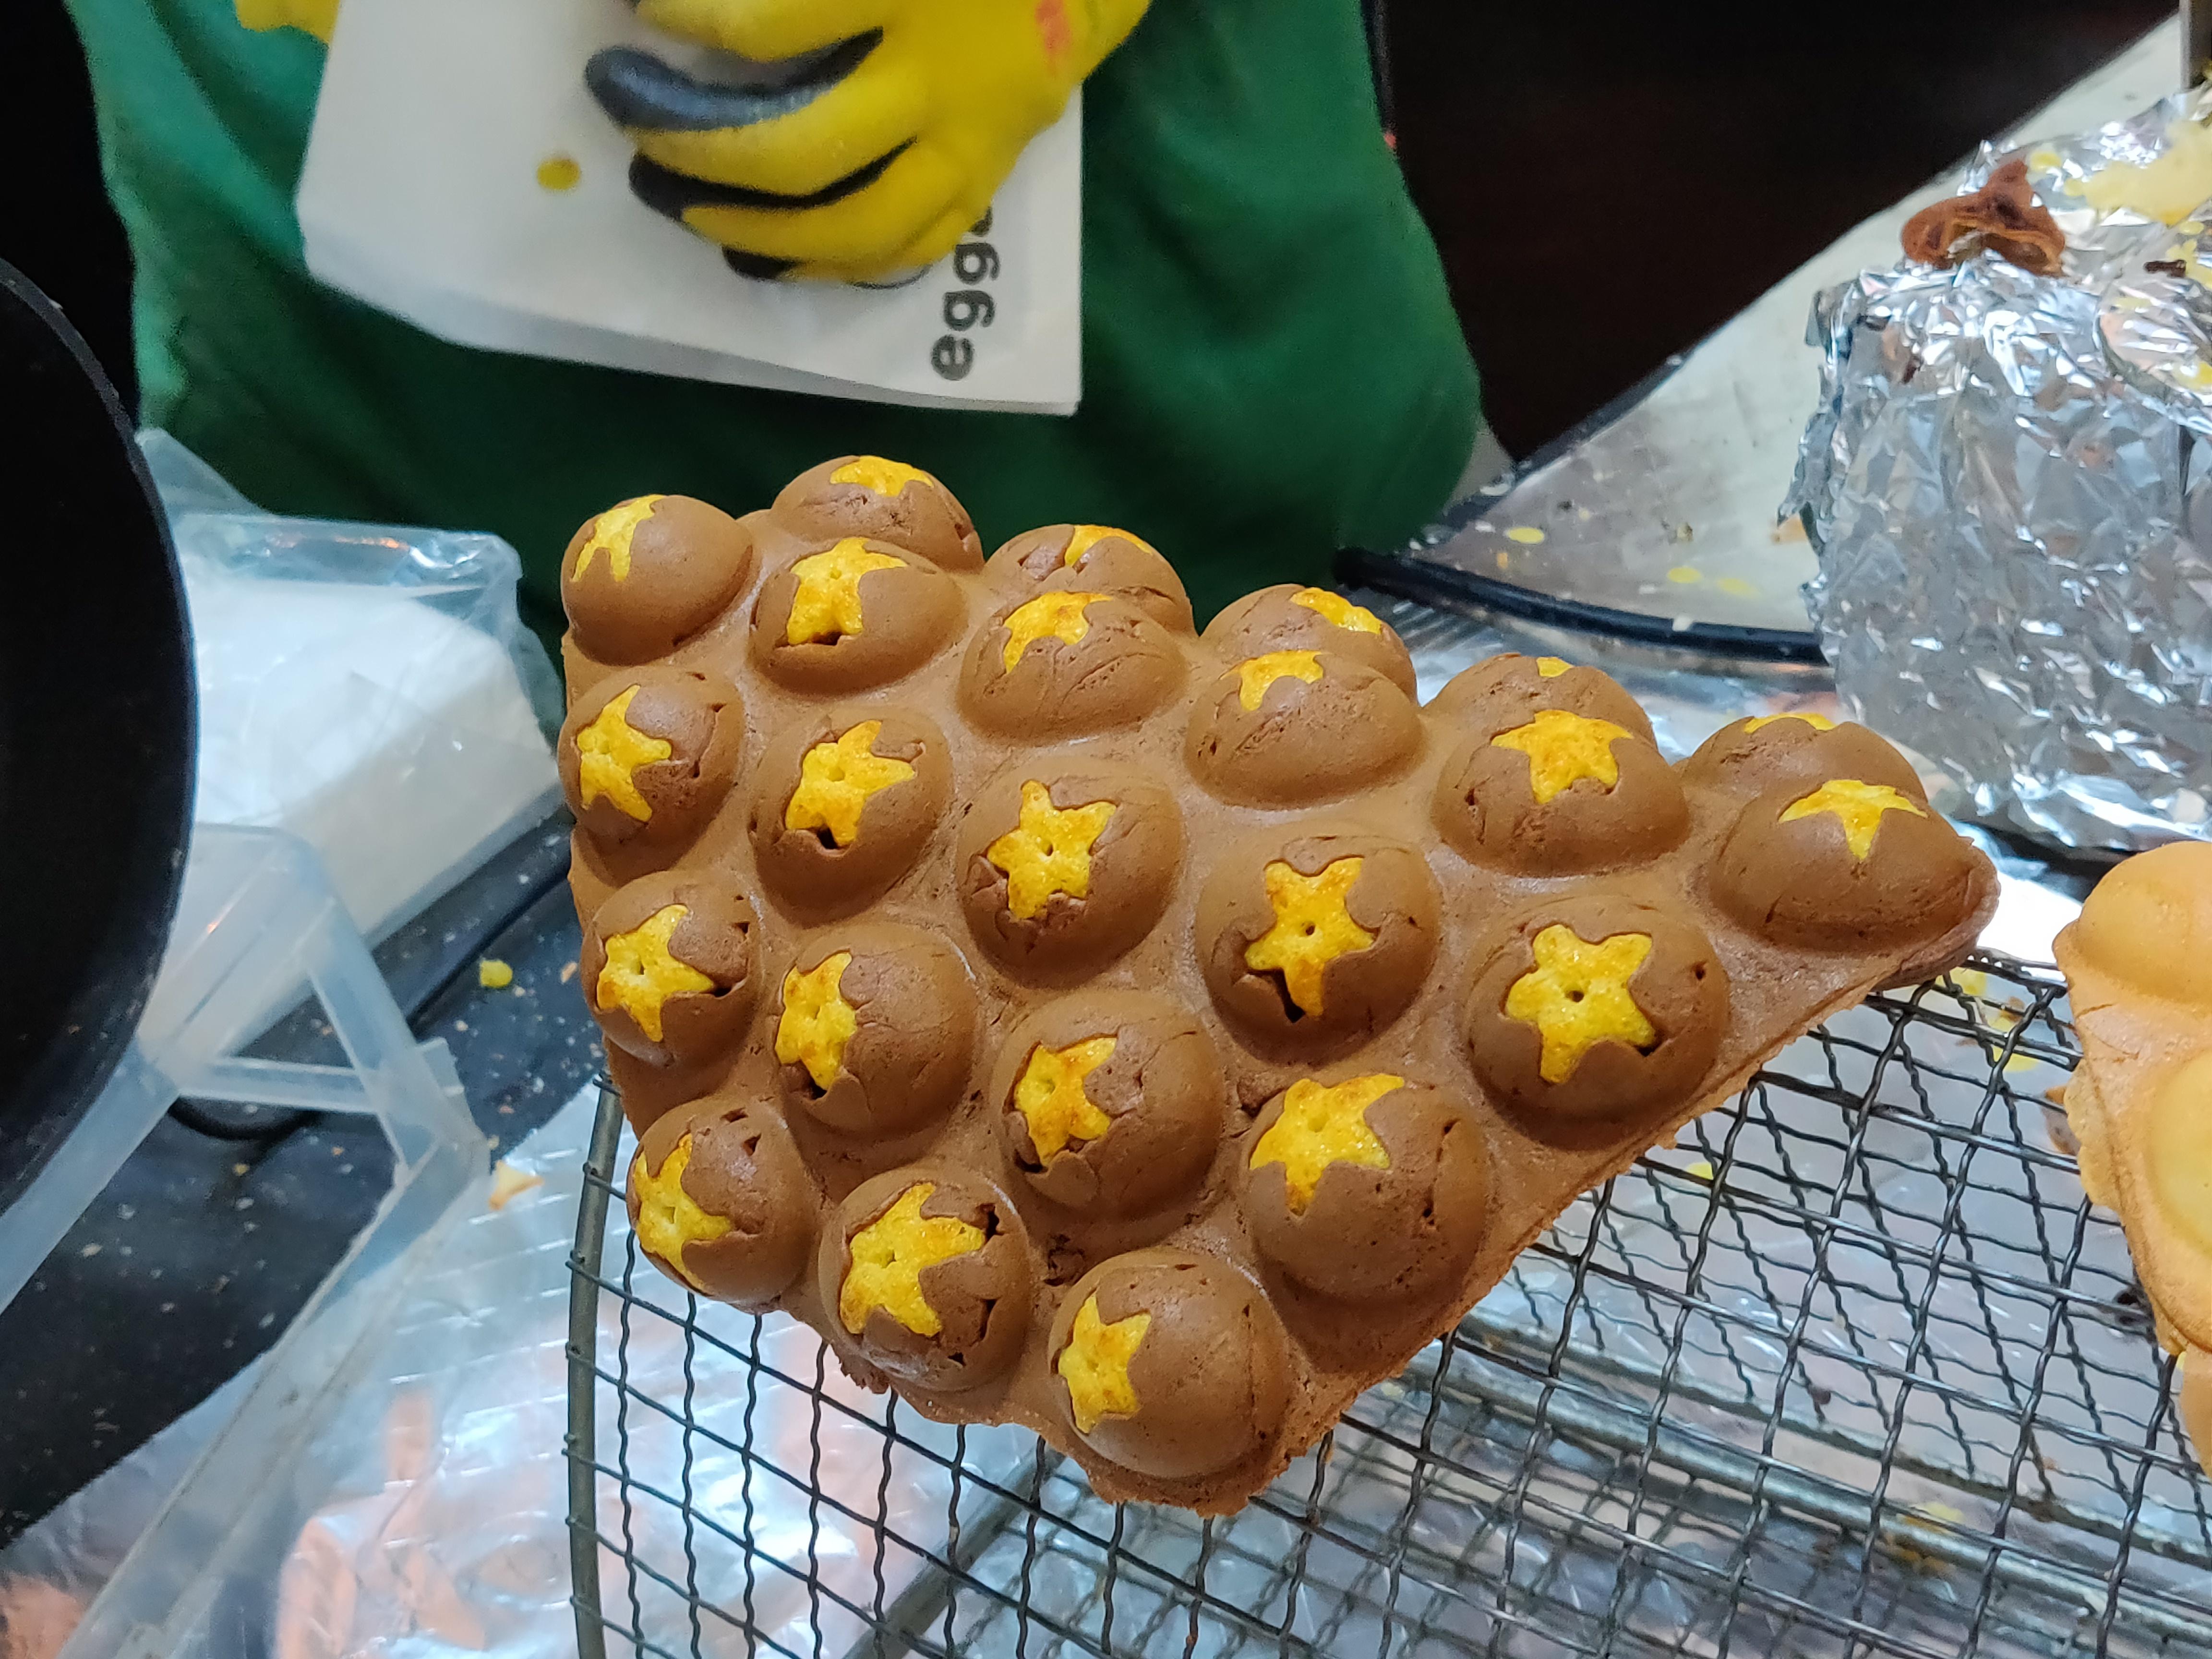
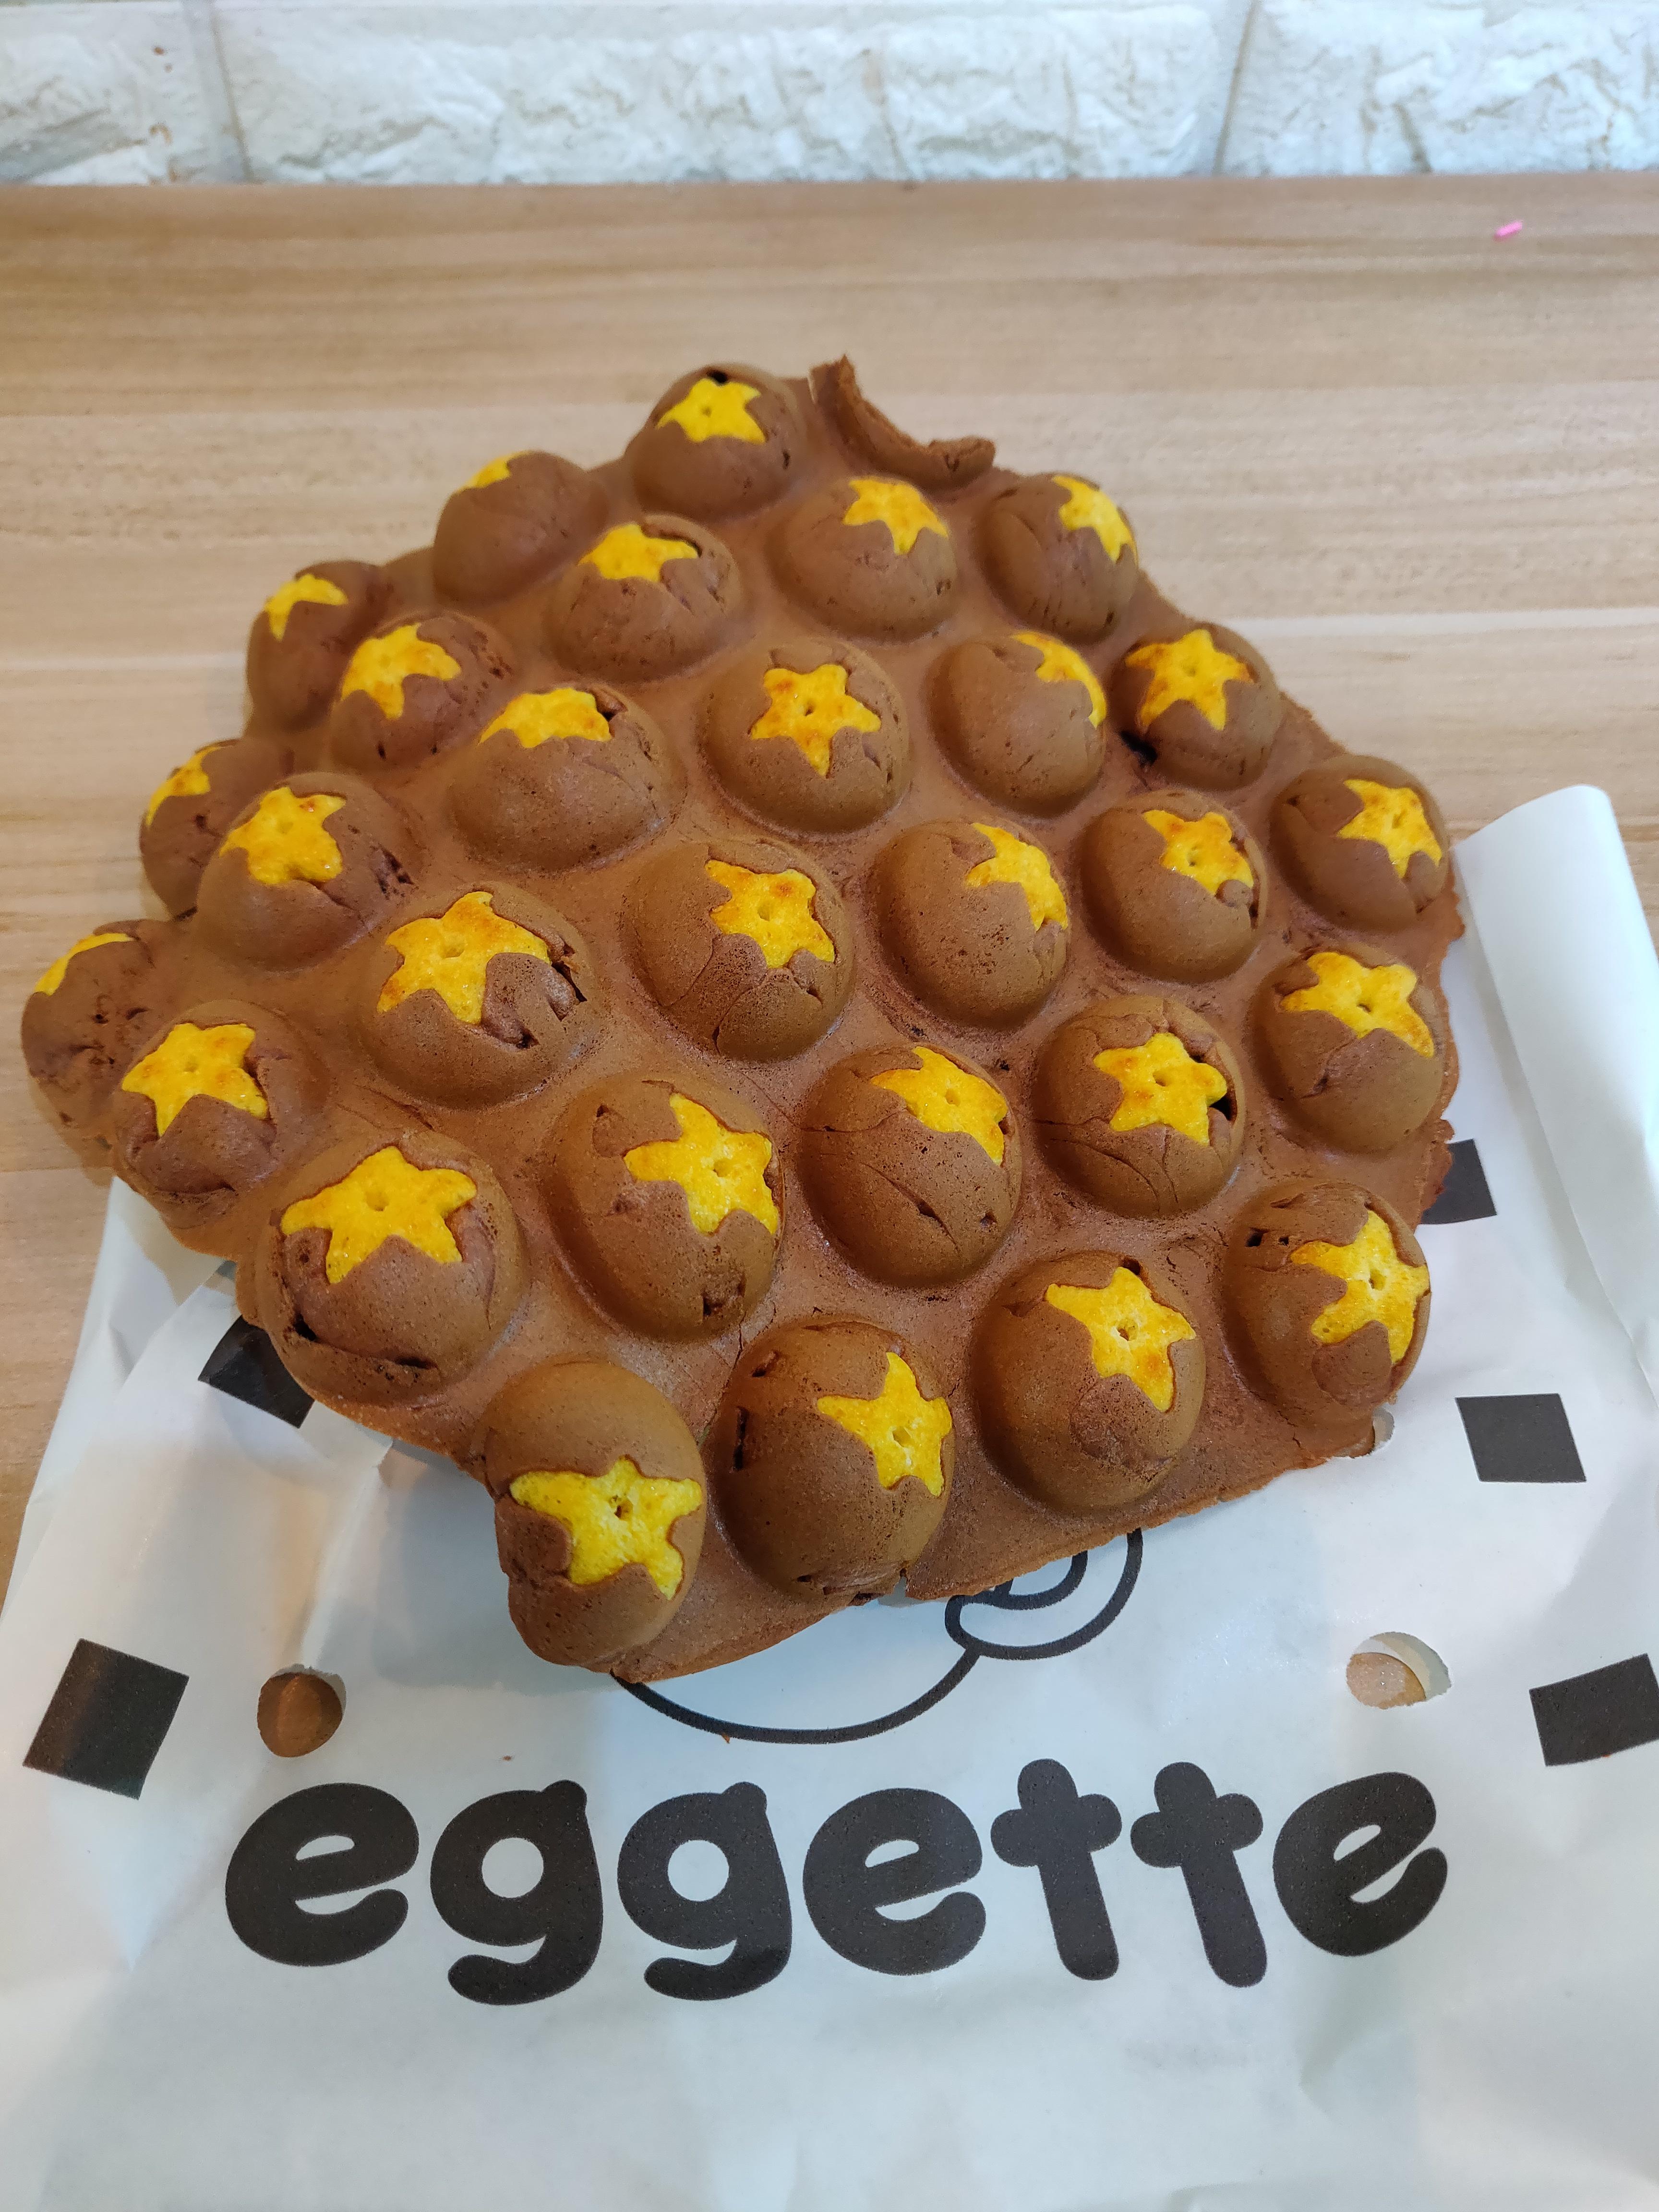
2 points2 points2 pointsWe definitely need a group buy for those PS. All-in-one PSU for the miniT2 kept mini (apart from the transformers, but that's another story).2 points2 pointsWhen Nate comes to town, he must be given a proper welcome. Mikey handling the damascus steel Colin's example was the most picturesque, b/c, I mean... This a better view? DoxDoxDox waiting for her slice Waiting to be served2 points1 point1 point1 point1 pointThe main board does not need to be assembled but the regulator modules do (2 per power supply). For the Power supply modules, using the LT1236 should reduce the heat on the CCS pad feeding the reference by about 5 deg C. I haven't tested this yet, but it seems like a good substitute and possibly preferable. PS - Just thinking out loud, the LT1021-7 might be the best option here.1 pointlooks like I'm the one that caused trouble, not you.... those sinks above are much bigger than mine. you should be fine but do watch temps and measure across the 100r if you want to know what its running at ...1 pointIt's a decent album. The bolo tie, however, was a mistake for him.1 point1 pointBoy is this a lot better with the new pedals and shoes! I did a 45 minute advanced beginner course, today. I am bushed!1 pointmy board is a direct copy of Dr Gilmore's layout and values. so all credit goes to him. I saw no need to make resistor value changes. Some things can be adjusted as Michael did but with enough heat sink it works just fine as is. A stable temp is good if you want stable current through the output stage think mine were about 18ma warmed up on 400v rails I have two working amps and no plans to mess with them. Thanks1 point1 point1 pointCool that you have the mount for your iPad and can drop it in any time you want to. Great outdoor solution. See what you mean about the shadows. In the first pic the board without darts looks positively bright. But I think you probably need to hit it from at least 3 directions, which then creates a logistical nightmare in terms of where to mount them. Like you say this is why the ring lights are a thing, although they really look odd to me - every single one I've seen. Trade offs.1 point1 point1 pointA labor intensive egg waffle @ Stanley Market ... Choices. I think I'll have the chocolate star. First, put a star in every dimple. Then add the chocolate batter. Cook to perfection Set in shape. And Enjoy!
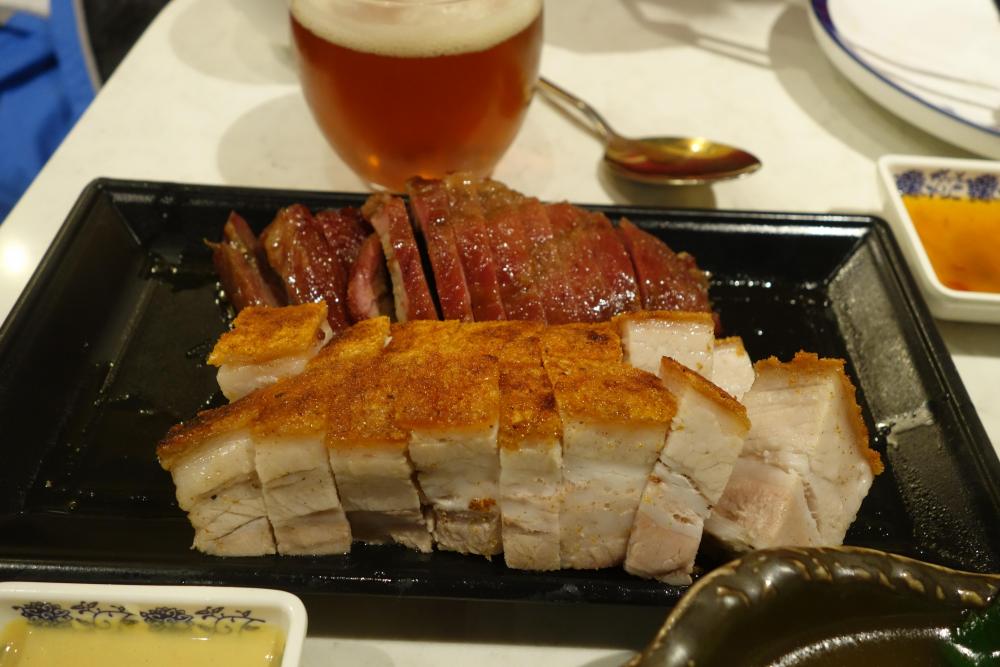
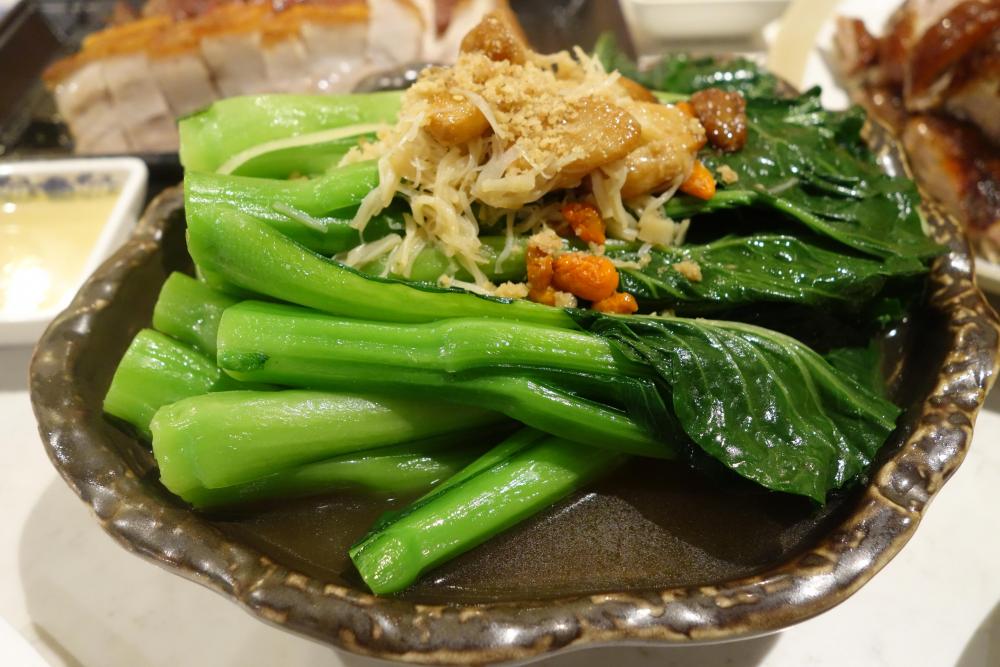
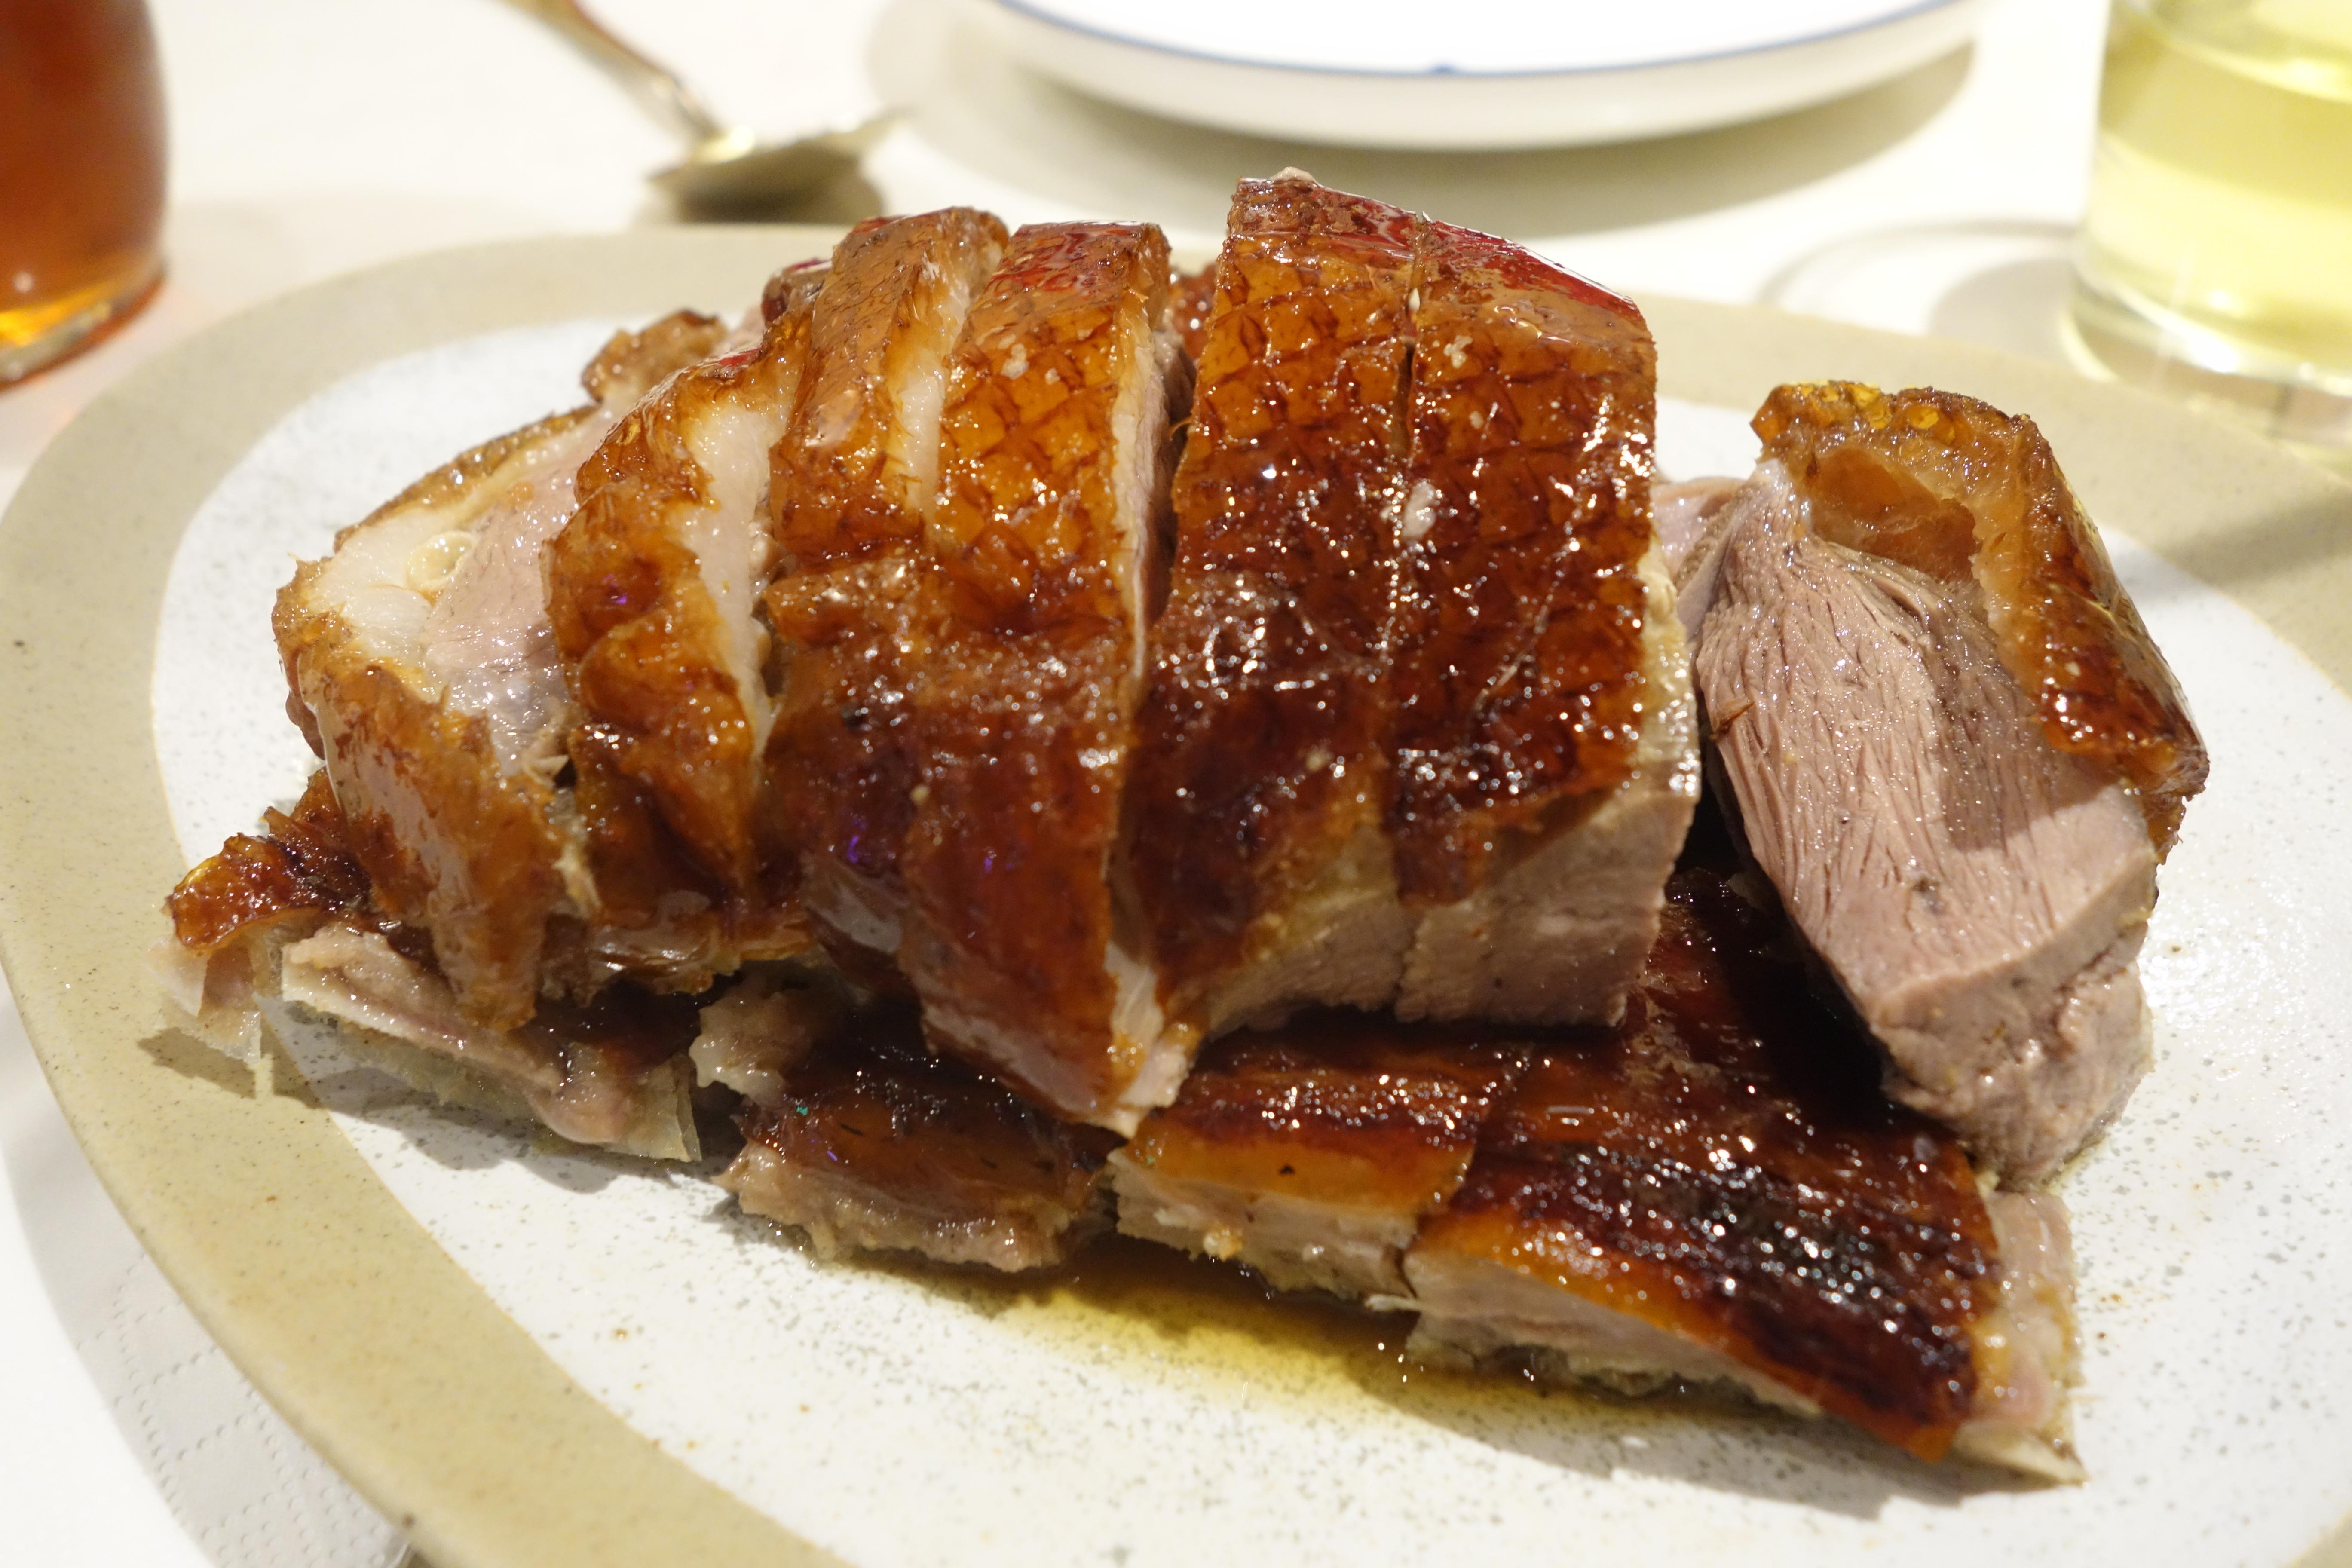
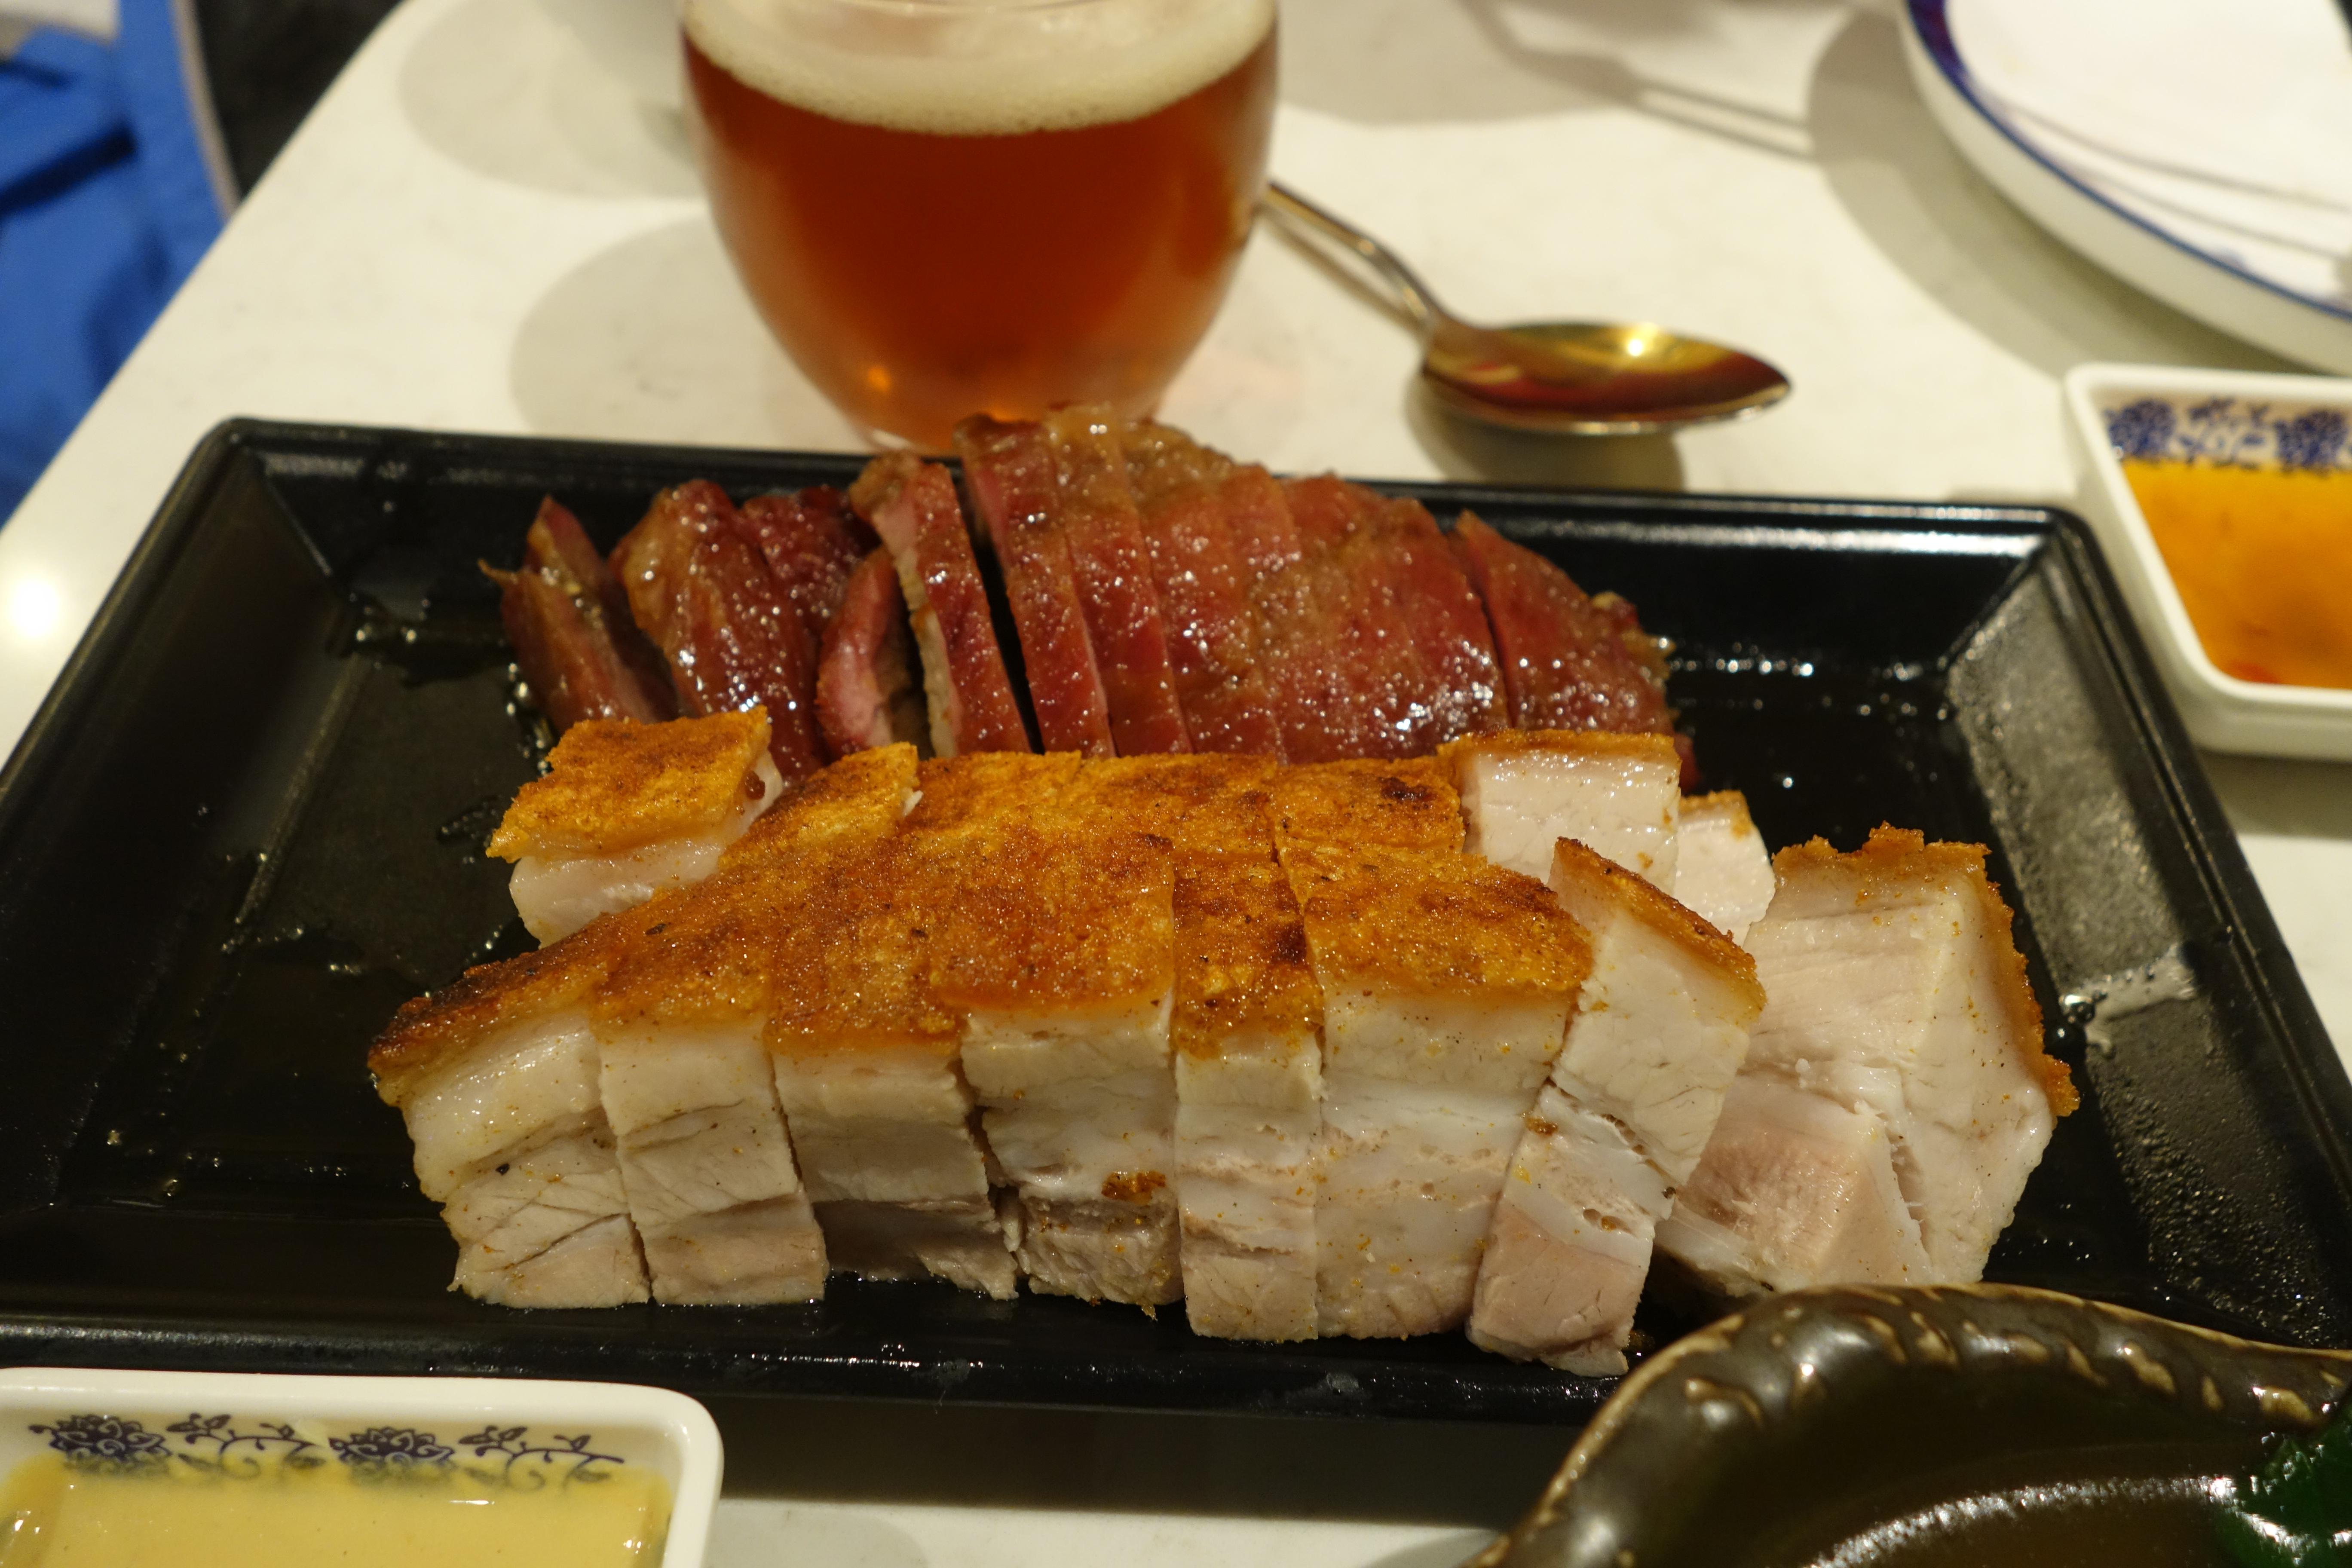
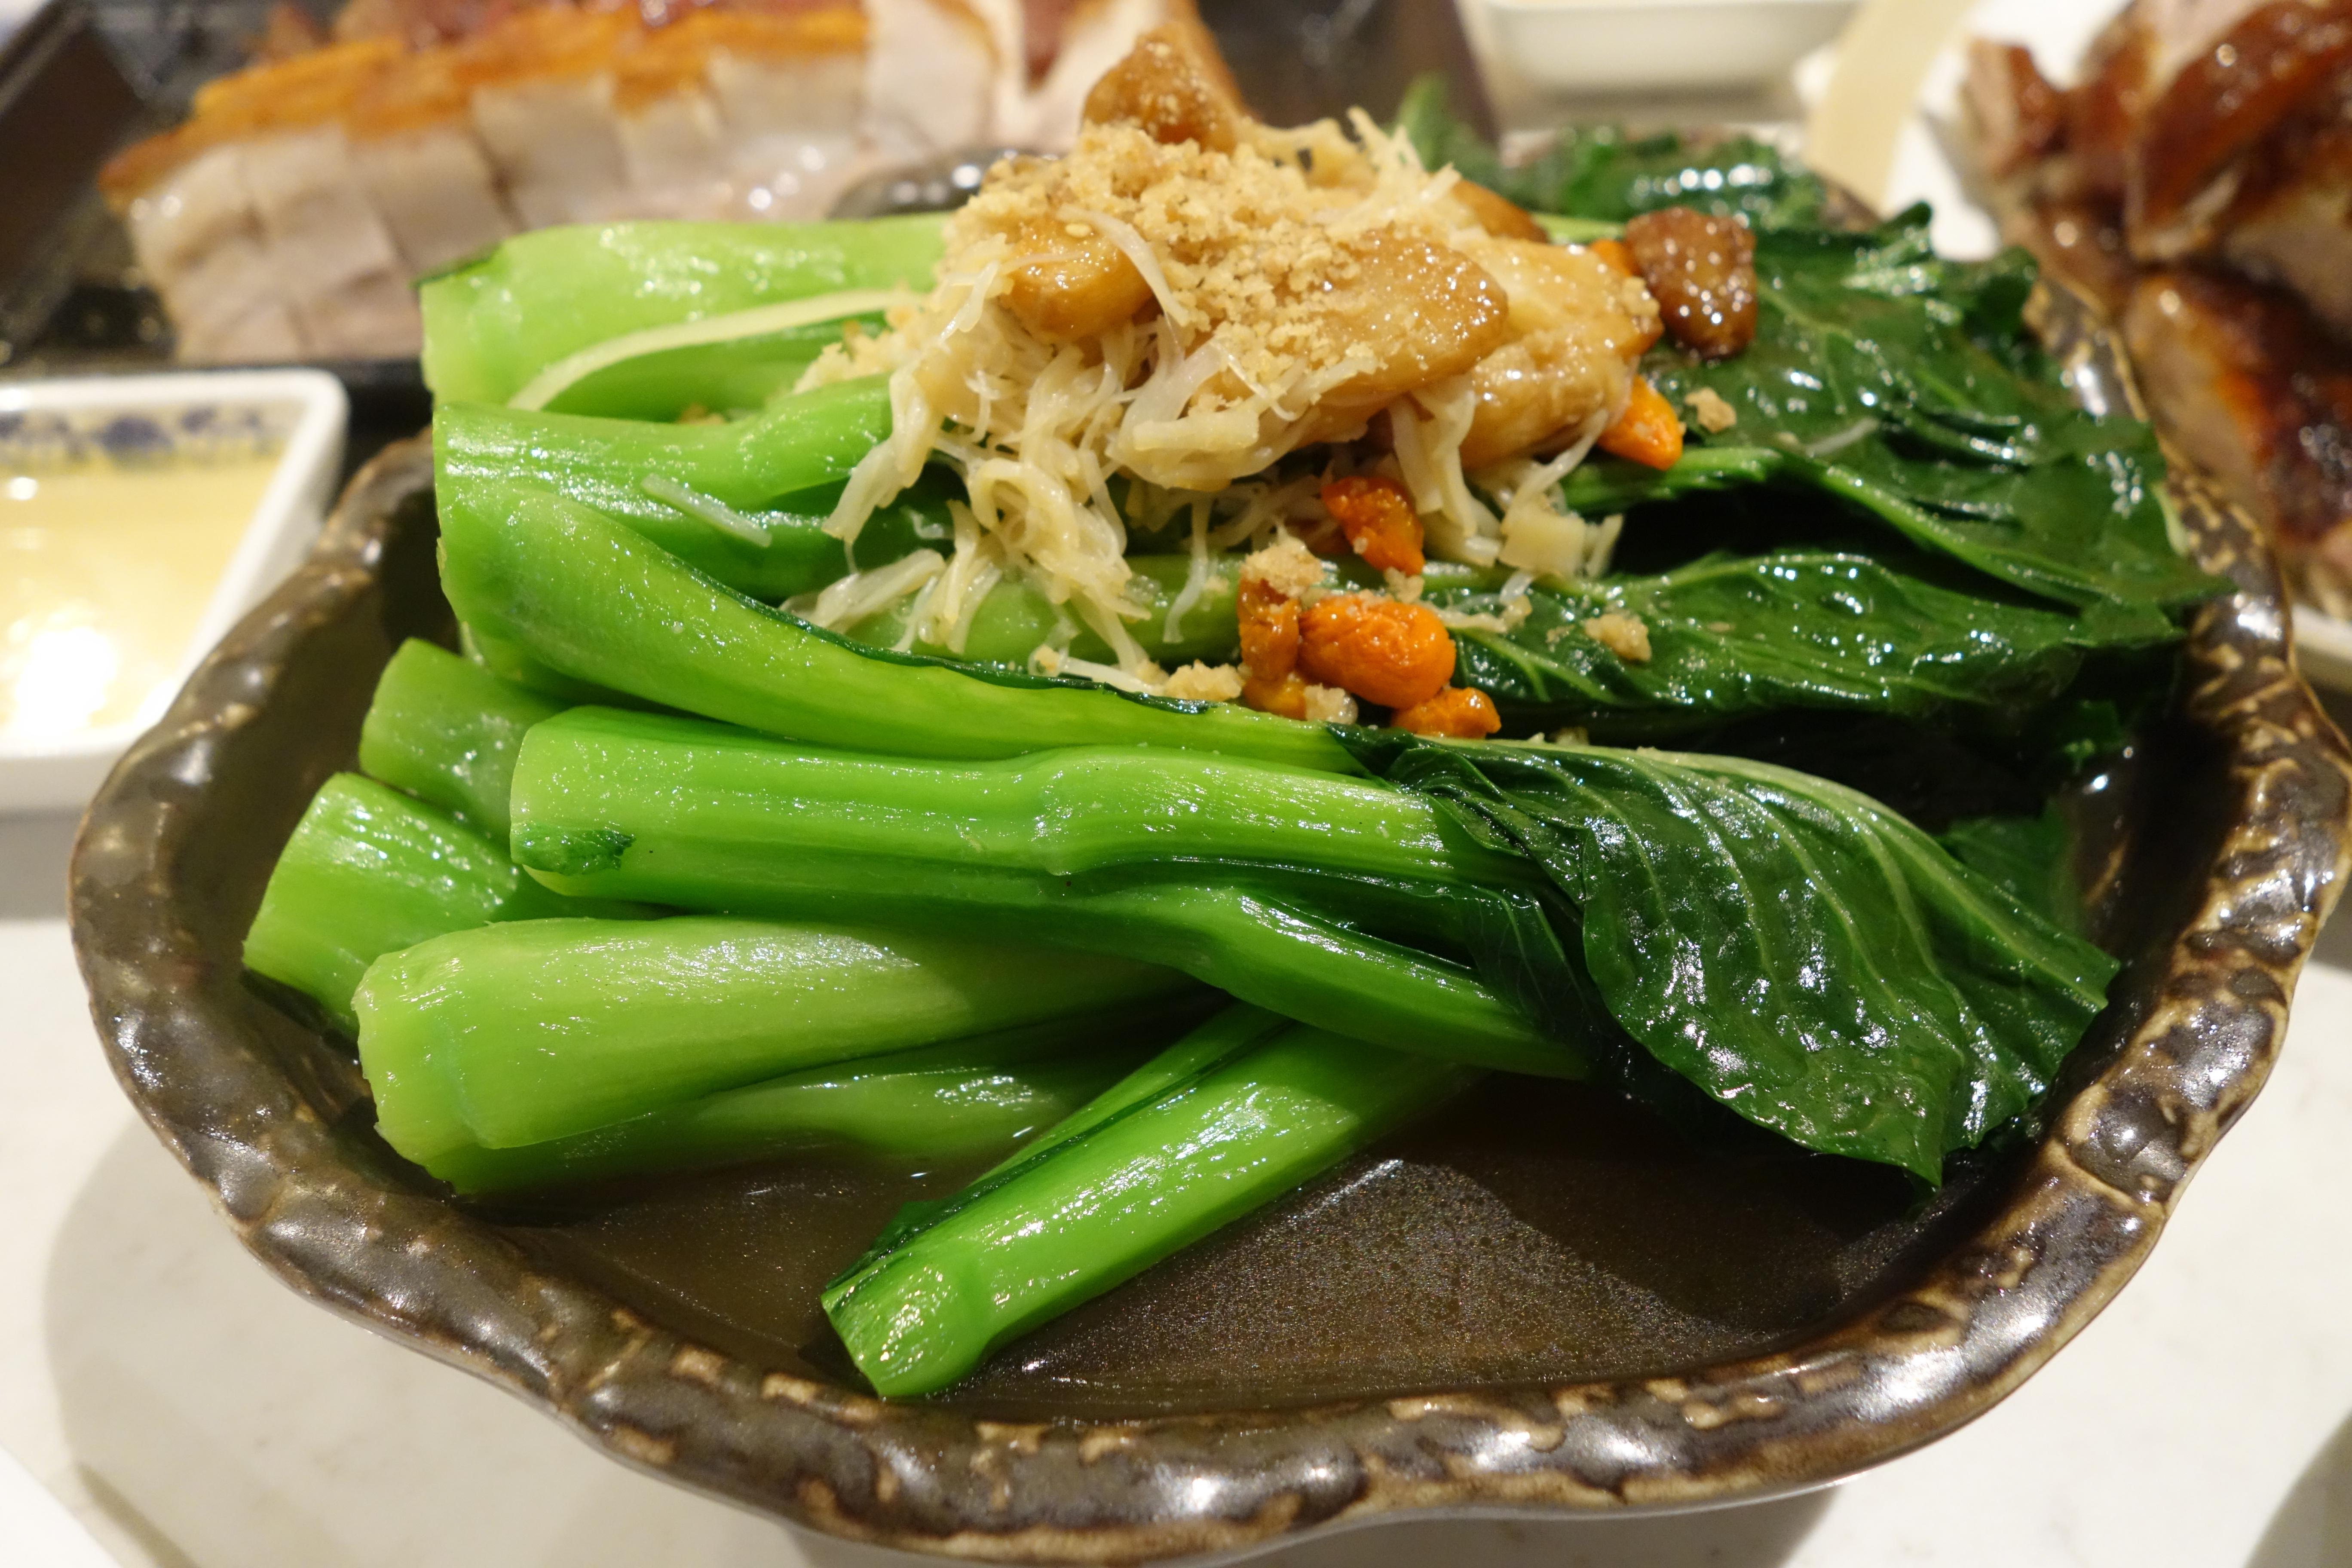
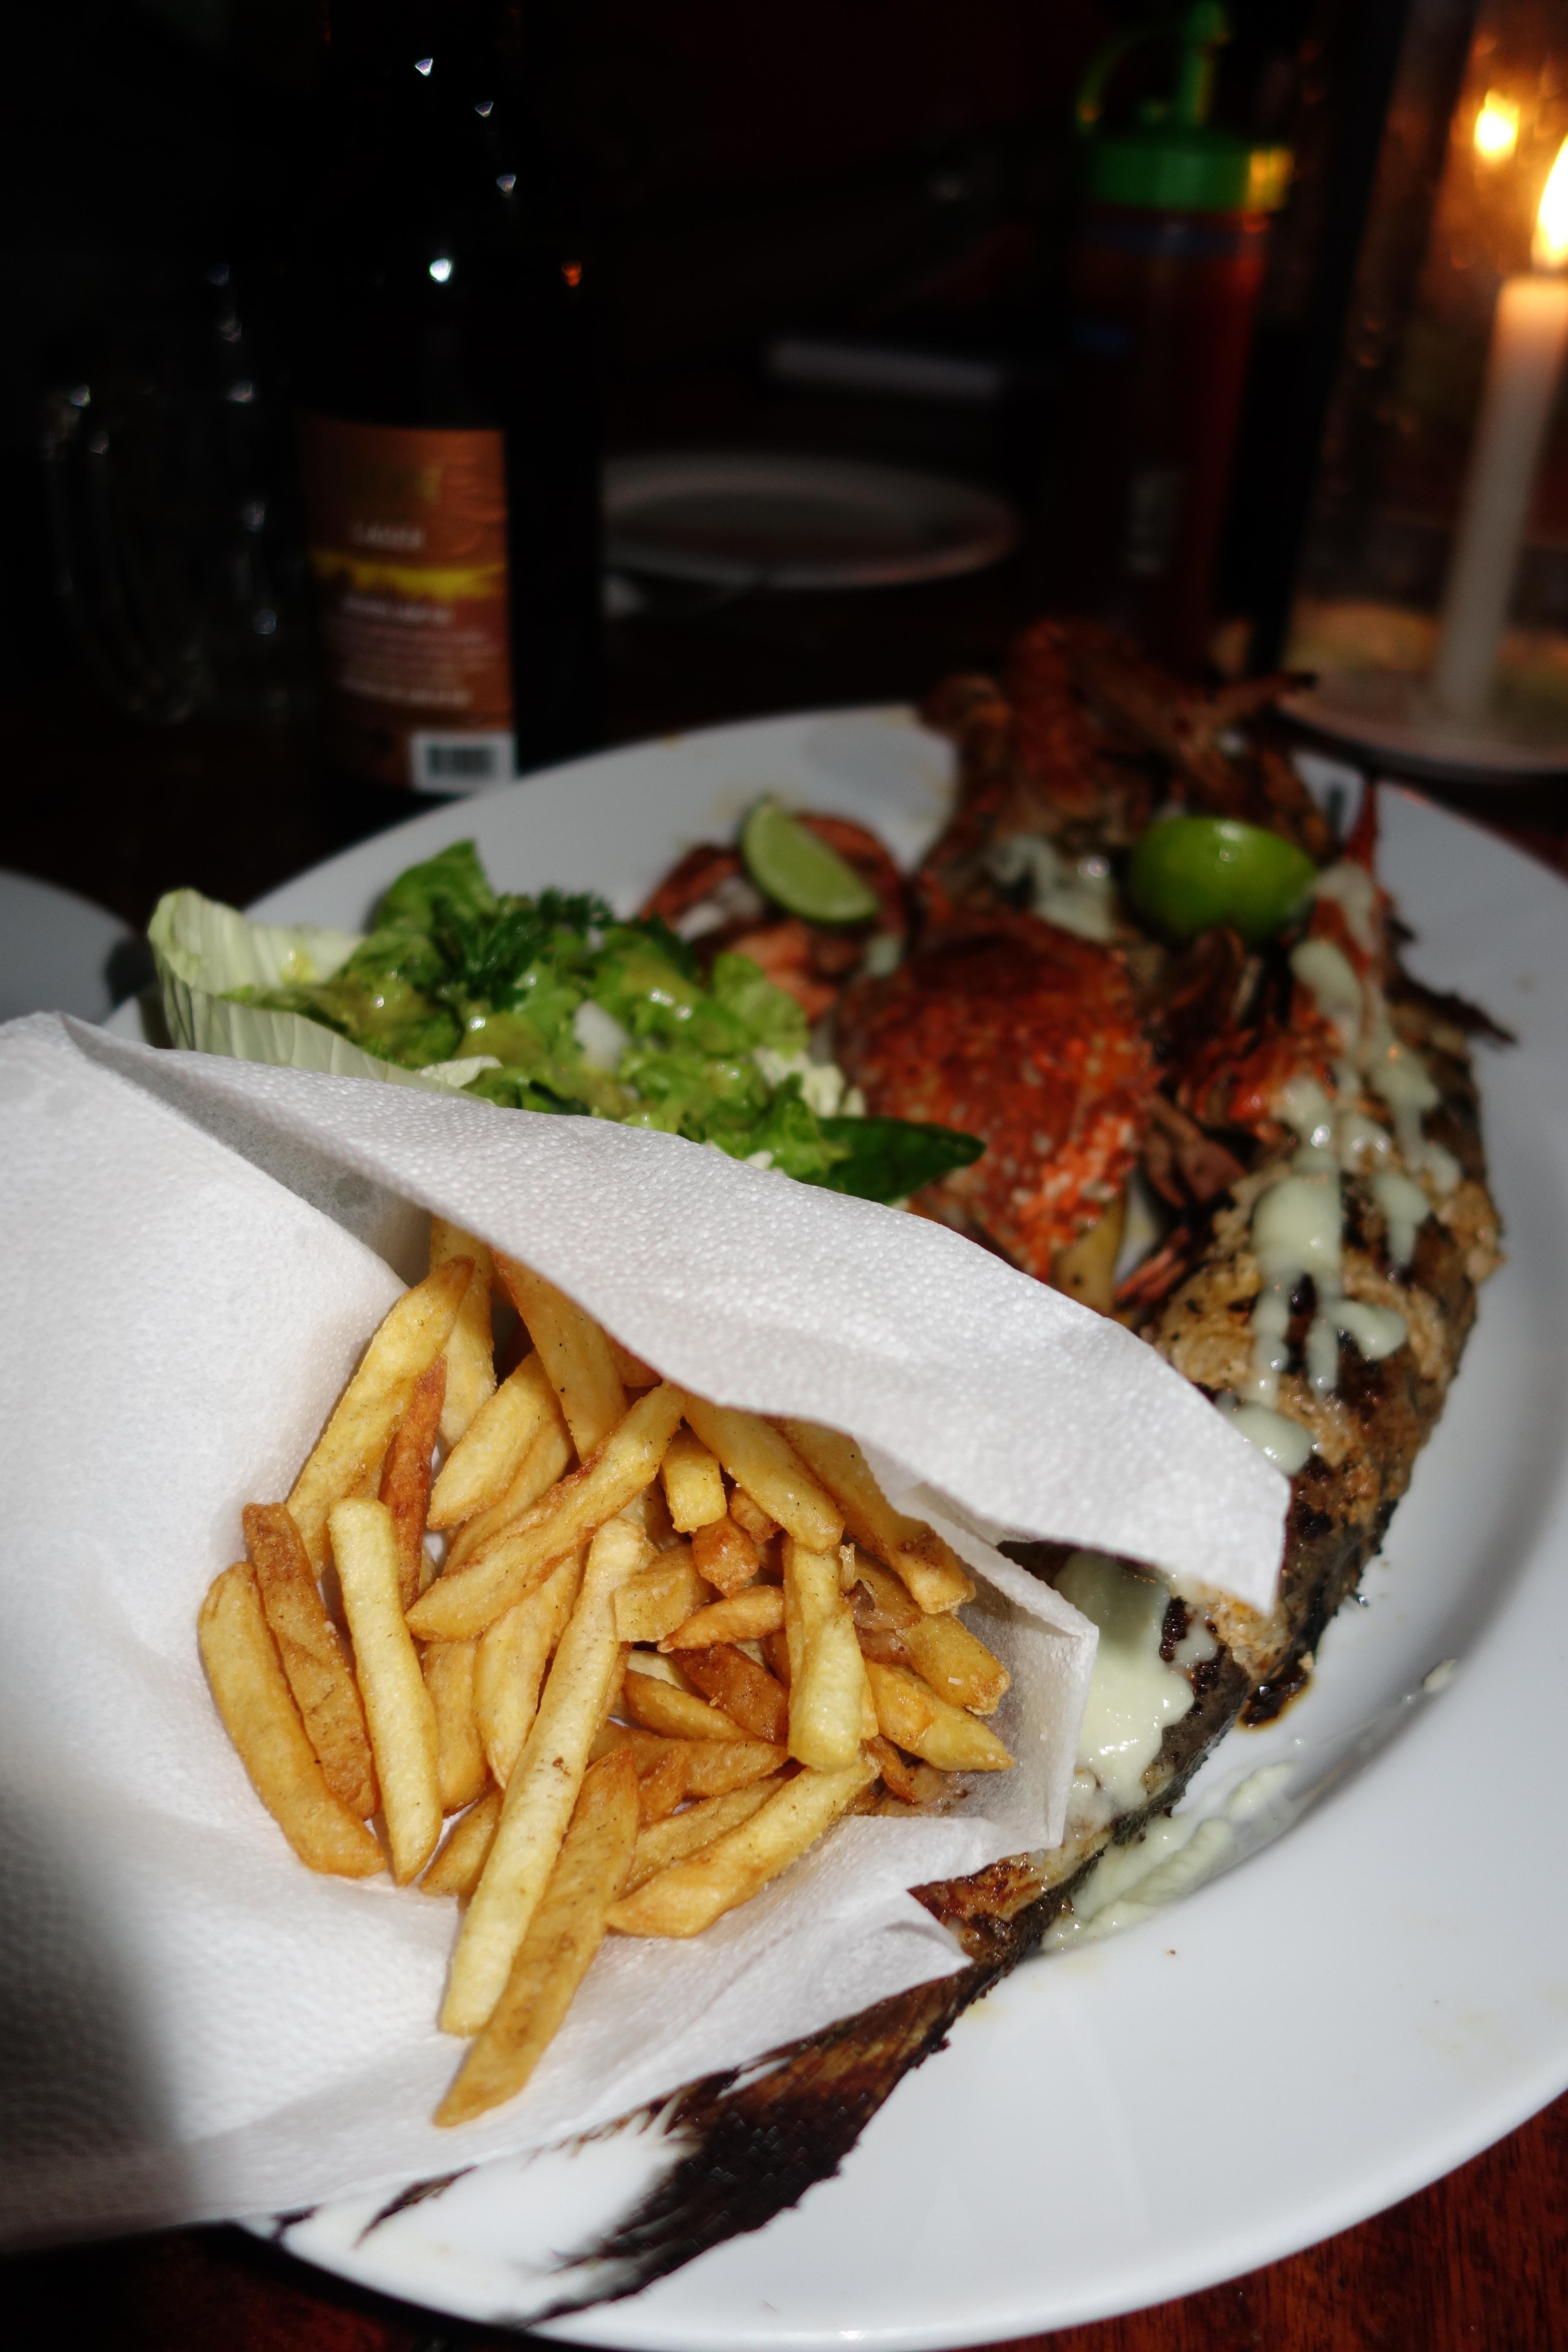
 1 point1 pointYesterday: Roast Goose Pork Belly and Char Sui Token Green Things https://www.goosemanorhk.com/home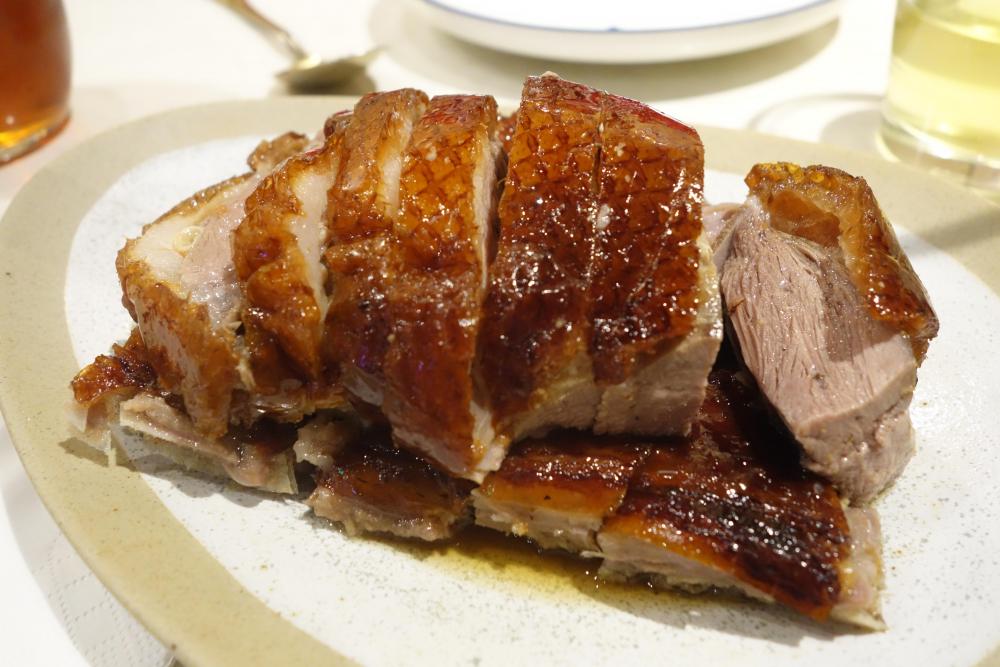
 1 point1 point







Important Information
By using this site, you agree to our Terms of Use.