

Leaderboard


Popular Content
Showing content with the highest reputation on 10/22/21 in all areas
-
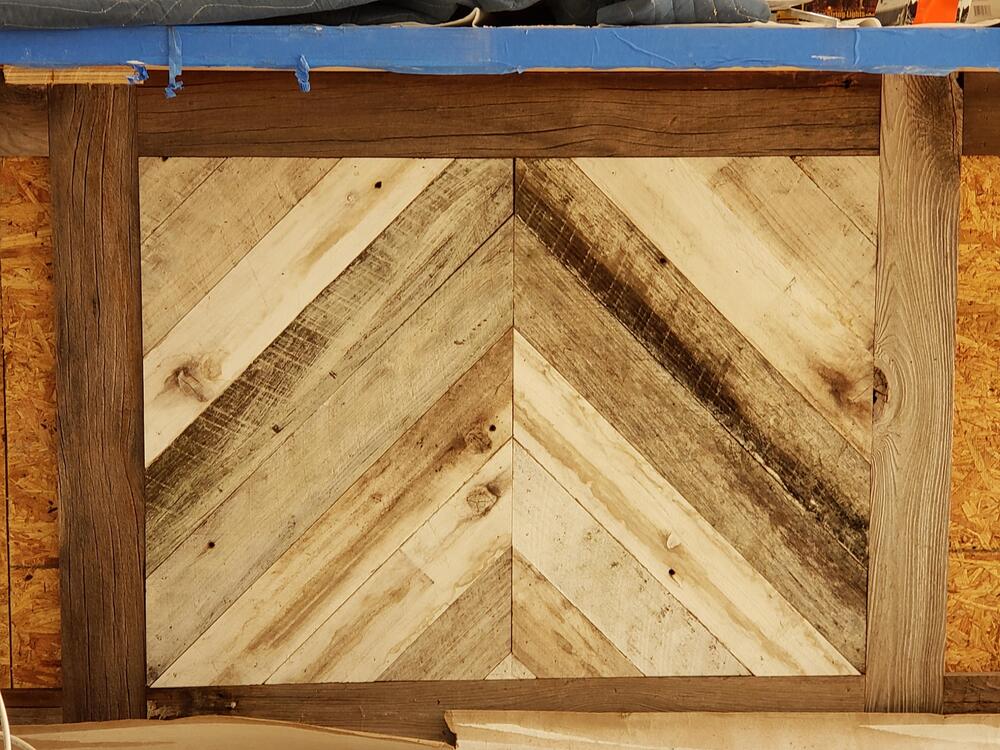
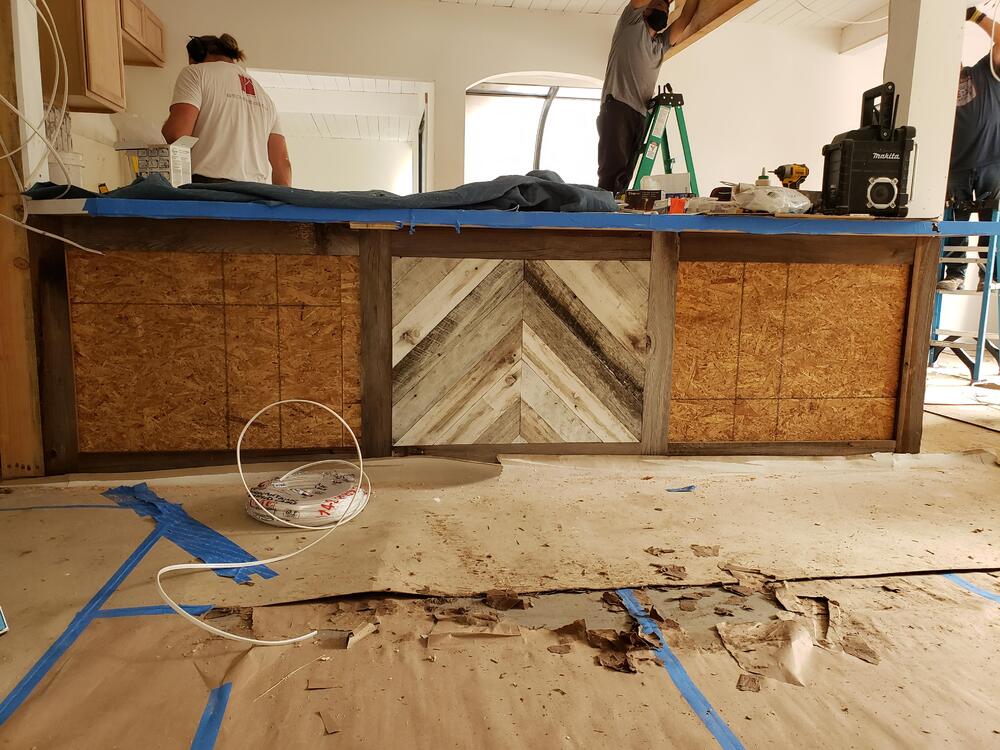
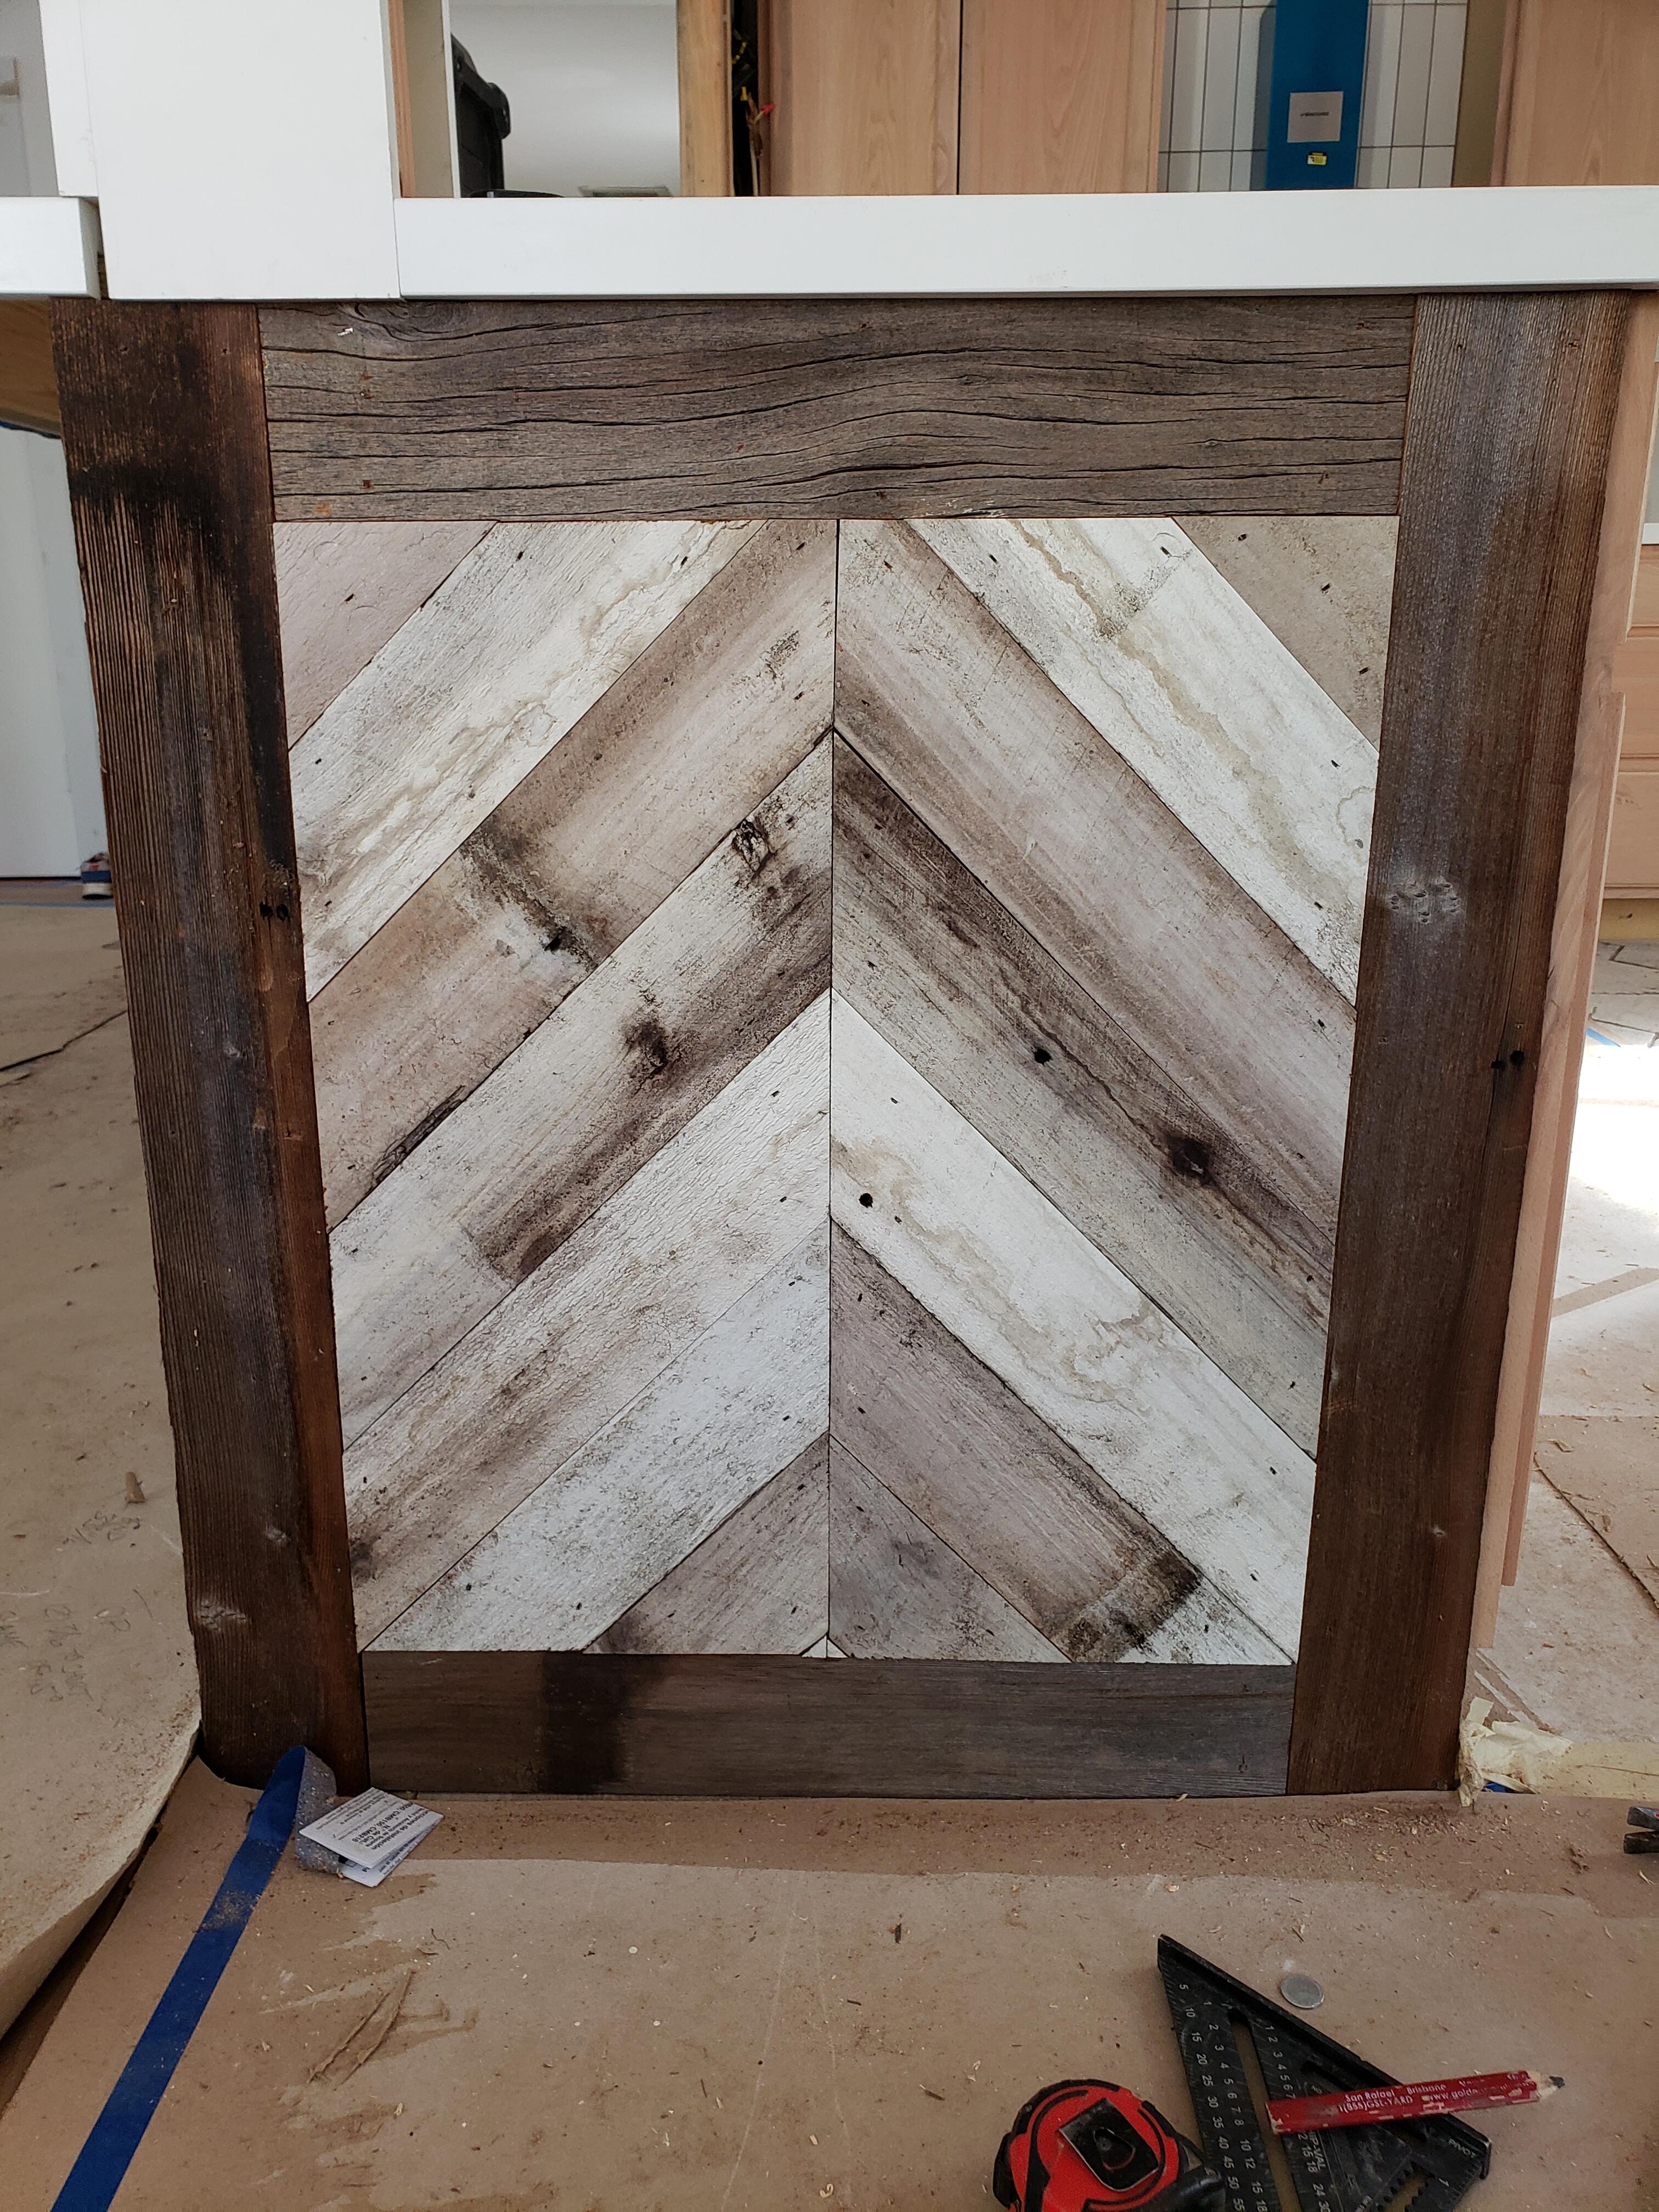
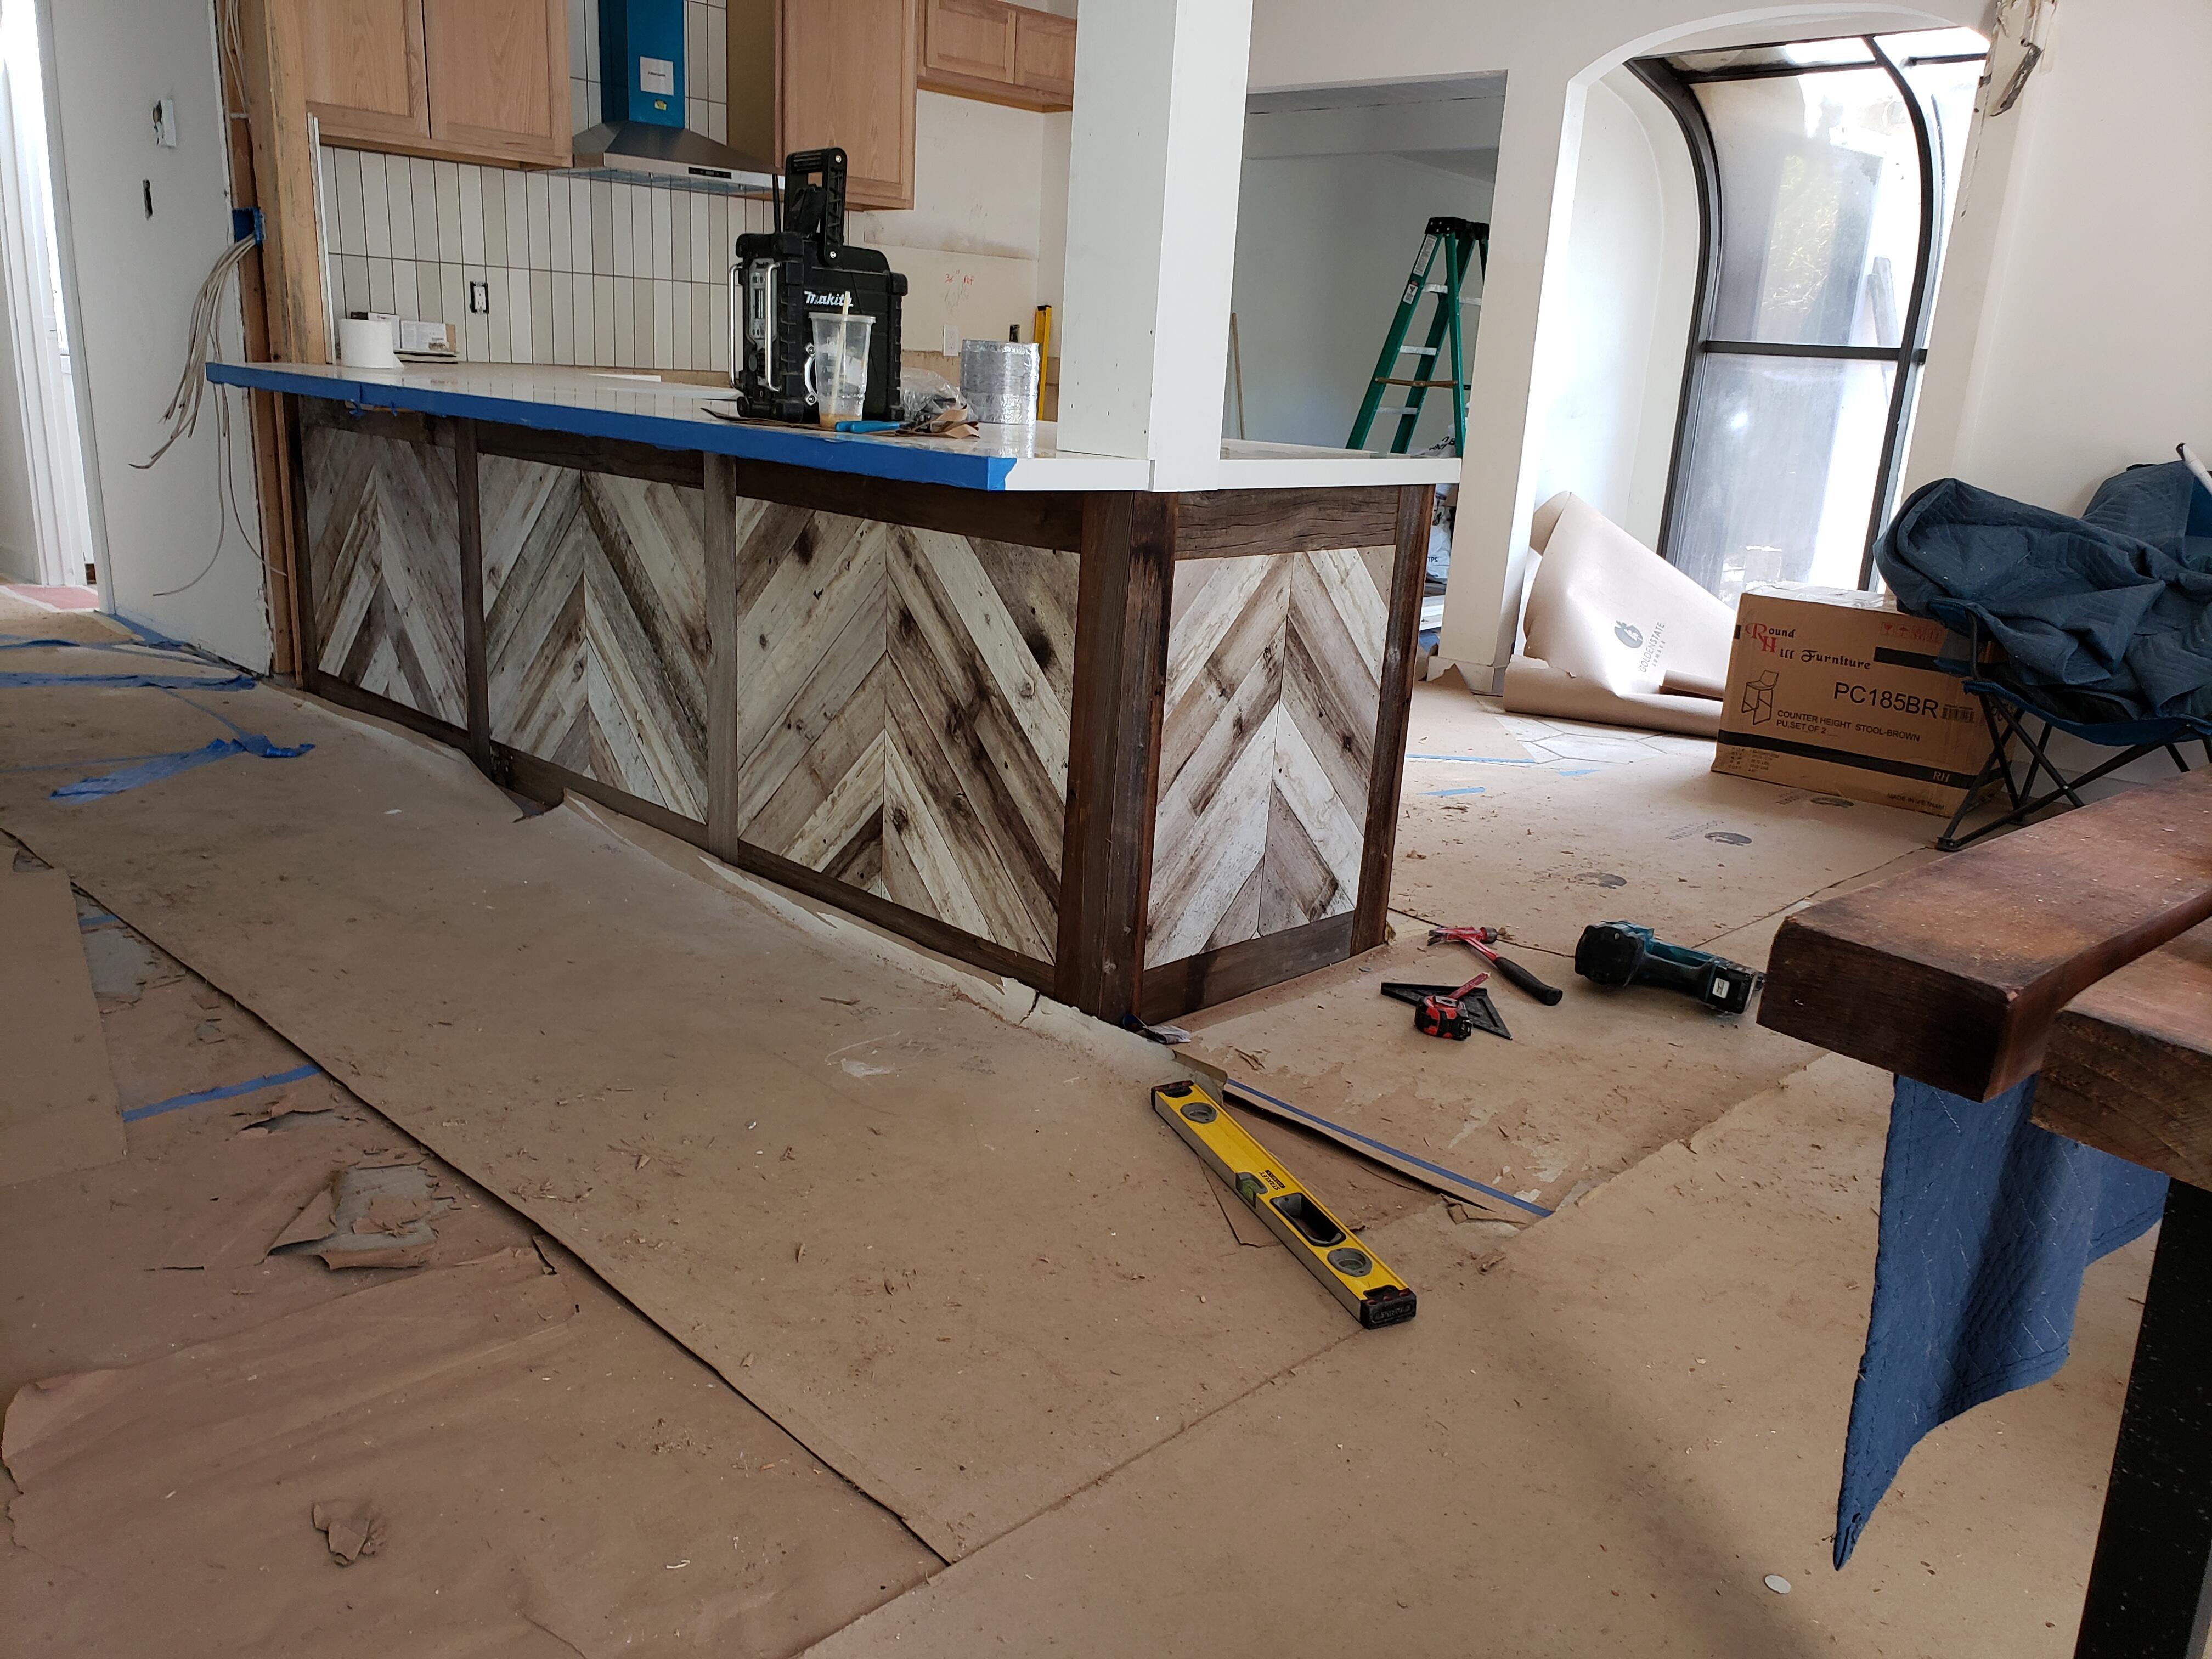
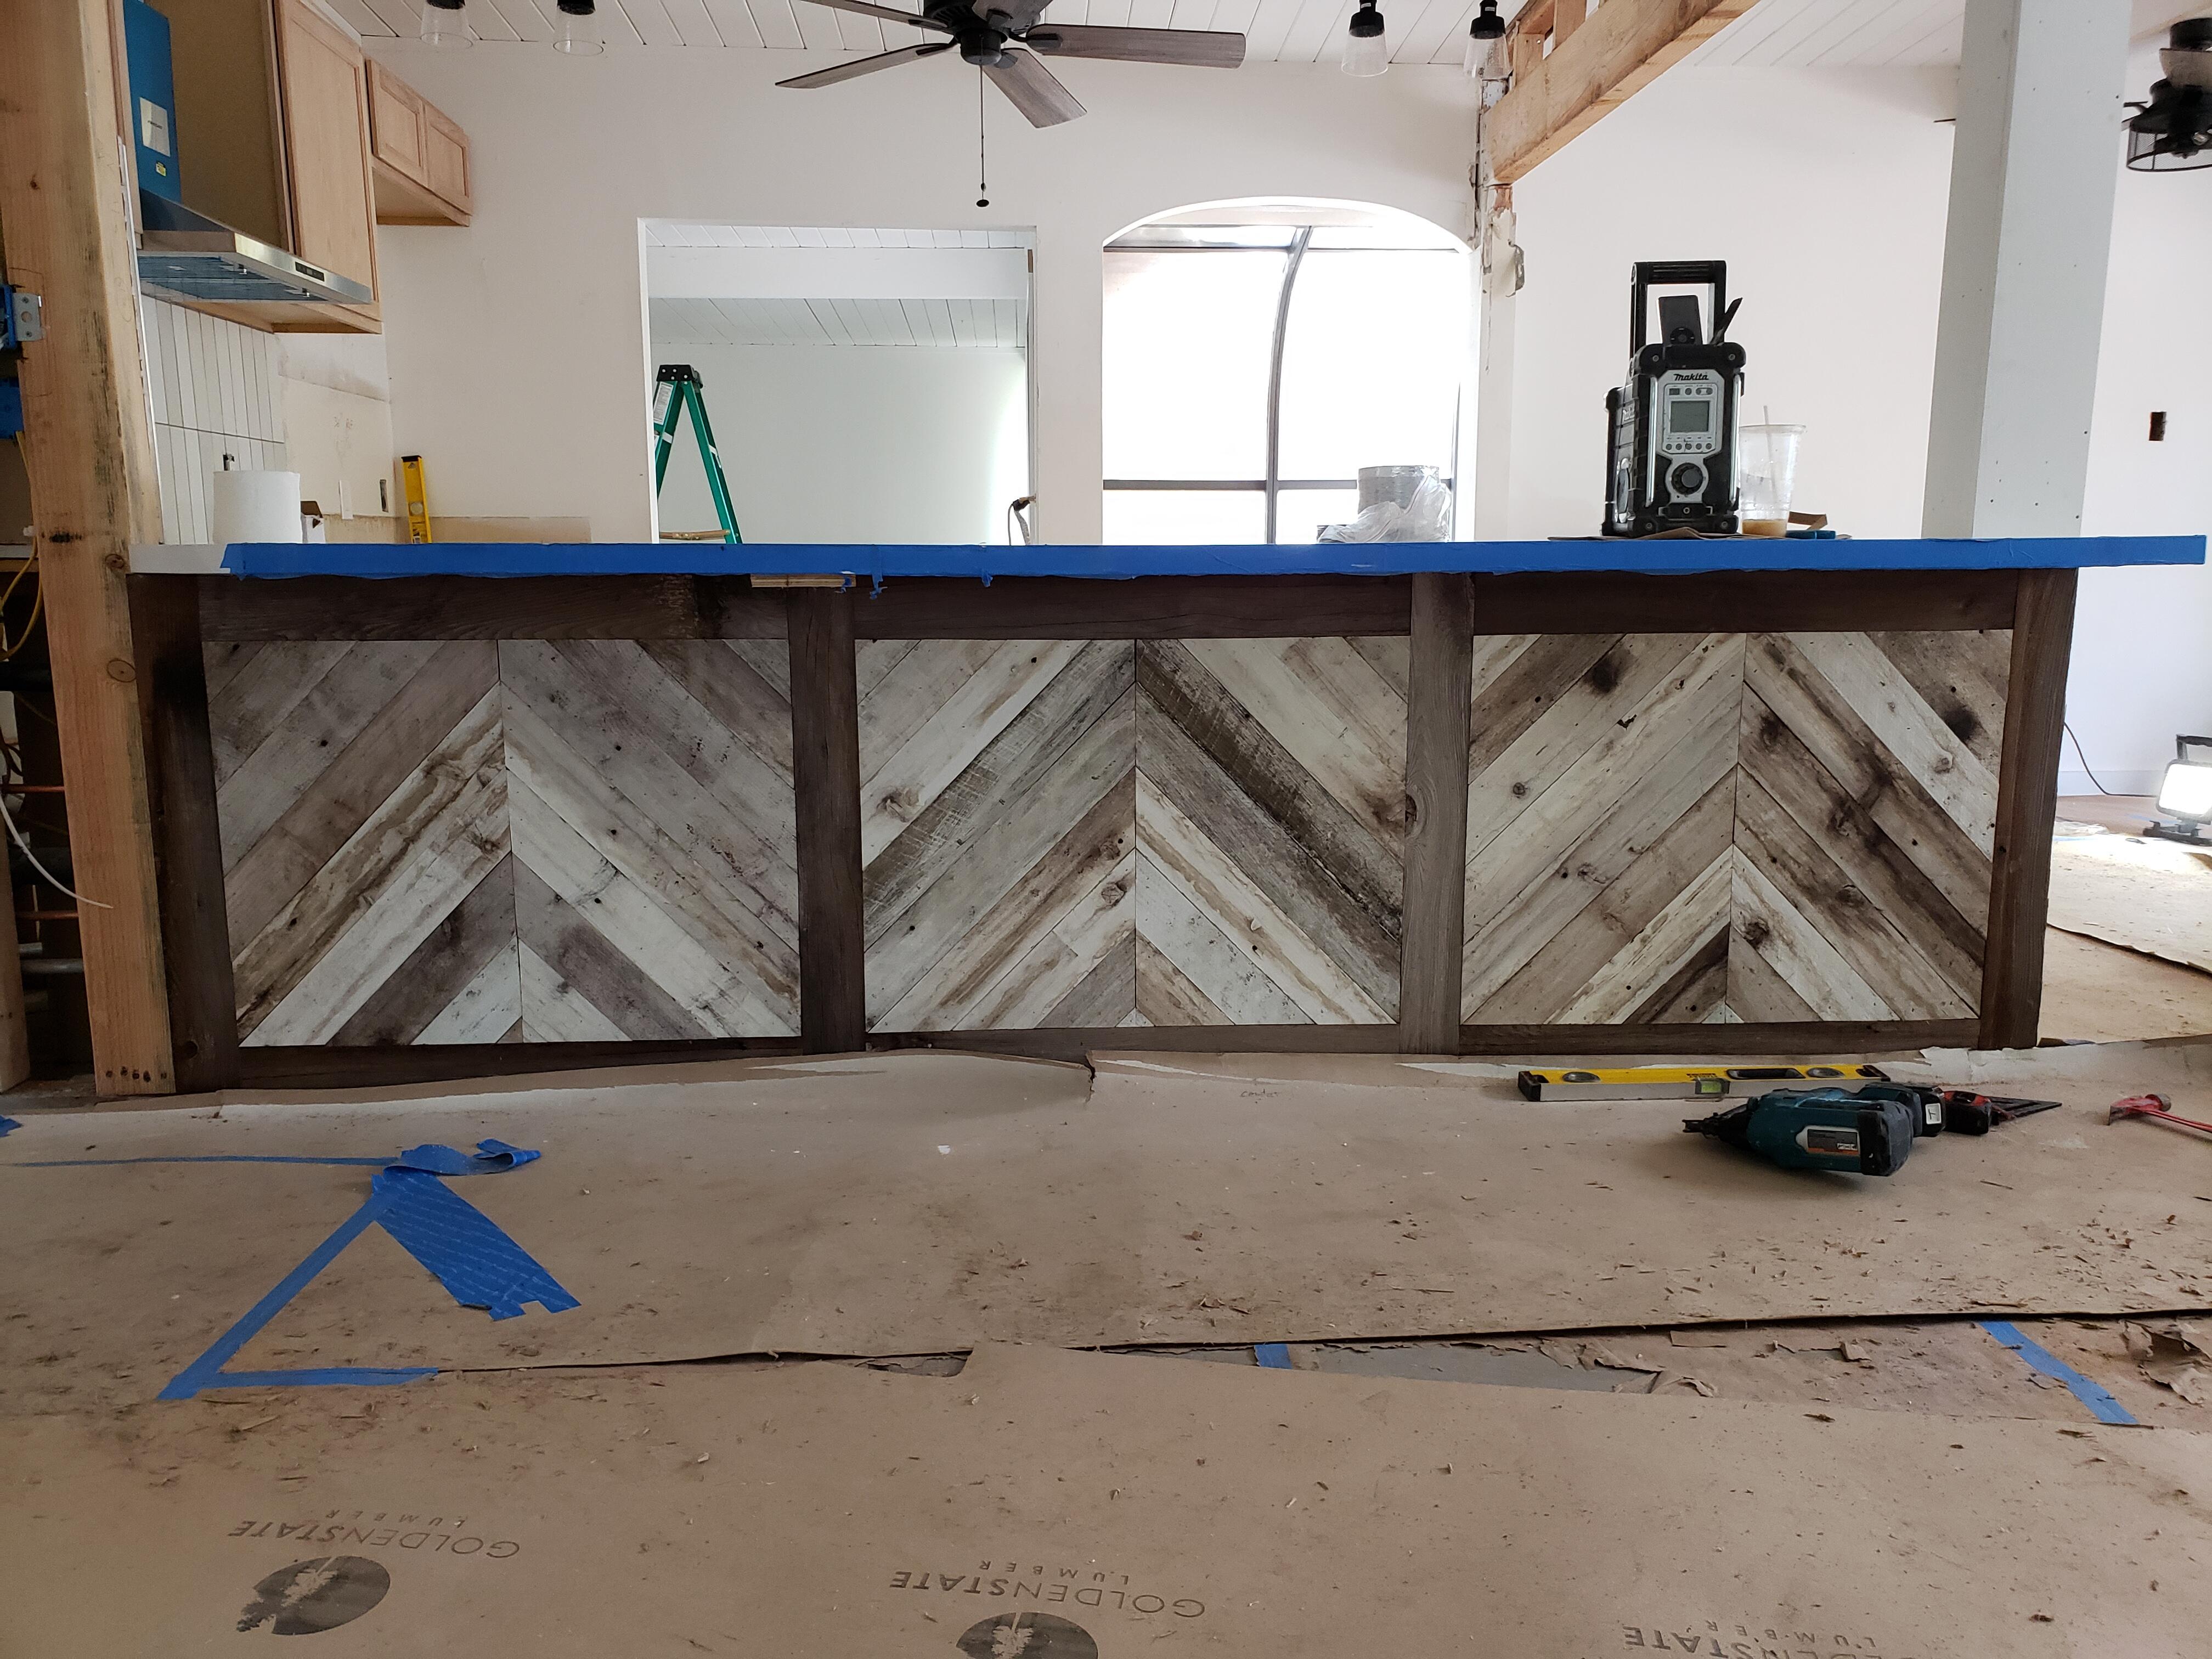
6 points6 points6 points6 points6 pointsMy favorite days at work are when I get to do something a little creative and unusual. This is the boss' new house. This is the back side of the new kitchen peninsula that I built. Will finish the other sections tomorrow. This was a crappy fence the previous homeowner built badly. Now it's kitchen art.
 6 pointsTheir new album is out next week. And any of the Marin contingent will recognize these landscapes.4 points2 pointsjoamats mini t2 with golden reference psu only uses modern and available components. The amp boards are mostly surface mount and the components are fairly tightly packed. Its based on the t2 topology but simplified and runs at lower voltages and has less voltage rails, no virtual batteries and less current sources. The mini t2 still requires a fair bit of space. I got the amp boards, and the three golden reference high voltage power supplies, the high voltage delay board and low voltage power supplies in a 2U case 400mm deep. The mains transformers had to go in a separate case... So even the mini t2 might be too big for you. Although you could make the main amp smaller by putting the power supply pcbs in the same case as the transformers. I don't think you could fit everything into a single 2u case 400mm deep. Both the original and mostly modern t2s are gigantic partly due to the many different psu rails and the considerable number of constant current sources on the amp boards. I had to make the amp board smaller just to fit it in a 2u 400 deep case and the many psu pcbs and transformers had to go into another 2u 400mm case... My T2 is twice the size of my main systems power amp! The original diy t2 uses many transistors that have been unavailable for many years and so are expensive and difficult to source. the markets are also flooded with fakes which will almost certainly fail on first start-up the mostly modern t2 requires a few out of production transistors. Its possible to build an entire blue hawaii with golden reference low and high voltage supplies in a single 2u 400mm case. So if space is a real issue that might be an option for you and the later versions only use modern components and is a much simpler and cheaper build than a full t2.2 pointsSuggest you check out the anaerobic styles...a bit too rich for me but definitely unusual. They also have some experimental offerings that might be to your liking. https://onyxcoffeelab.com/collections/new-offerings-coffee/profile:modern HS2 points1 point1 pointSomething for Steve, and the other stick smashers of d-_-b https://www.whattowatch.com/features/handmade-britains-best-woodworker-host-mel-giedroyc-the-shows-vibe-is-so-strong https://www.bristolpost.co.uk/news/celebs-tv/handmade-britains-best-woodworker-who-6094752 https://www.thetimes.co.uk/article/handmade-britains-best-woodworker-review-craft-tv-niche-channel-4-38q9h3qg01 pointThe luongo had better body and similar flavor. Definitely an improvement.1 pointI just made a 15x15 pourover of the levercraft yemenia qima alchemy. It's definitely NOT my favorite cup ever, but it's pretty interesting. Very floral and bright, without the sharp acidity that usually accompanies light roasts. The aroma, both of the beans and the cup, is fantastic. The body is light, I may go for a higher ratio next time, or maybe even luongo espresso.1 pointYou'll love the Niche, Sherwood. Although they irritate me with their she-she packaging (costly IMO), Onyx Coffee Labs has exceptional coffee. They have a sampler box that I think is a super value...might be worth a shot. Happy caffeinating... HS1 point1 point1 pointTo be fair there is the advantage of creating a more seamless transition from computer screen to car windshield. If only there were virtual wipers that occasionally appeared.1 point1 point1 pointSeveral years ago I changed all LEDs (only three per channel compared to 25 in the original DIY T2) in my modified T2 to LM336 2.5V, a voltage reference device in TO-92 case (I also changed resistor values to keep desired current of the CCS). Pros LED/BJT see Lefferts_LED_Used_as_Voltage_Reference_ED_Feb_15_1975.pdf. Pros LM336/BLT see Sources_101_P1.pdf and Sources_101_P2.pdf. Overall, at least in theory, I think LM336/BJT wins. My version of LM336 have operational temperature up to +70 degrees Celsius and I don’t think I exceed that.1 point1 pointFinally, my mini T2 is completed. Just want to share my build experience and listening impression for those who are about to build one. Also, a huge shout-out for JoaMat, who conceptualised and designed the amp, provided me with invaluable tips when I was debugging my mini T2 and encouraged me to share my experiences here. -------------------------------- Pics or it didn't happen: -------------------------------- Build experience: Before this amp, I have built the Carbon and Grounded Grid, as well as quite a few dynamic amps including the SMD Dynalo. Overall, I am comfortable dealing with electrostatic amp voltages, but I have limited experiences working on dense and tiny SMD boards. I built the SMD Dynalo with a soldering iron, but this method was unsuitable for the Mini T2 due to the density of the components and the fact that I tend to use copious amounts of flux grease when I solder by hand - it would be too tough to clean the flux stuck underneath the tiny components. Therefore, I decided to solder the SMD parts by the solder paste and hot-air gun method. I used 1 set of mini T2 board, 3 through-hole GRHV boards and 1 delay board (warmup.zip). This amp is fast to build so long as you have a decent hot air gun (I got mine from Taobao for around 25 USD), a pair of fine tip tweezers and some patience. I used a stencil to apply solder paste on one side of the mini T2 board first, then populated all SMD components and used the hot air gun to melt the solder paste. It was quite satisfying to see the tiny parts drawn into their rightful place by the magic of surface tension. It took me about 1 hour to complete the SMD soldering for 1 side, so I'd say that this method is really efficient for the number of parts to be populated. The through-hole components and the tube sockets were populated next, and I used some terminal blocks for the power rail inputs. Just be sure to apply jumper wire for the -15V near the servo opamp. Otherwise, you risk seeing 400V at voltage offset, and frying some input tubes. The transformers I used were 130W and 87W for the HV and LV respectively. There is also a dedicated floating 12V winding for the delay board, and separate filament supply windings are used for the power tubes and input tubes for each channel. Voltage rails were pretty standard - +-15V, +220V, +400V and -460V. The warm-up time was set to 25 sec. There is no need to adjust for output current bias as in the Carbon or GG. The balance servo is activated by default, and all there is to adjust is the output voltage offset with respect to ground, and it can be easily adjusted so long as the potentiometers are soldered to the same side as the tube sockets. The amp runs cool. I used heatsinks that measure 7cm tall, 30cm deep, 5cm wide for each side of the chassis. At steady state, the amp module runs at 39 deg C, PSU runs at 35 deg C. In comparison, my 450V 20mA biased Carbon runs at 48 deg C with 15cm-tall heatsinks. Here are some errors I encountered here and the directions I took to debug. They are based on spice simulation by JoaMat. Hopefully, my tips can help builders who encounter similar issues as I did. 1. On power-up, offset voltage rises to 400V immediately after the HV kicked in. Check the jumper connection for the opamp -15v power supply. They are very short and can be easily missed. 2. 50K resistor explodes (either R11 or R12). It is likely due to an unconnected input tube or dead tube. Check input tubes and Q1A/B, Q4/5, Q11/12, Q3A/B of the same side. Also check tube sockets, because even the expensive ones can have loose connection on NOS tubes. 3. Q1A/B burns. This might not be easy to spot. The sign can be as subtle as a discoloration/fading of the silkscreen on the component surface, or a subtle exudation of flux around the collector pin of the component. This is likely due to a shorted input tube. ------------------------------ Sound impressions Take this section with a pinch of salt, for every DIY build is one-of-a-kind, and mine is no exception. For my mini T2, I used Duelund tinned copper wire as input cable, EIZZ stepped attenuator, STAX SPC earspeaker wires as output wires and a 5-pin socket ripped from a STAX extension cable. The headphone I used was the ES1a by ES Labs. I wish I had the Stax flagships to do this impression and comparison. The amp is fed by a AK4497 DAC, straight out of DAC and a coupling capacitor, bypassing any low-pass filters. For the following impression, I used decent tubes - Mullard xf2 EL34 as output, Brimar ECC88 as V1 and Sovtek 6922 as V2. Tubes do affect the sound significantly, and I will talk about that later in the discussion. My 450V 20mA bias Carbon with GRHV&LV will be a point of reference, as I am sure that this is a sound that many here are familiar with. It has the same volume pot as the mini T2 but SPC input wires and copper output wires. The mini T2 is full sounding with a natural tone. It has got a certain “WOW” factor that makes my carbon sound unimaginative in comparison. First off, the tonality of the mini T2 is warm and mildly bright such that the sound is airy but non-fatiguing, no matter how loud I cranked the volume up. The bass extends deep with a sufficient rumble where the track calls for it. The airy top end gives the amp a wide soundstage, that is paired with sufficient depth. Instrument and vocal placement are accurate and appropriate, without excessive forwardness or recess. Despite the soundstage being big, it does not sound hollow, because the music is full of details and creates a sense of well-layered space that is almost holographic. I have tested the amp briefly with other tubes and found that input and output tubes affect the sound most significantly. If input tubes have slightly mismatched sections, the balance would be too great to be zero-ed with potentiometer and balance servo. The small tubes I used are unassuming. Had I upgraded to better tubes, I guess the amp would sound better. Compared to the Carbon, the mini T2 sounds more organic, more layered and the mids are considerably warmer. It is also way more forgiving on bad recordings. The timbre sounds truer to life, soundstage is slightly larger, and feels like the music has more room to breathe. However, bass extension is not as deep as on the Carbon, and Carbon generally feels more analytical and snappier. To conclude, if there’s one word to describe this amp, it would be “fun”. It’s fun to build and definitely fun to listen to and roll tubes. I consider it as a step up from the Carbon when I use some decent tubes. Otherwise, this amp with standard new-production tubes would be at least on par as the Carbon.1 point


Important Information
By using this site, you agree to our Terms of Use.