

Leaderboard




Popular Content
Showing content with the highest reputation on 04/01/21 in all areas
-
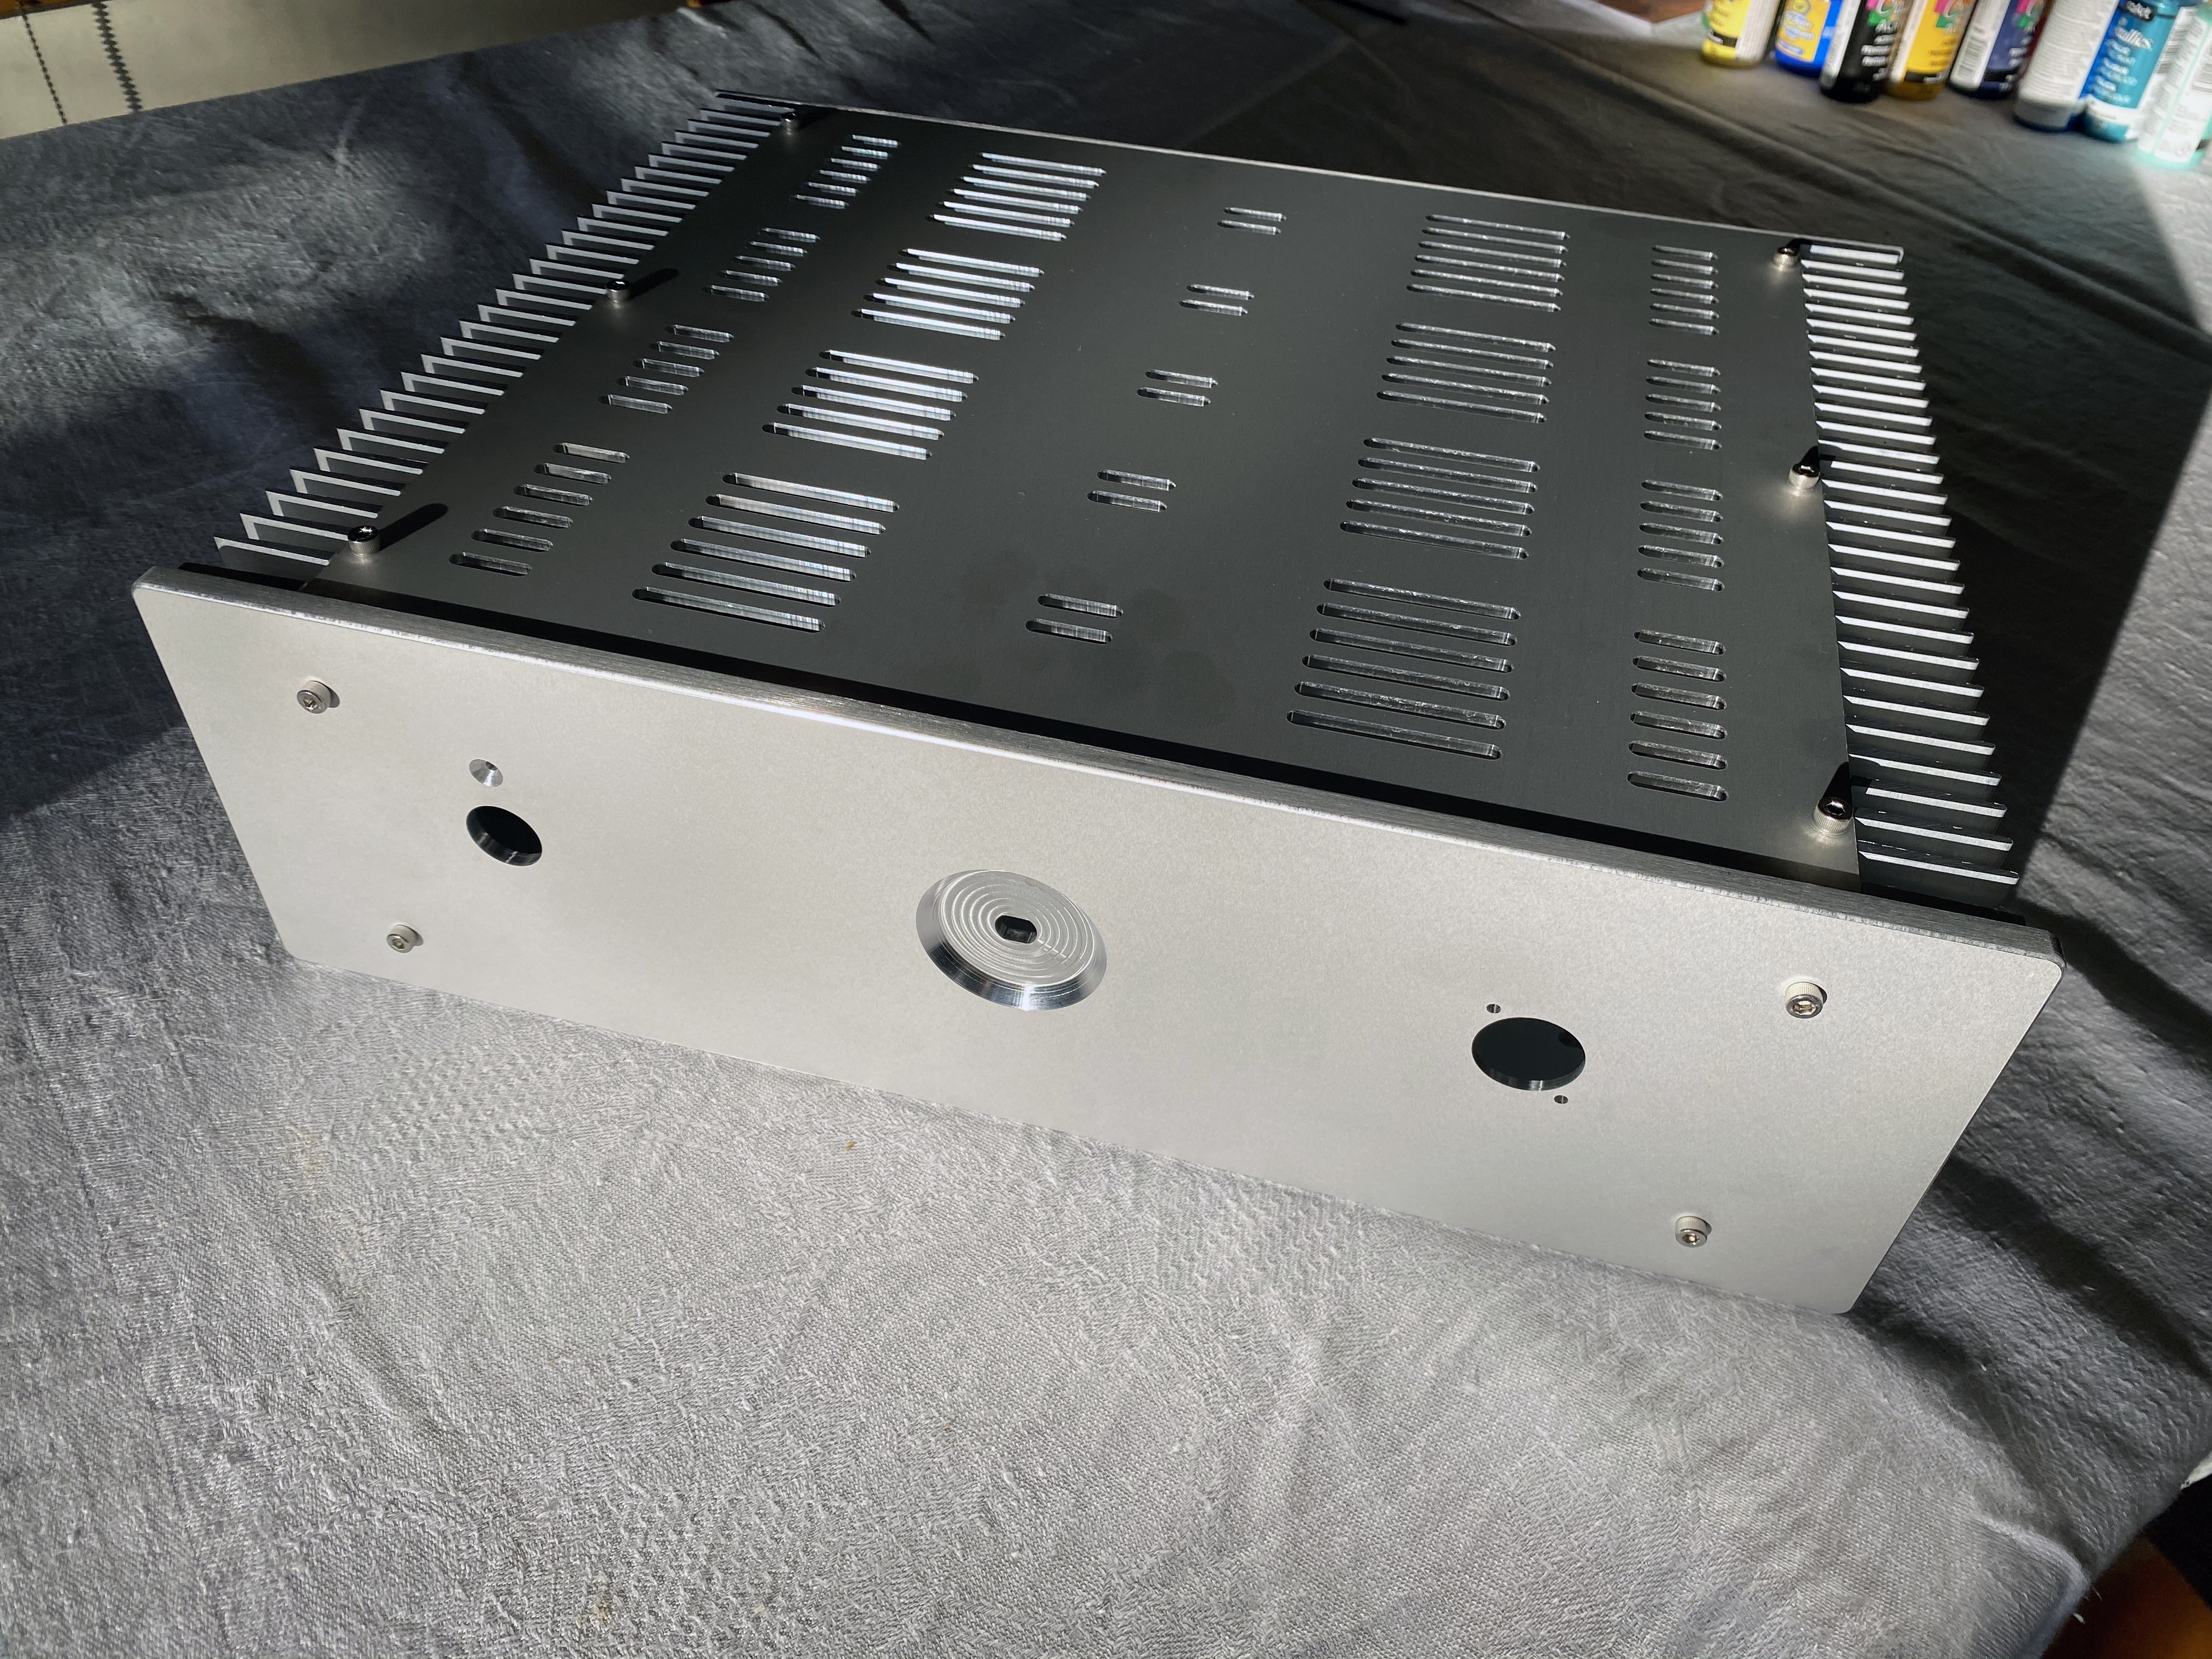
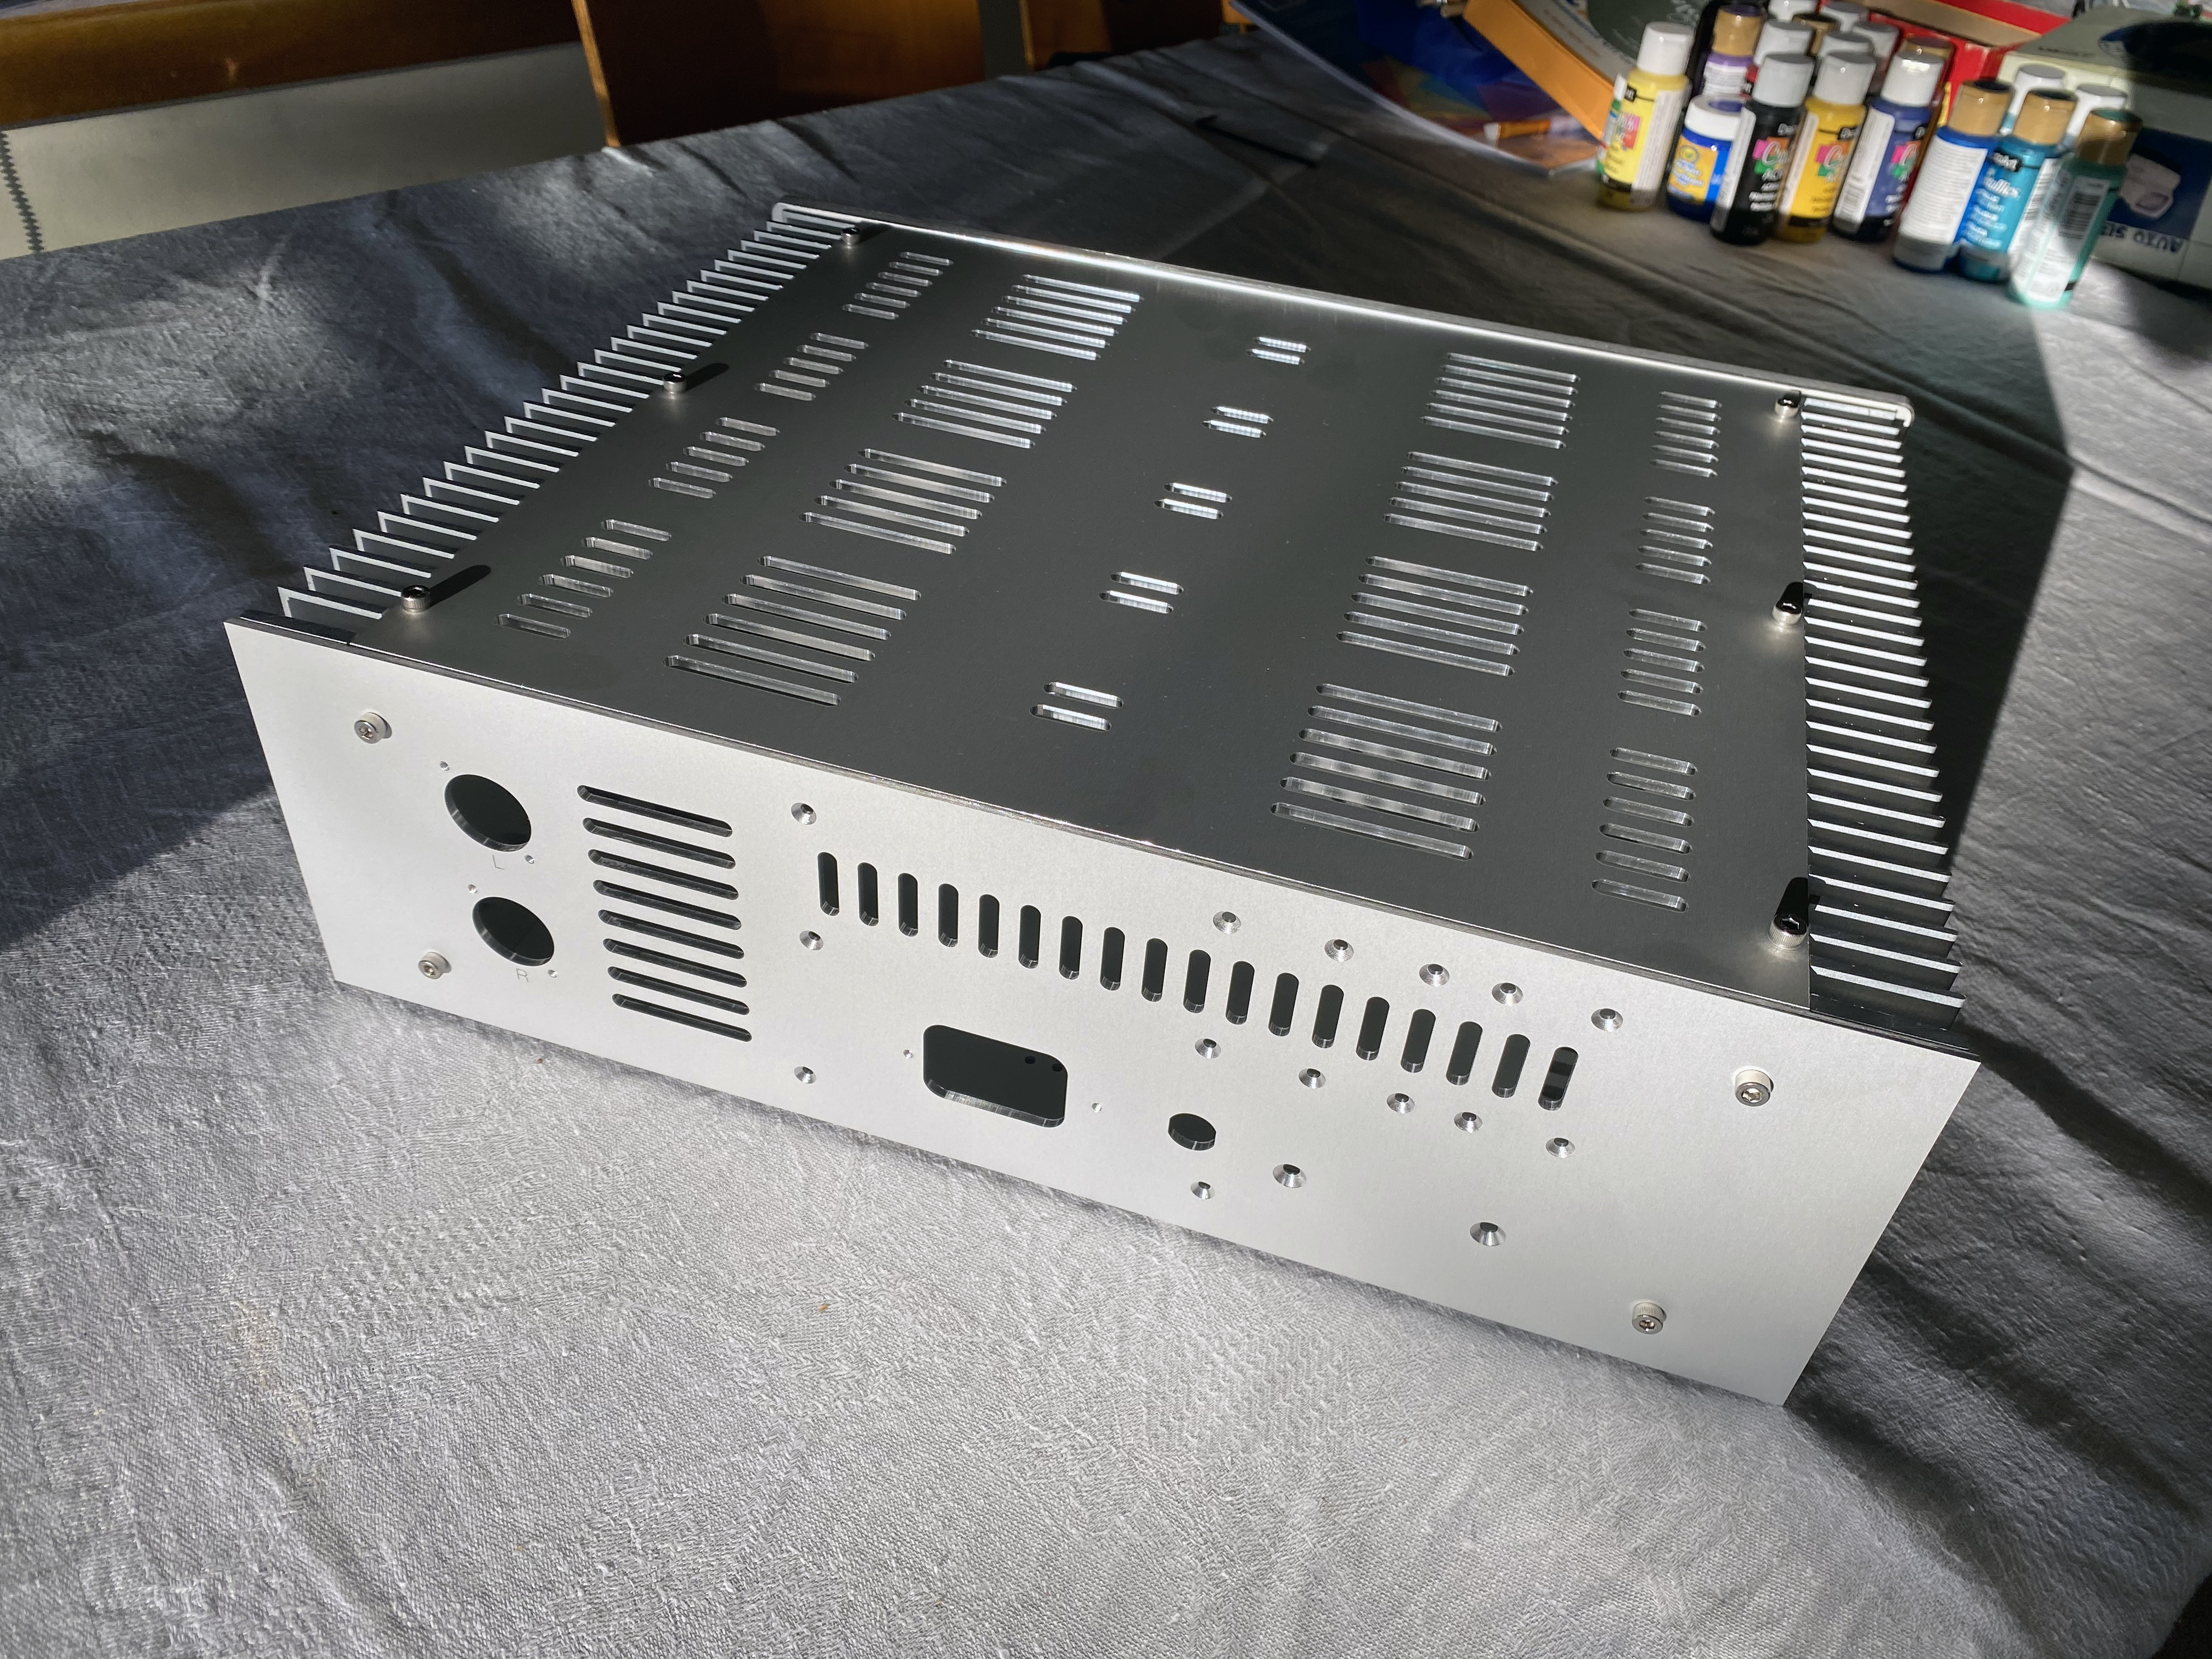
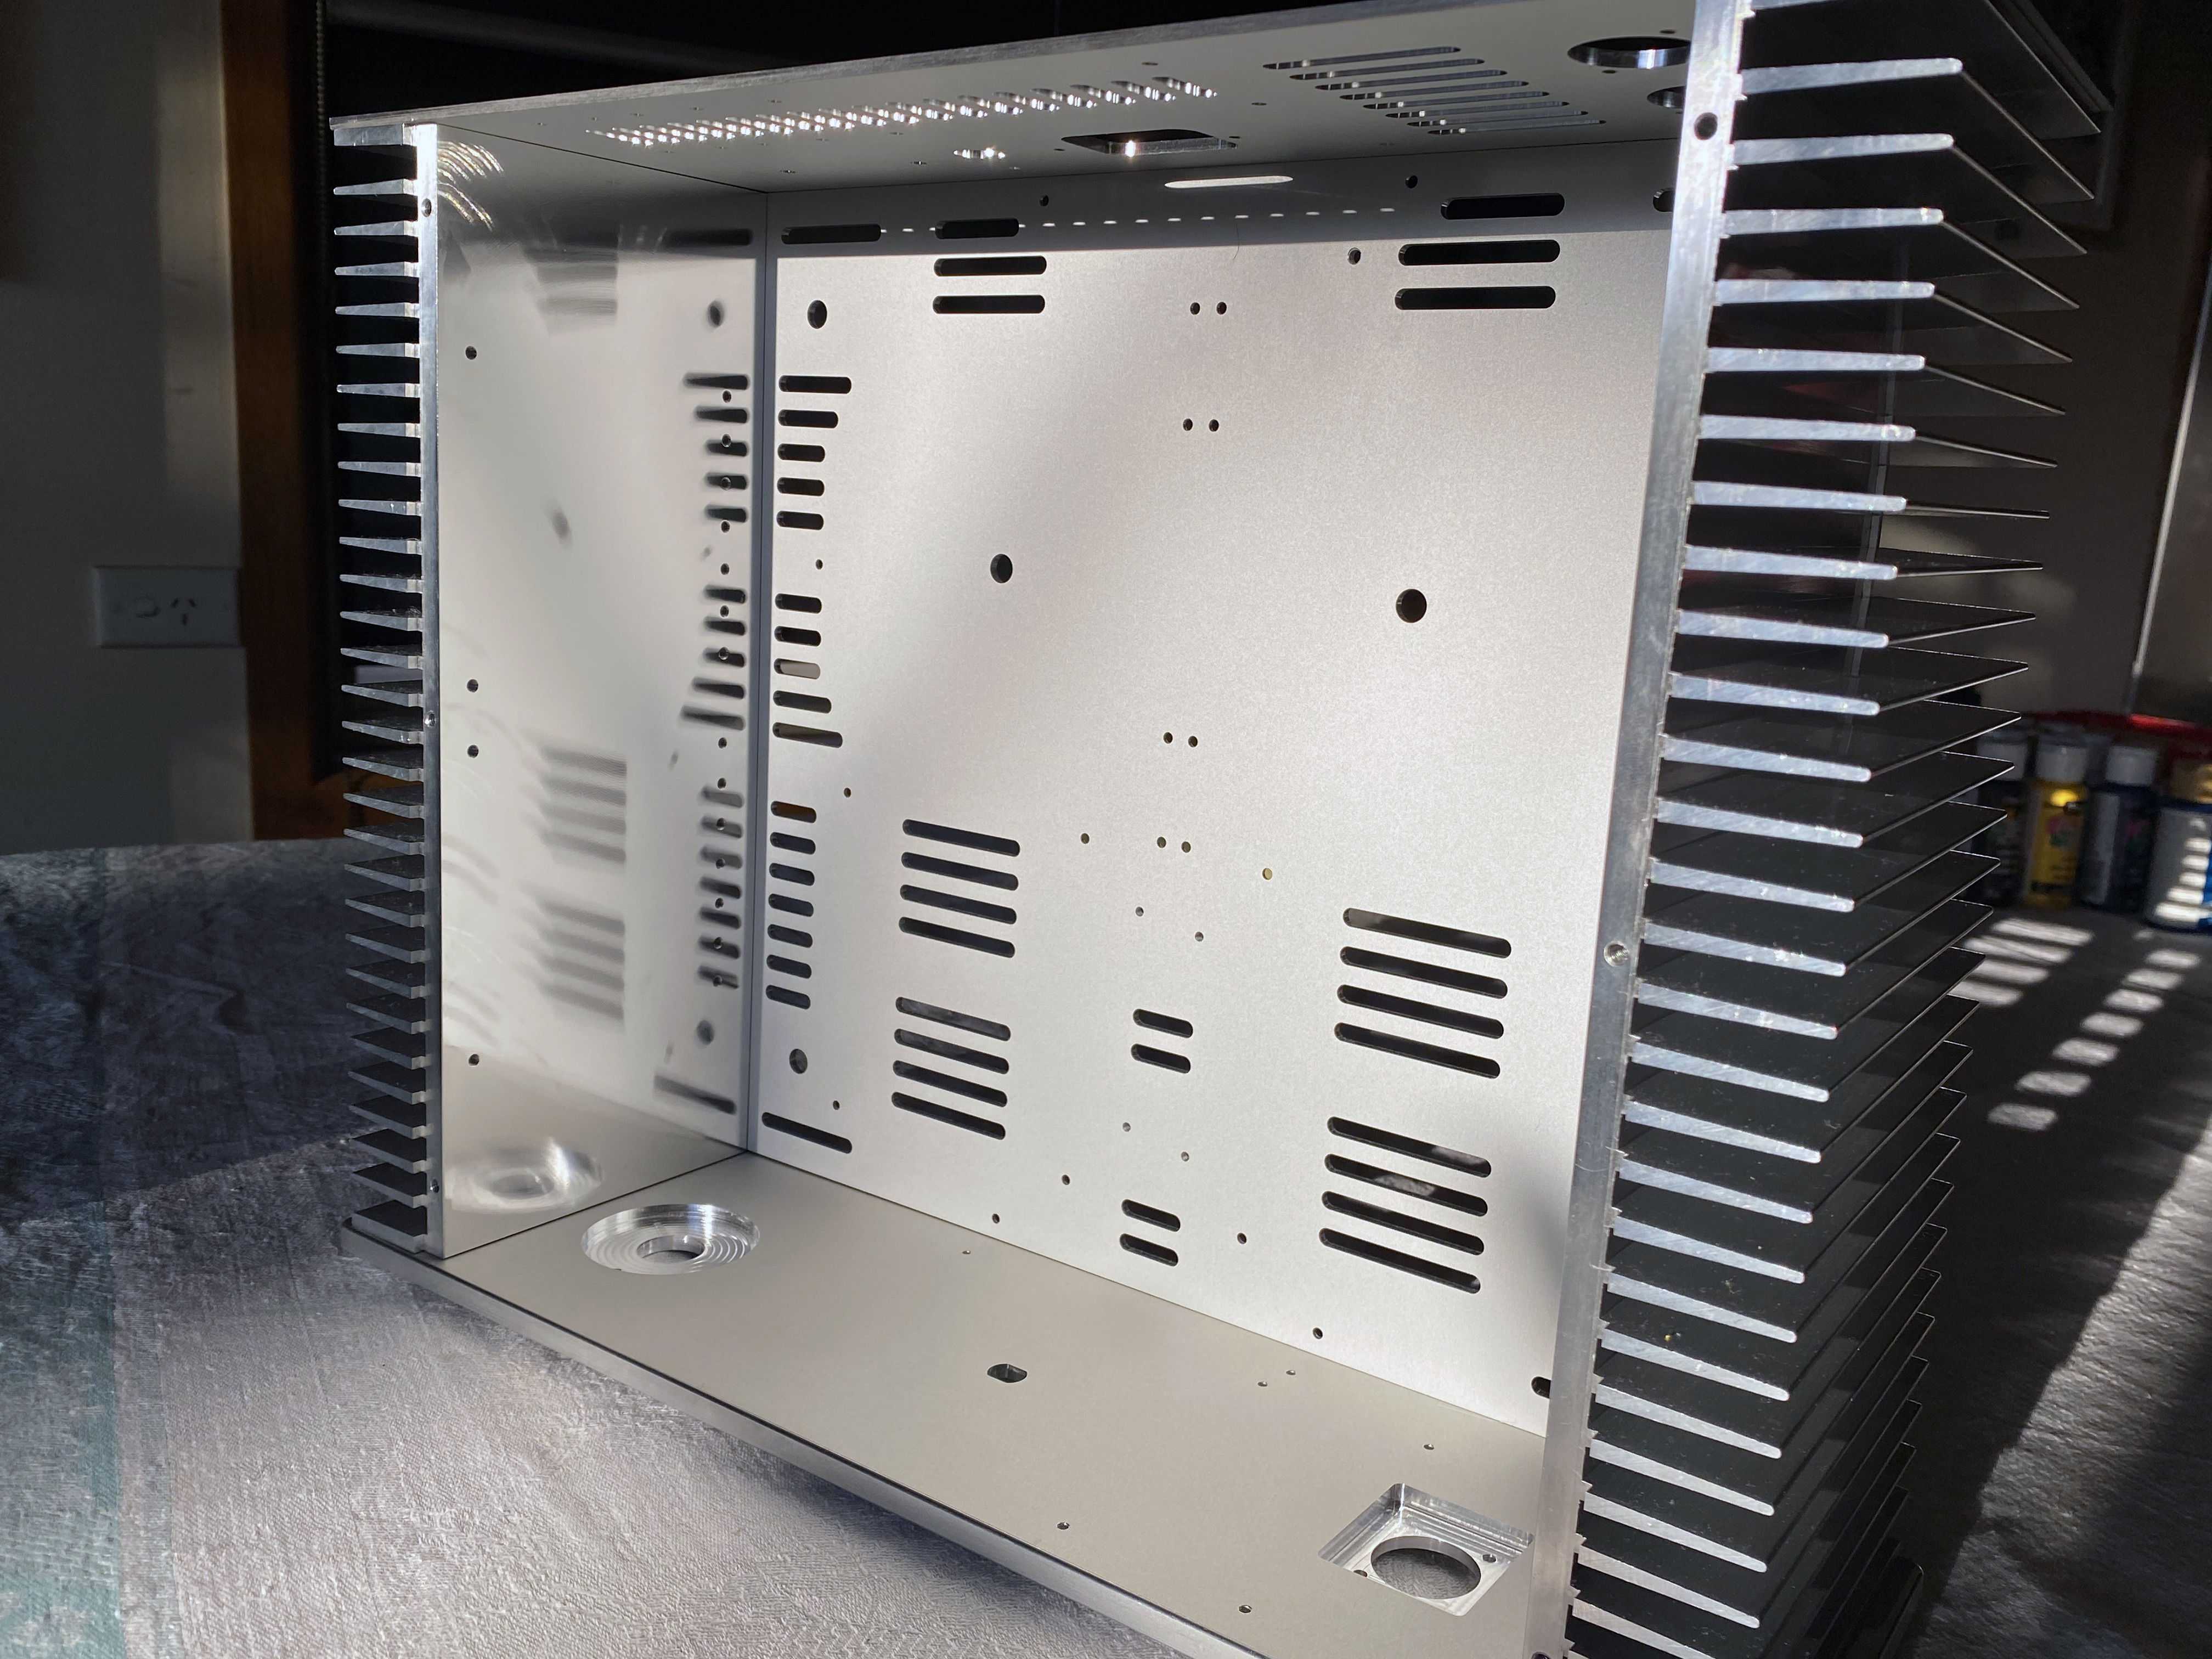
Long time between drinks, been working on this for a few months and finally got my panels back. It’s going to be a dual mono GRLV PS with a quartet of CFA2’s, balanced in and out using a Goldpoint 10k 47 position stepper.
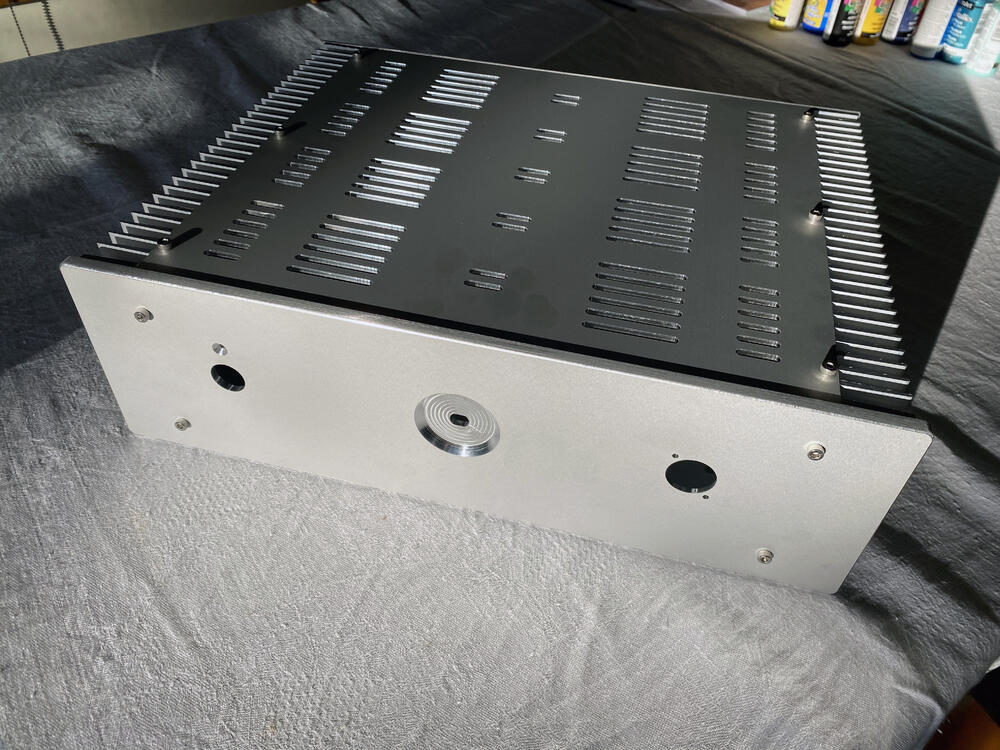
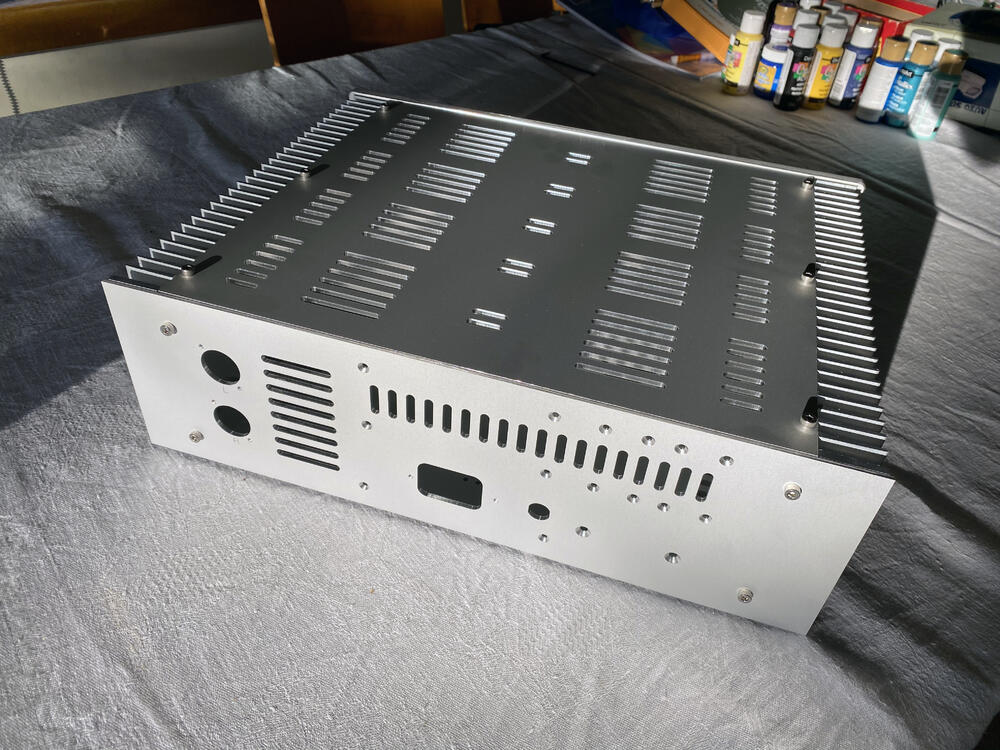
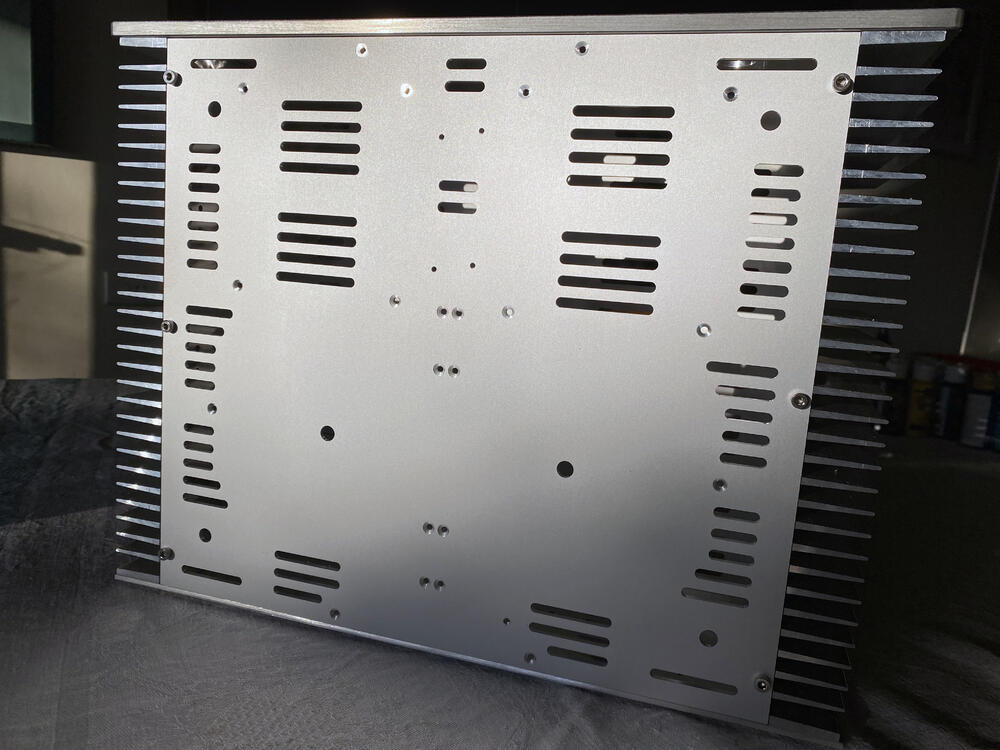
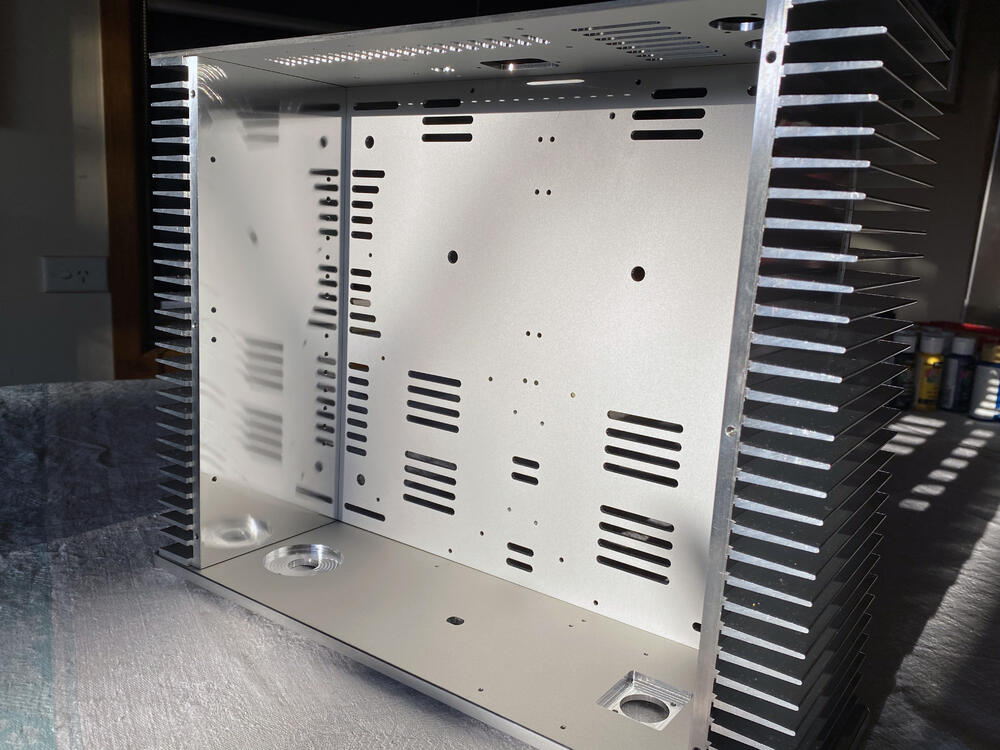 9 points
 -
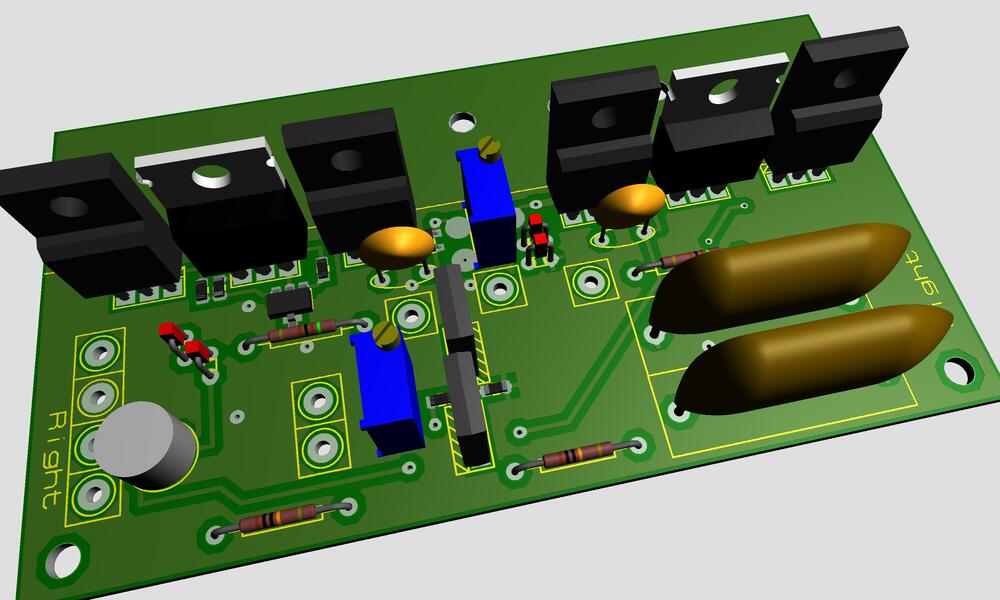
4 pointsHere is a version with FJPF2145 in stead of 2SC4686 and 01N100D replacing 2SA1968. The file name is xxx_Mouser to indicate components are available at Mouser. Yesterday I completed the left side board and I’m listen to it this very minute. I’m very pleased with the outcome.
 4 points
 -
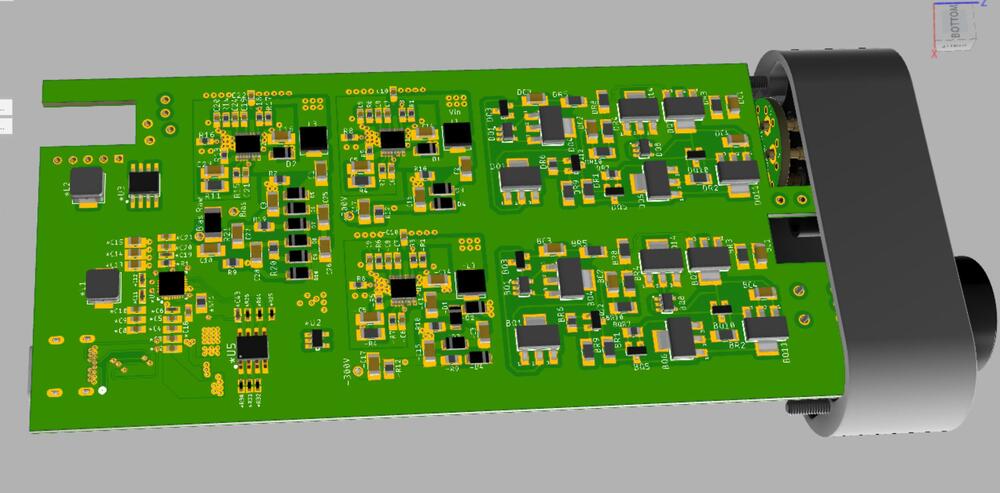
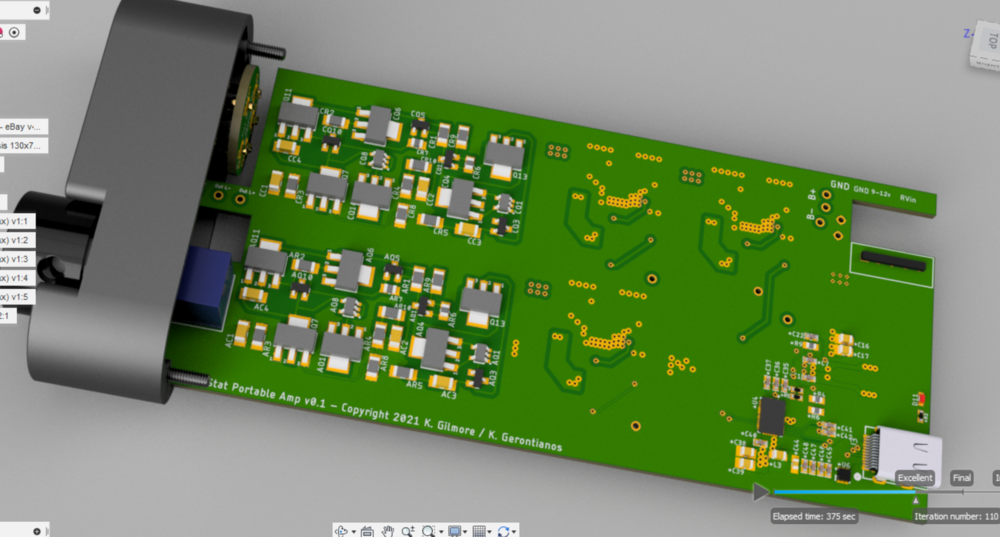
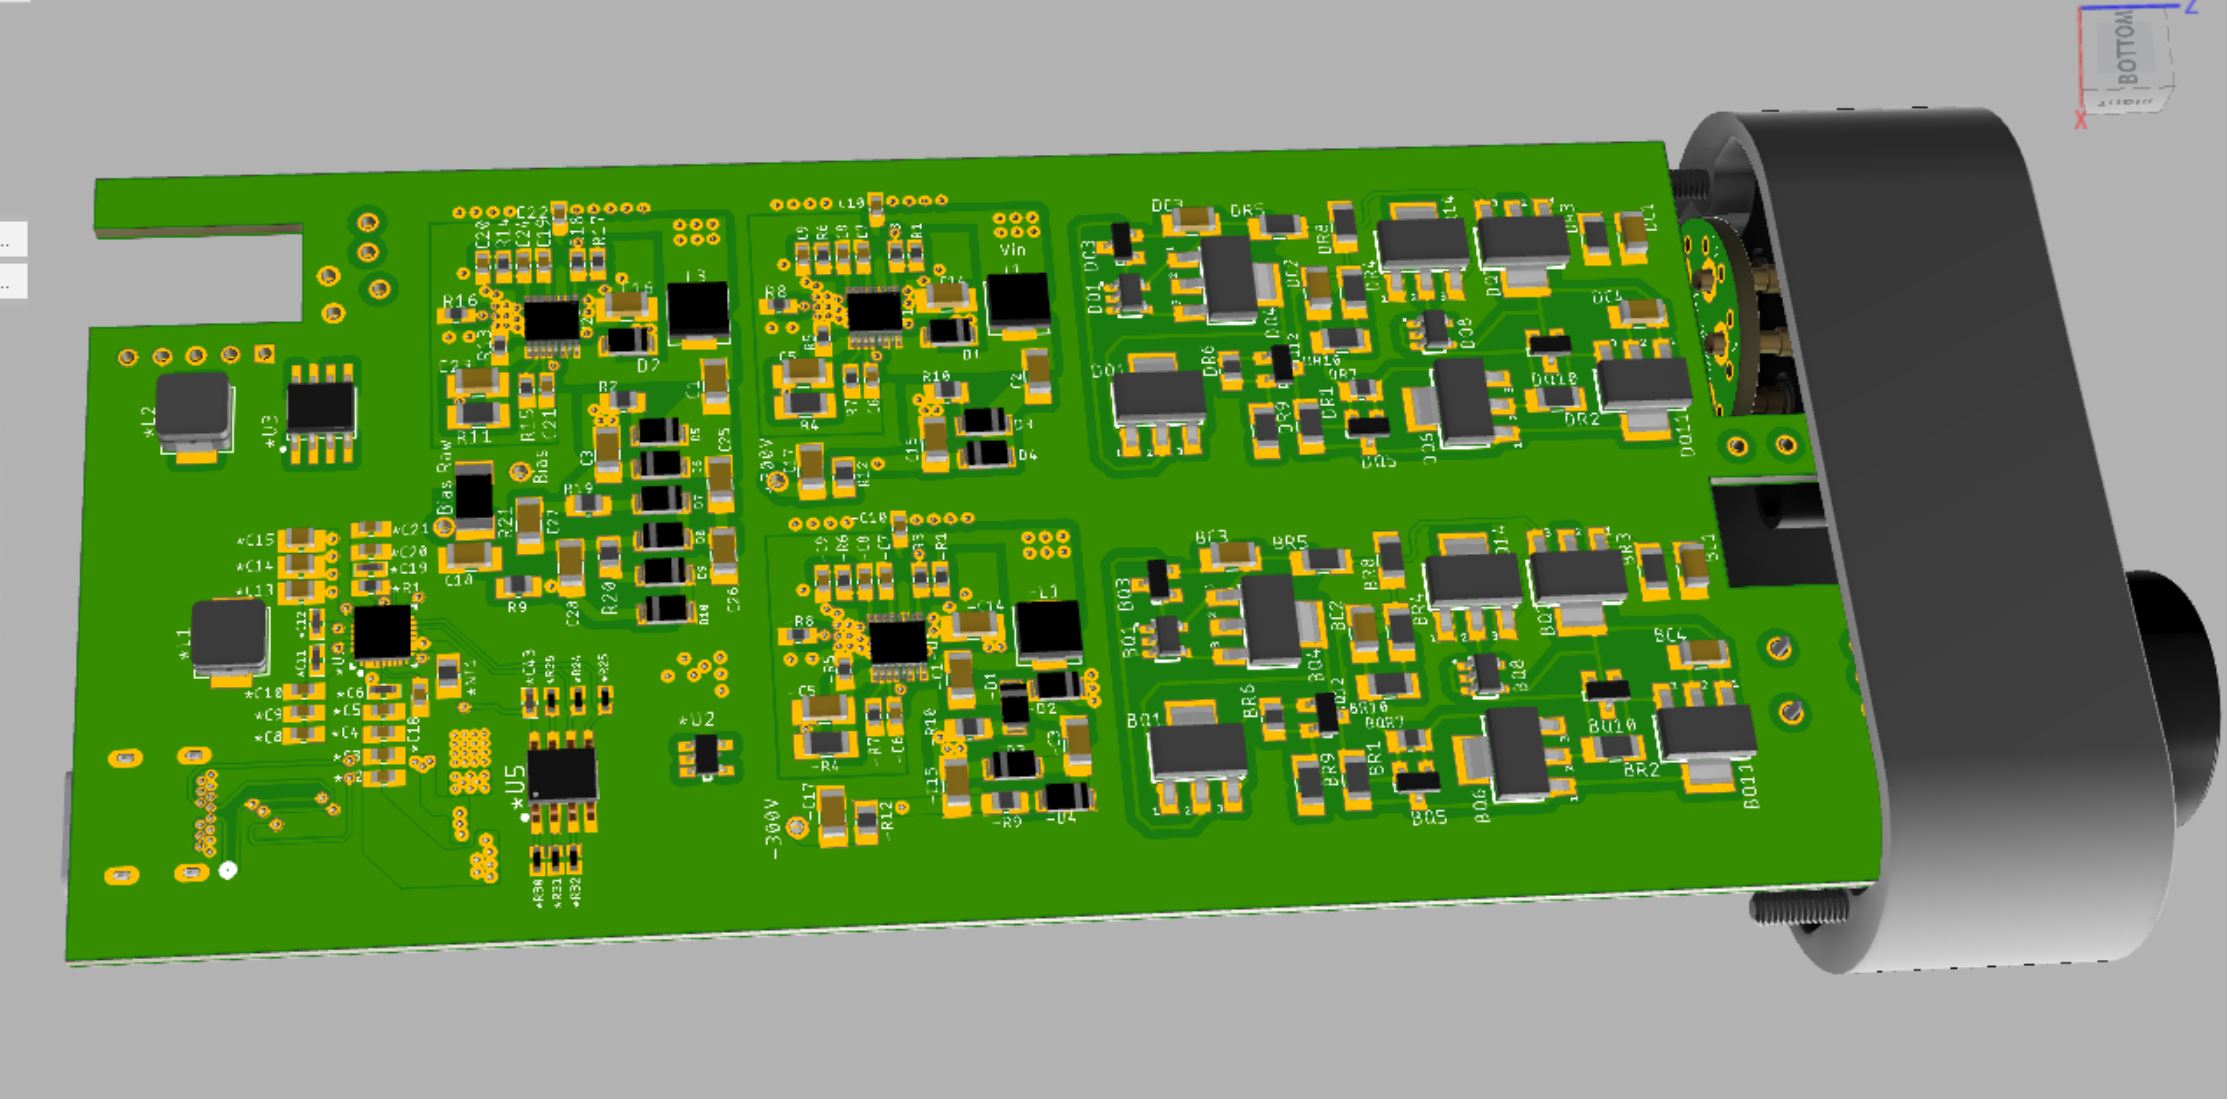
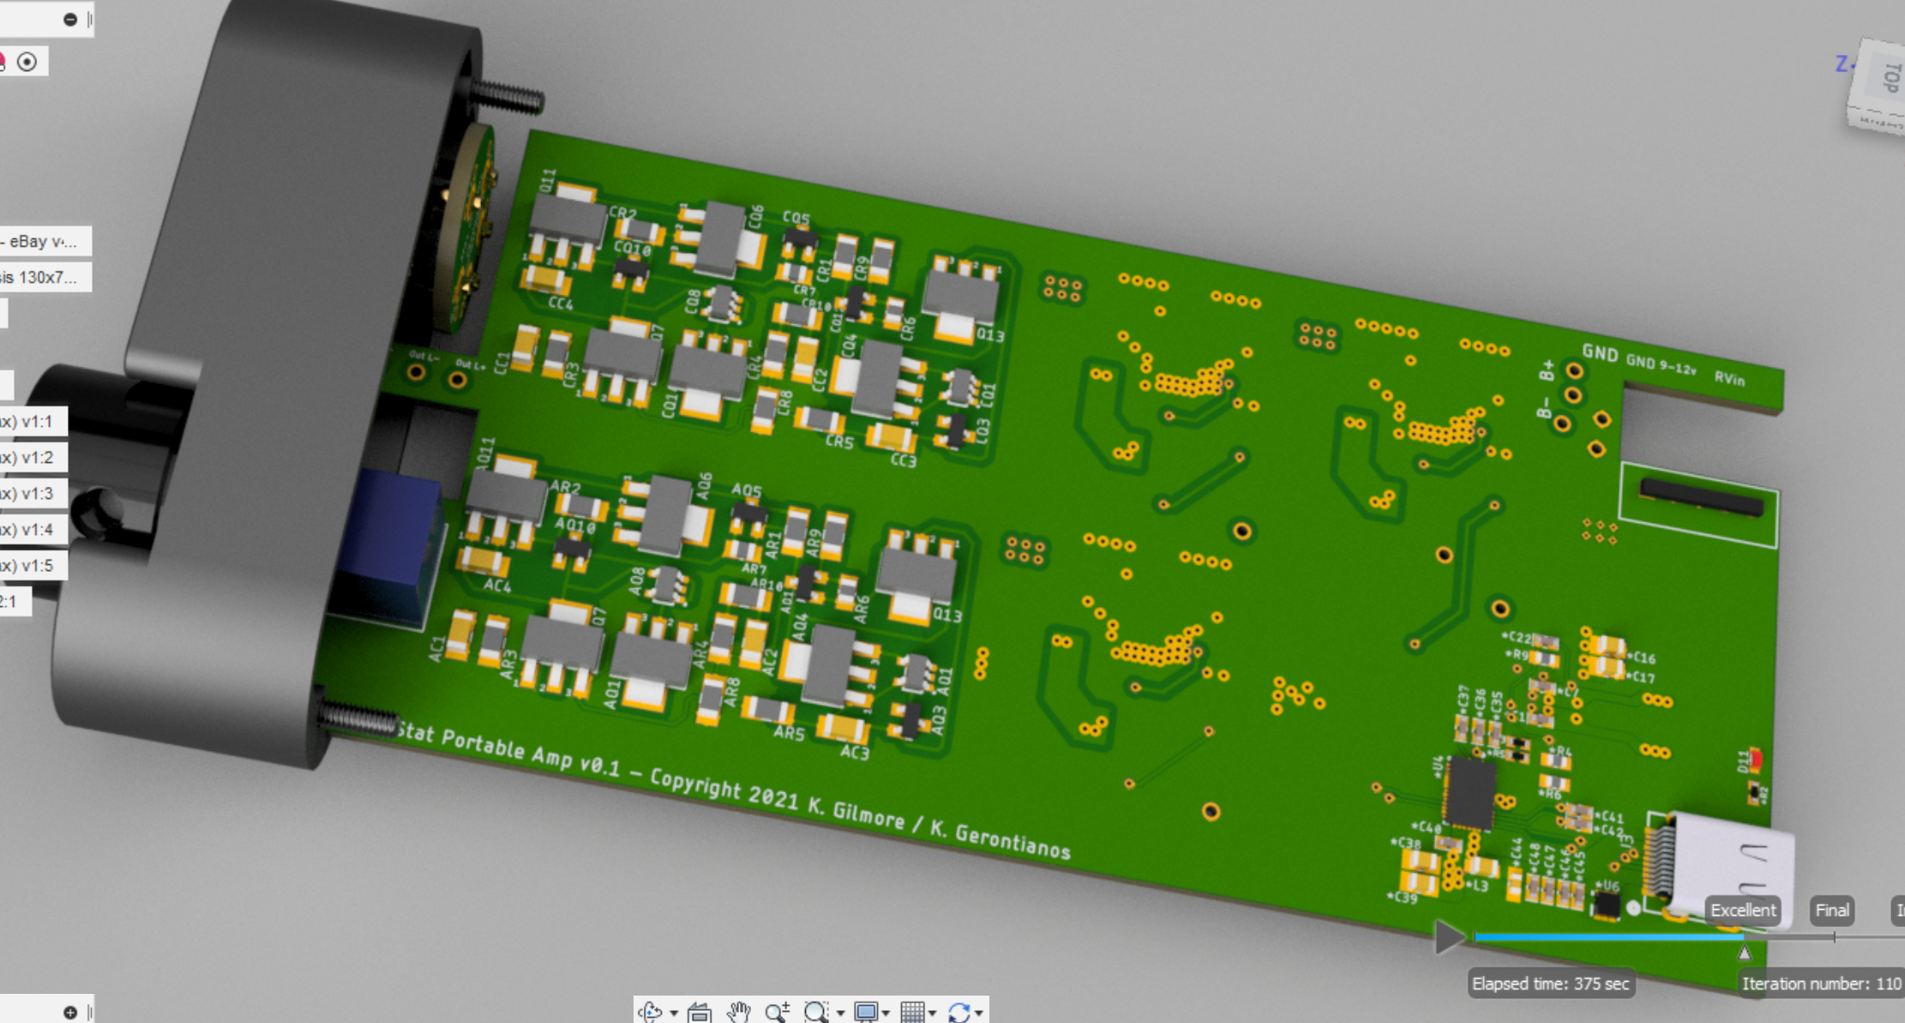
3 pointsMaking some progress on the main amp board. It will have a USB-C PD port so it will accept 5, 9, 15 & 20 volts. I think a 20W charger should be enough, but I'll have to test that once the prototype is built. This is getting pretty dense. We'll have to have this partially assembled since the PD stuff is going to be a pain to do. There are 0402 components in addition to some of the larger chips with multiple pads under the chips. This has 4 amp channels, +/-300V supplies, 580V bias and now the PD stuff with boost / buck on the input and includes the battery charging components as well. Looking at using 3S lithium batteries. The board is currently 161mm x 61mm and I think I can fit what's left. There's still more to do, but here's where I'm at...
 3 points
 -
3 pointsA question for the Festool geniusseses I am going to mount the legs to the stretchers with dominoes, but I want the stretchers set back from the edge of the legs. 1/8” on the side and 1/4” on the front/back. Is there a repeatable way to do this? Never mind, found a Sedge video where he does 10mm offset and it is good enough.3 points
-
3 points
-
2 points
-
2 pointsMichael, Check out the Rossman group videos on YouTube. He does a review of some hot air stations. He likes the Quick, but I believe he has one from Atten which is cheaper and performs just as well.2 points
-
2 points
-
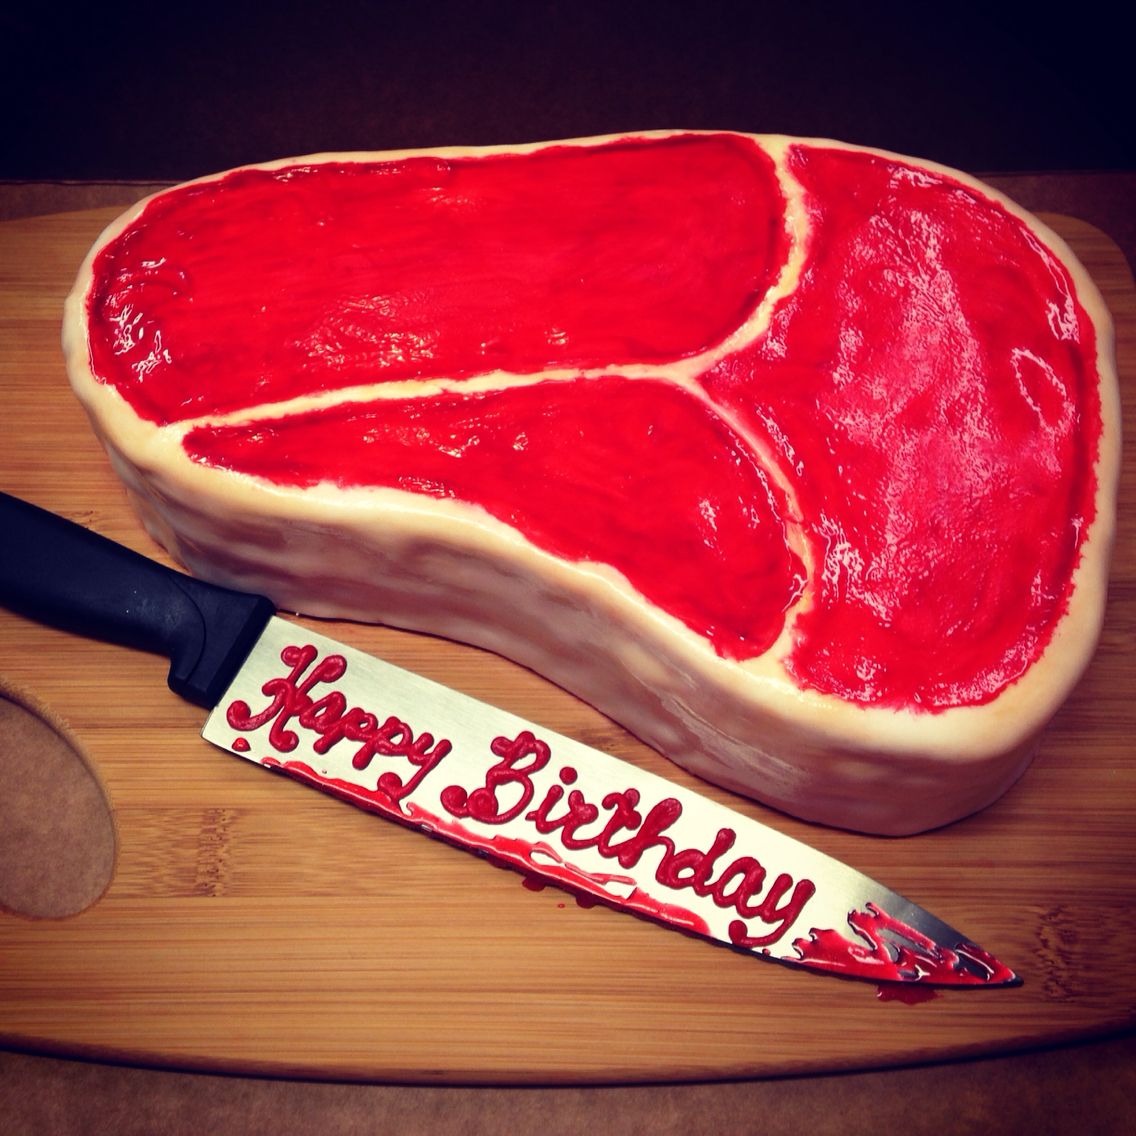
2 pointsHappy Birthday Doug! You have been such an inspiration to me over this past year. Look at my latest. I call it Homage to Doug.2 points
-
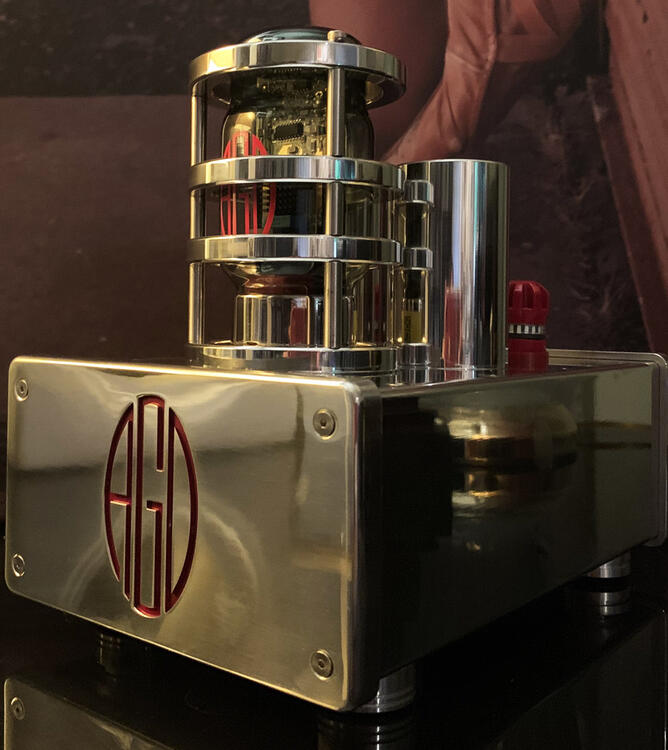
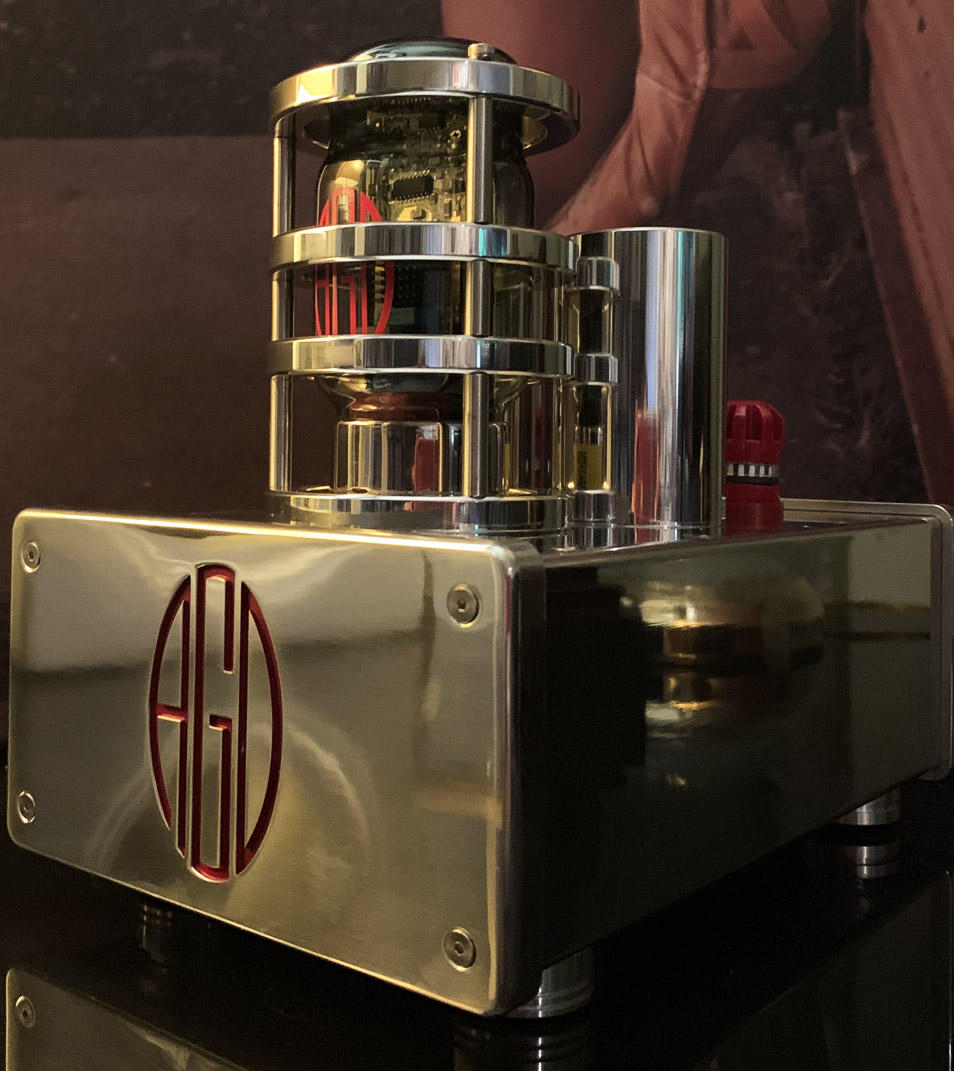
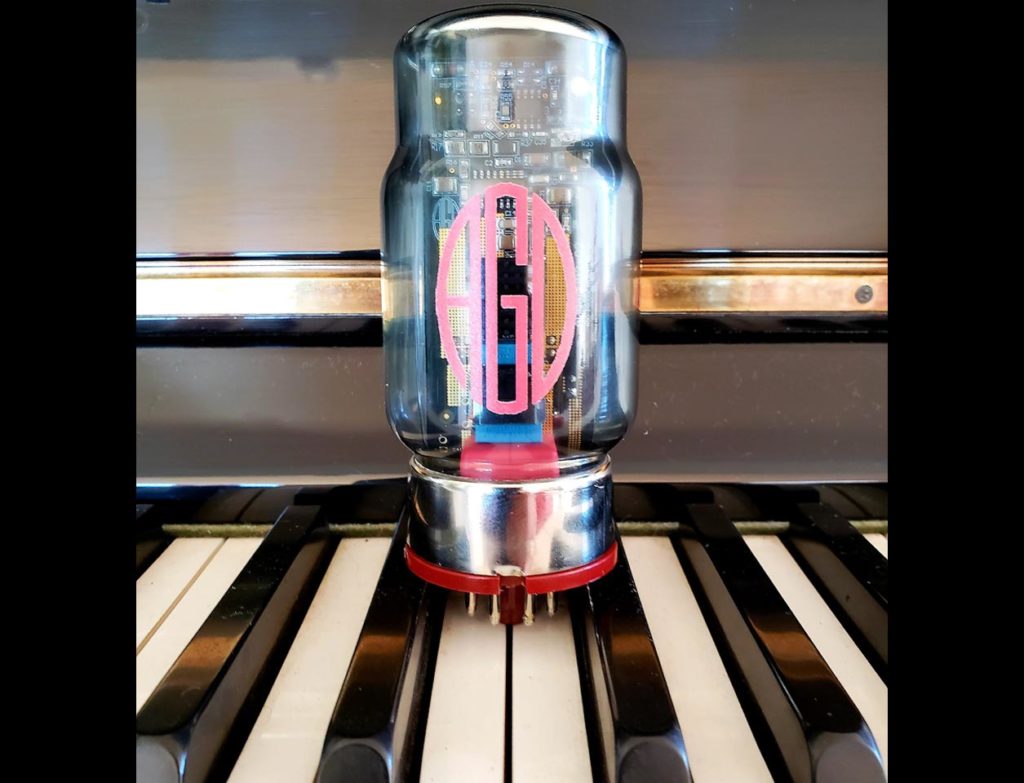
2 points2 points1 point1 point1 point1 point1 pointAGD The Audion Mk 2 "GaNTube" amp. Clever ( ? ) use of GaN amp board inside a tube structure, with up to 170 watts into 4 ohms. Neat design, and I have a pair of mono GaN amps ($1500/pr) that likely sound just as good; so not sure it's worth the money to have it look like a tube amp..... Third picture is the old vs. new version of the GaNTube.
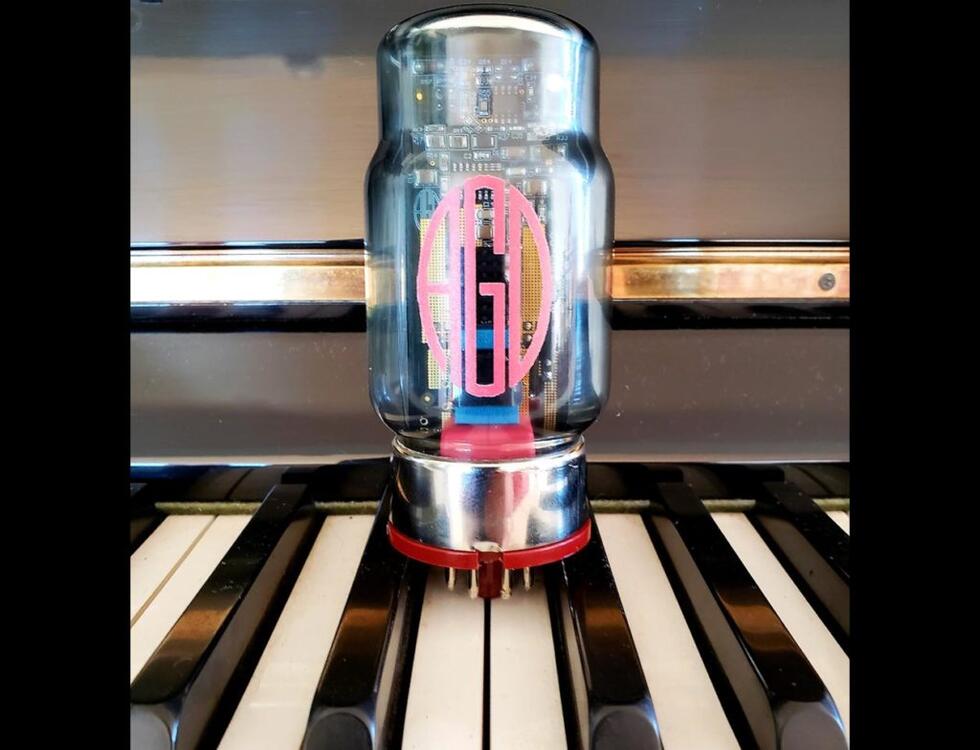
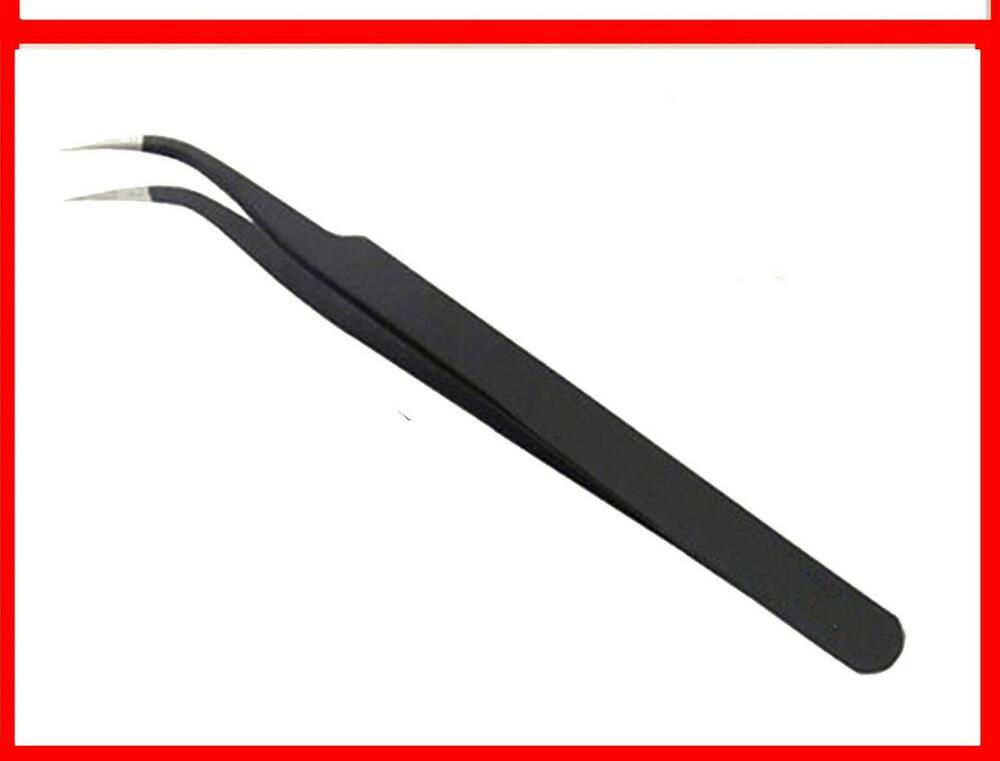
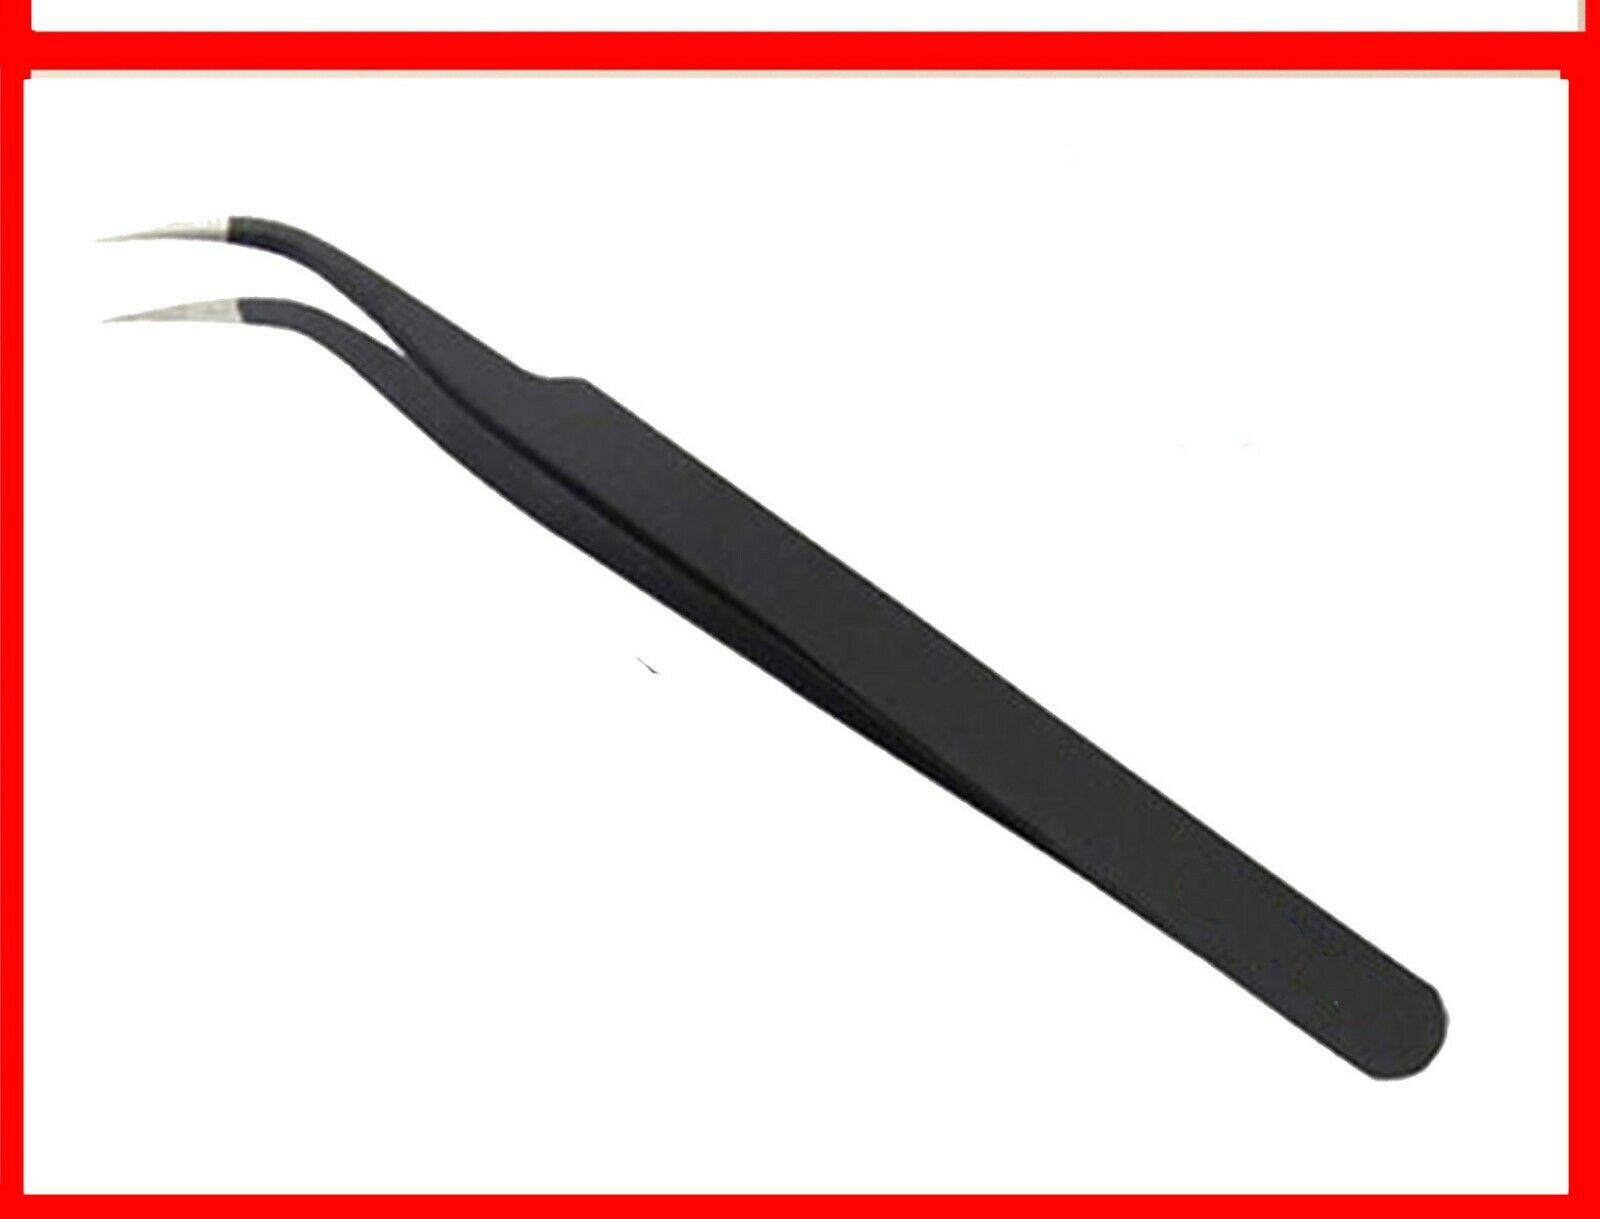
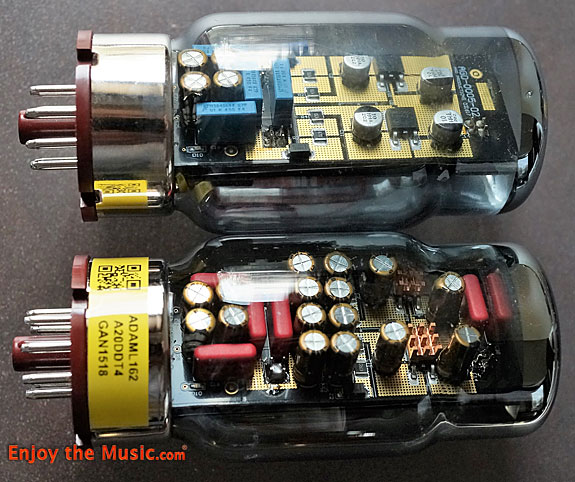 1 point1 pointTo date I've soldered all the SMD applications using a fine-tip soldering iron and a fine tip tweezer. I also find using very small gauge solder is key - I use .02"/3mm diameter solder from Kester with 2% silver and it works great. You can get a small tube of this solder from Mouser offered by NTE. I can try dig out the part number if you are interested. I want to experiment with a hot air station but have not done so yet. Mostly because I could to decide how much to spend and which one to get. Even the very basic one from the trusted brand (JBC, Hakko, etc.) costs an arm and a leg.1 point1 pointI use an oven (when it’s not too cold outside) and a hot air station during the winter. I agree that you need to set the air velocity way down. I do keep a tweezers handy in case something moves or tombstones, but I generally don’t need it. Try to have the air gun directly over and perpendicular to the parts. I move it around in small circular motions anywhere from 12mm - 25mm above the parts. It’s very important that the parts are somewhat centered in the pads. For 0603 and down, I use a loop while I’m placing the parts. Once you get the hang of it, it’s a very fast way of soldering.1 point1 point1 point1 pointI found a pretty cool youtube creator who's channel is called Game Maker's Toolkit. He has some very interesting videos. I really enjoyed this one. I've always wondered why it is that I am put off by some games that other people love. This video talks about one mechanic in a lot games that just constantly frustrates me, namely, navigation. I don't know what it is about my brain, but if a game drops me in an open world and expects me to explore, be curious, and make a mental map of the layout as I go I get frustrated and quit pretty quickly thereafter. It is a mechanic some people love, but I really do not. It is interesting to think about how many games are built around navigation as a core draw. Many of the Zelda games, Souls-borne, etc. I don't think I like any of them. Prior to watching this video I would not have been able to articulate why. Cool stuff.1 point1 point1 point1 point1 point1 point1 pointHBD Dougie Fresh! I shall have some county donuts in your honour (sorry)1 point1 pointFound it (not the cartridge, but what it was). It was an Apature. I'm guessing it was a KOCE. Reading up on them, supposedly Ortofon made them or had something to do with them. I remember liking it though. Sorry to quote my own post, but somehow just ran across the brand of the cartridge today.1 point1 point1 point1 pointI always do smd soldering with fin tip solder iron and after a long time of practicing I feel quite comfortable with that. I’ve tested with hot air station and with proper amount of solder paste on the pads and when using low air flow I managed to solder without components blowing away. And it’s a nice feeling seeing a component nicely aligning up on its pads. But I prefer the soldering iron technique. Me and solder paste don’t mix well. After a while the whole table is a mess and I even have solder paste on my nose. With some practice I’m sure everyone can do smd soldering, but it can be very frustrating initially.1 point1 point1 point1 point1 point1 point1 point1 pointHappy birthday Doug! Some guys would wish for titties and beer, but I hope your day is full of kitties and (woodworking) gear! Cheers!1 point1 point1 point1 point1 pointI did some experimentation and found that low airflow and fairly high air temp worked best for me. I have a quick 861dw hot air station. I set the airflow to 5 out of 120 and set to 360C (the temperature will depend on your solder paste melting point). I hold the hot air nozzle with one hand and with the other I use tweezers to keep the smd part in place. If you do not hold the part in place almost any airflow will send components into low earth orbit. The tweezers I use are curved on the end which makes it easier to place components, keep your hands away from the heat and easier to see what's going on.
 1 point1 point1 pointAgreed. She's a favorite. Always has been. In fact, I think I'll listen to her now. Thanks for the indirect recommendation.1 pointFiona Apple - When the Pawn... She is so good. Been going back through her old back catalog.1 point1 pointNice Spring day, Karen and I went out for some shopping and just to see sites. Stopped at a wonderful Italian place in Southern NH called Tuscan Market (and Tuscan Kitchen restaurant right next door). Got perhaps THE best Italian panini I've ever had. That and some great cold brew coffee, sitting outside in the parking lot with my sweet, made for a very nice time.
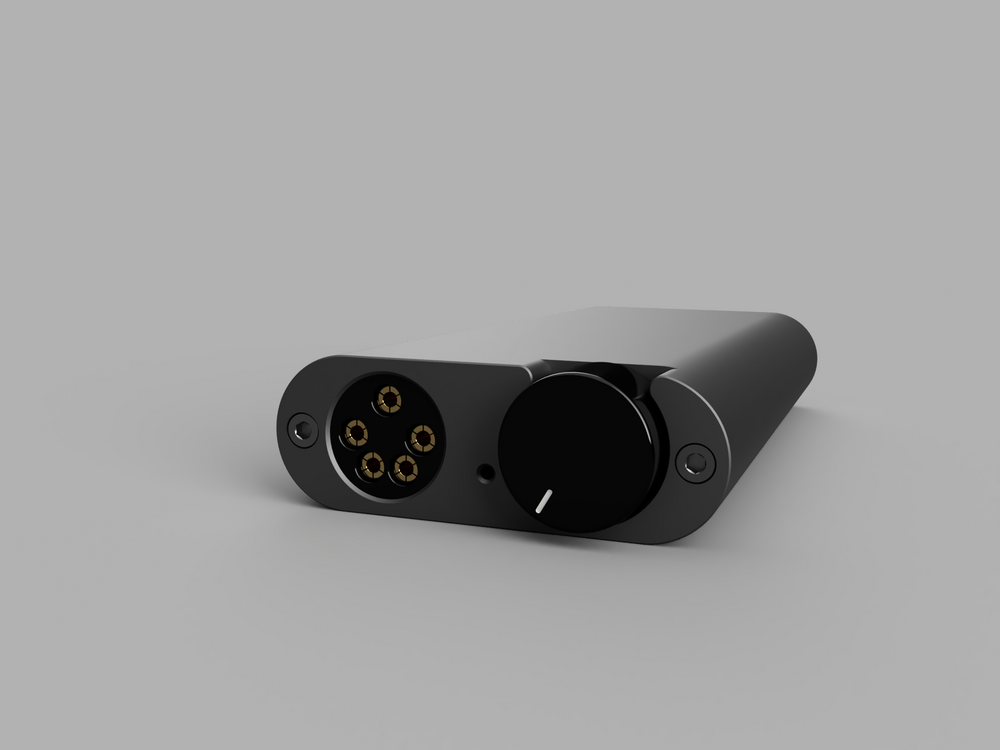
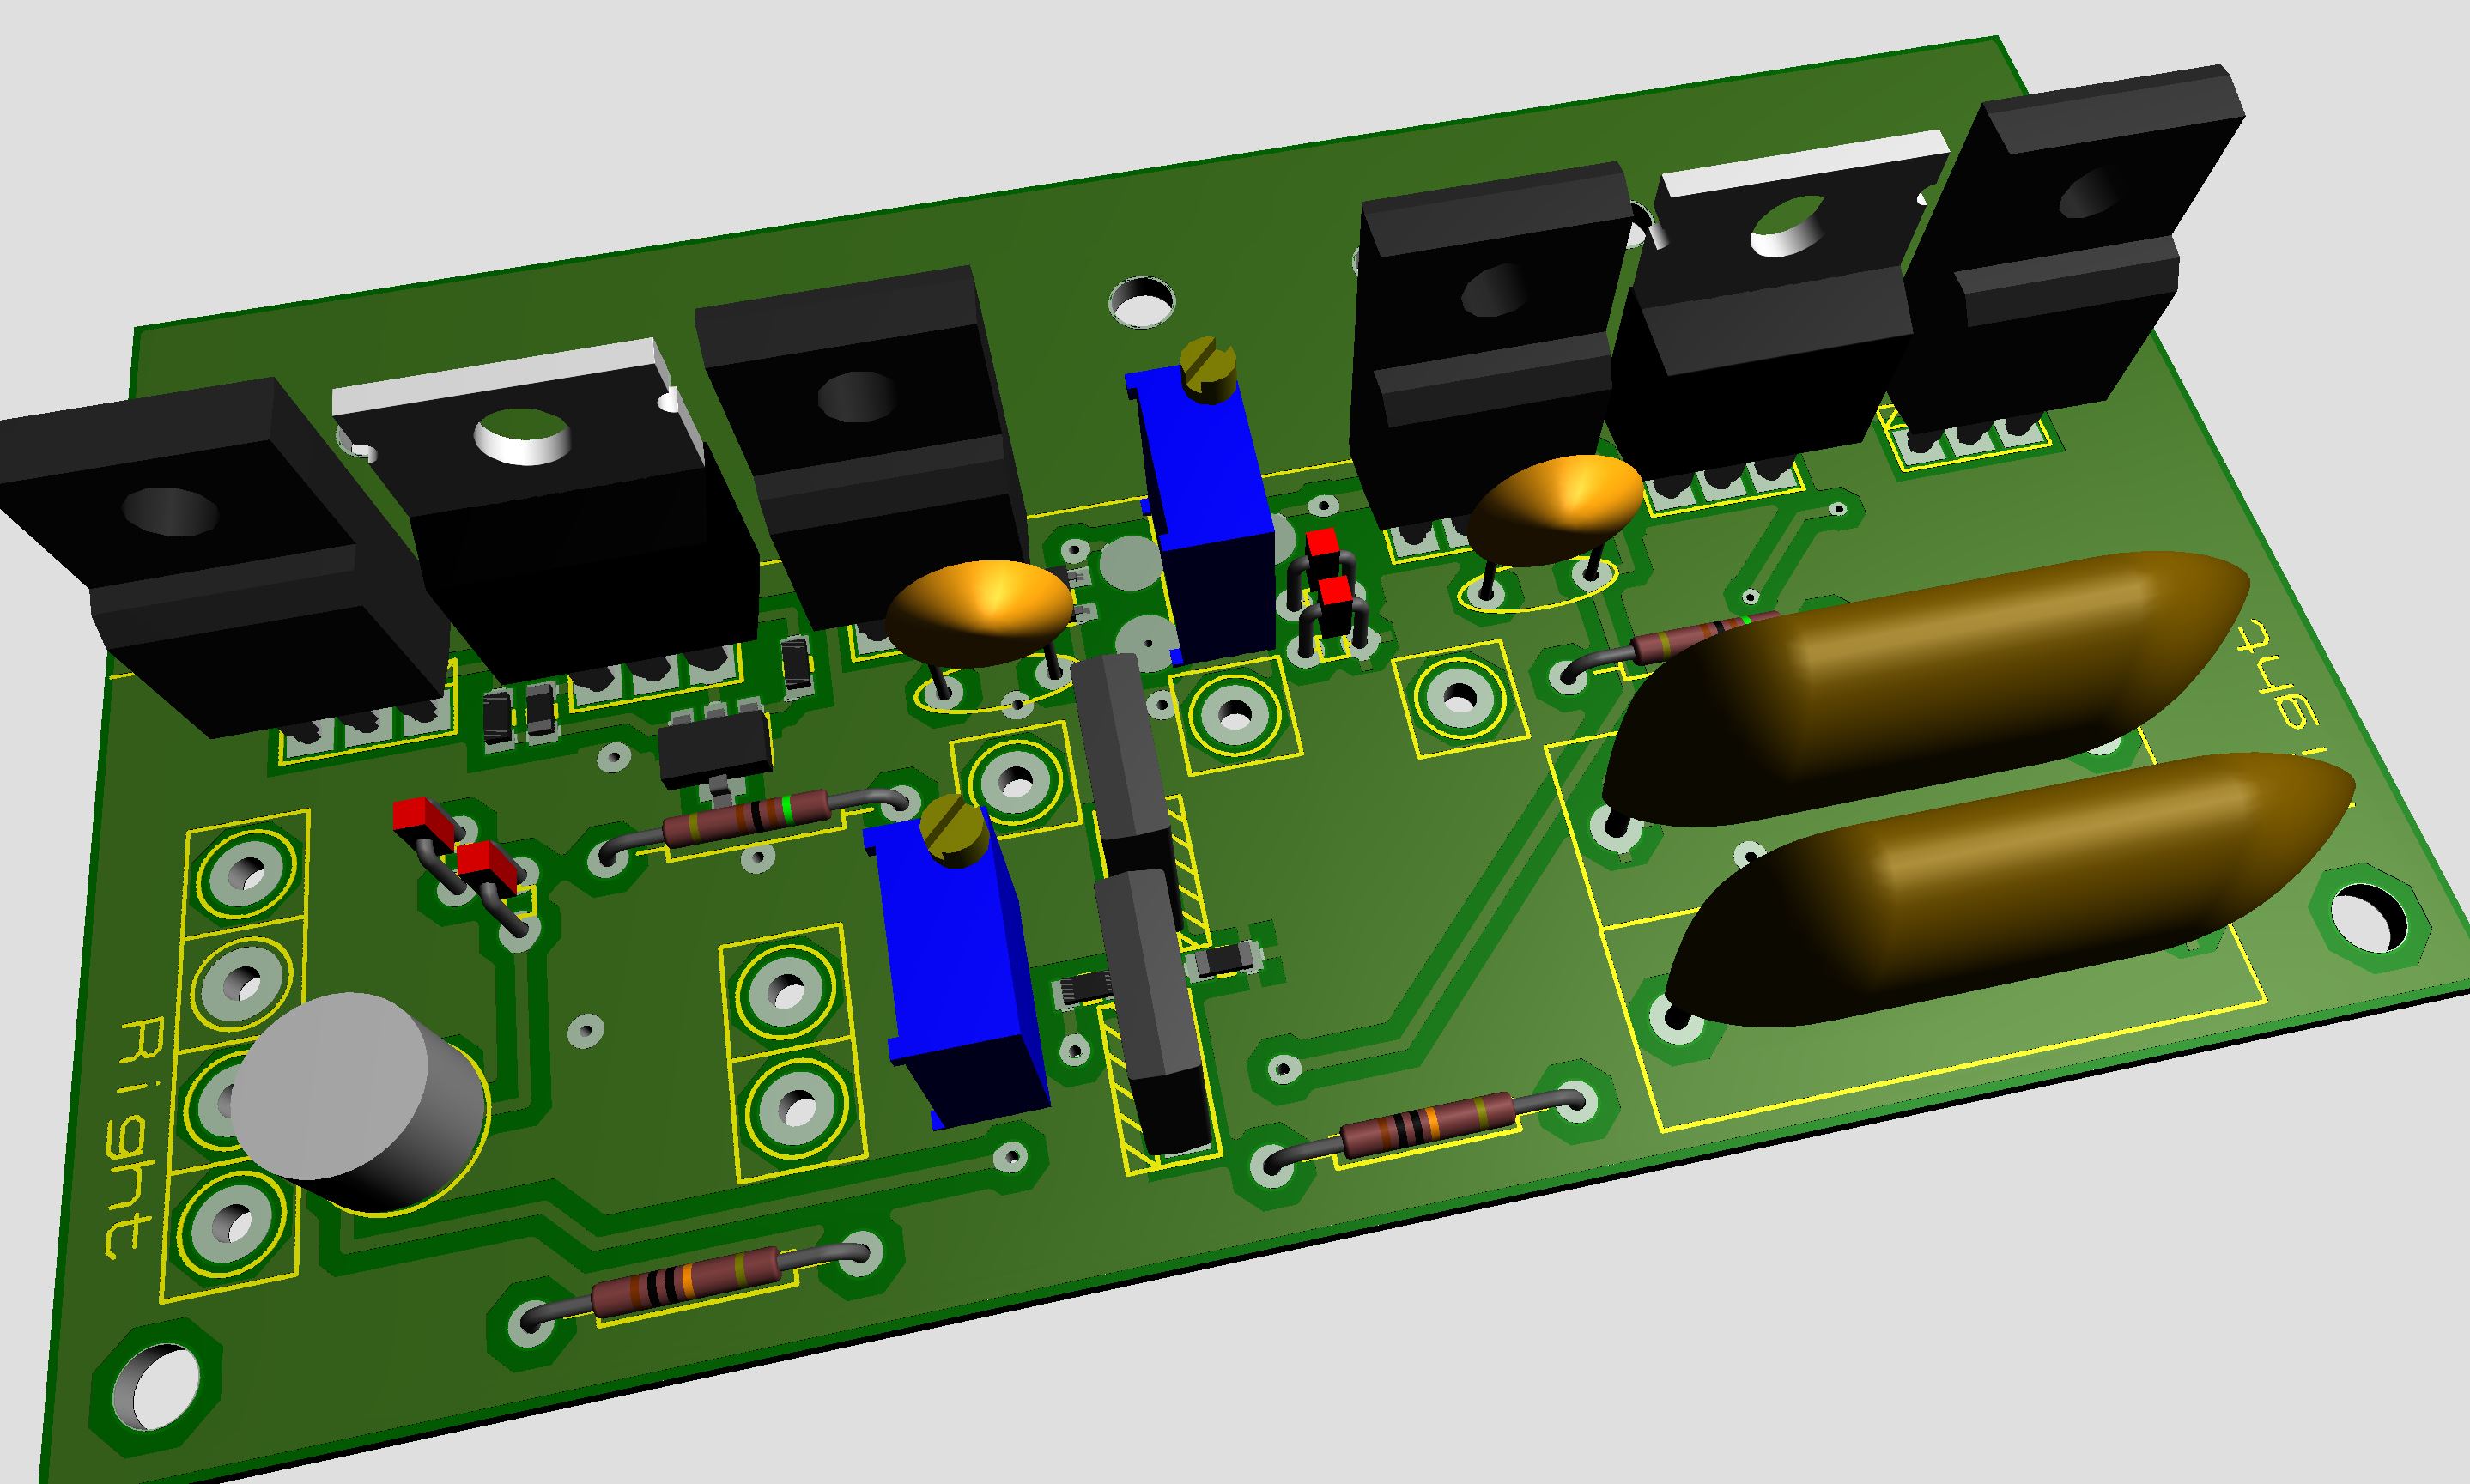
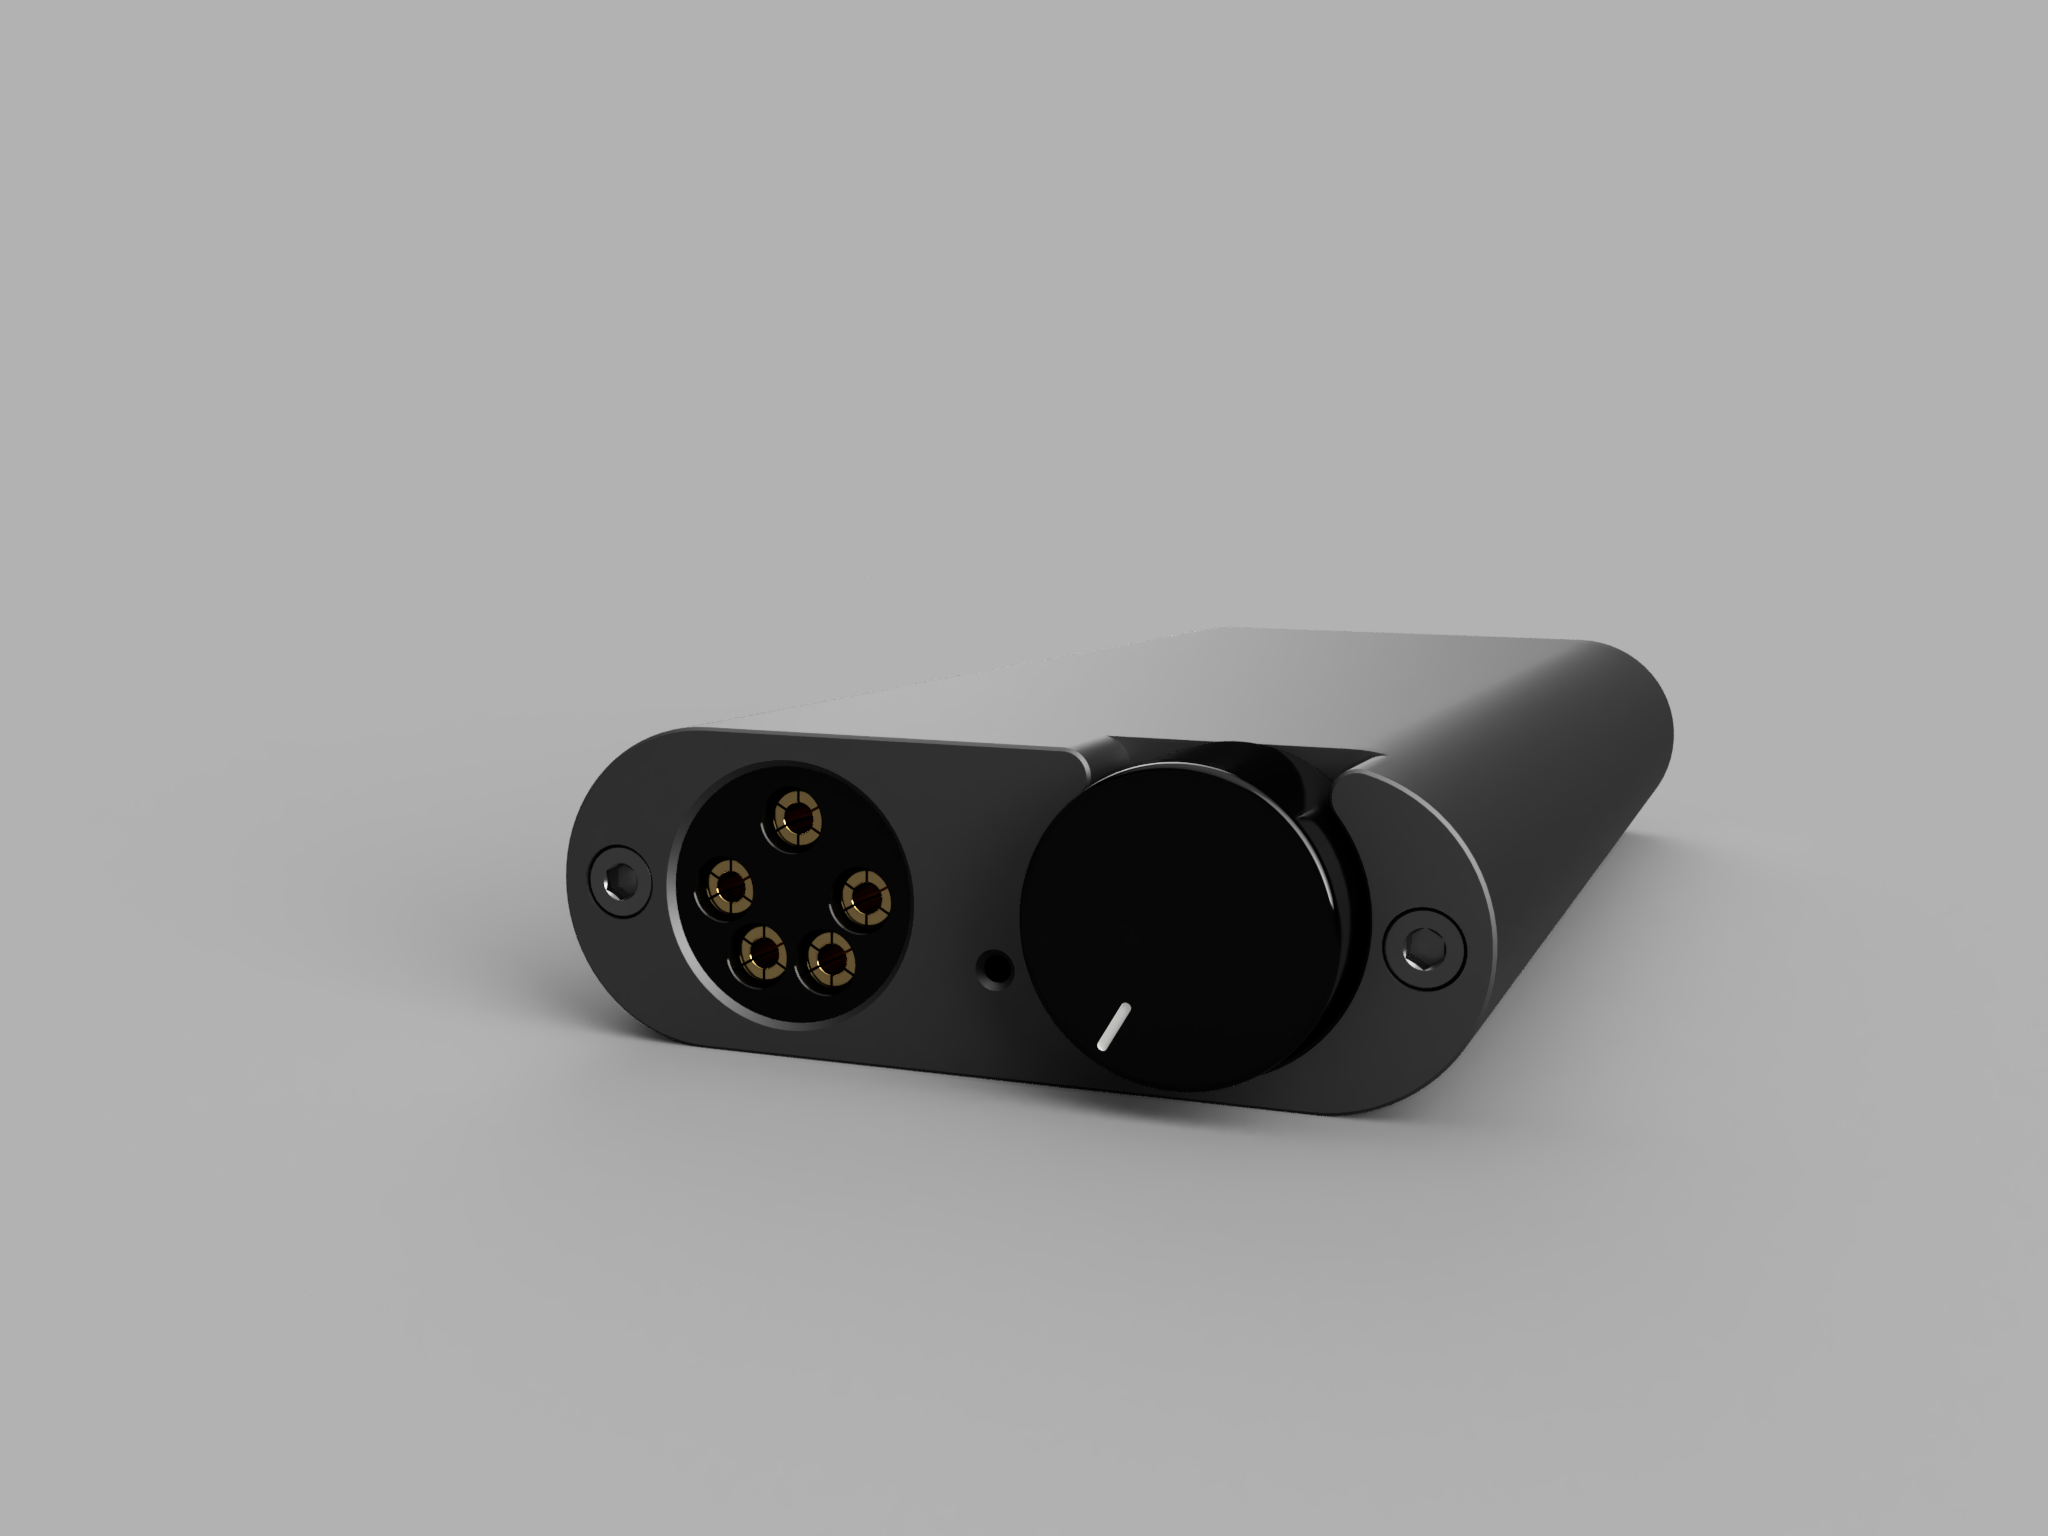
 1 point1 point1 pointDue to The Power of Suggestion, I had brisket (sourced from non-brisket-fairy, “Dixie Bones”).1 pointThanks Alan. I'll give that a read. Interesting that it's from back in the day Here's a rendering of what the amp will look like. It will be about 70 x 150 x 24 mm. We're looking at using USB-C PD so we'll be able to run off of most chargers (at least 20W). Power input will have a boost/buck converter so it could run off of 5/9/15/20V chargers. Still some work ahead, but we think we'll be able to fit a DAC in as well.
 1 point1 point1 pointThis post from Søren in the Circlotron thread is useful for testing a GRHV. EDIT: Per Soren, note that these instructions are for the Circlotron, so differ from a GRHV somewhat. For the initial check, I was getting 0.5mA; Soren said maybe 1mA. For the 2nd CCS, I was getting 1.4mA. These will depend upon your particular DN2540s. The current limiting CSS he notes is not applicable on the GRHV, so ignore that portion. My boards both worked fine. The paralleling of the gain resistors (2 x 390K for a 400V GRHV) worked quite well. I put a 100K in parallel with the series string for a regulated output of ~55Vdc. Make sure you use a variac for this to limit the input voltage.1 point































Important Information
By using this site, you agree to our Terms of Use.
Account
Navigation
Search
Configure browser push notifications
Chrome (Android)
- Tap the lock icon next to the address bar.
- Tap Permissions → Notifications.
- Adjust your preference.
Chrome (Desktop)
- Click the padlock icon in the address bar.
- Select Site settings.
- Find Notifications and adjust your preference.
Safari (iOS 16.4+)
- Ensure the site is installed via Add to Home Screen.
- Open Settings App → Notifications.
- Find your app name and adjust your preference.
Safari (macOS)
- Go to Safari → Preferences.
- Click the Websites tab.
- Select Notifications in the sidebar.
- Find this website and adjust your preference.
Edge (Android)
- Tap the lock icon next to the address bar.
- Tap Permissions.
- Find Notifications and adjust your preference.
Edge (Desktop)
- Click the padlock icon in the address bar.
- Click Permissions for this site.
- Find Notifications and adjust your preference.
Firefox (Android)
- Go to Settings → Site permissions.
- Tap Notifications.
- Find this site in the list and adjust your preference.
Firefox (Desktop)
- Open Firefox Settings.
- Search for Notifications.
- Find this site in the list and adjust your preference.